


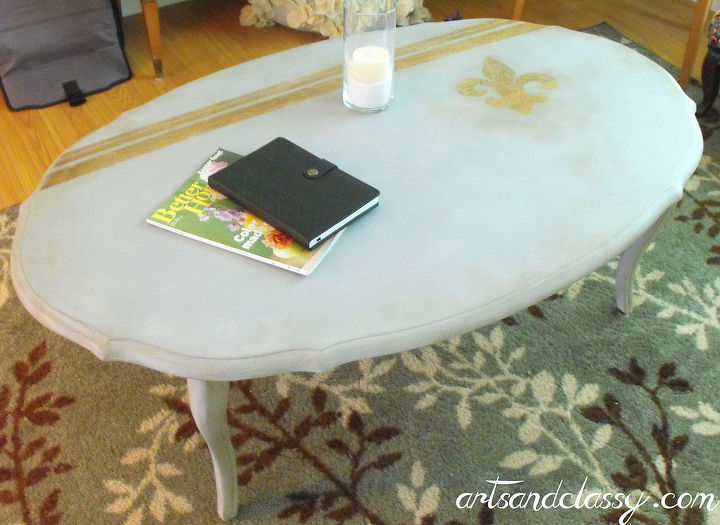
Chalk Paint - DIY Coffee Table Makeover
$25
4 Hours
Easy
Hello friends!
I hope you all had a fantastic weekend. Mine was packed with activities and went by too quickly. Anxious about next weekend getting here already. :)
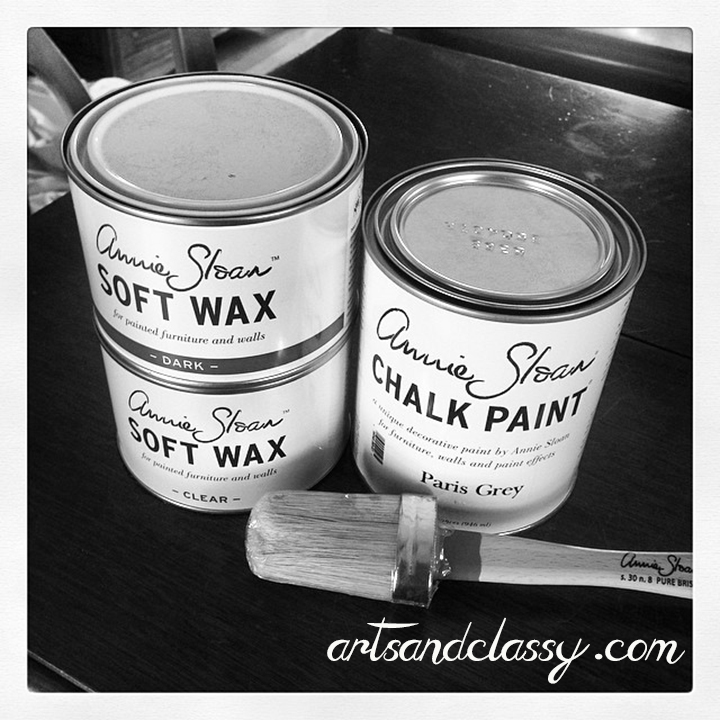
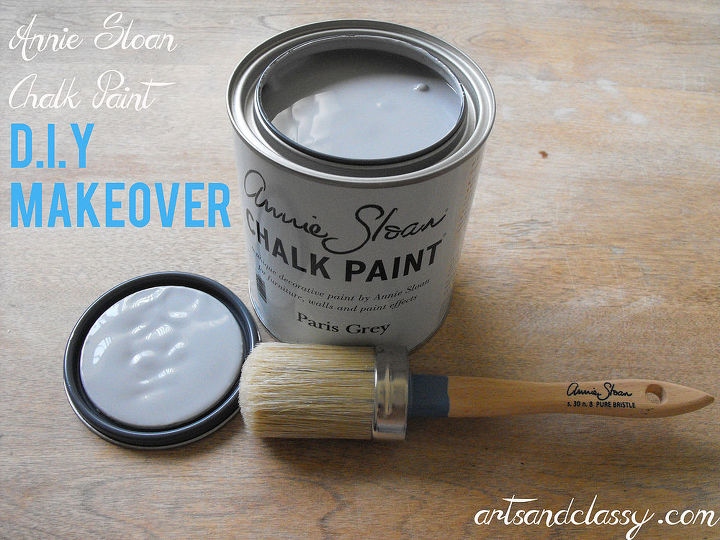
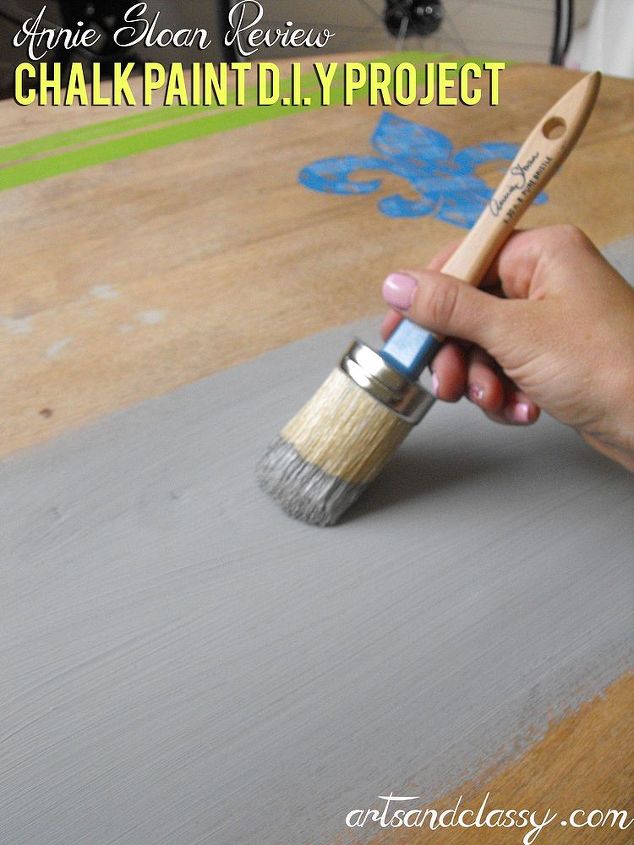
I wanted to reveal to you all today my goodwill coffee table find that I made over while partnering up with the company Annie Sloan to review their chalk paint, soft waxes, and brush products!
I was so excited that this company was willing to send me products to try out. I have heard many bloggers rave about their chalk paint and waxes…I thought it was high time that I finally try it.
First thing I was excited about was that I didn’t have to prime anything on my table! The chalk paint does all the work.
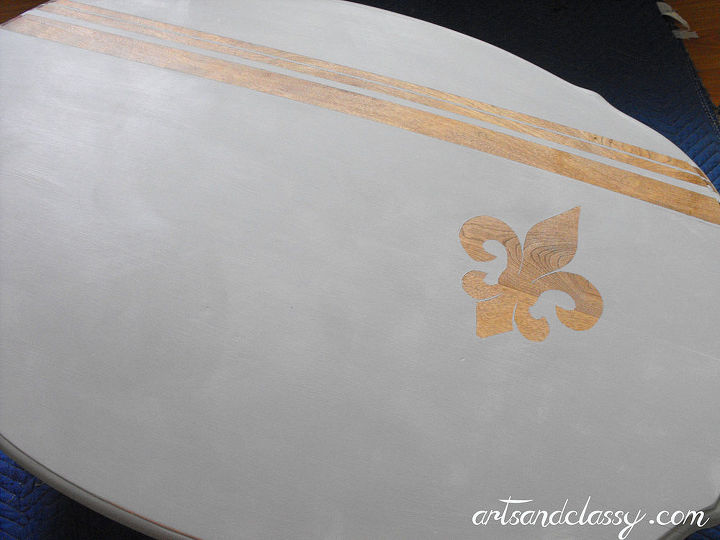
There was some inspiration that went into this coffee table. I knew I wanted to play with some exposed wood grain, and maybe a pretty decal to use as a reverse stencil to achieve that look. I went into this project hoping for the best, but without a real plan to achieve the look I had envisioned in my head. This is often how my projects begin. I like getting creative and “winging it” sometimes.
I will start this review and tutorial after the sanding process. I will tell you that I did used an orbital sander for this job mostly 80 grit sandpaper. The legs and base of the table were painted black. I was not having it. That needed to go ASAP!
I hope you all had a fantastic weekend. Mine was packed with activities and went by too quickly. Anxious about next weekend getting here already. :)
I wanted to reveal to you all today my goodwill coffee table find that I made over while partnering up with the company Annie Sloan to review their chalk paint, soft waxes, and brush products!
I was so excited that this company was willing to send me products to try out. I have heard many bloggers rave about their chalk paint and waxes…I thought it was high time that I finally try it.
First thing I was excited about was that I didn’t have to prime anything on my table! The chalk paint does all the work.
There was some inspiration that went into this coffee table. I knew I wanted to play with some exposed wood grain, and maybe a pretty decal to use as a reverse stencil to achieve that look. I went into this project hoping for the best, but without a real plan to achieve the look I had envisioned in my head. This is often how my projects begin. I like getting creative and “winging it” sometimes.
I will start this review and tutorial after the sanding process. I will tell you that I did used an orbital sander for this job mostly 80 grit sandpaper. The legs and base of the table were painted black. I was not having it. That needed to go ASAP!
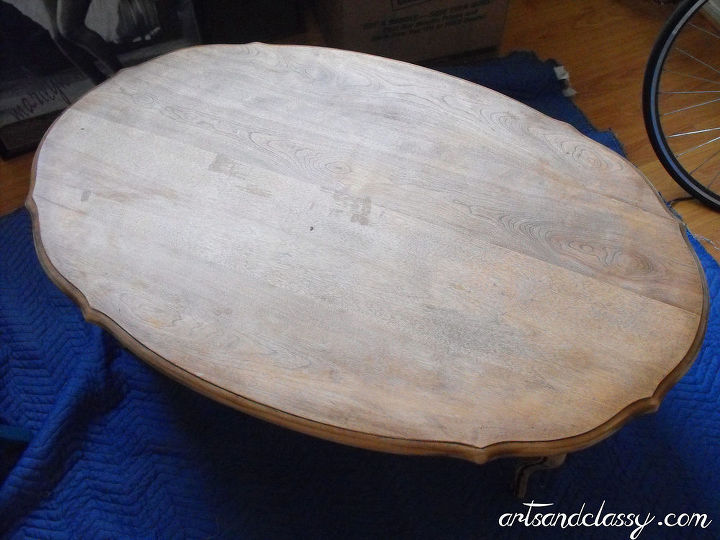
I spent $25 on this table at the Goodwill, which was such a surprise!!
see more at the blog www.artsandclassy.com
see more at the blog www.artsandclassy.com
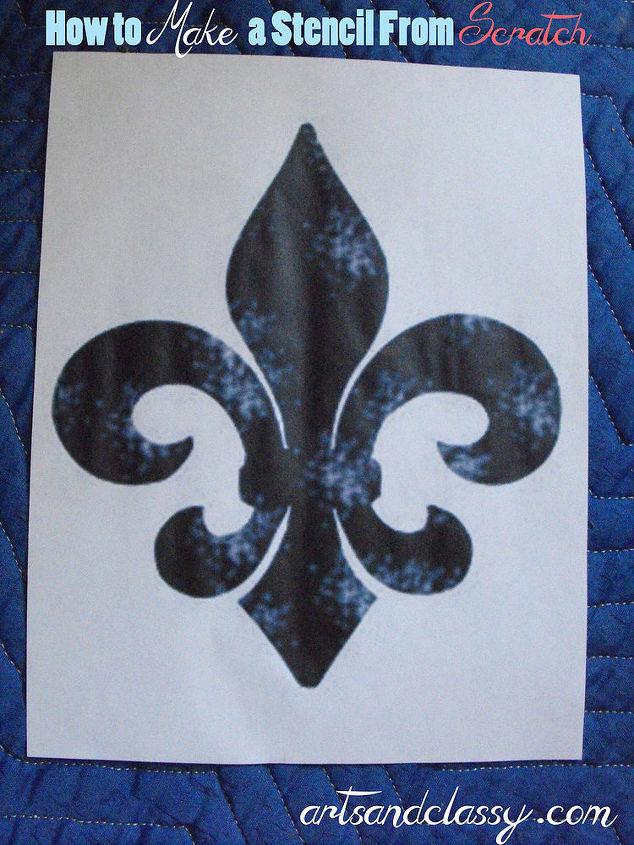
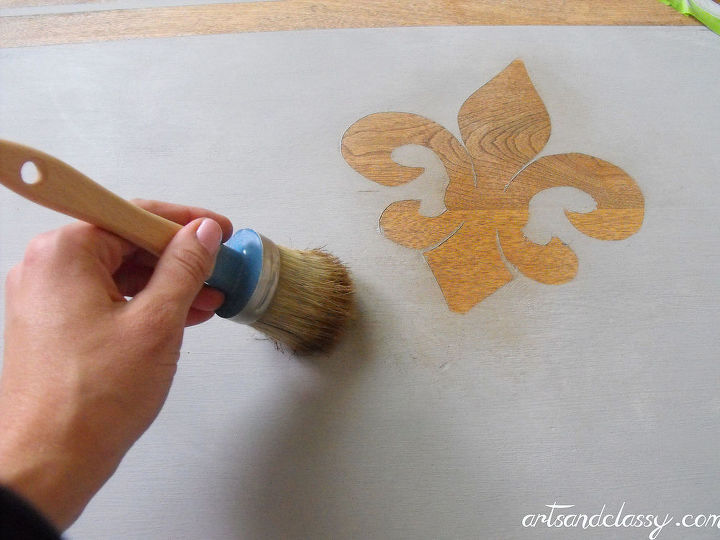
Learn how to make a custom stencil for your furniture project at the blog www.artsandclassy.com
see more at the blog www.artsandclassy.com
see more at the blog www.artsandclassy.com
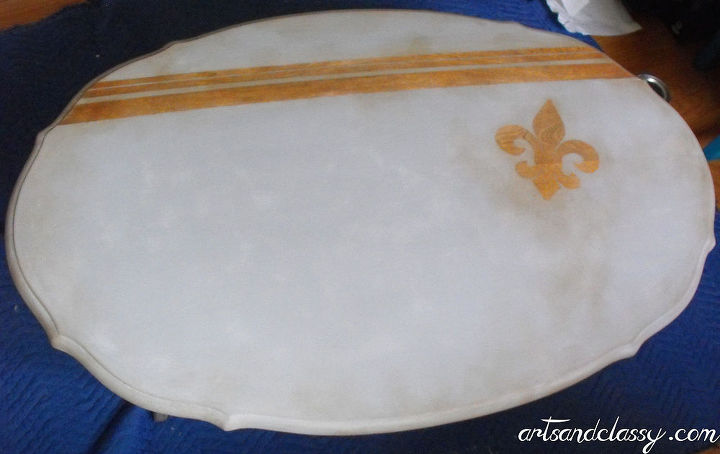
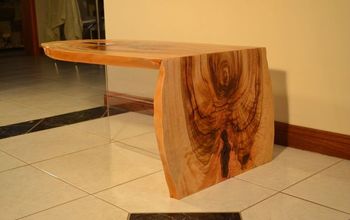
The finished product!

Want more details about this and other DIY projects? Check out my blog post!
Comments
Join the conversation
4 comments
-
It looks like a waxing brush you painted the gray on with. Is that correct? Anyway, it looks great!
-
@Janet koons yes it was. I was sent only one brush. It just took some cleaning between steps. But in my research that brush can be used for both painting and waxing.
- See 1 previous


Frequently asked questions
Have a question about this project?