


3 DVD Case Travel Hacks
8 Materials
$3
30 Minutes
Easy
Yes it's time for another challenge - DVD Hacks! We all have them and I tend to donate the movies we are done with. However - what do you do with them if something happens to the DVD - it's scratched, lost, etc? Here are a few DVD case hacks that I came up with...
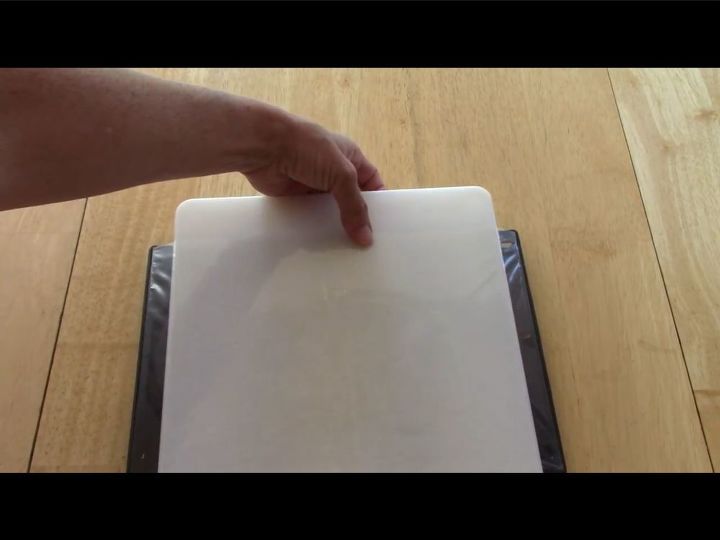
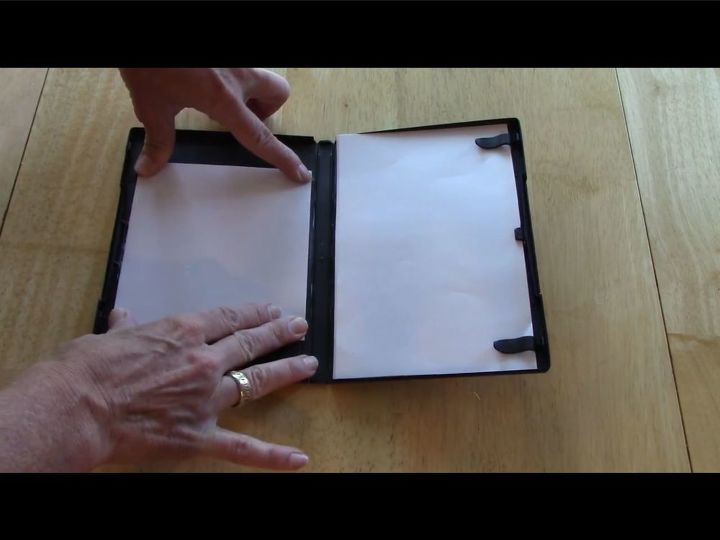
For each of these 3 projects you'll need to get rid of the spot where the disc goes. Start by placing a cutting board on between the clear plastic sleeve and the DVD case.
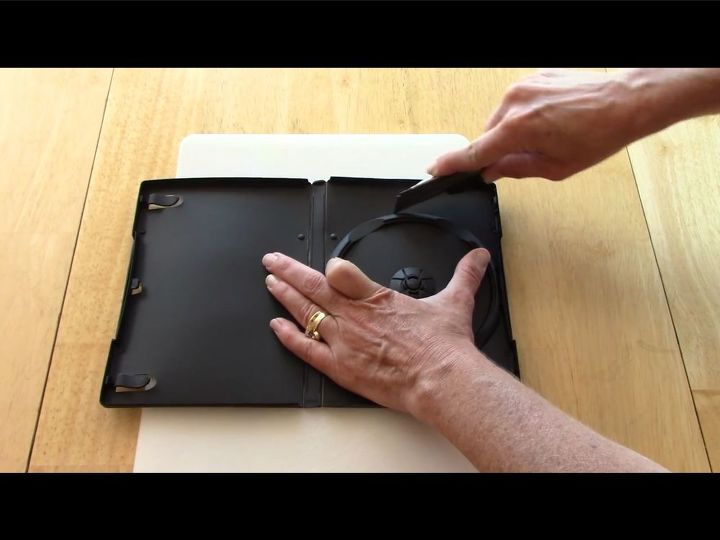
Use a razor blade to cut around the disc holder and remove it.
Game, Lego, and Dry Erase Board Case -
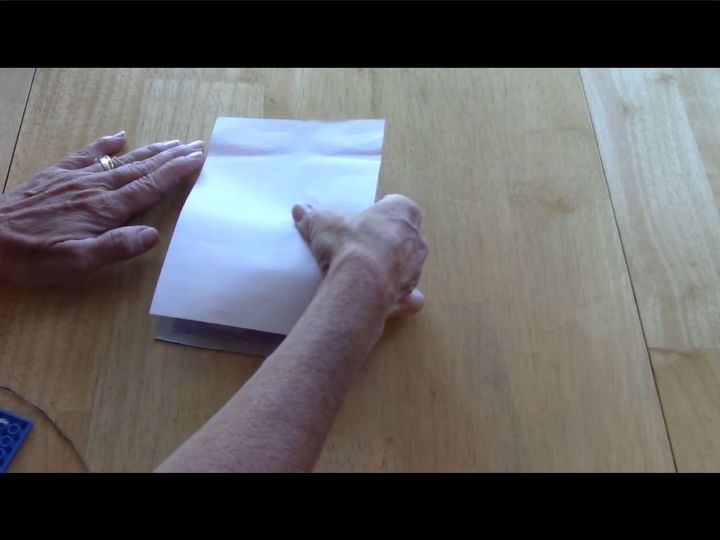
Measure a piece of cardboard to go over the side where the DVD was (like from a cereal box). Glue a piece of paper onto the cardboard.
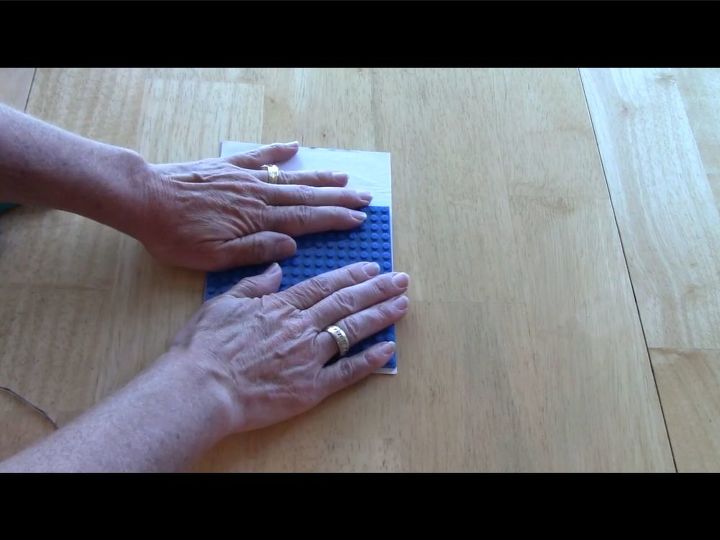
Hot glue or permanent glue a Lego board onto the paper.
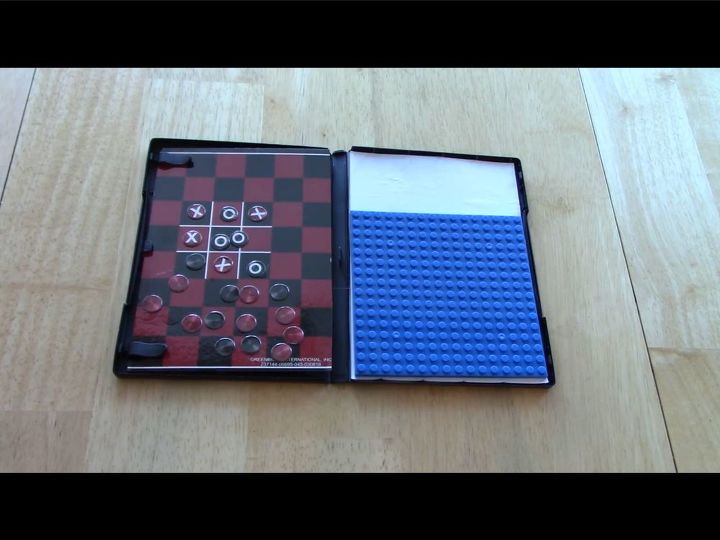
Place the Lego board side onto the side where the DVD hole is. On the other side I found a magnetic tic tac toe board at Dollar Tree. I cut it to size and placed it in the other side.
I recommend gluing these 2 pieces into place for stability with a permanent glue of your choice.
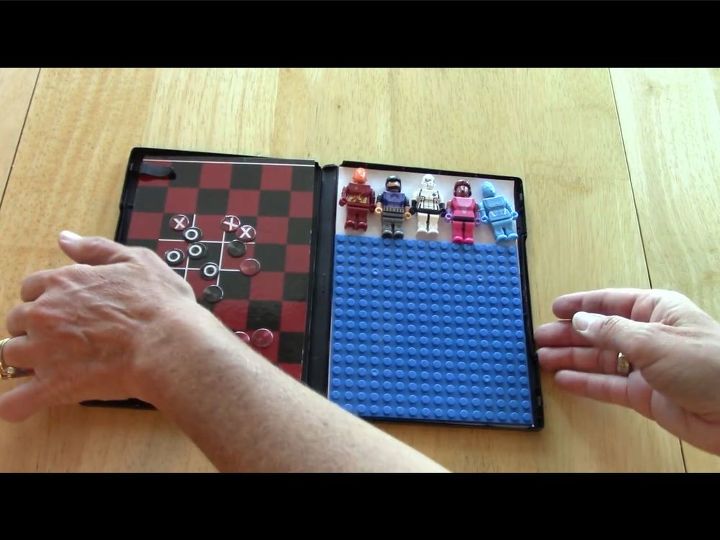
Place some Lego characters in the top section and close it up for transport.
On the outside of the case I placed a white piece of paper and now it's a white board! Use dry erase markers to draw on the case and wipe off.

Artist Case -
Using the DVD sleeve I measure some fabric and cut it.
Slide the fabric behind the sleeve.
I glued in a small square of cardboard to cover the hole for this one. On the other side I cut a bunch of loose leaf plain paper and slid it under the clips.
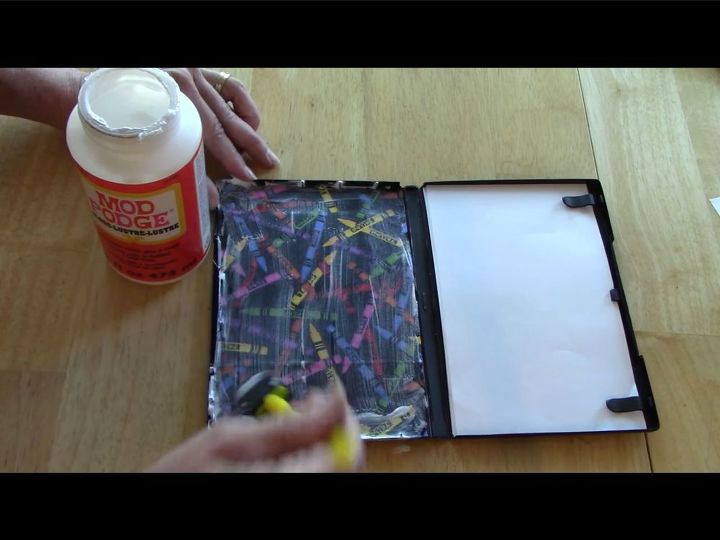
I put a coat of Mod Podge on the side of the DVD case with the card board piece. I place more fabric cut to the side of the section on to the Mod Podge and coated the top of the fabric with Mod Podge and let dry.
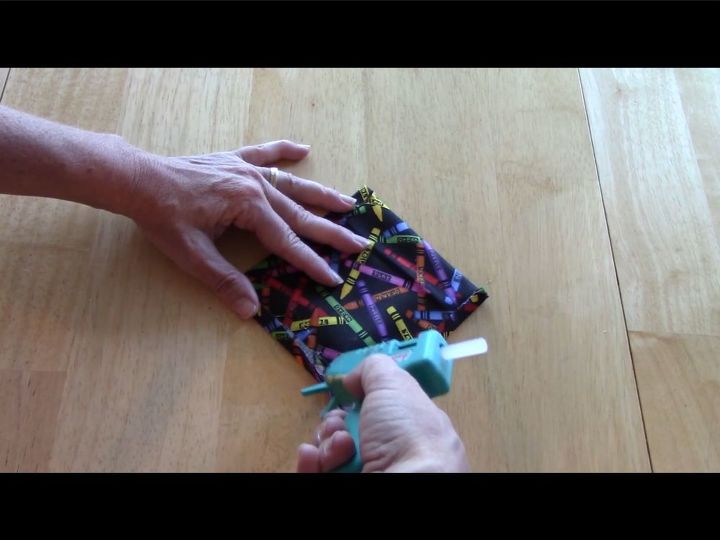
I cut another piece of fabric the same size as the inside section, folded it in half. The fold would be the top. The other 3 sides I folded the fabric in a little and hot glued it in place like a seam.
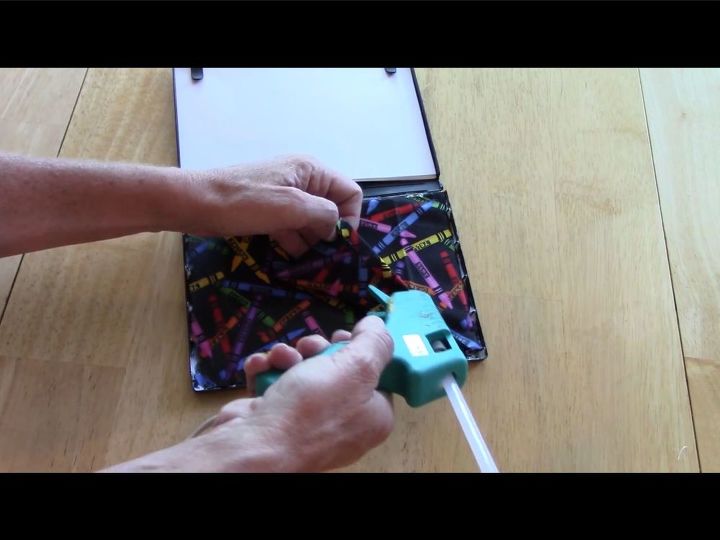
I glued 3 sides of the the 1/2 fabric onto the other fabric to create a pocket.
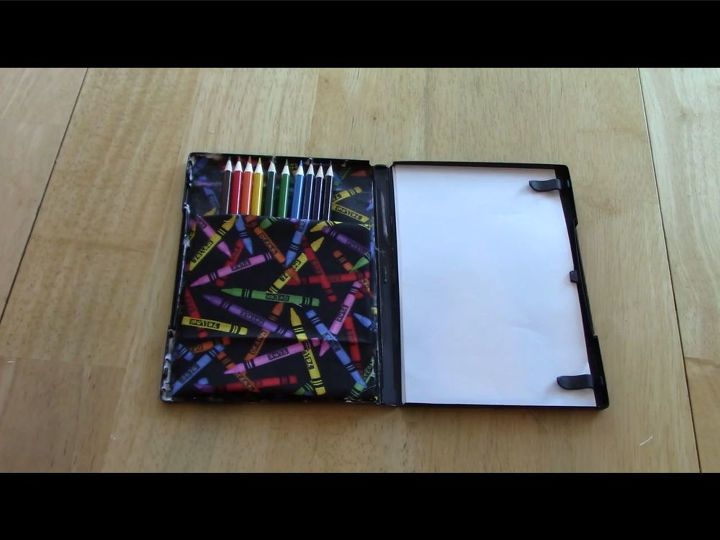
I placed colored pencils in the pocket to complete the art case. Close and it's ready for travel.
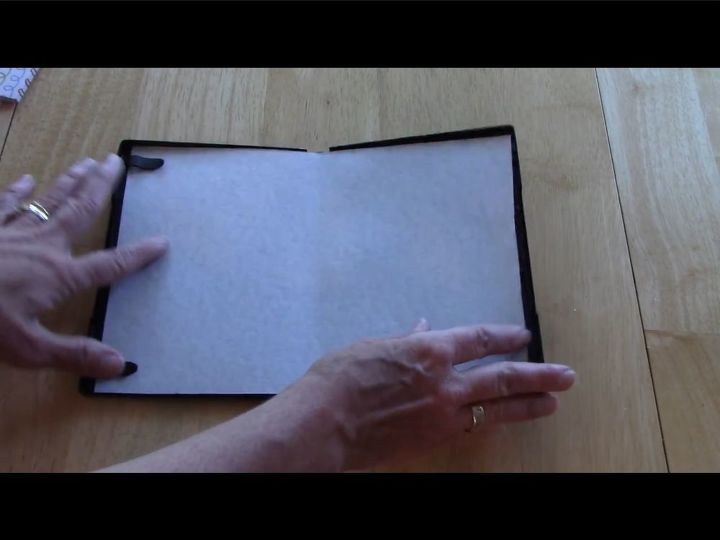
Memo Carrier - (great gift idea for moms, teachers, etc)
For this case I used a piece of card stock, cut to the size of the inside of the case, and glued it into place with hot glue.
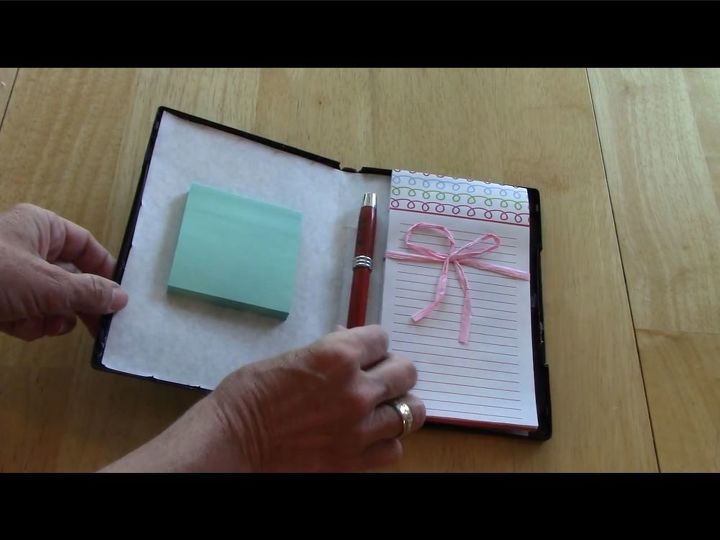
On the clip side, I slid in a memo pad. On the other side, I peeled the back off some post it notes and placed it on the card stock. I added a pen to the center of the case.
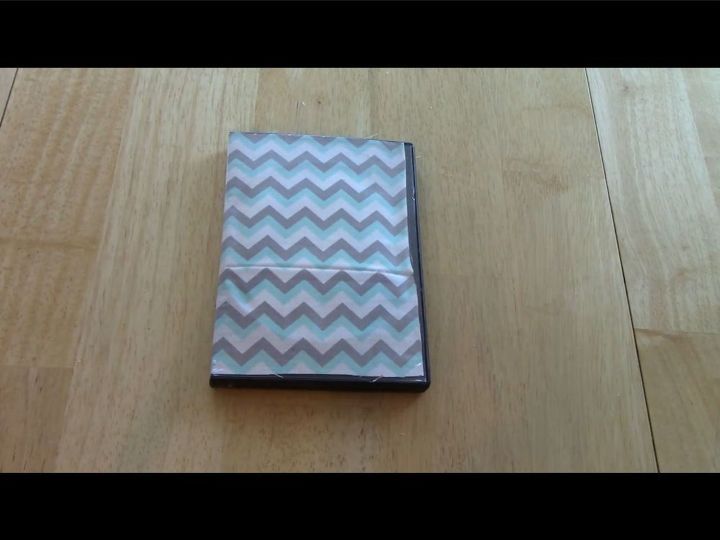
On the outside I cut fabric to size and slid it behind the plastic cover just like the art case.
I would love to have you stop by my blog Chas' Crazy Creations for the full tutorial as well as sign up for my latest creations, posts, recipes, exclusives, and more...
I would love for you to subscribe to my YouTube channel to see more of my crazy creations - https://www.youtube.com/channel/UCIOsMN7hycVRco-MROXwmXg
Resources for this project:
See all materials


Any price and availability information displayed on [relevant Amazon Site(s), as applicable] at the time of purchase will apply to the purchase of this product.
Hometalk may collect a small share of sales from the links on this page.More info

Want more details about this and other DIY projects? Check out my blog post!
Comments
Join the conversation
2 comments
-
My goodness this is so cute and the possibilities are endless really!! Thank you for sharing the inspiration on this witty little project..I see a whole lot of these cute lil things in my friends and families future..lol Thank You


Frequently asked questions
Have a question about this project?