


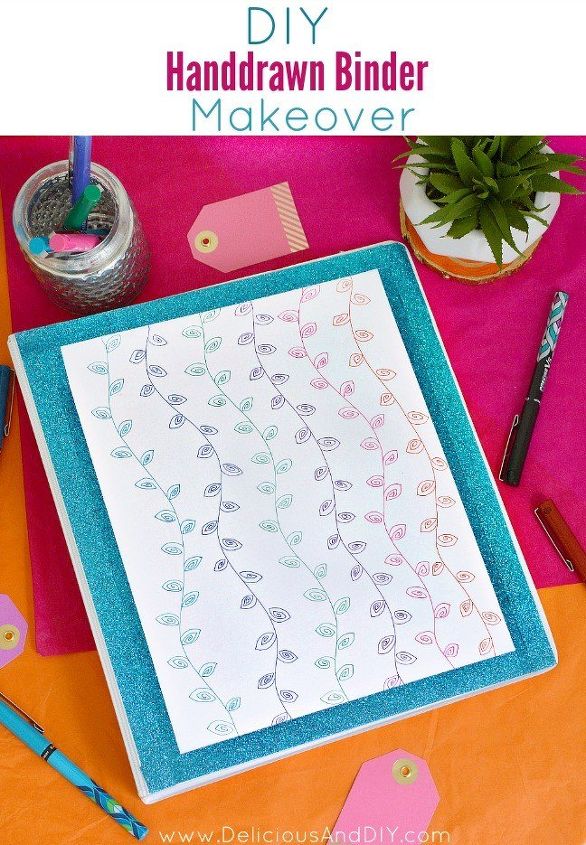
DIY HAND DRAWN BINDER MAKEOVER
3 Materials
$20
1 Hour
Easy
I remember when I was a kid I used to love customizing my school supplies and making cute designs on my notebooks or updating my stationery collection.Since Summer is coming to a close this is a perfect time to go get your Back to School shopping done and today I will be sharing with you guys how I updated a plain Binder into this Hand Drawn beauty.I
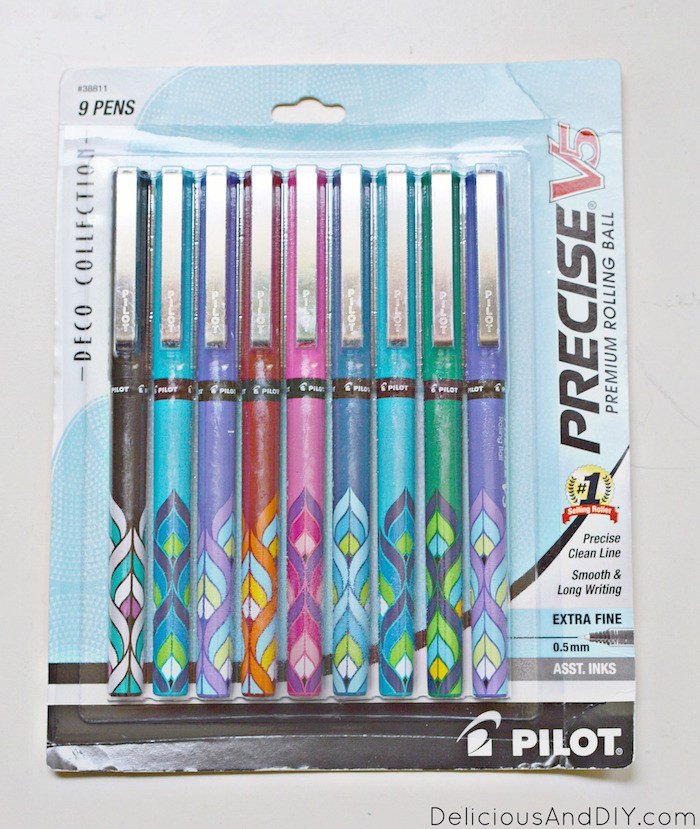
I used a plain A4 size paper, Glitter Washi Tape, Scissors and the highlight of the project was the Pilot Pen Precise V5 Deco Pens.
You have the option of directly drawing onto the Binder or like me you could draw it onto a piece of paper and then paste it onto the front of the Binder.I like the latter as I easily get bored and if I need to switch up my design in the future I can easily do so by replacing the paper with a newer design.

You can create any pattern you like but I chose to make Vines which I have also created on my Handpainted Mug.
Step 1
Start by drawing curved lines, I alternated between the pen colors and then from there on draw leaves on those line.
I created my leaves in a swirly pattern.
Repeat it until the entire paper is covered.

Step 2
To attach the paper on to the Binder, I personally used Glitter Washi Tape and framed all four sides. You could use a different color or even a transparent tape.
And that was it.
How simple, quick and easy was this little project.
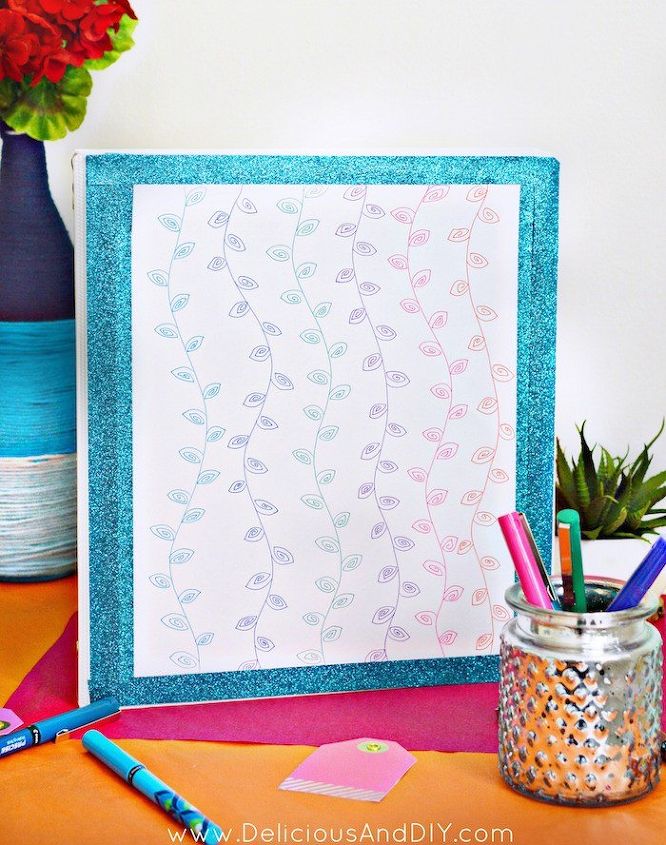
You have an update Binder in minutes.
No Excuse for carrying around a plain one.


Any price and availability information displayed on [relevant Amazon Site(s), as applicable] at the time of purchase will apply to the purchase of this product.
Hometalk may collect a small share of sales from the links on this page.More info

Want more details about this and other DIY projects? Check out my blog post!


Frequently asked questions
Have a question about this project?