


How to Update Hardware With Spray Paint
2 Materials
$5
30 Minutes
Easy
It’s just amazing the number of things that you can update with a can of spray paint. I’ve seen people do faucets and door knobs, and I’ve even updated old vent covers using a simple can of spray paint. It works wonders! Today I wanted to talk about how to update hardware using spray paint because I had some that needed to be fixed up a little bit.
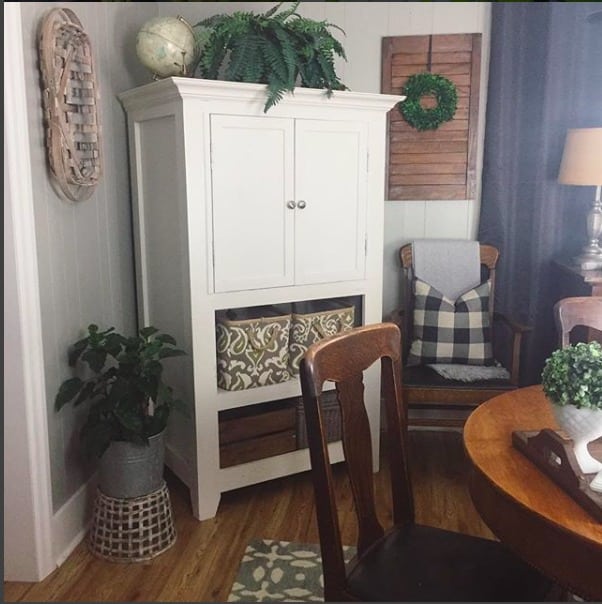
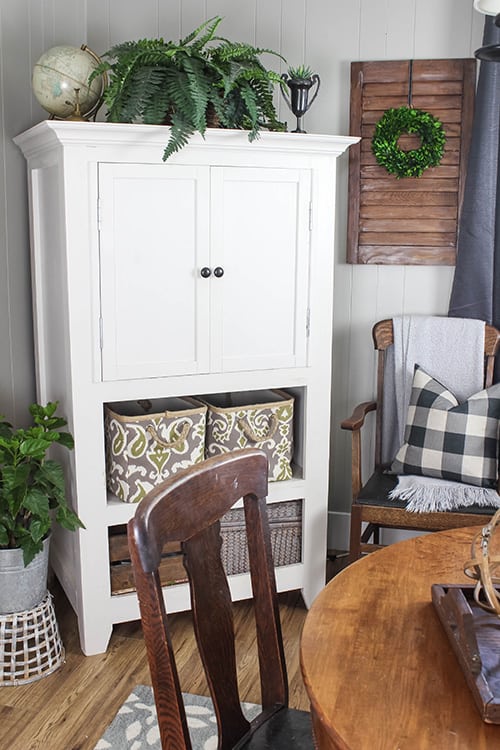
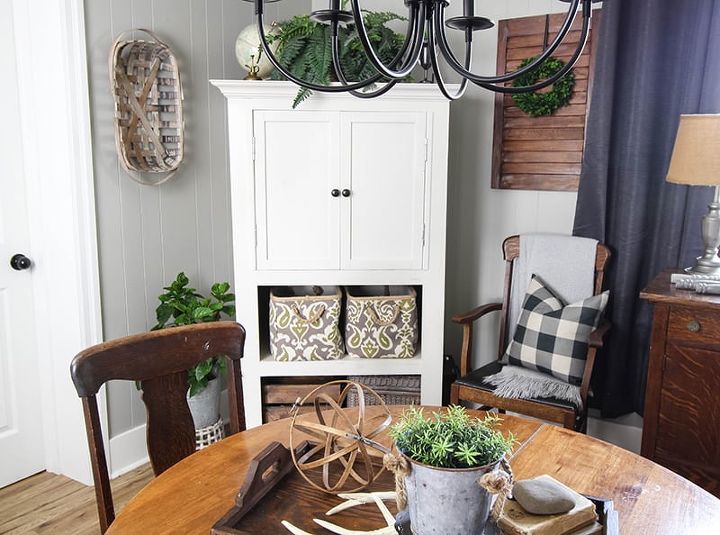
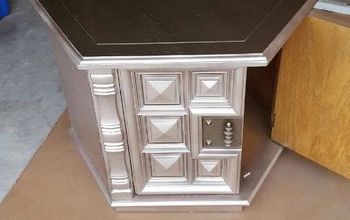
I have a big cabinet in my dining room that Chris built about 12 years ago. I really still like the size and shape of the little knobs on the doors, but I noticed that they were getting a little worn out. They used to be kind of a brushed metal finish, but they’d been worn down to the point that all of the “brushing” was completely gone.
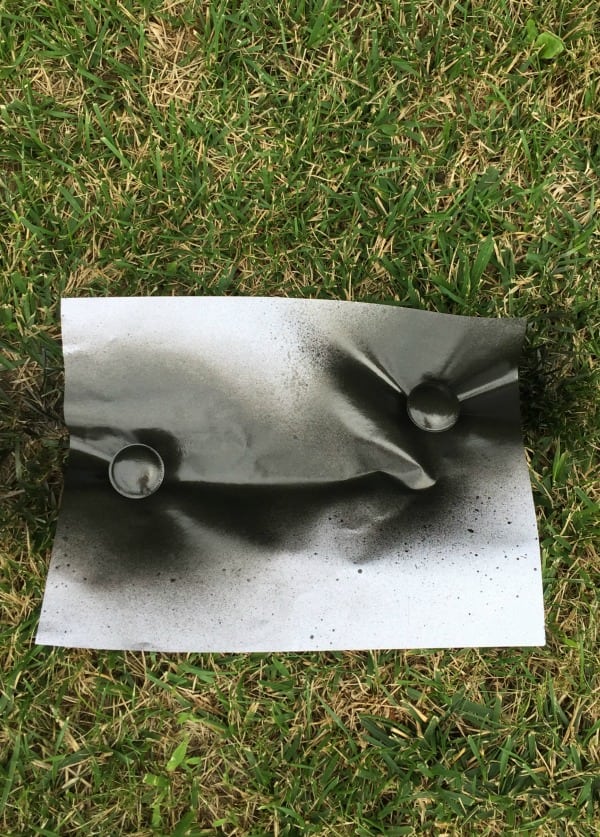
First, start out by removing the hardware from the doors or drawers. You’ll only need the actual knobs or pulls, so stash the screws in a safe place so you don’t lose them.
Clean the hardware thoroughly with rubbing alcohol to remove all of the dirt, grime, and oils that have probably built up on there.
Spray two coats of paint onto the fronts of your hardware pieces, waiting about 10 minutes between coats. Try to also get around the sides of the pieces as much as possible.
[Psst! Are you sometimes, kind of a messy spray-painter?! Check out this neat tip: How to clean spray paint off of skin]
When your two coats have dried, flip the pieces over upside down and spray one more light coat on the back sides of the hardware, getting any spots that you missed when you were spraying from the other angle.
For my "Key Notes for When You Update Hardware with Spray Paint" and even more details, head on over to the blog by clicking the link below!

Want more details about this and other DIY projects? Check out my blog post!


Frequently asked questions
Have a question about this project?