


Faux Brick Wall

by
Yina Brown
7 Materials
$100
4 Hours
Easy
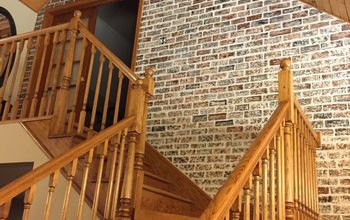
My husband and I love the look of exposed brick look. Unfortunately, our house was built-in 1954 and lacks of all those cool features some older homes and industrial lofts have.
We have worked very hard trying to give this 1950’s ranch style home some character.
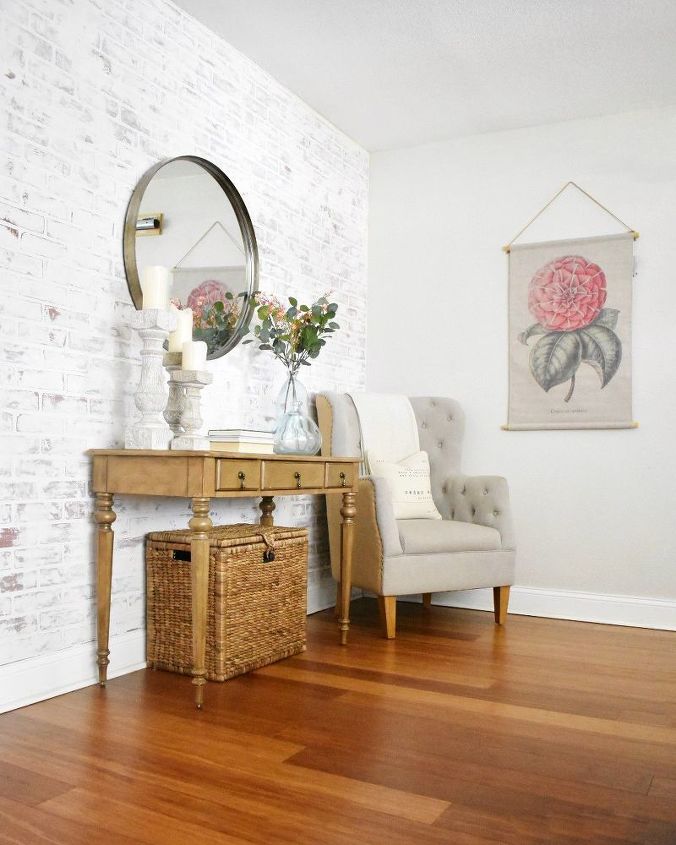
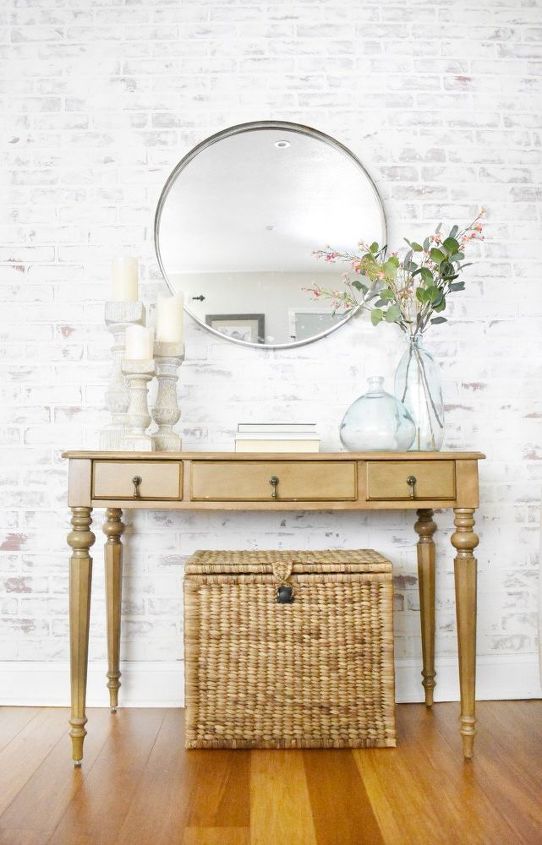
Today, I would like to share with you this faux brick wall I did a few months ago. This is one of my favorites projects I have done in our house so far.
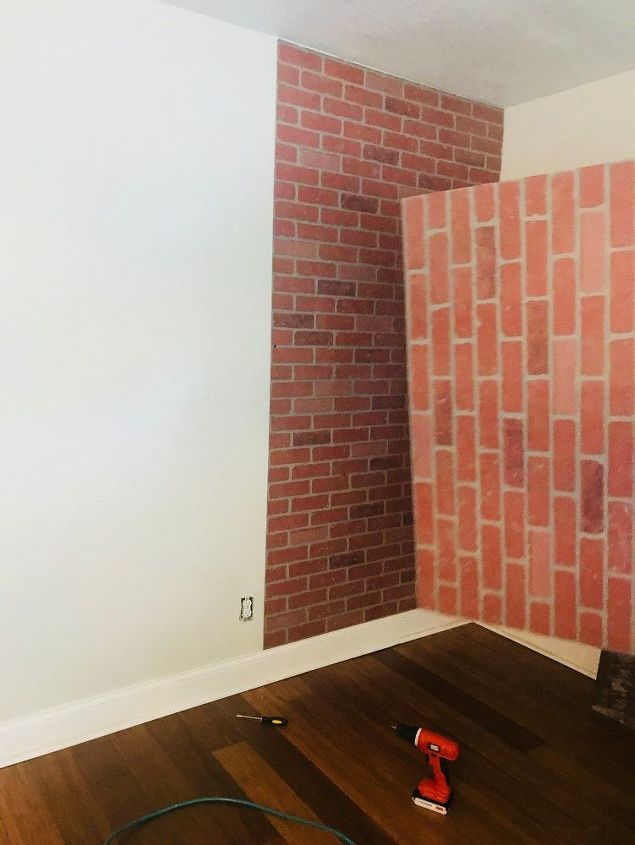
My first step was to run to Home depot to buy the 4′ x 8′ brick panels. I bought 3 of them. I also got spatulas, a large sponge and my joint compound.
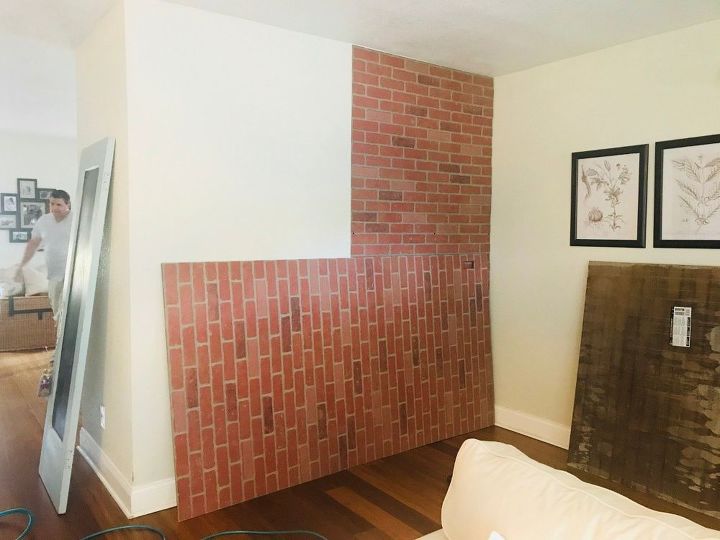
Once I got the panels home, we mounted them on the wall. At the beginning, we tried using drywall nails, but you could see the head. So we decided to use a nail gun instead. We didn’t use any glue to avoid damaging the wall texture in case I change my mind later on.

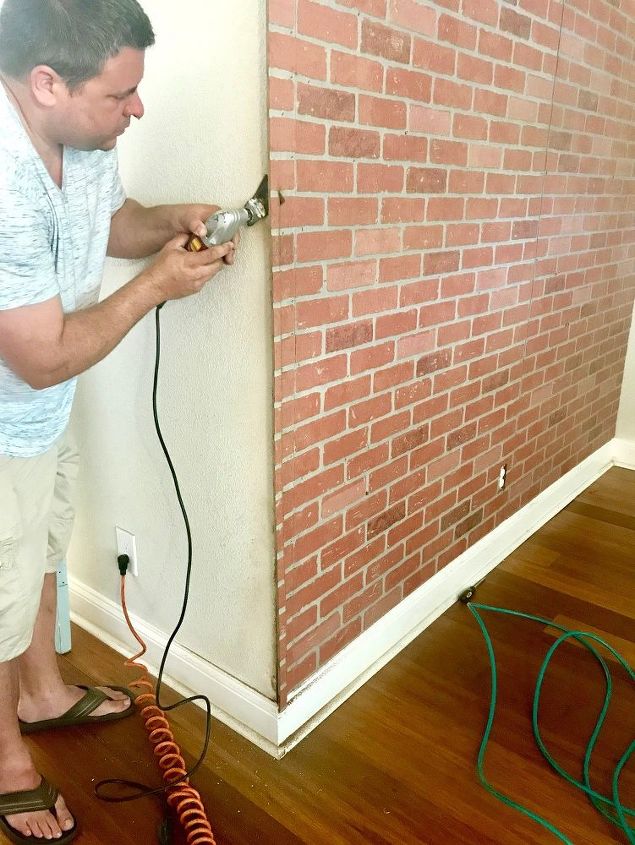
Once we had the first two panels on, we just needed to add a piece of about 2″. We nailed it in place and cut the excess with a saw.

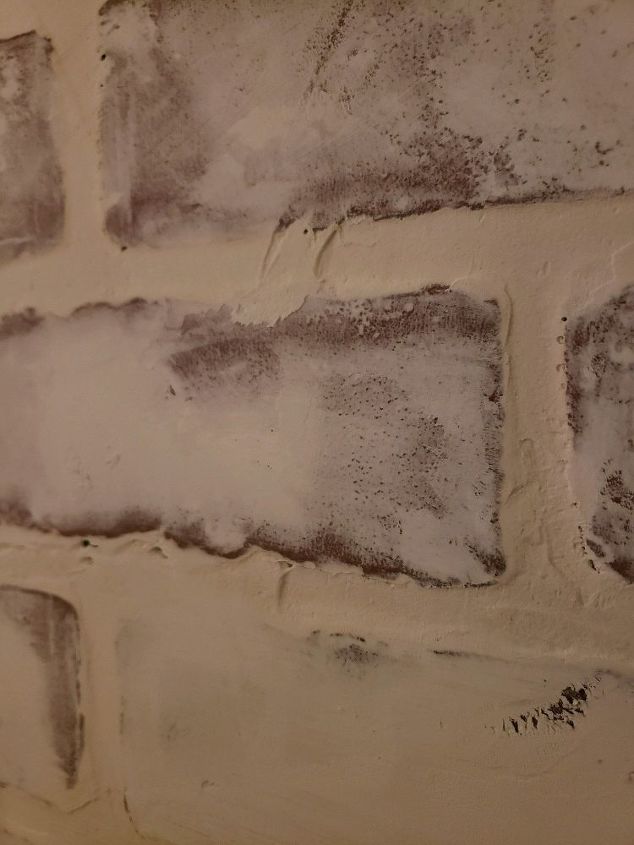
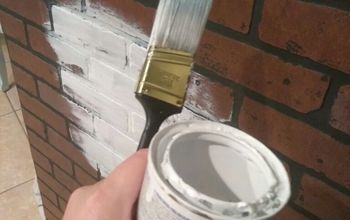
This is when the fun began. Once All the panels were ready, I taped around to cover the baseboards and corners and started to apply the joint compound.
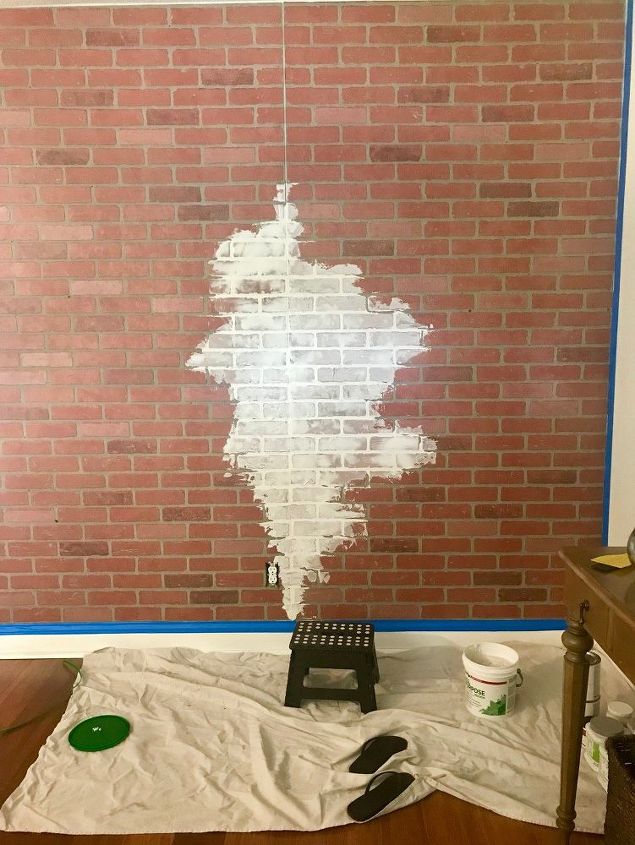
I started with the joints to cover the seams.
It’s important that you work in small areas. You would want to remove some of the excess before it completely dries.
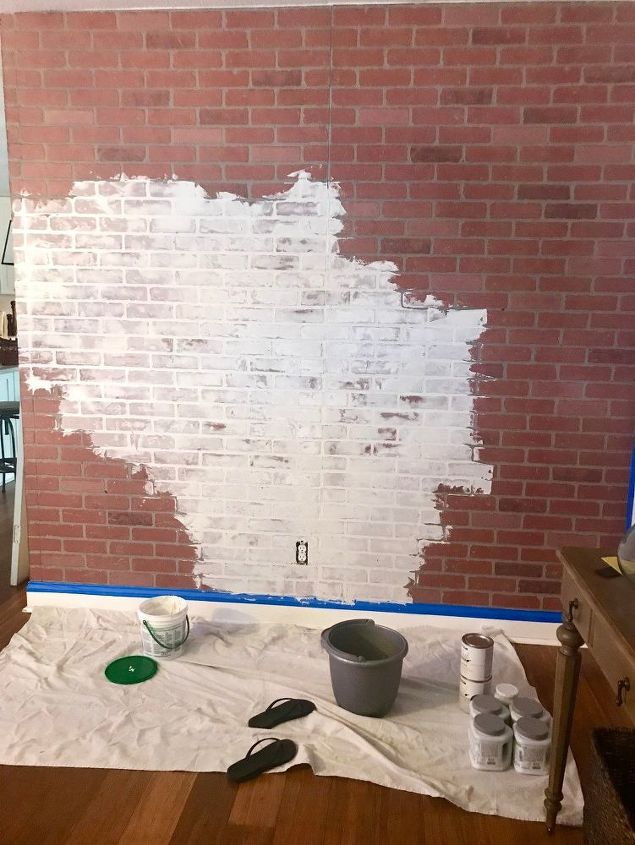
During this step, you will feel that it will never end. Just continue working on it. Trust me! It doesn’t take that long.

It took me about 2 hours with breaks to finish the entire wall. Since you will be working in small areas, have your bucket with water and sponge ready to wipe off the excess as you go.
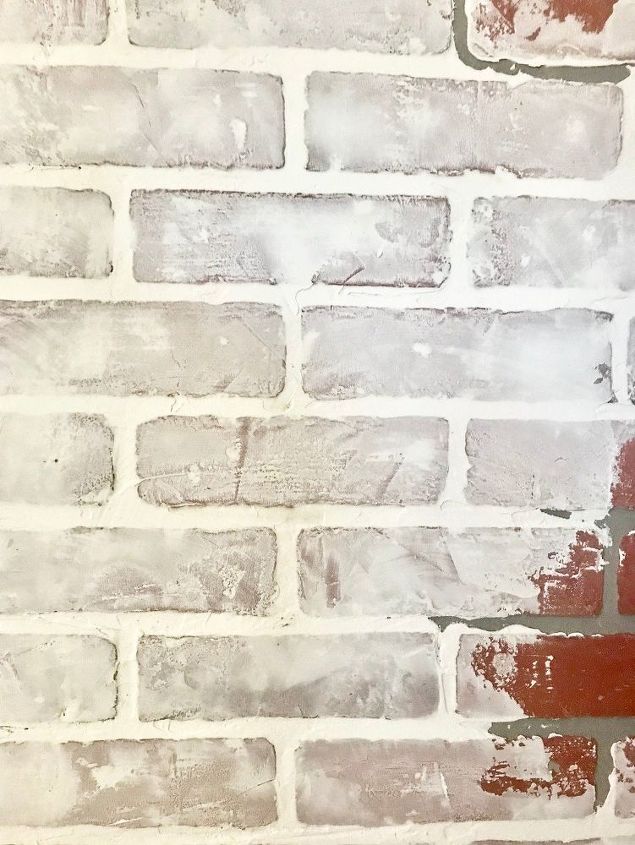
Now is a good time to step back and see your work. You might have to add more joint compound here or there in order to get the look you are looking for. Or maybe you want to wipe off more and show more of the brick. It’s up to you!
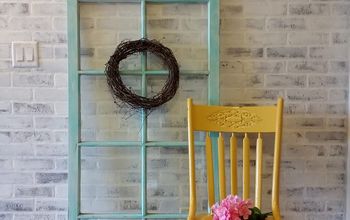
Let it dry and should be ready to style after a few days.
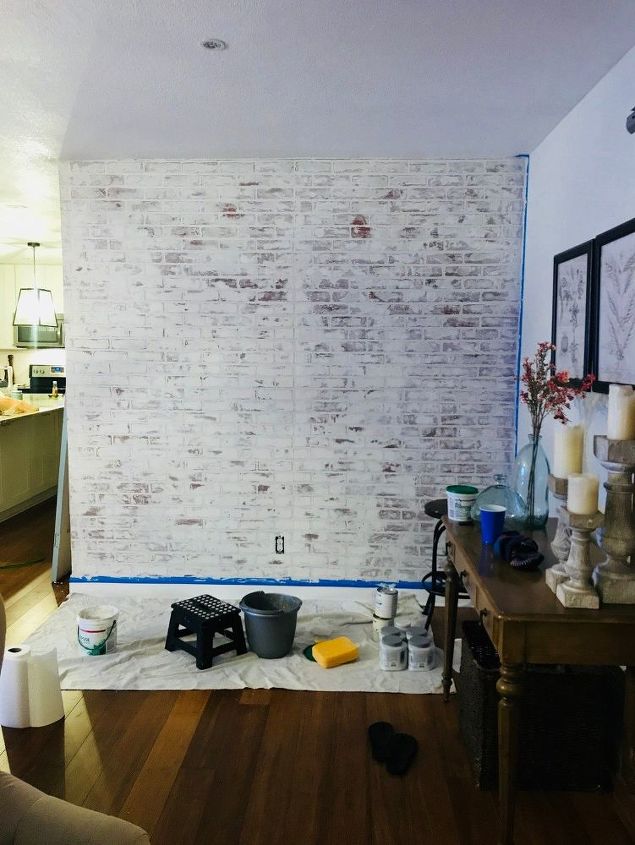
I consider this is one of the best projects I have done around the house. It added a lot of texture and character to our living room.
Although I can’t lie, It took me a few days to get used to it
I consider this is one of the best projects I have done around the house. It added a lot of texture and character to our living room.

Although I can’t lie, It took me a few days to get used to it.
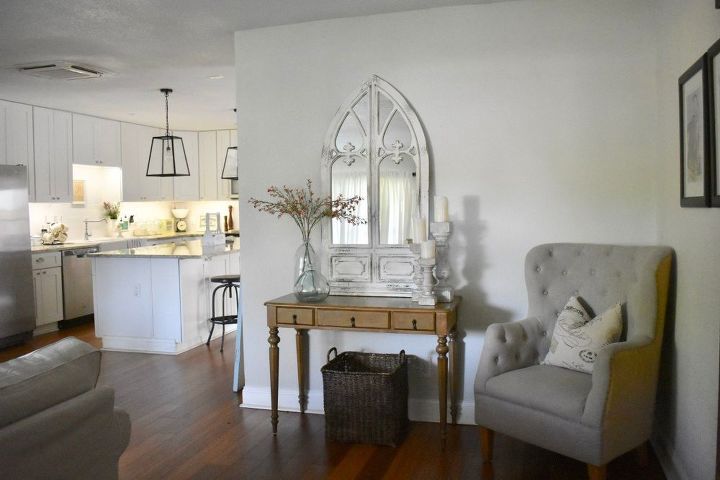
BEFORE
Resources for this project:
See all materials


Any price and availability information displayed on [relevant Amazon Site(s), as applicable] at the time of purchase will apply to the purchase of this product.
Hometalk may collect a small share of sales from the links on this page.More info
Want more details about this and other DIY projects? Check out my blog post!
Comments
Join the conversation
3 of 27 comments
-
Gosh, this is stunning! Although I see you put back the same furniture, for some odd reason that space now looks much bigger to me!
-
I love the brick especially with the wood floors... I would love to try it but we live in an apartment and would not want to have any problems. Great Job !!


Frequently asked questions
Have a question about this project?
Can these panels be used outside ?
Why is there no paint listed put yet there is paint in the picture with the rest of materials?
Can this be done to real brick on a gas fireplace? I love it, looks great.