


How to Make a Frame Out of Sticks
4 Materials
30 Minutes
Easy
Framing is expensive!
Check out this easy tutorial to make a frame out of sticks. This will work for any picture or art piece. It's fun and easy to create this rustic (and free) frame.
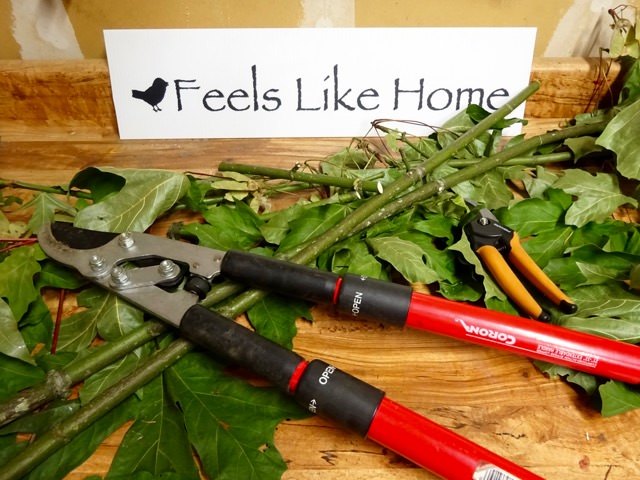
Start by gathering some straight sticks. I used maple. The sticks can be any size you like. Mine were about 1/2" diameter.

Next, cut the sticks to size. You'll want to leave an inch or more sticking past the item you want to frame.
I was making a frame for an old business sign that hand been printed on corrugated plastic. The plastic was firm. You may need to make a backing for the item you're framing, if it's not sturdy.
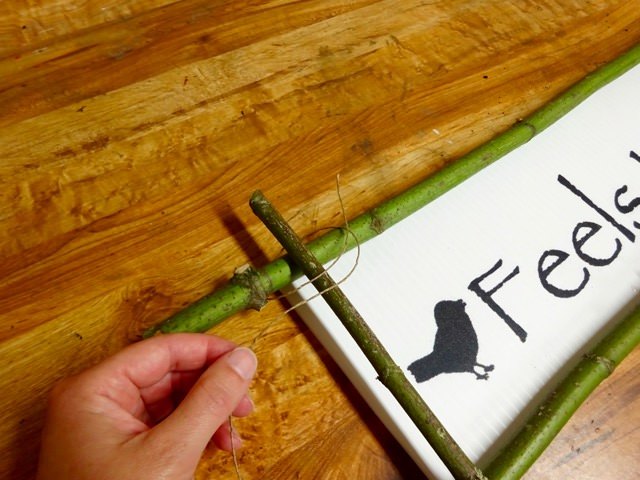
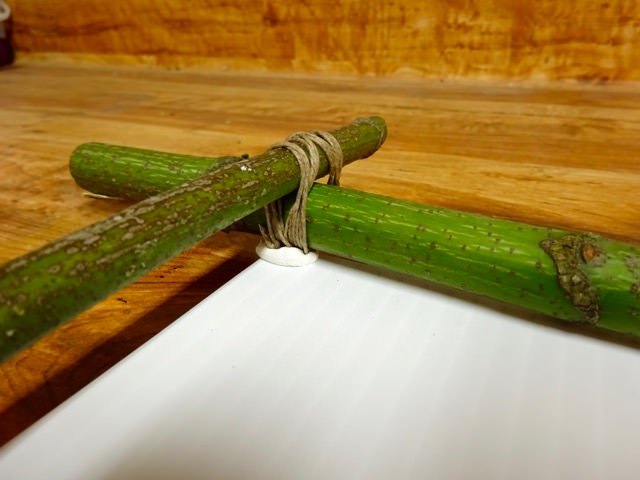
Using twine or string, begin wrapping around the sticks at one corner. Leave a long end at the start, so you can tie a knot with the other end.
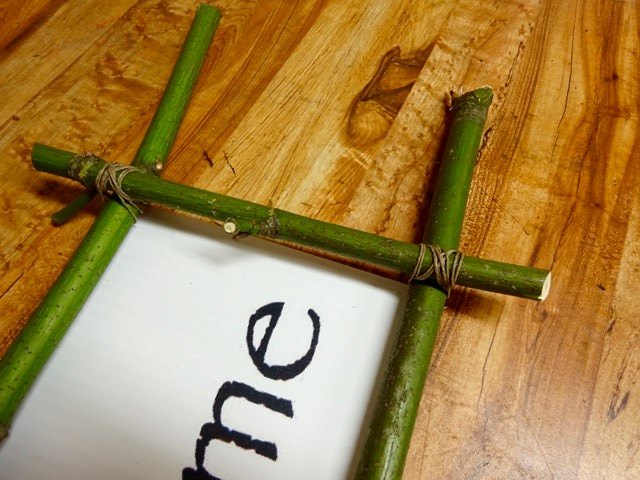
Keep wrapping around, making an "X" with the twine. Once it's secure, tie the end of the twine to the extra length you left at the start.
Repeat the process at each corner.
Tack the frame to your artwork at each corner. I used a silicone adhesive, so it wouldn't melt the plastic sign, but you might prefer to use hot glue.
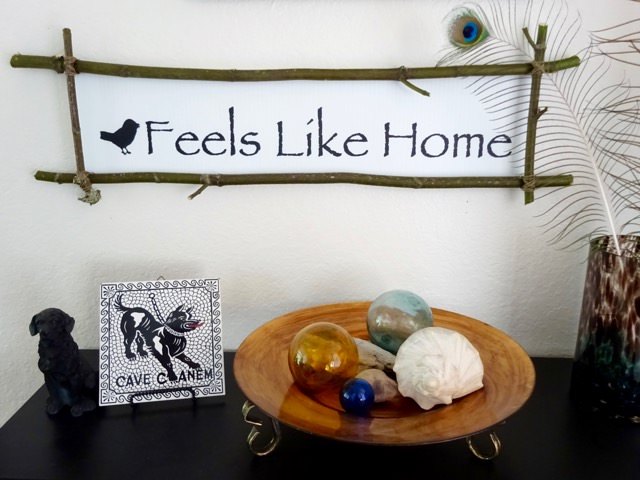
You can tie a string to the frame for hanging. Or, I simply tapped two nails into the wall, and hung the sticks from the nails.
Check out the full project, and others like it, over at Single Girl's DIY. (You can see the whole entryway makeover, where this sign now hangs, in this post.)

Want more details about this and other DIY projects? Check out my blog post!
Comments
Join the conversation
3 comments
-
What nice idea. I think it looks really nice. Thanks for sharing with us! 👍
-
Would like to use this frame outdoors for halloween, thanks.


Frequently asked questions
Have a question about this project?