


Discarded Dresser to Kids Entertainment Stand With Storage

by
Amanda
7 Materials
$10
2 Days
Easy
I love it when I find at least halfway decent pieces of furniture on the curb, ready for a little TLC and a whole new look! Someone in my neighborhood had given up hope for this dresser, so I snatched it up.
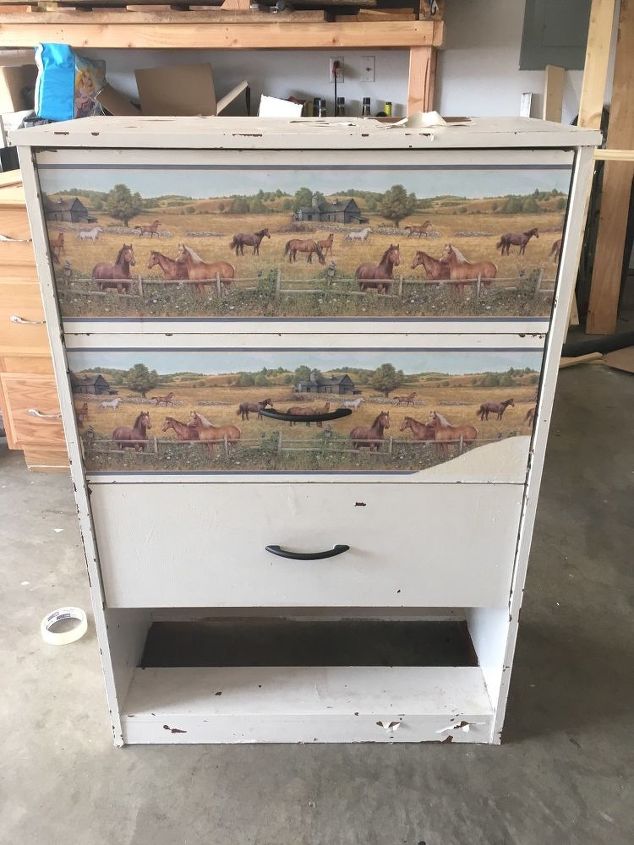
It’s just one of those cheap particle board dressers that comes in a flat box. It was missing a drawer, the paint was chipped and peeling, and it only had two handles, but I had an idea for it as soon as I saw it.
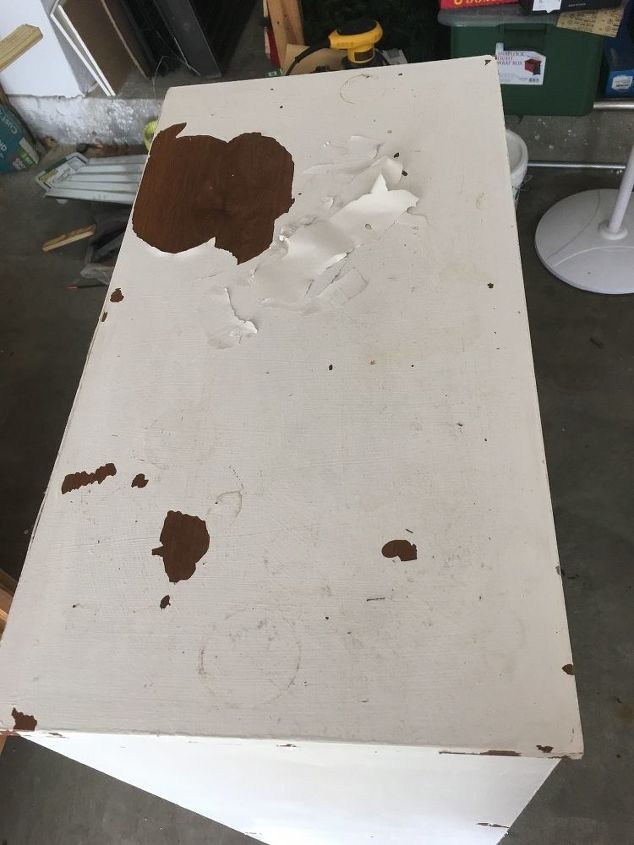
First step- remove the old paint and wall paper from the front of the drawers.
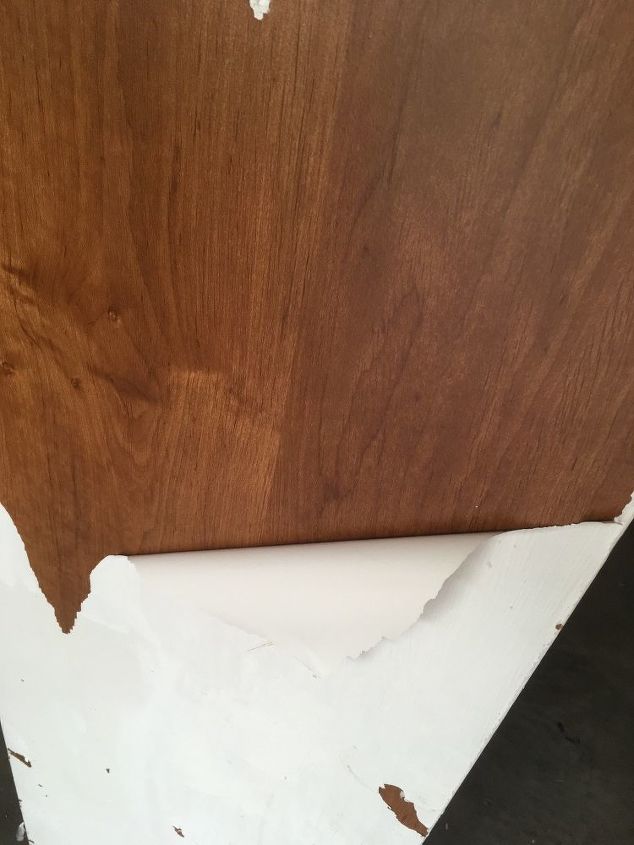
To my surprise, the paint peeled off really easily! No chemicals or sanding required!
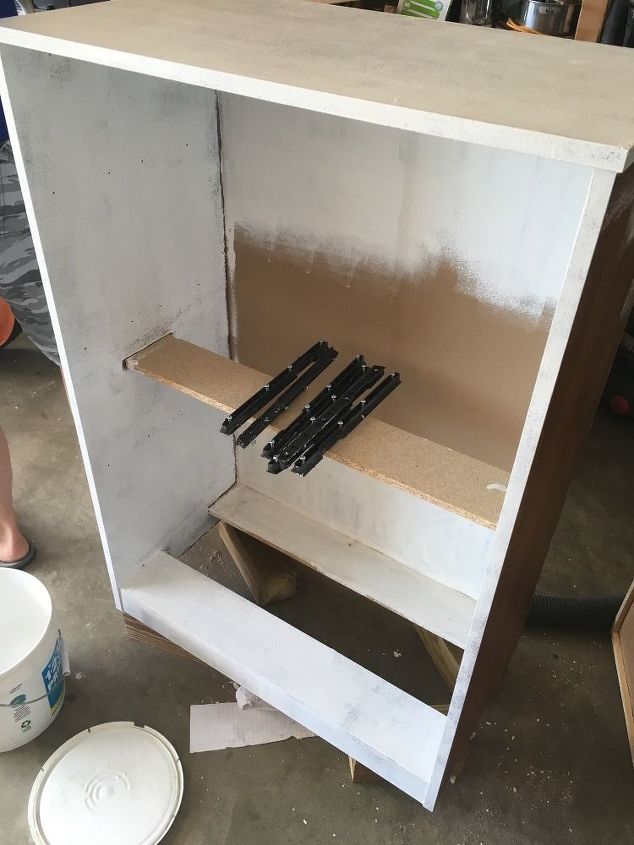
After all the paint was off, I removed the drawer slides, lightly sanded the laminate and wiped it down well, then primed it.
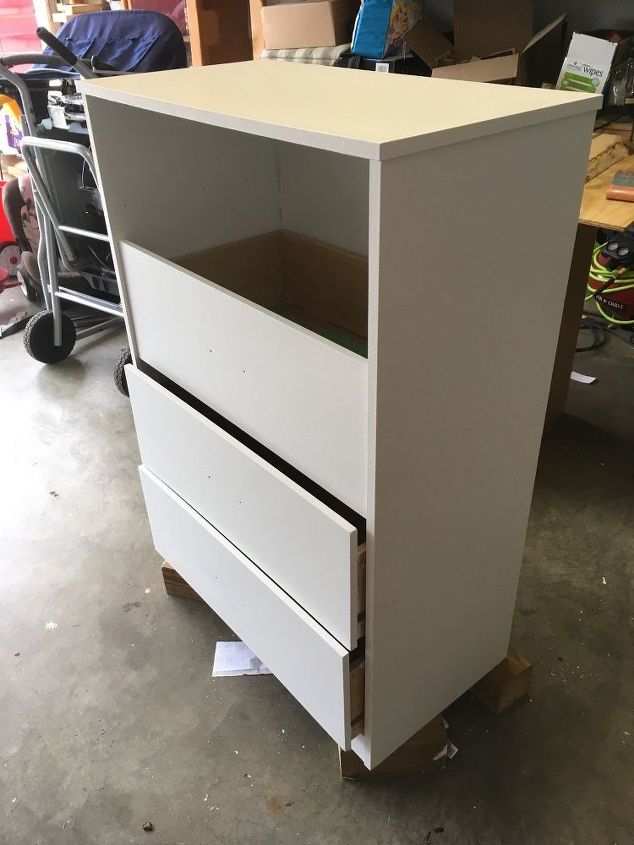
After priming, it got a couple coats of an enamel paint that was leftover from painting our kitchen cabinets. I rearranged the drawers so the space on top was open.
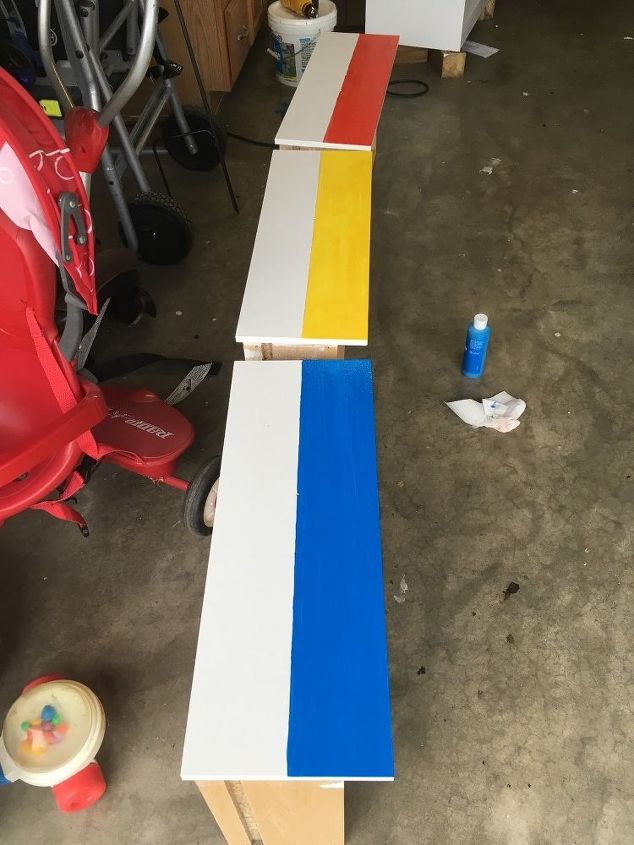
I planned to put this in our playroom, so I asked my daughter what color I should paint it, and she said like a rainbow. So I divided each drawer in two to paint a total of 6 colors. I started with the top half of each drawer, and when that was dry, I painted the bottom half. Because I was using craft paint for the colors, I added a high gloss clear coat on top to help protect the finish and make it easier to wipe clean, if necessary.
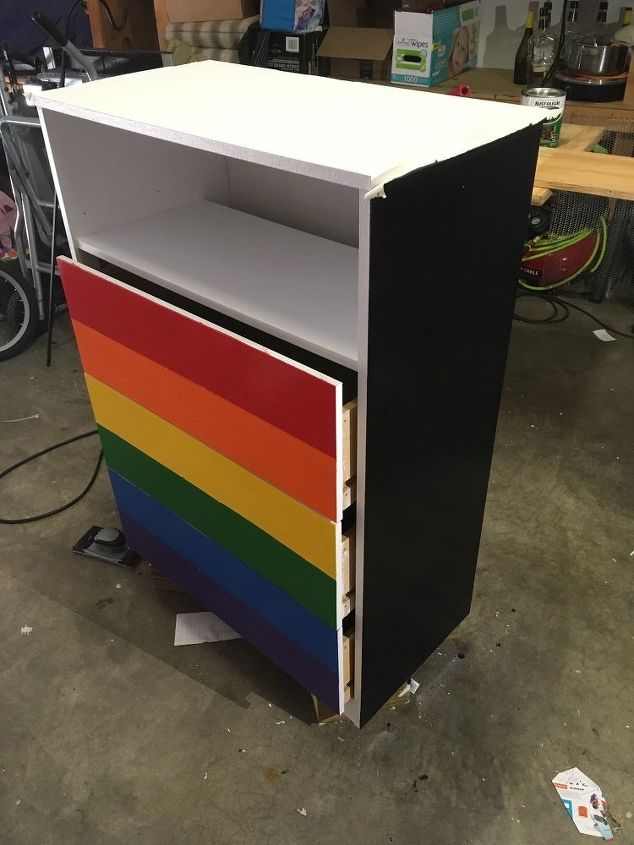
To make it extra fun, I used some leftover chalkboard paint for the sides. I also had an extra shelf from an old bookcase that I attached using angle brackets just above the first drawer.
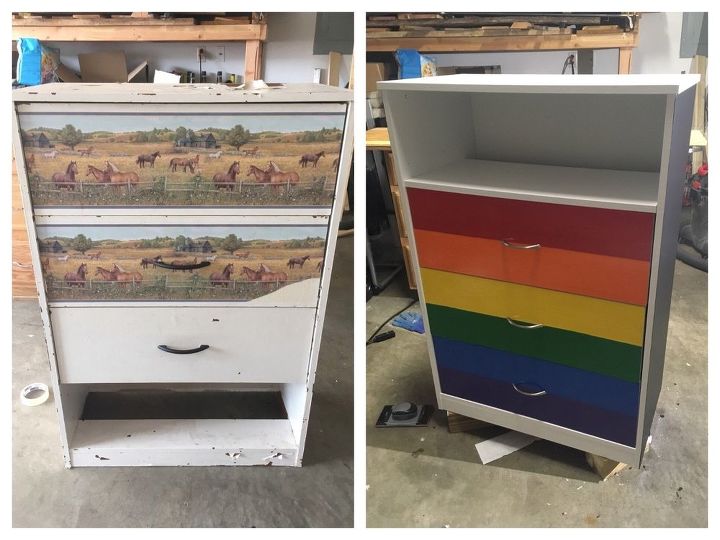
I bought and installed three new handles, used a hole saw on the back to cut a circle big enough for plugs to fit through, and now it is ready for our playroom! I put a DVD player and CD player on the shelf, and the TV up on top. I also used the hole for the cords to feed a safety strap into the dresser and attach it to the wall so my kids don’t climb it and tip it over!
So, next time you see a dresser on the side of the road, even if it is missing a drawer, pick it up and make an entertainment stand!
All I had to buy for this project was the new handles, which cost me about $10. It took me a few days to finish this, mostly because of paint dry time and working on other projects in between.
Resources for this project:
See all materials


Any price and availability information displayed on [relevant Amazon Site(s), as applicable] at the time of purchase will apply to the purchase of this product.
Hometalk may collect a small share of sales from the links on this page.More info
Comments
Join the conversation
2 of 9 comments
-
Way to go Amanda. I love free items on the curb too. You brought this piece back to life, kept it out of the landfill, let your daughter make color choices, and the whole piece is useful and practical. I’d say you definitely scored and glad you shared it so others will see the possibilities in another person’s curbside cast offs.
-
Good for her. She knows what she likes. Maybe shje is a a future decorator.
Thanks for the reply.


Frequently asked questions
Have a question about this project?
Wow! What an amazing job you did! Dumb question: since you put the drawers back in you must have reattached the drawer slides — so why did you remove the drawer slides in the first place? Just to make it easier to paint the inside of the chest?
Dealing with the laminate... is that the same as veneer? Could I do the same to a veneer piece? What did you use to prime it for painting?