


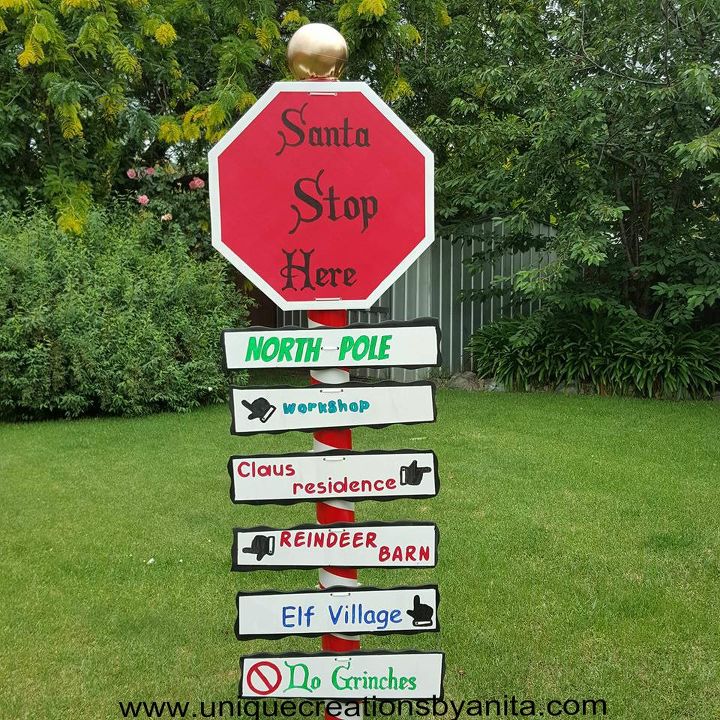
DIY Garden Christmas Sign
With everyone now decorating their gardens with lights and Christmas decorations like the inside of their homes. This sign would be a great addition to any garden to make yours stand out from the rest.
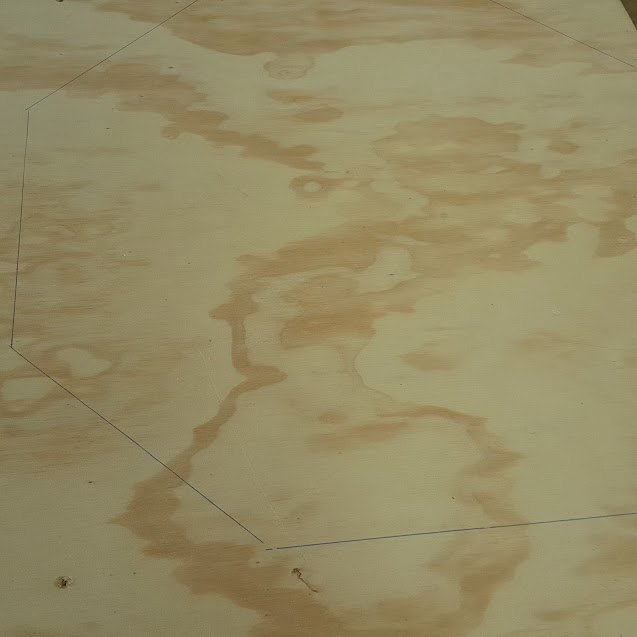
I used a scrap piece of plywood to make my sign. I started by drawing an octagon. I found this really easy drawing that I followed to draw my octagon. I can not post it here because it is not my image but you can view it on my website. When I was happy with the size of my octagon I used a jigsaw to cut out my sign.
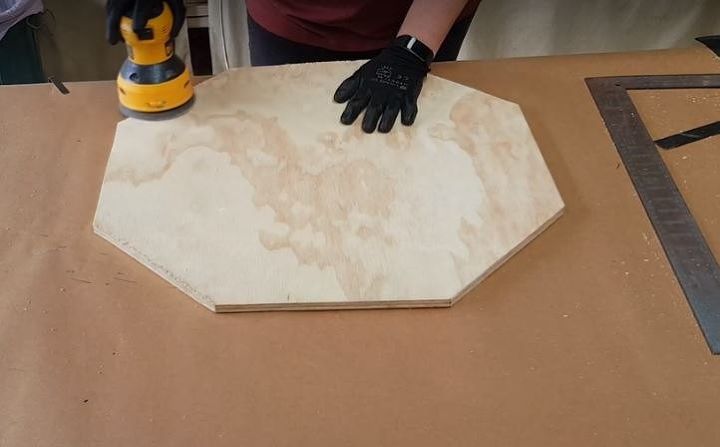
An orbital sander was used to remove all the rough edges ready for painting.
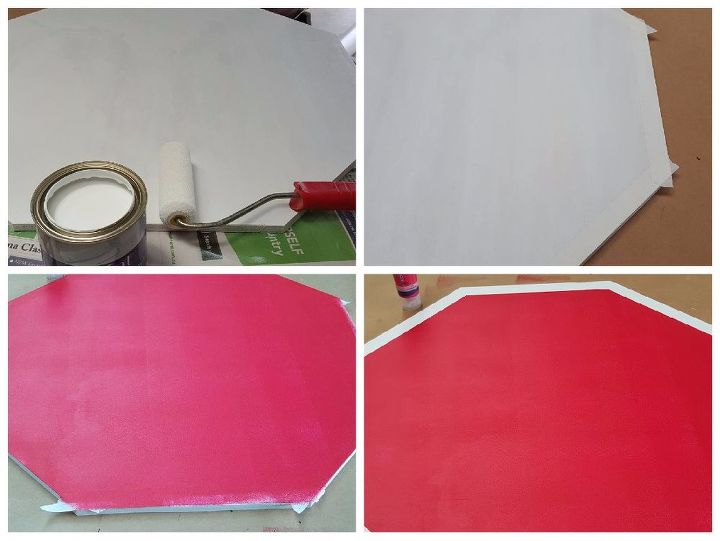
Because I was using cheap acrylic paint I added 1 coat of white primer to the sign first. Once the primer was dry, masking tape was applied to the edges to keep that area white when the red was applied. I did this because I wanted it to look like a proper stop sign. I used a red acrylic paint for the inside of the sign. When to paint was dry the tape was remove.
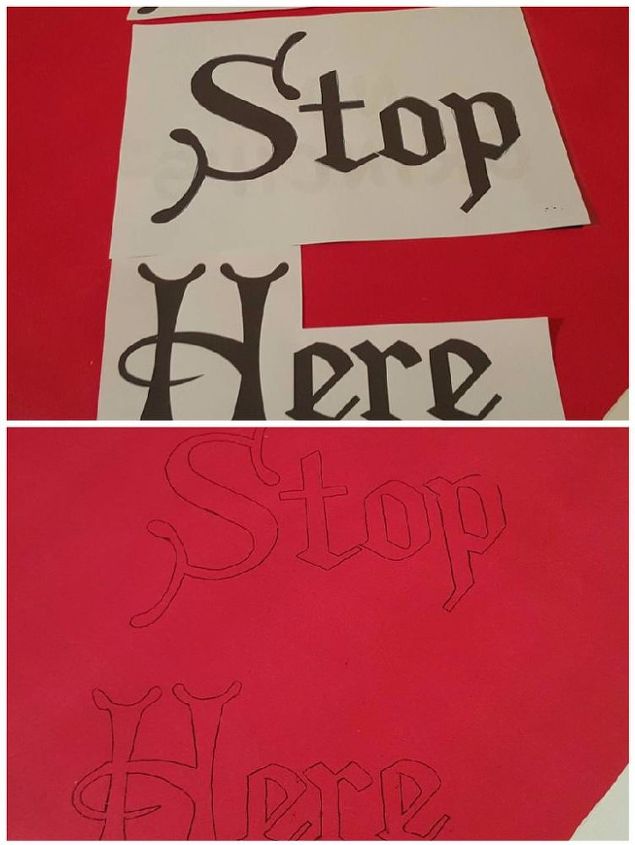
I have a terrible hand writing so to get my words I used Microsoft word and typed up the words. I played around with the fonts until I was happy with the end result. I printed off the words on A4 white paper and used carbon paper between the board and the paper and traced around all the lines. This left the outline of the words on my board.
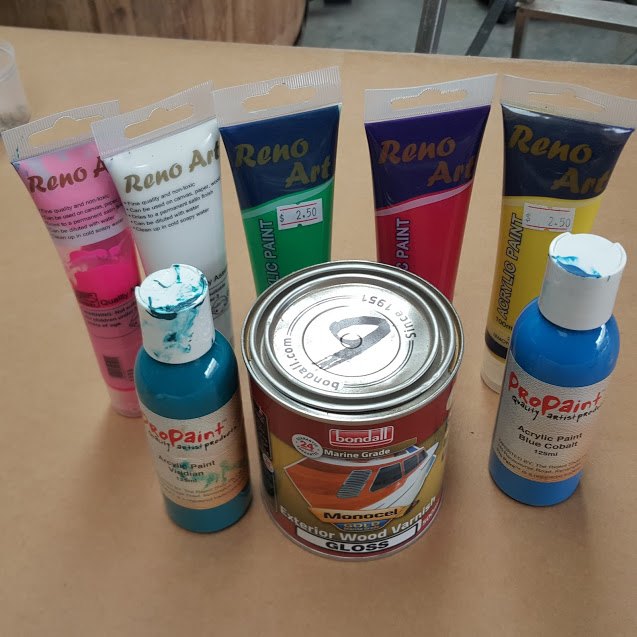
I used cheap acrylic paint from a budget store and a fine paint brush to paint between the lines.

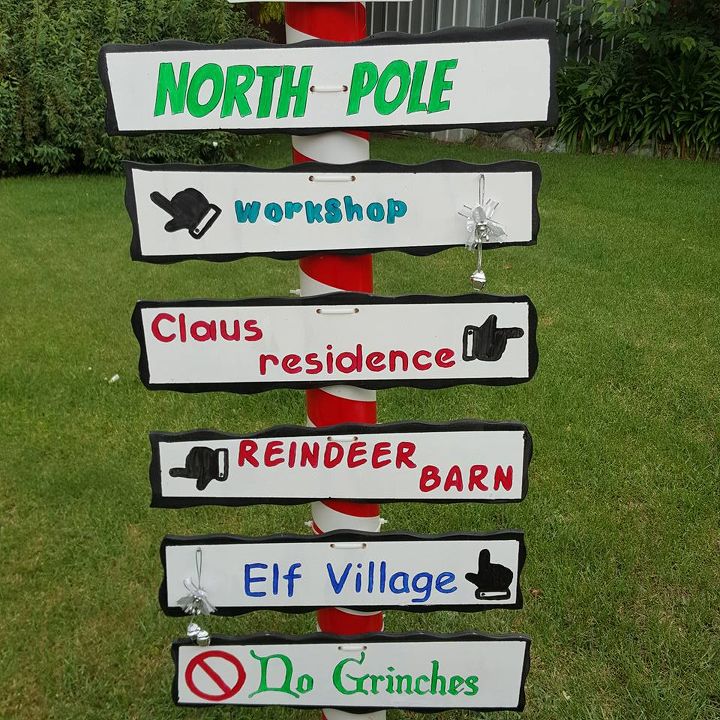
I wanted my sign post to have lots of sign boards on to make it more fun. I cut the signs free hand with a jigsaw in a wavy pattern.
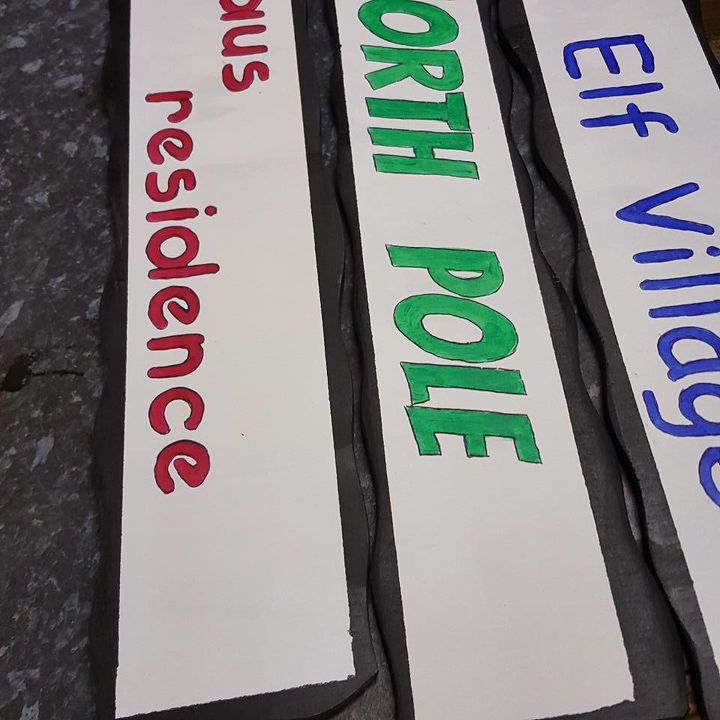
I followed the same process as the stop sign to get the words onto my sign boards. I made my post as a directional sign post showing the North pole, Elf village and Claus resident etc.
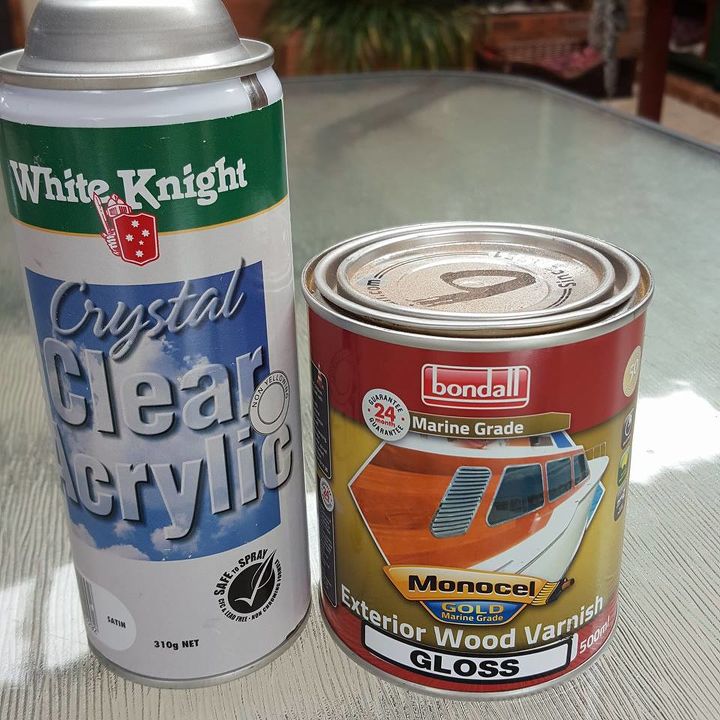
I did try and seal the paint using marine varnish first because it would be outside but it smudged my paint. I used clear acrylic spray to seal them first and once dry I added marine varnish.
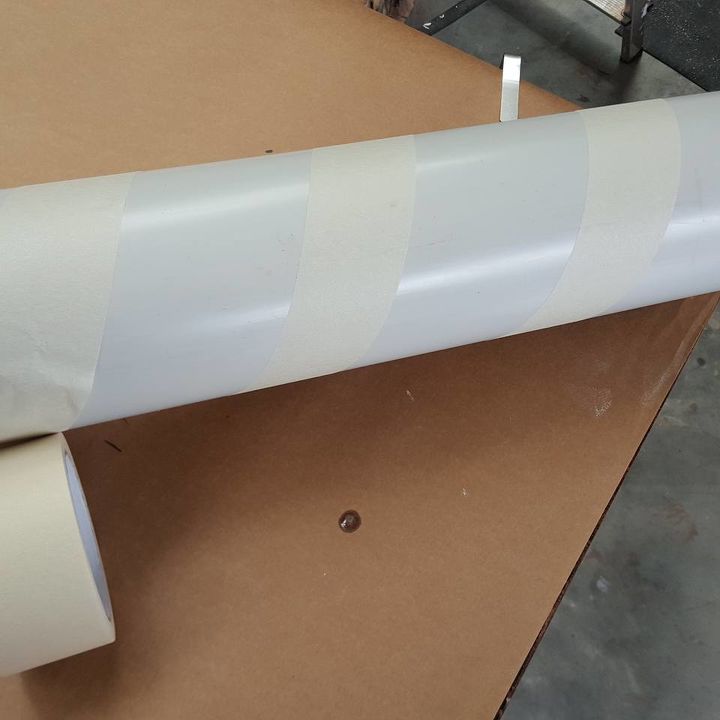
I had tried a few way to make a post for my sign and the first sign of wind and it blew over. I ended up using thick PVC Pipe spiked into the ground. I rescue the pipe from a construction site and made these great PVC Pipe photo planters which will make a great Christmas gift if you are looking for cheap unique ideas. I used thick masking tape to go around the pipe to get the spiral pattern. And used red spray paint between the tape. The tape was removed once the paint was dry.
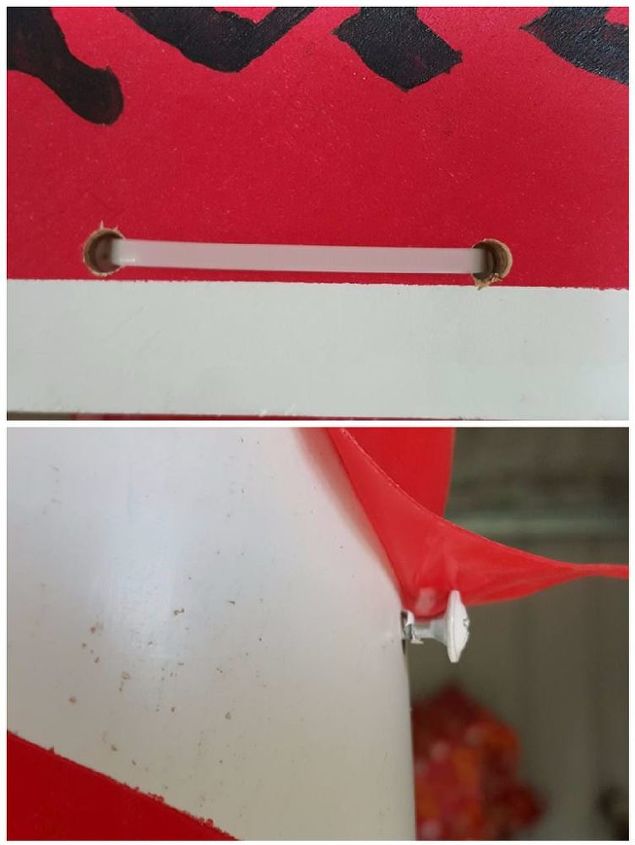
To hang the signs on the PVC pipe and to stop them sliding down in the wind. I drilled two holes in the centre of each board and used a large cable tie to attach them to the pipe. I added a screw under each cable tie to stop them sliding down. And my sign was done. It was a big hit last year and we found people were stopping outside the garden to have their pictures taken with all the garden decorations.
The cost of this project will depend on the materials you have at home. Because I am a big DIYer I had everything I needed at home. All my wood was recycled scrap.
To see more great Christmas Ideas check out this cool Christmas tree shelf or these unique Christmas baubles.

Comments
Join the conversation
-
Nice
-
This is soooo cute!!


Frequently asked questions
Have a question about this project?