


How To Install A Peel And Stick Subway Tile Backsplash
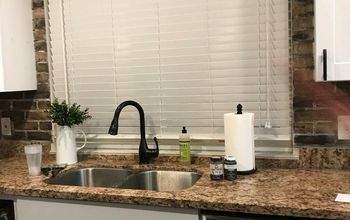
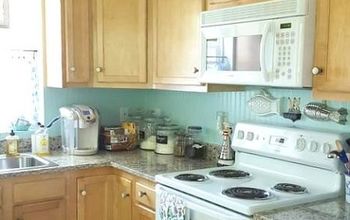
I can’t wait to show you this budget and renter friendly peel and stick subway tile backsplash that I just added to my kitchen. One of the reasons I wanted to share this makeover with you, is to show that you can make simple and inexpensive updates even if you are renting. I am a big believer in making your house a home, no matter if you live in a 4,000 sq foot home, or a 1,500 sq foot rental and everything in between. Let’s get to it!
Supplies:
https://amzn.to/2QilabI Removable Subway Tile
https://amzn.to/2yOzAJX Fiskars Craft Knife
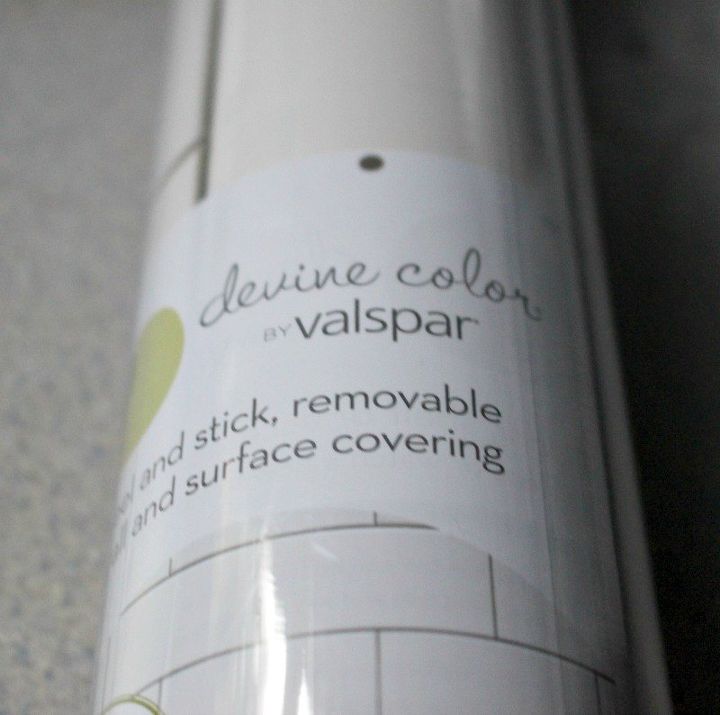
Simply remove the roll and line it up to the wall area that you plan to hang it on. Be sure the walls are clean and dry. I started at the outside and worked my way in. If you line it up incorrectly, no worries. Just remove it and reapply. Use a credit card to smooth it out and remove any bubbles. It is very sticky and may take a couple of tries to get it lined up, but once you start it is finished in no time. The entire backsplash was done in under an hour. How cool is that?
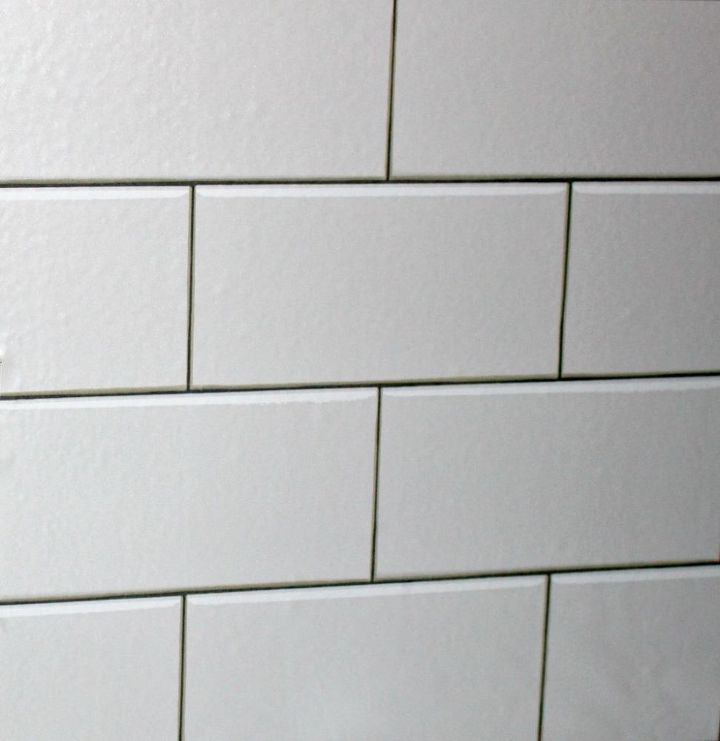
The hardest part was cutting around the outlets. The best way to do it is to make a template with paper and use the craft knife to cut it out prior to hanging.
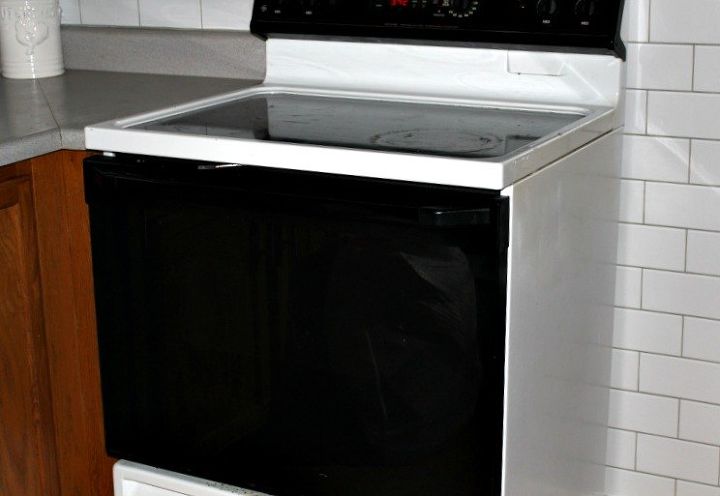
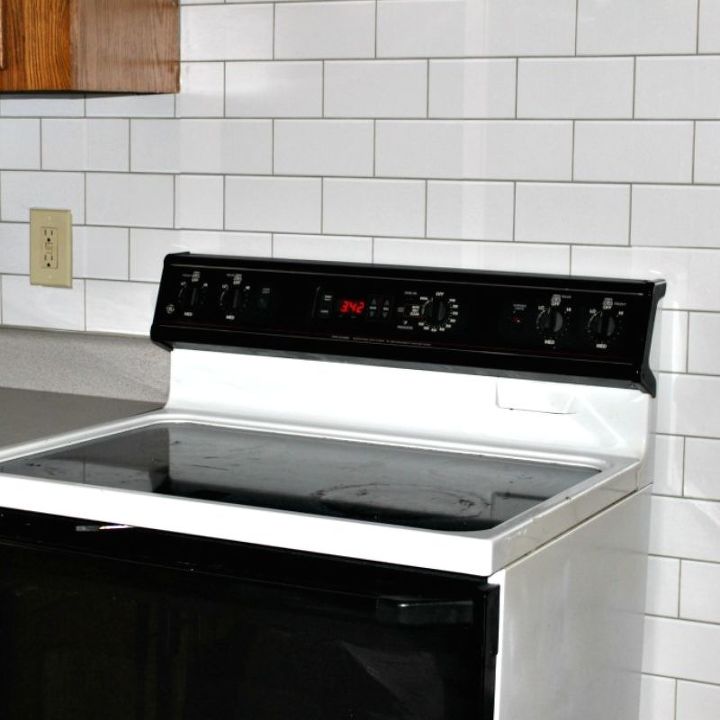
I decided to have the tile go all the way down the side of the stove on the small wall and love how finished it looks. This is seriously the best $35 I have ever spent!

Comments
Join the conversation
-
It’s Good to have for a new look anywhere !! Renting or own.. good job!😀😀
-
I recently did this with a stone wall look peel and stick wallpaper. What a difference it makes and it is budget friendly!


Frequently asked questions
Have a question about this project?
What is this peel and Tile made of, not tile material?
Will it work on a textured painted wall?
I’m curious how this will hold up behind the stove. Will the heat cause the adhesive to loosen?
Karen