


DIY Reverse Canvas Art
2 Materials
$15
15 Minutes
Easy
Hi there, Hometalk Friends! Today I’m going to show you a quick and easy reverse canvas art project that can be changed up for the seasons!
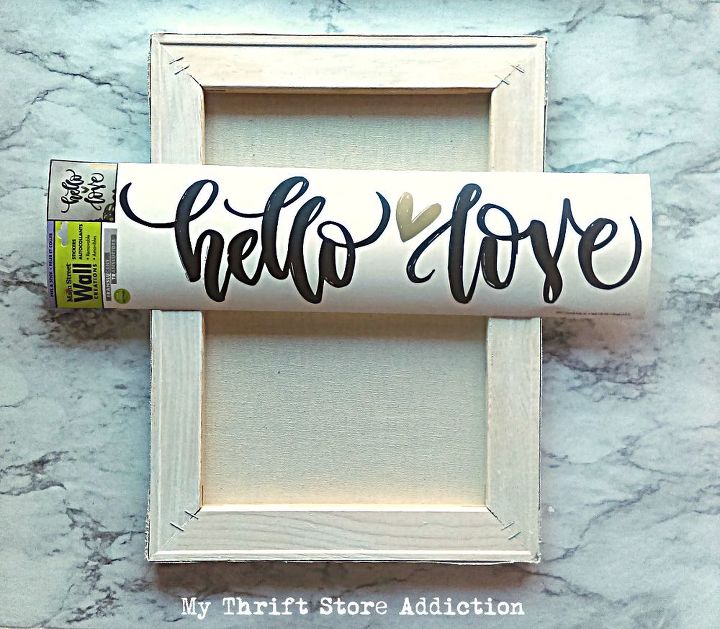
Y'all know I love me some dollar store crafts and the possibilities are endless with these thrifty wall decals--you can switch out the decals for the season, or if you decide to hang your canvas in another room. Be sure to select a decal that will fit inside your canvas nicely. TIP: Check Dollar Tree first! Can’t find decals? Look here!

Ready to make your own? You'll need a canvas that's in good condition--used is fine, but be sure to check the view from the back. TIP: Check your local thrift store first! Need a canvas? Look here!
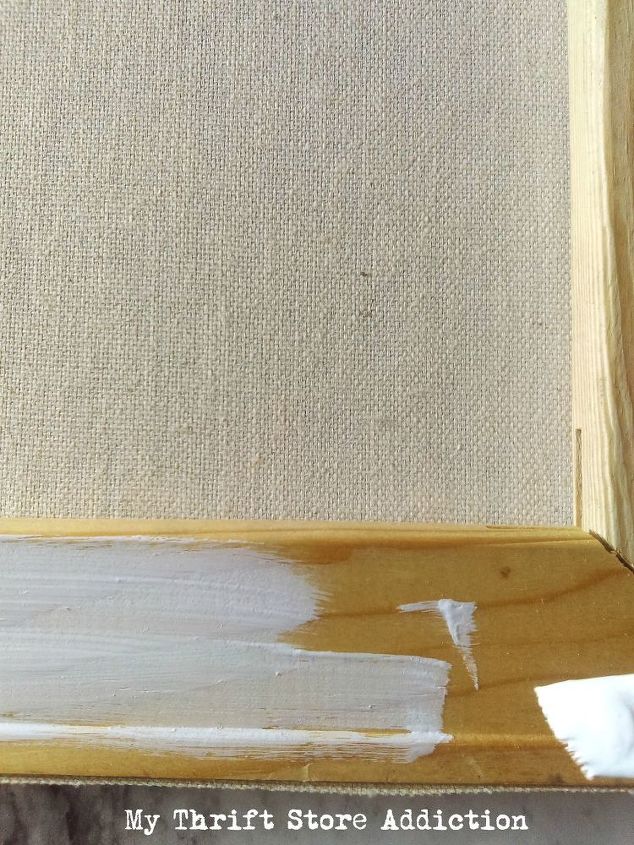
If desired, paint the wood frame of the canvas. (Back side.)For hanging, you’ll need to attach a sawtooth hanger on the canvas side. TIP: You can also display it on an easel or lean it against the mantel. Once the paint dries, gently arrange your decal and press down firmly.

That’s it! I hung mine inside a larger frame on my gallery wall. I like to keep an eye out for seasonal decals, so I can change things up a bit. You can find more of my reverse canvas art here:https://mythriftstoreaddiction.blogspot.com/2018/01/15-minute-dollar-store-decal-canvas-art.html


Any price and availability information displayed on [relevant Amazon Site(s), as applicable] at the time of purchase will apply to the purchase of this product.
Hometalk may collect a small share of sales from the links on this page.More info

Want more details about this and other DIY projects? Check out my blog post!


Frequently asked questions
Have a question about this project?