


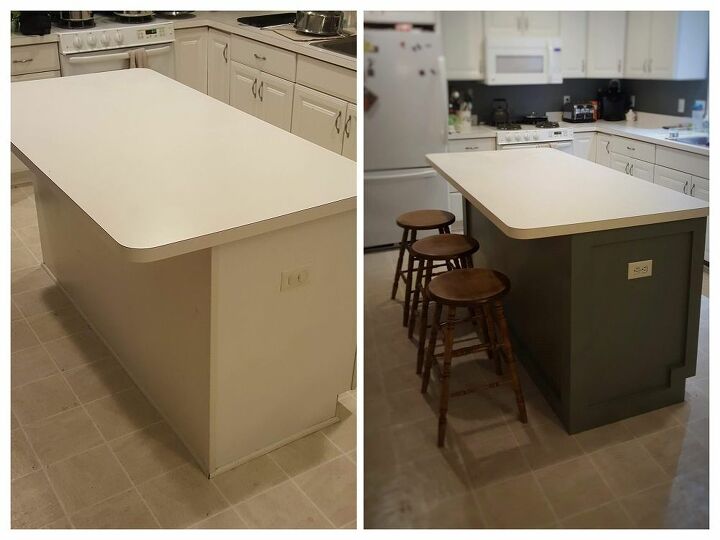
Kitchen Island Modern Update

This island update is a small remodel project I completed for my parents kitchen. The front face of the island was looking pretty beat up so we wanted to give it a refreshed look on a budget.
If you want to see more details than what is listed here - check out: tbbuildsco.wixsite.com/togetherwecreate/home/how-to-give-your-kitchen-a-modern-update-in-7-easy-steps
Best wood paint!
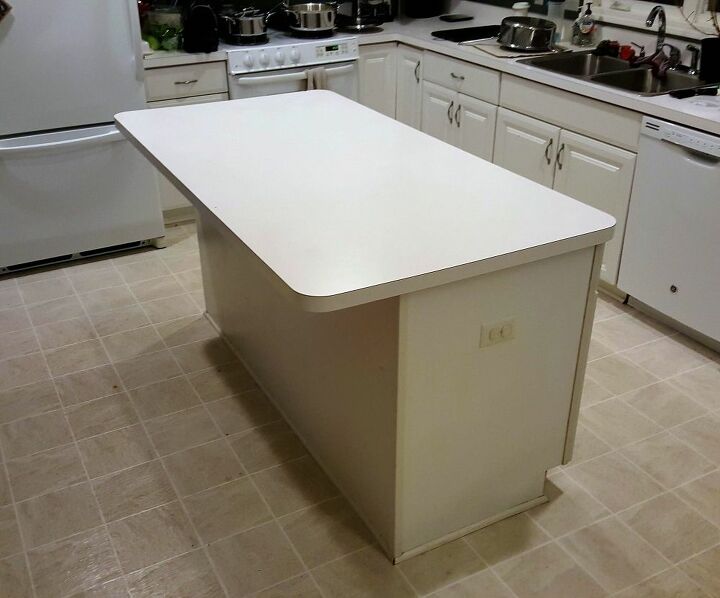
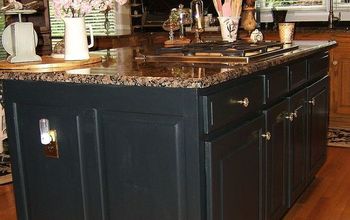
Here is a before photo. This is the original cabinets and island from when the house was first built
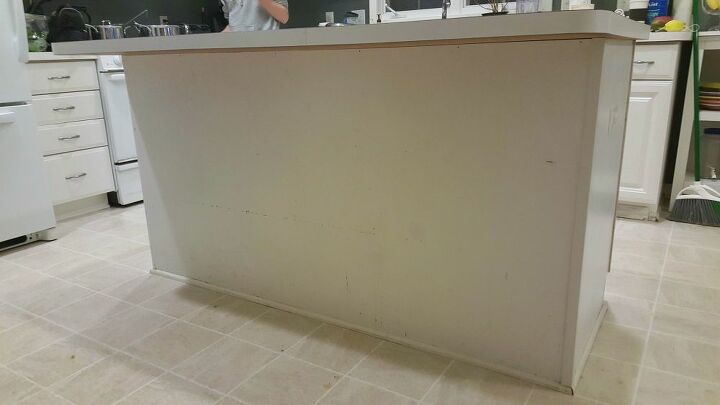
When you come in from the front door this is the face you see from the foyer. As you can see, it was getting quite beat up from the bar stools or people kicking this face when seated. So my mother wanted to touch up this surface.
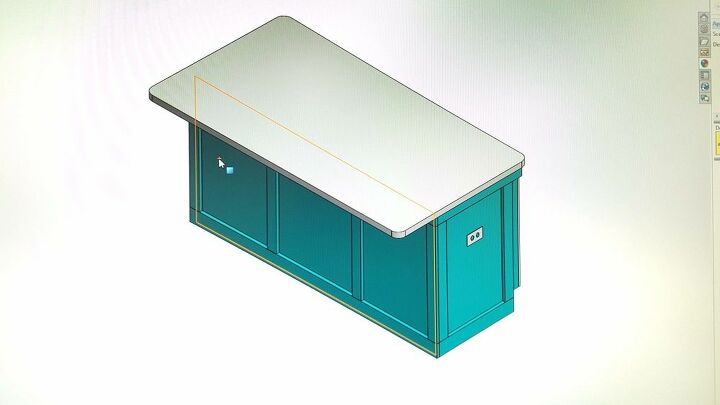
Before I purchased any materials or got going on this project, I made a quick model in CAD. I recommend doing this as it gives you a good idea on what you need to buy and how it will look. It also makes it very easy to share your ideas (this is how I got approval from my parents to do this project).
If you don't know how to use CAD software, this type of projects is a good one to learn. I used SolidWorks but you can use any software.

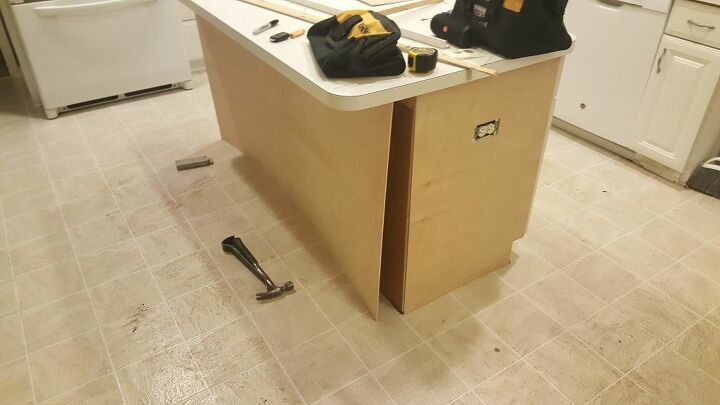
Once I had plans and purchased material from Home Depot, I pulled off the old front board as shown. I then used a putty knife to strip as much of the leftover adhesive.
Next step is to rip down the 4'x8' sheets of 1/4" birch plywood.
Once the pieces are cut, I did a quick dry fit to insure proper fitment.
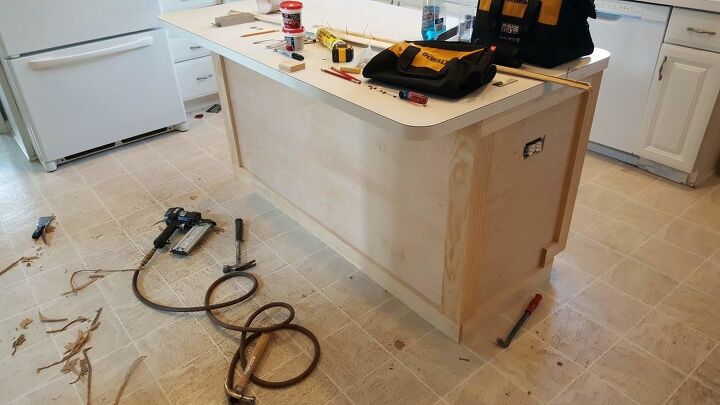
I decided to put 1" x 4" Select Pine Board on the bottom boards and the front verticals and 1" x 3" Select Pine Board everywhere else to give the best look. With everything cut, I tacked everything up with 1-1/4" finish nails and a pneumatic nail gun.
*BE CAREFUL to selected the length of nail to not pierce the surface of the inside of the cabinets*
I decided not to add the two middle verticals as shown in CAD model for a more simplistic style.
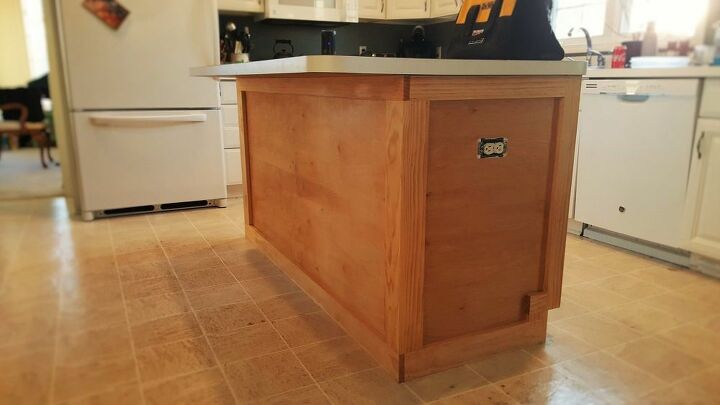
Before paint, I first sealed all of the wood with two coats of wood sealer (I forget exactly what I used, we had it just laying around the house).

With the wood sealed, I used latex caulk with a calk gun to seal the joints. As you can see, it was not perfect, but i did my best to wipe excess away and I was not too worried about it since I knew I was painting over it.
*Looking back, I would had put the caulk on the back of the boards and then pressed them on and nailed them to have the caulk squeeze out of the joints*
Also, not pictured, but I used DAP Painter's Putty to fill in the nail head holes.
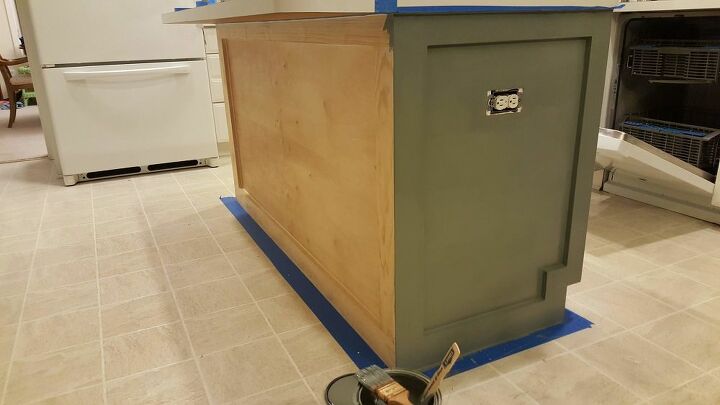
Up next, Paint! I used painters tape on floor and under counter-tops. I am by no means a professional painter, but with enough diligence, I got going.
I applied two coats on the three sides of the Island. We chose the color to match the kitchen walls to give a new look and make the island stick out a little more in the kitchen.
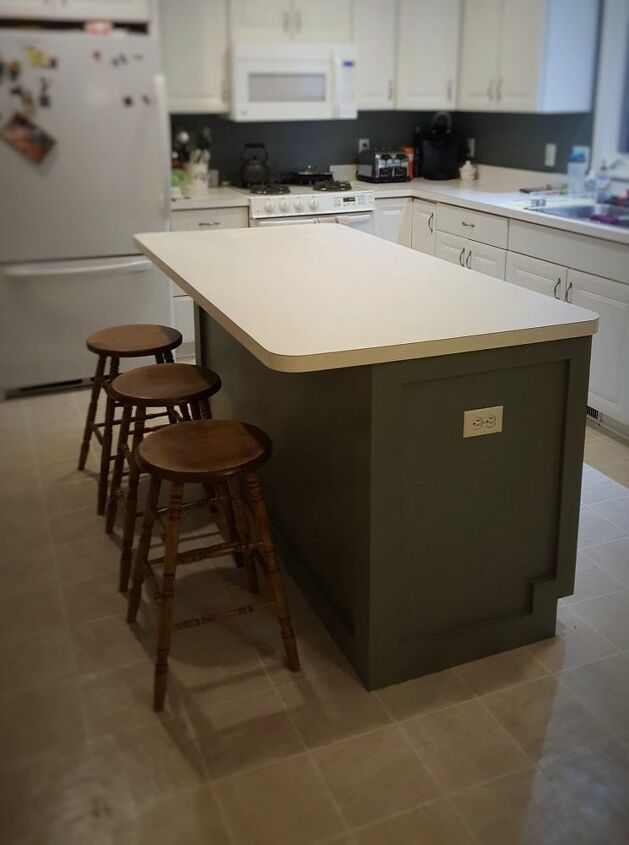
I am very happy with the final product. A relatively simple project that was very budget friendly, but yet still gave the kitchen a refreshed look!
Check Out more of my projects at:
https://www.pinterest.com/tbbuildsco/
https://www.instagram.com/tbbuildsco/
Resources for this project:
See all materials


Comments
Join the conversation
-
Paint your switch plate the same color as the side of the island...
-
Your island looks great, but I agree with Joseph, I would paint the outlet cover to match the sides of the island.


Frequently asked questions
Have a question about this project?
What brand and color is the paint that you used on the island? I really like it.
Why did you replace the front and side panels? Could you have just added the trim and repainted?
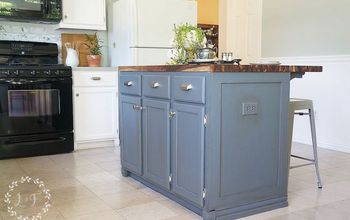
Love what you did. I never could understand why builders would paint an island white! Don’t they realize kids sit there and kick? Here is what I did with mine.I added breadboard and found some corbels at Habitat Humanity Restore. Picture shows the before and after.