


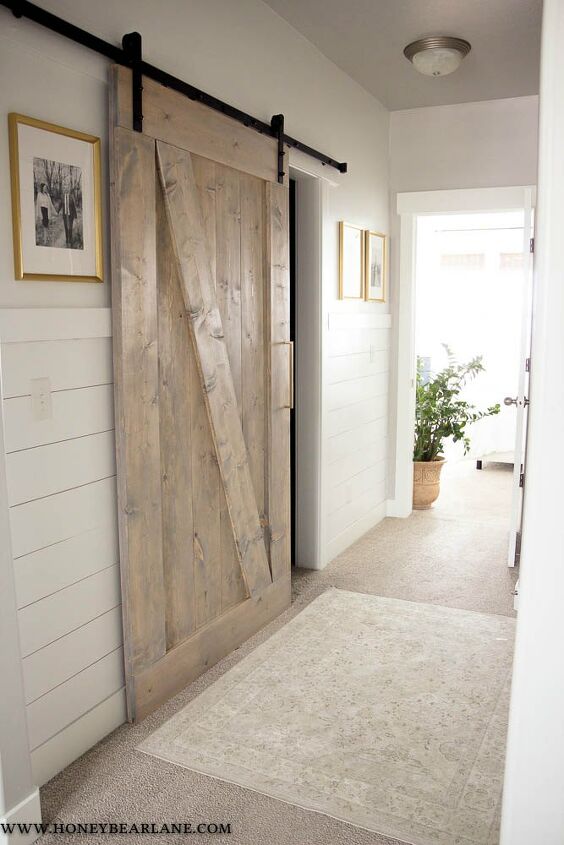
Wide Barn Door Plans
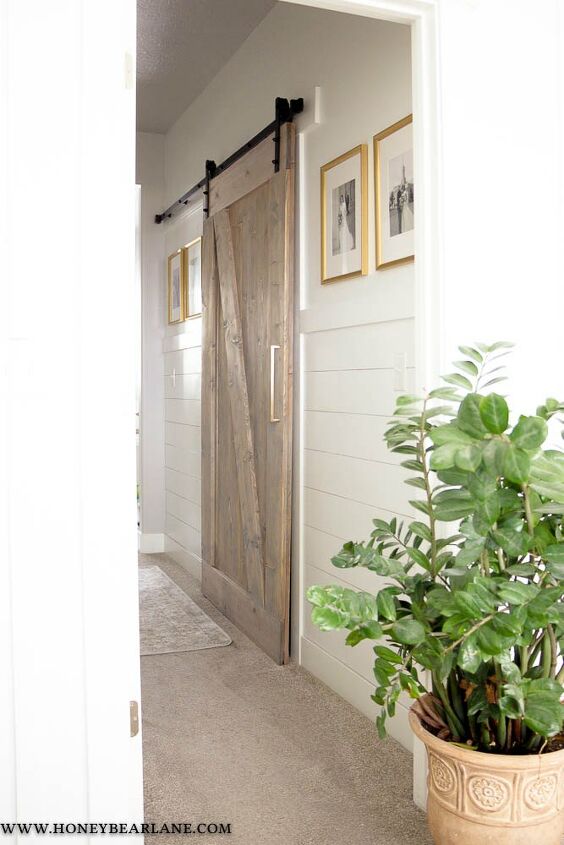
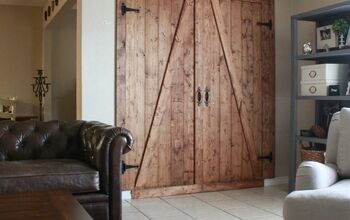
I recently revealed my hall makeover, which included one of my projects to do this year–build a barn door to cover my closet entry. It’s always been super open and often a mess which I just wanted to sometimes close up. So here are some free wide barn door plans!
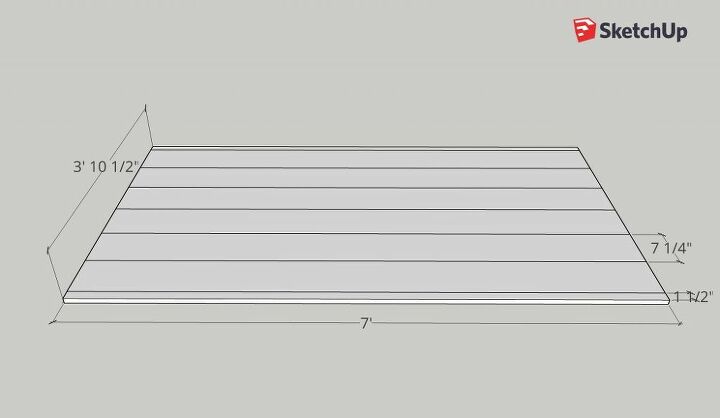
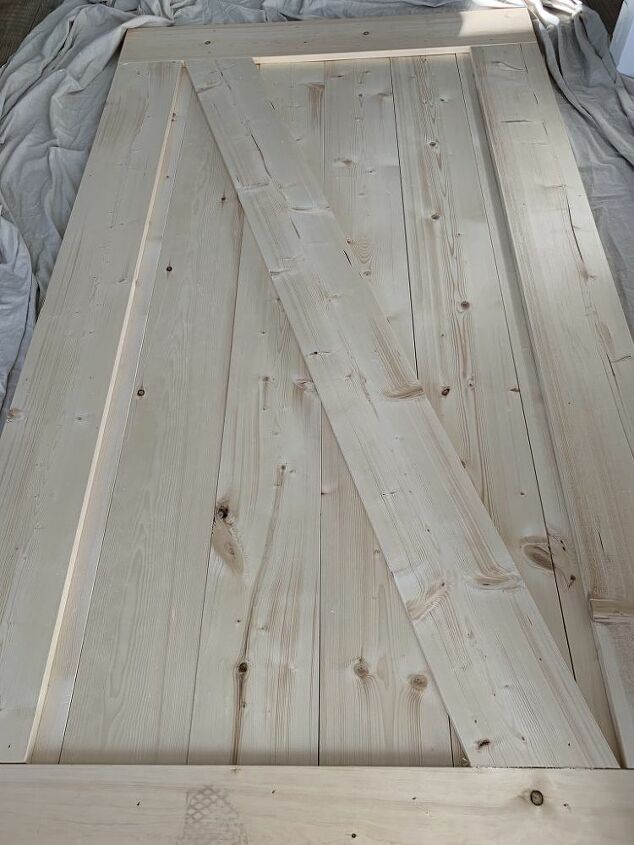
Step 1: Lay 6 1×8’s side by side and the 2 1×2’s on either end. This creates a total width of 46.5″ This is the bottom layer.
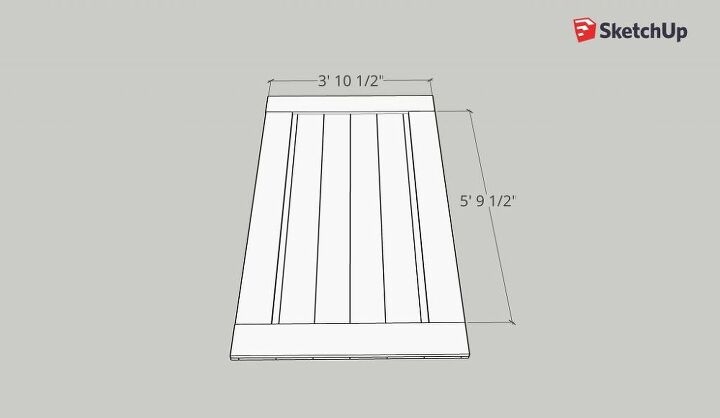
Step 2: For the top layer, put two breadboard ends on the top and bottom of the door and two 69.5″ boards on top. Put glue on the top layer boards and secure in place with nails, ensuring you nail so every board on the bottom layer gets attached to a board on the top layer.
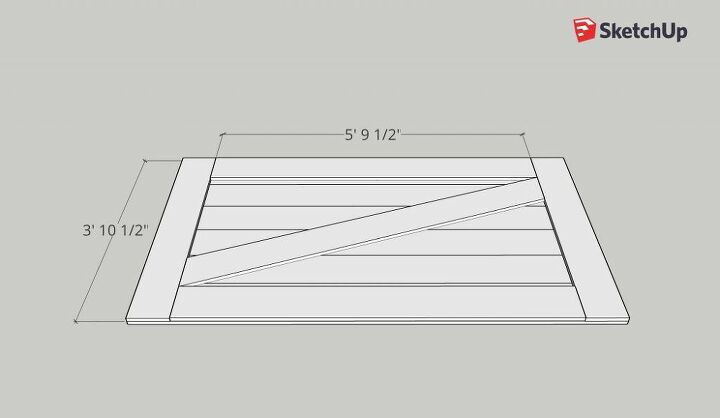
Step 3: Flip the entire door over on its back and screw all the boards in place, close to where you nailed so you are making sure all boards are attached to a cross board. Then flip the door back and put the final cross board in place. To get the right angle cut, it’s easiest to put the uncut board on top and mark the cuts with a pencil.
That’s the entire process for building the door, wasn’t that simple?
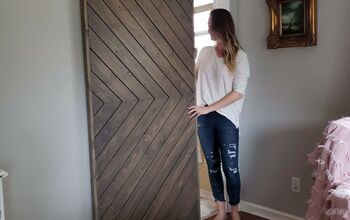
To finish this door, I sanded it and used a pre-conditioner before staining. I always use the pre-conditioner because it prevents that ugly blotching that is pretty common. Then I used a combination of stains (all Minwax): Puritan pine, followed by Classic Gray and then I painted a whitewash paint on top, let it dry for a few minutes and then wiped it off. I like the end result! That’s the beauty of staining, I feel like you can experiment until you get the look you like.

Be sure to pin this for later or print the plans now!


Frequently asked questions
Have a question about this project?