


Thrift Store Night Stand Re-do
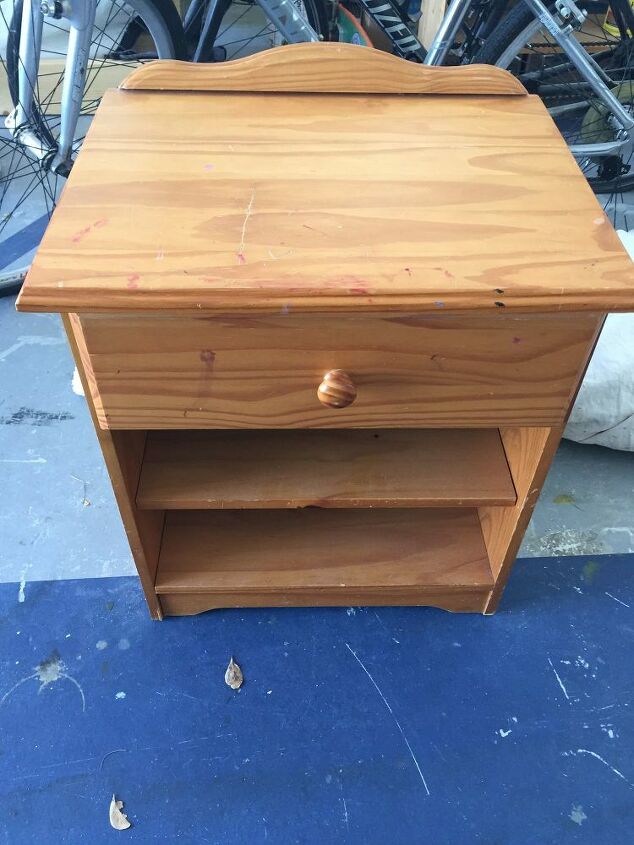
I'd been searching for a night stand for my son's room and couldn't find anything I liked. I decided to hit a local thrift shop and ended up buying this one for $10. Here is what I did to fix it up.
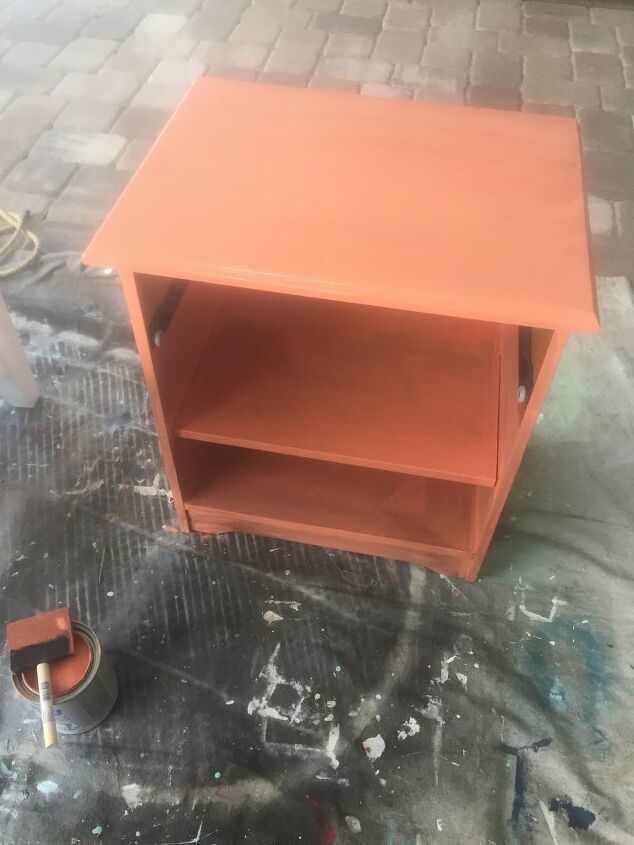
Step 1, Cleaning it up…
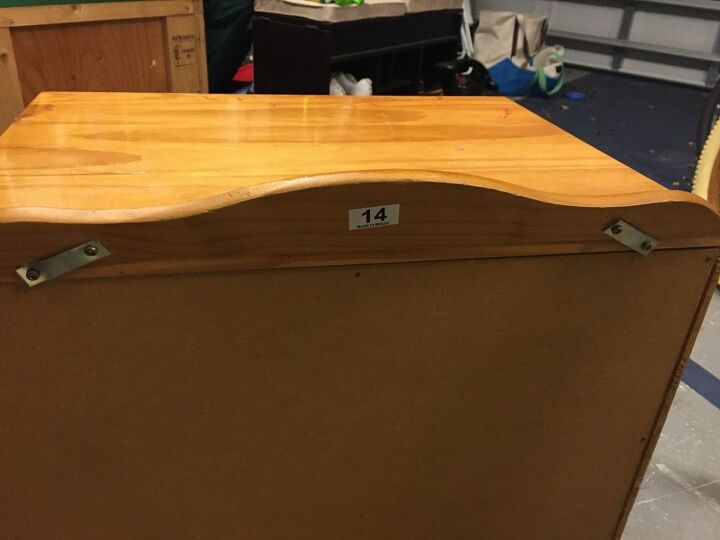
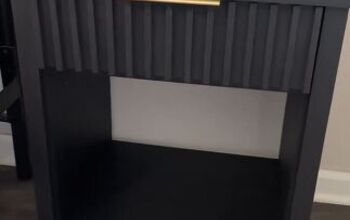
The first thing I did was take this back piece off. It was bent and falling off anyway. I just unscrewed it and viola! It looked so much better. Then I cleaned up the entire piece with a damp rag, and tried to get as much crayon off as I could using a Magic Eraser.
Step 2, Sanding…
I sanded down the entire piece with my hand sander concentrating on the top which had a few scratches on it.
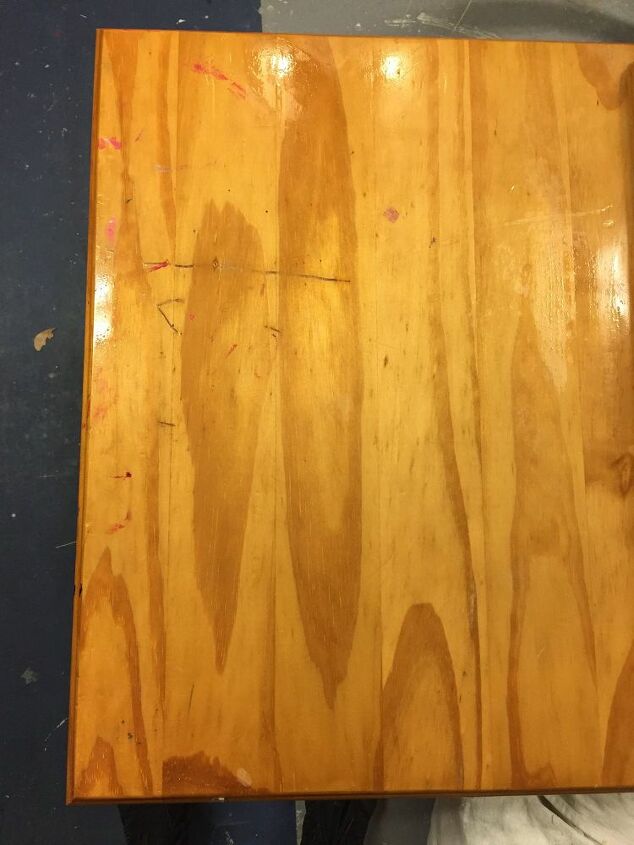
Before Sanding
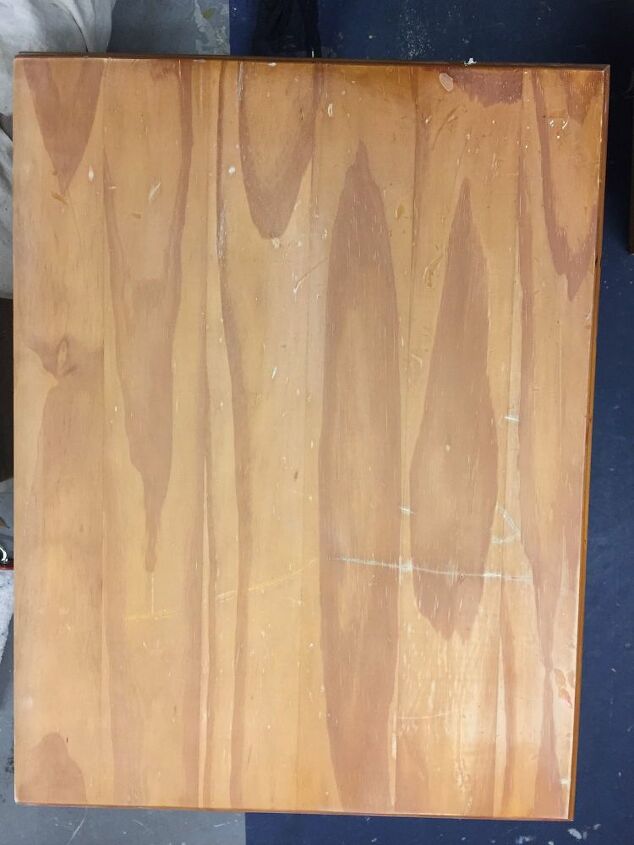
After Sanding
Step 3, Painting…
My son loves the color orange and has an orange pillow, chairs pad and desk accessories in his room, so I was trying to match those as best as I could. I went to Home Depot and Lowes and picked up a bunch of paint chips. We decided on the color, Spanish Dancer and used probably 4 coats of paint on the piece.
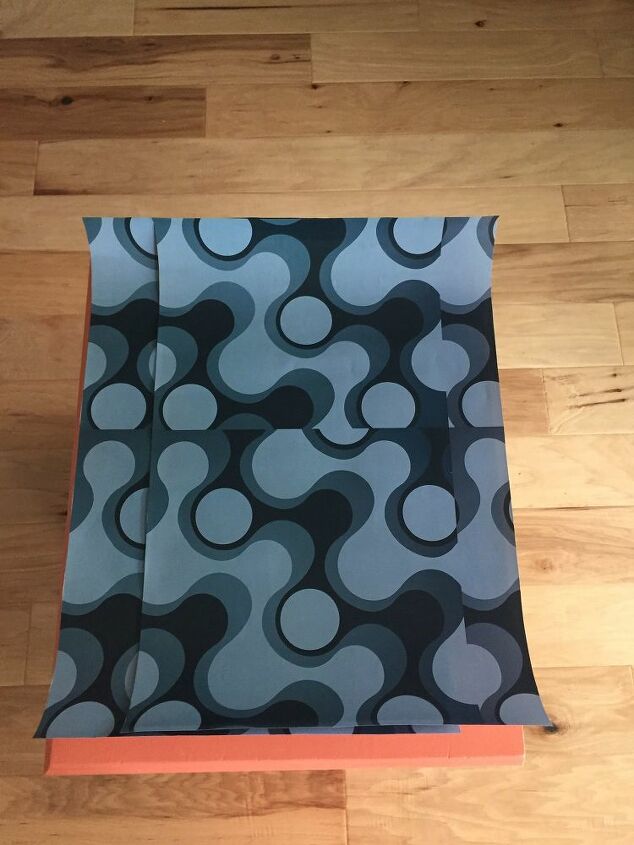
Step 4, Addressing the top…
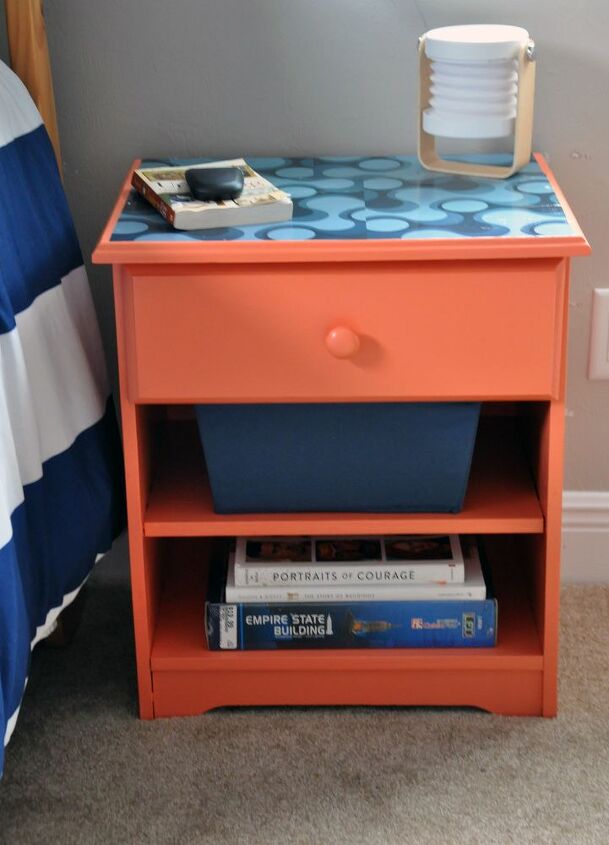
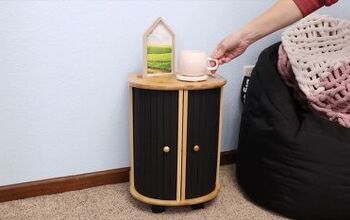
I wanted to apply something to the top to disguise the scratch. I had just done a similar treatment to this old end table with great results. My son had the idea to apply a 3D picture to the top. We found this wrapping paper on Amazon and thought it was perfect since he has navy blue in his room too. It was very pricey for what they ended up sending us, but I went for it anyway.
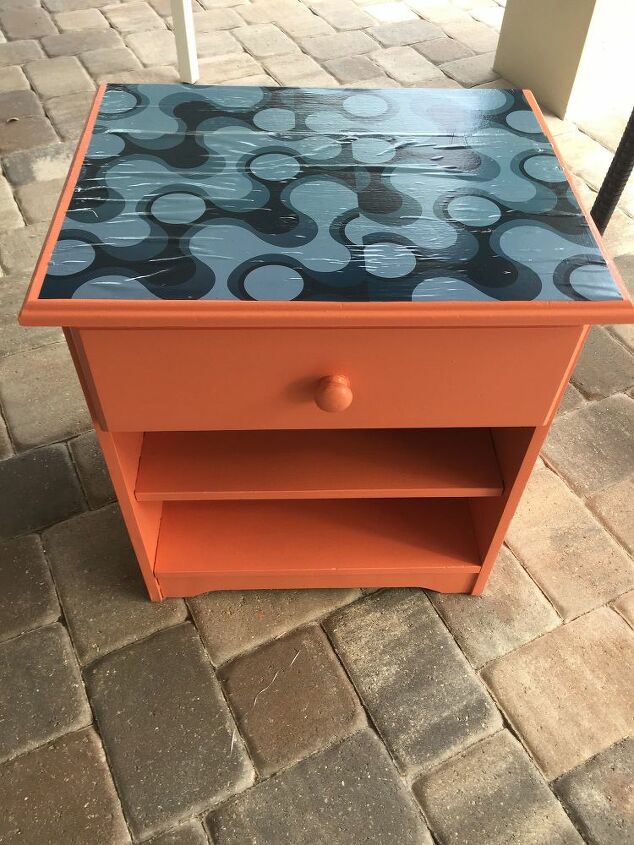
I sprayed the back of the paper with spray adhesive and slowly glued the paper to the top of the table, spraying the glue a little at a time. I sort of messed it up, but there was no turning back…see all the bubbles? I had to work those out with my smoothing tool. Truthfully, it still doesn’t look perfect, but does look a lot better then the picture below. In my past experience using Mod Podge, the bubbles do end up ‘laying down’ over time.
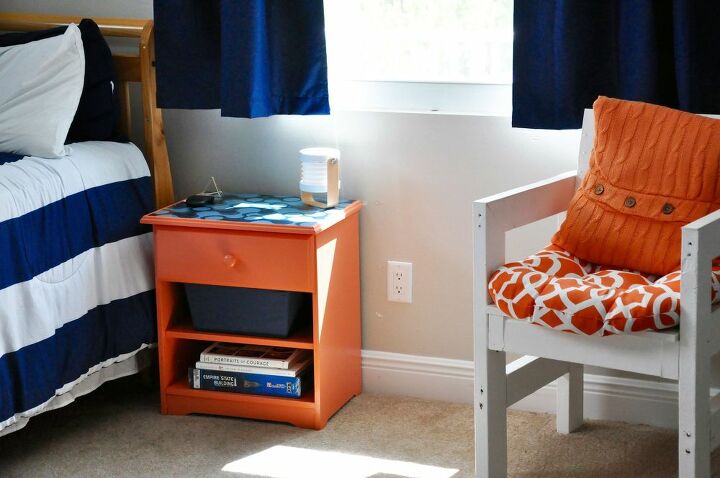
Finishing Touches…
I have to say, I was thinking this may not have been my best work. However, once I put it in my son’s bedroom and added some finishing touches, it ended up looking pretty darn good. Now he has storage next to his bed for books, his glasses, a light, etc. And most importantly, he loves it and thinks it’s ‘epic’.
Visit my blog to see more details and lots more DIY Projects.

Comments
Join the conversation
-
This was a cute makeover. I think wd-40 would remove the crayon best.


Frequently asked questions
Have a question about this project?