


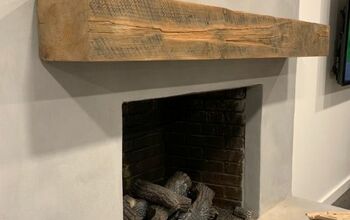
Old Mantel Gets Re-purposed

A generous lady was giving away a free wooden mantel online – so I scooped it up. I had no idea what I would do with it, as I don’t have a fireplace, but I knew I would think of something eventually.
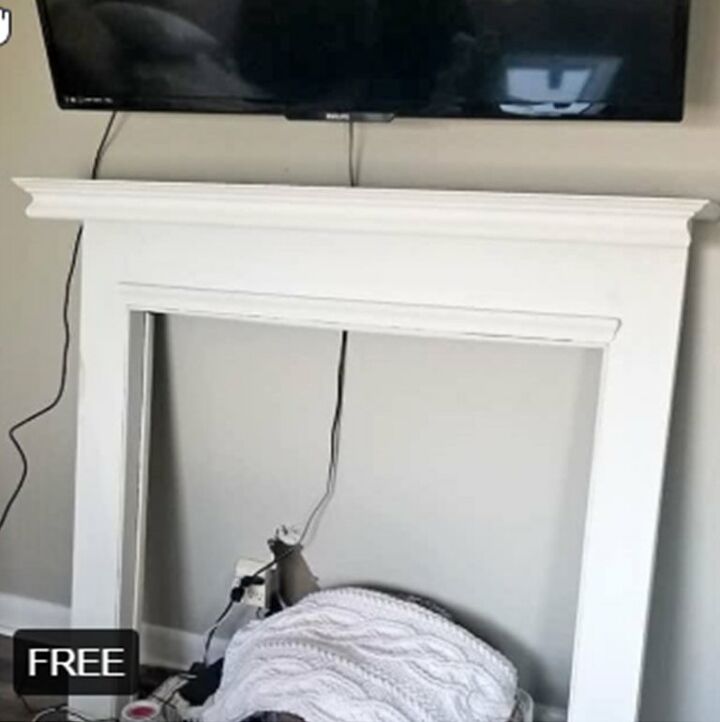
I had to remove one of the legs in her driveway to shoe-horn it into my car! Then I moved it into my garage, where it sat, for several months! I got so tired of looking at it, and tripping over it, that I posted it back online for free. But strangely…no takers!? So 24 hours later I took down the ad and marched into the garage to tackle this beast once and for all.
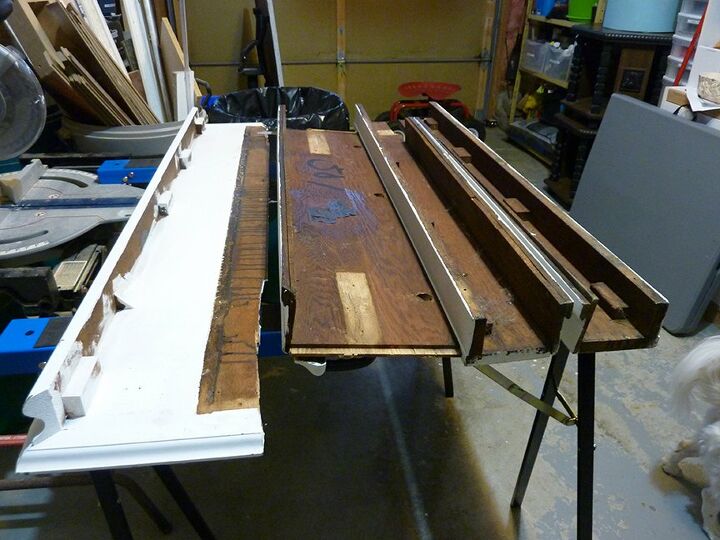
It was pretty intimidating as it was so large and heavy – and it was built with giant nails & rusty flat head screws! So to make it less intimating I dismantled it using a small pry bar, a hammer & flat head screwdriver.
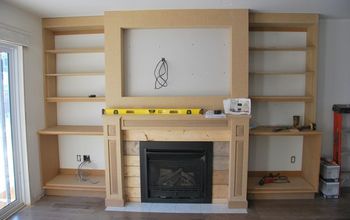
I still wasn’t entirely sure what to do with it. But then I got to thinking how I’ve always loved those large window sills you see in some homes. A ledge big enough to place plants in the sun without having to remove them once the sun sets and it comes time to close the blinds. So I decided I would re-purpose the mantel to extend our window sill.
The inside edge was very jagged, so I clamped it to my saw horse and used a jigsaw to cut it straight. This was my first time using a jigsaw, so it wasn’t perfectly straight – but close enough. I was hopeful that the window frame would hide the imperfect cut. And it did.
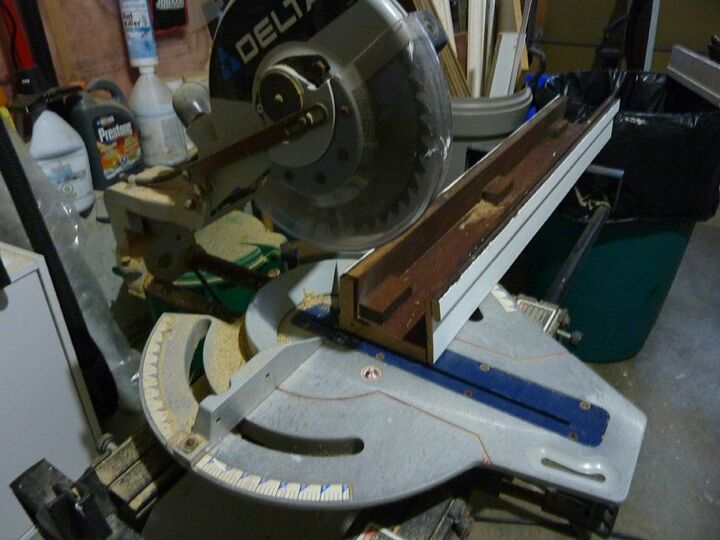
Then I cut the legs to size, using a sliding miter saw.
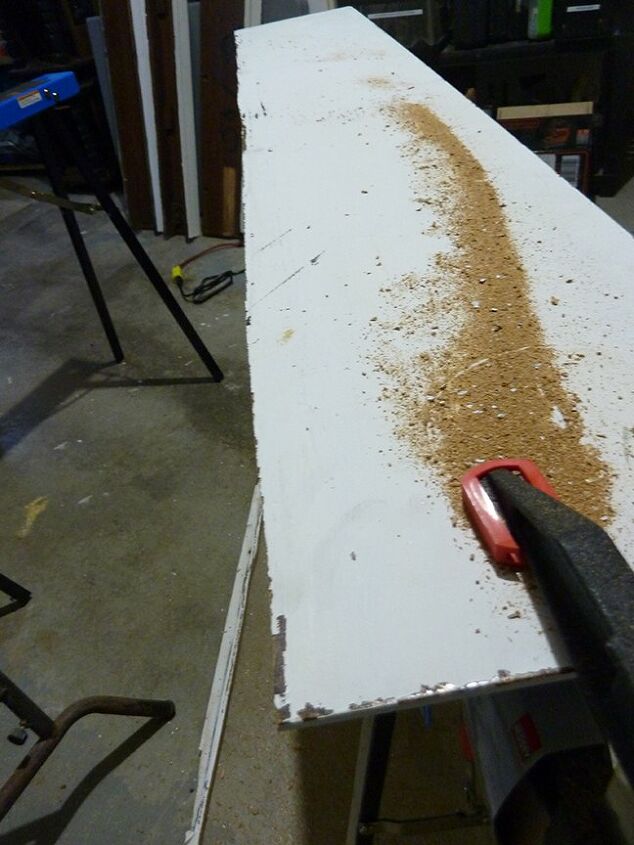
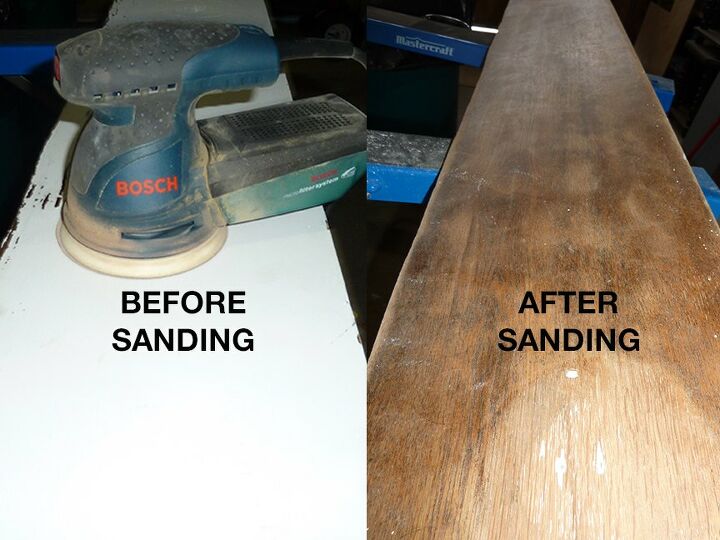
My original plan was to lightly sand the pieces and re-paint it white to match our window sill. But once I starting sanding I kind of got excited when I saw the wood underneath. So I kept going…and going…and going, until most of the paint was off. There were some water marks on both ends. I assume they probably came from plants, which is exactly what I was going to do, so I didn’t worry too much about it. I’d just place plants in the same spots! And there are still a few flecks of white paint that was caught in grooves – but they do not bother me either. It just adds to the charm in my opinion.
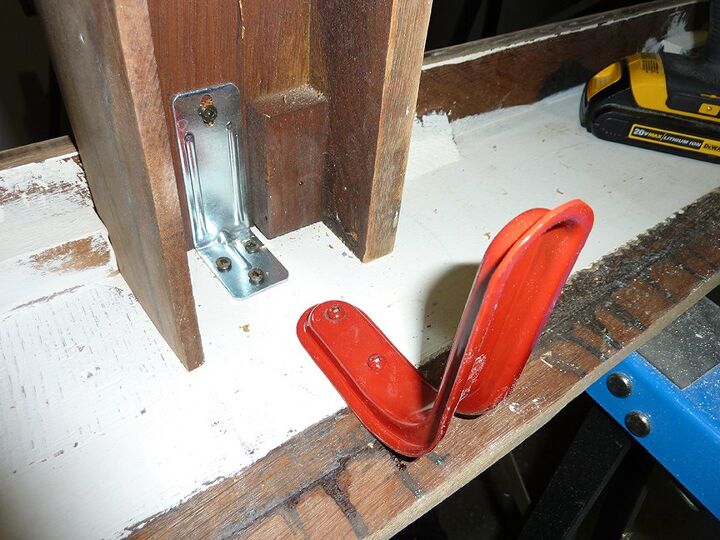
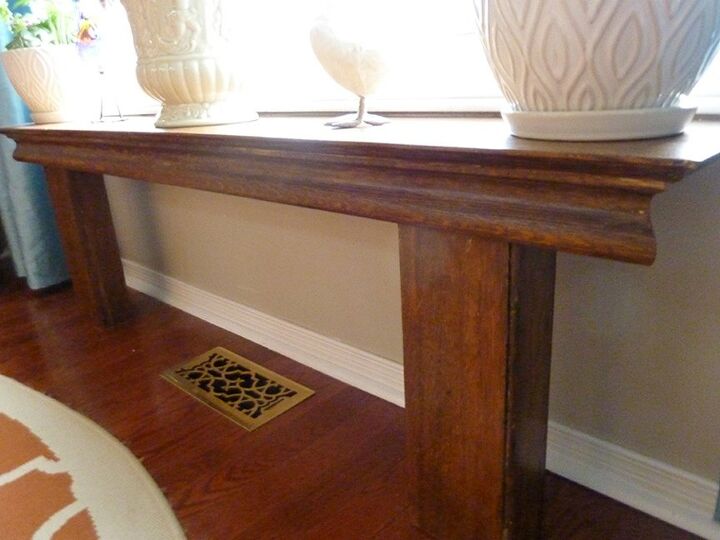
Then I re-attached the legs to the mantel using L brackets. And attached support brackets to the other side, to attach to the wall.
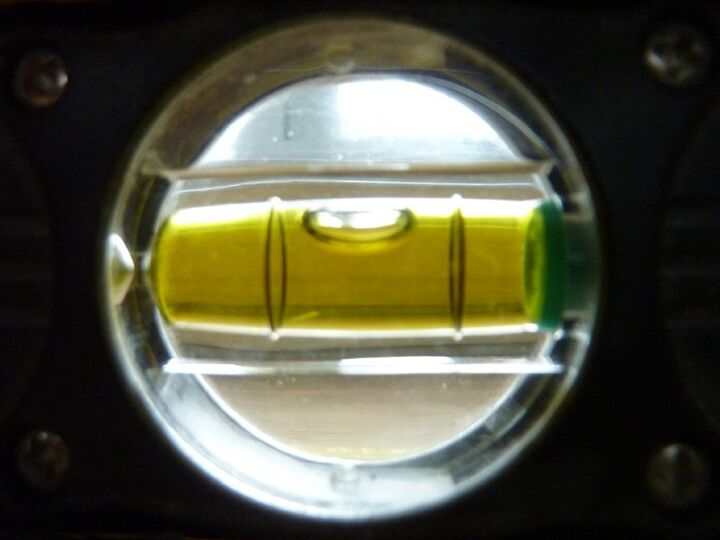
Then I dragged it inside and placed it in front of the window to make sure it was straight.
Attaching the support brackets to the wall was a bit of a challenge, as they were behind the legs, but I was able to get them attached using a little stubby ratcheting screwdriver.
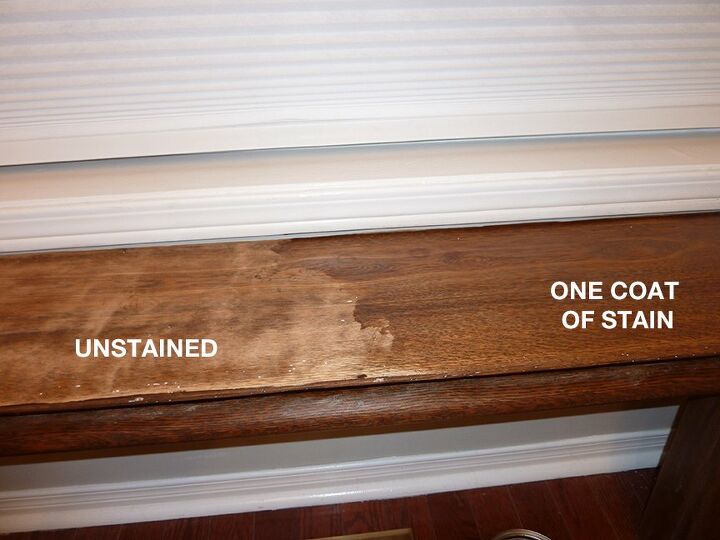
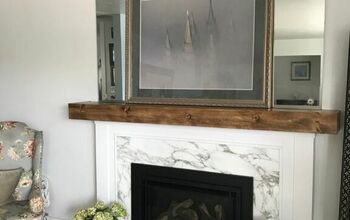
Then I applied a dark walnut get stain, one coat, using an old t-shirt.
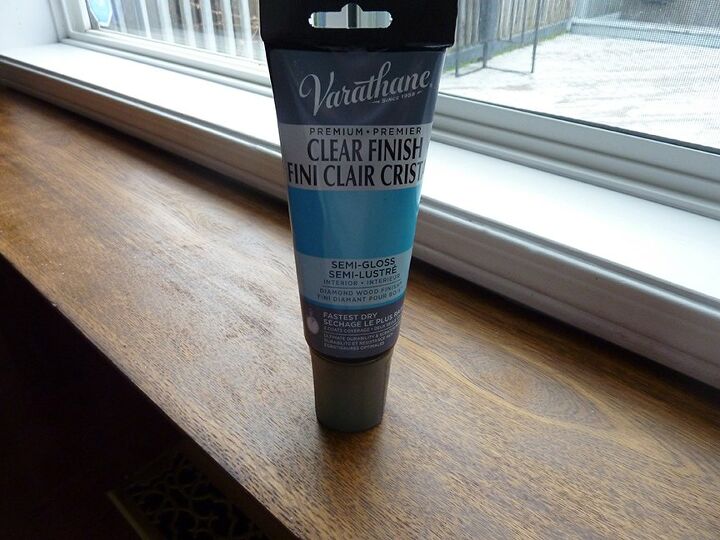
The next day I applied a clear finish to seal it.
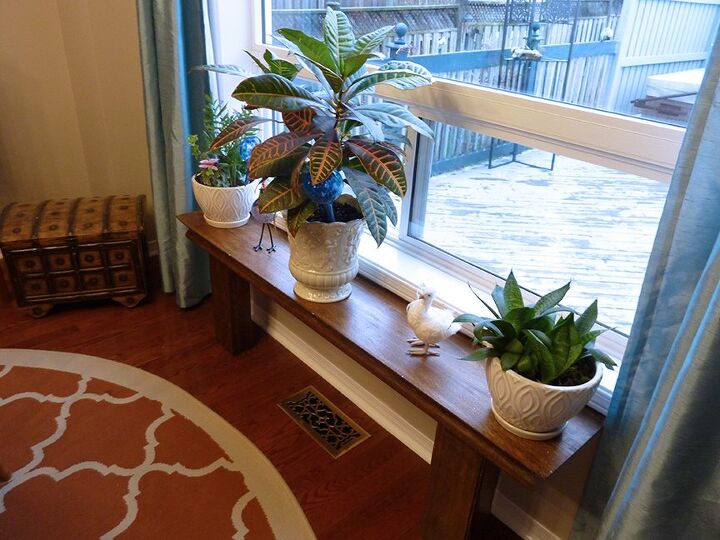
And done! I now I have a great spot for my plants.
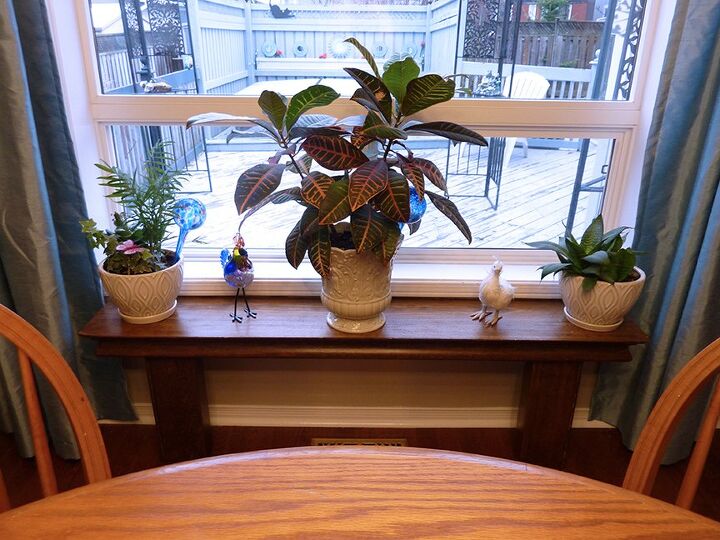
I love how un-obtrusive it is as it doesn’t stick out any further than my curtains! I had a couple of free-standing plant stands in that space previously and I was always worried someone would knock them over as there wasn’t much clearance between the window and the dining table. This totally solves that problem! And I can close the blinds without moving anything. YEAH!
When my 8 year old daughter came down in the morning and saw this she said “Oh mommy, I love how rustic it is!” Hehehehe
Even though I procrastinated on this project longer than usual – I really do love the outcome! I’m so glad nobody replied to my ad.
I didn’t spend any money on this project – but used roughly $5 worth of products.


Resources for this project:
See all materials


Comments
Join the conversation
-
This turned out beautifully!
-
That looks awesome and truly creative!


Frequently asked questions
Have a question about this project?
That was genius use for an old mantel. But you dismantled a mantel? LOL
How did you attach to wall?