


How to Make Gorgeous Homemade Bath Fizzes
Home-made bath fizzes are really simple and fun to make at home. There are loads of different recipes you can use. Ours is a simple version, based primarily on what ingredients we have available to us, and what suits both mine, and the kid’s skin.
What you Need to Make Homemade Bath Fizzes
For an everyday bath fizz you will need…
150g of Citric Acid (Amazon)
300g Bicarbonate of Soda (Amazon)
A little water
Additions…
We also added 5 ml of Almond Oil and 2.5 ml of Natural Vitamin E, fragrance and colour.
Citric acid is considered by many to be an excellent product for treating skin problems such as mild acne, pigmentation, clogged pores, excessive sun tanning, wrinkles, and dark spots.
Bicarbonate of Soda is an alkaline substance that is reported to have antibacterial, anti-fungal, antiseptic and anti-inflammatory properties.
We used a Tangerine fragrance oil that has a scent we love. Please remember that essential oils should always be diluted with a carrier oil rather than being applied directly to the skin. It should also be noted that not all essential oils are suitable to be used by all people (use particular caution with children and pregnant women).
The colour we used is one that is designed for soap making. You can also use food colouring but be aware that large amounts of it will mean giving the bath a clean after use.
How to Make Homemade Bath Fizzes
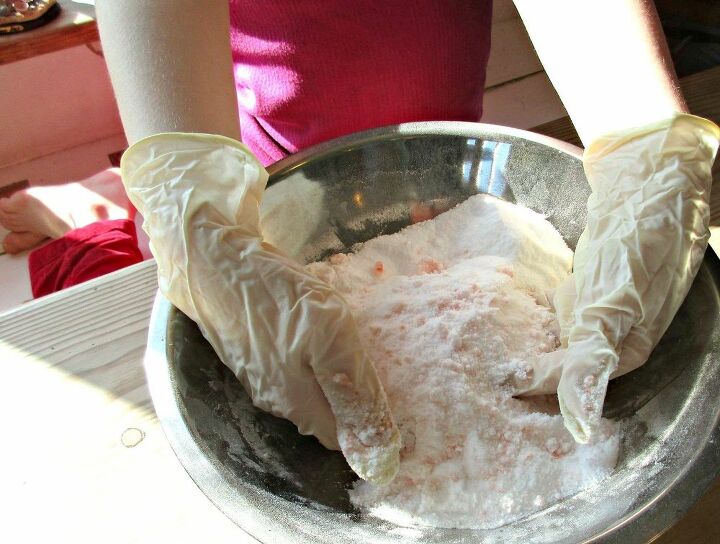
We sieved our Citric Acid and Bicarbonate of Soda into a Bowl and gave it a thorough mix. It is easiest to do this with gloved hands. Citric Acid does sting if it gets into broken skin or your eyes, so we strongly recommend using gloves.
We mixed our oils together, and added the fragrance and colour to them, before adding it all to our mixture. The oil didn’t cause our mixture to fizz, and we simply rubbed it into our dry mix until it looked well combined.
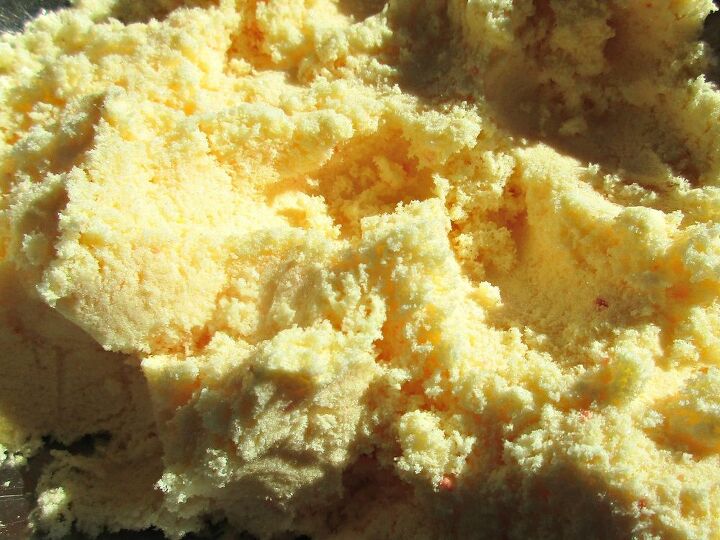
Next, you add the water. You only want to add enough water to moisten your mixture, so it’ll stick together. You are looking for the consistency of damp sand (see the photo above). Adding water will make your mixture fizz, and many of the tutorials I have seen suggest using a spray bottle to add a little at a time. We didn’t have one available, so simply added a teaspoon at a time – with my daughter throwing it in while I mixed. This method worked fine for us, although it meant there was no opportunity to take a photo of this stage.
In total, we only needed to add about 15mls of water, so please add cautiously. Too much water will cause your chemicals to react, and you’ll end up with all the fizzing now, rather than when you add them to the bath!
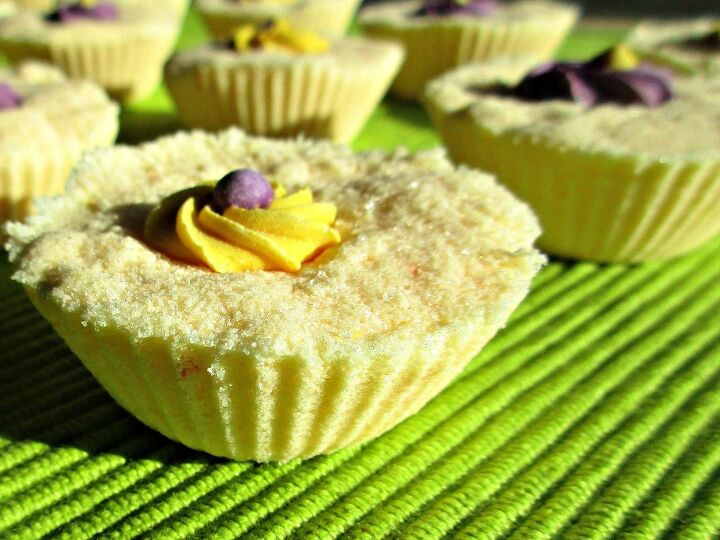
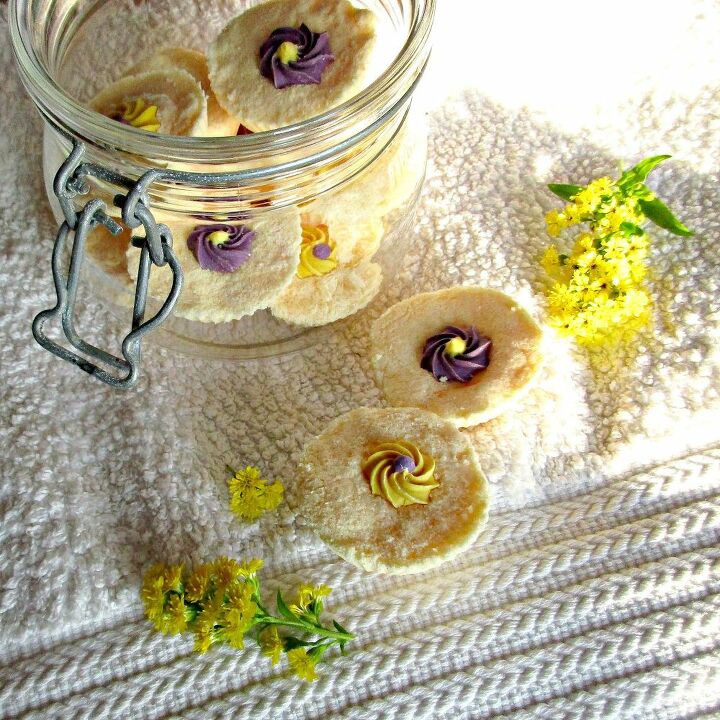
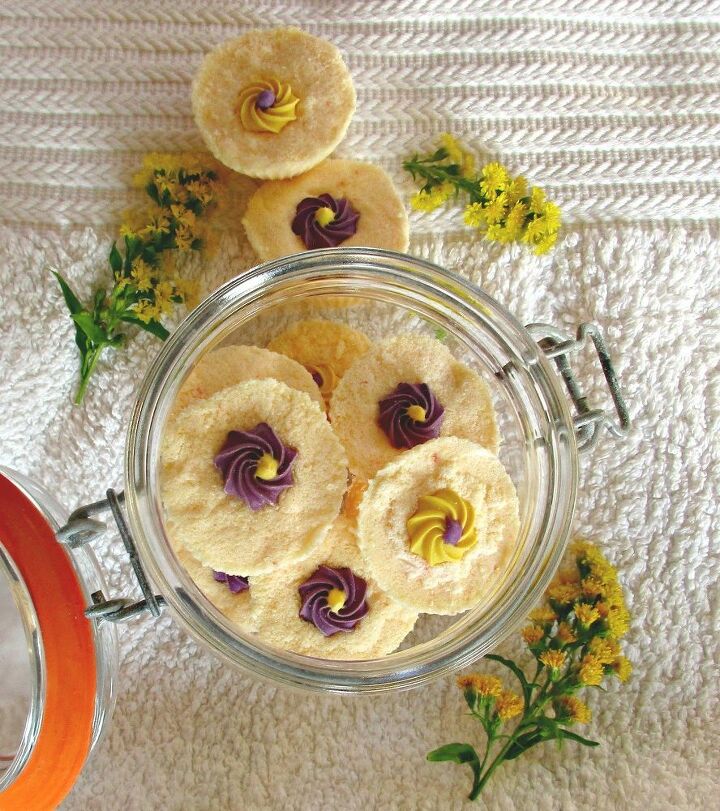
We used little silicone cupcake cases for our moulds. Simply press your mixture in firmly with your fingers – we left ours rough on top so we could embellish them with some little sugar flowers. I think they would look even prettier with some dry petals added. The mixture does harden quickly so you will need to work reasonably fast.

Our bath fizzes had hardened enough to remove from their cases in less than an hour. We then left them out to completely dry before packing them into glass jars. Bath fizzes absorb moisture really readily, so we recommend that you store them in an airtight container to maintain their fizz.
Bath fizzes are great fun to make (and use) and would make a lovely little gift. Please make sure if you do give them away as a gift that you include the ingredients you have used on the label. That will allow your recipient to make an informed choice to whether the ingredients you have used are suitable for them.
Resources for this project:
See all materials


Frequently asked questions
Have a question about this project?
How many does this recipe make?
Hi, these are so cute! But I wasn't quite clear about the little flowers. Did you make them or buy them already made. If so, from where? 😕 Thanks!