


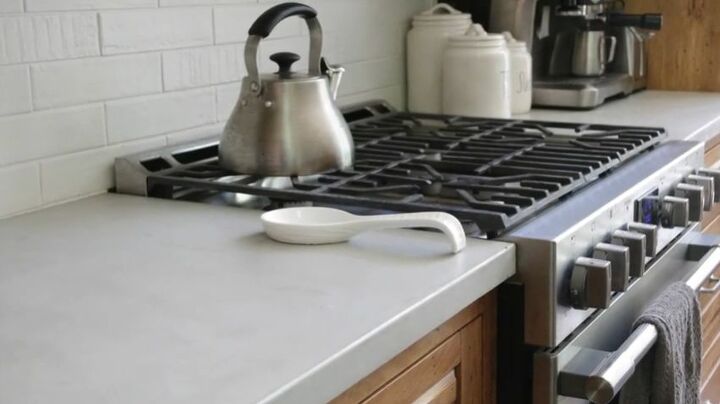
How I Saved $10,000 Making My Own Countertop!

We recently renovated our kitchen and discovered first hand just how expensive solid surface countertops like granite or quartz can be. After much research we decided to have a go at making a concrete countertop. It wasn't without it's challenges but in the end we made an amazing looking countertop that impresses anyone who walks into our home. It's truly a conversation piece and in this project I would like to share with you what we learned, how we did it and how you can do it too.
I've posted a video below that show's how we built our countertop and step by step instructions on how you can make your own concrete countertop. Please feel free to ask a question in the comments and Join me on Youtube or Instagram for more great projects like this one.
Follow these 6 Steps To Make Your Own Countertop
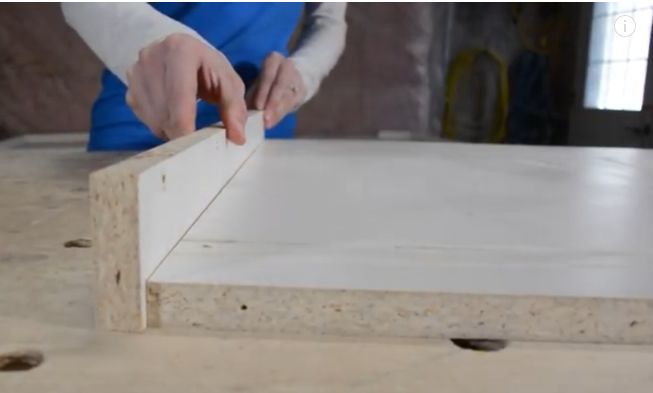
Step 1: Make the mold - Using white melamine make a mold to pour the concrete into. If your using polymer modified concrete you can make your mold as thin as 3/4" thick. If your using traditional concrete mix you will need to make it a minimum of 1.5" thick.
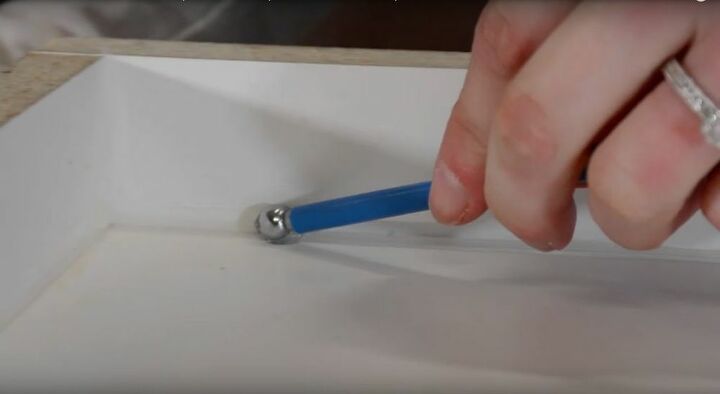
Step 2: Seal edges - We don't want water leaking trough the edges of the mold because it will swell the melamine. Use caulking to seal the edges and a Metal ball fondant tool to give a round edge finish in the form.
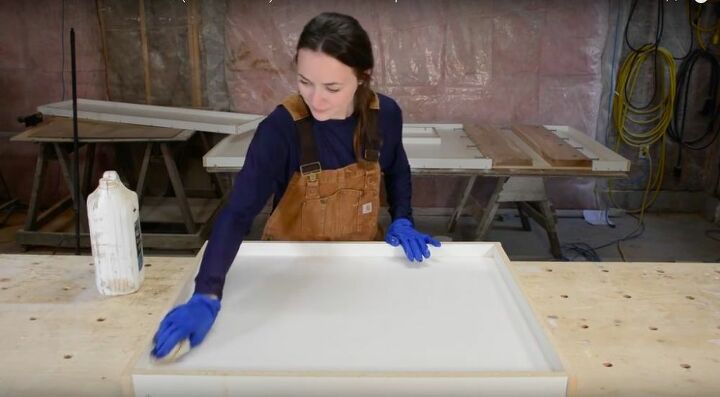
Step 3 : Clean The Mold - Vacuum the mold out and then use paint thinner to finish cleaning the mold. It's important that you don't leave anything in the mold as this will show up on the finished surface of your countertop.

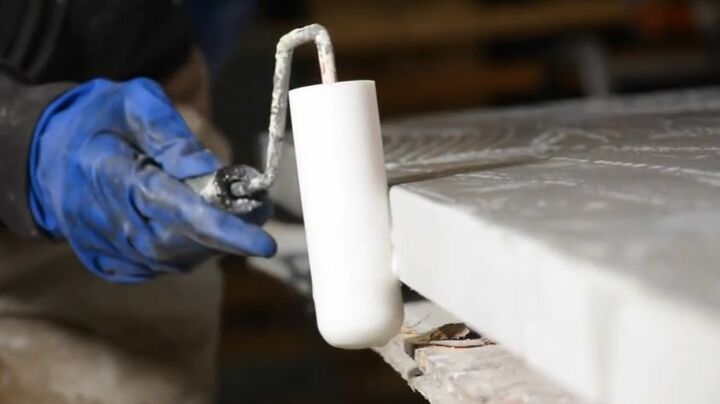
Step 4: Mix and pour your concrete - If your using traditional concrete mix 1 part portland cement, 2 parts sand, 2 parts pea gravel or 1/4 " crush washed gravel. If your using a polymer modified mix use instructions on bag. Once mixed use a to spay gun to apply the first layer of concrete into your mold this will produce a flawless finish. Next pour contents into mold and vibrate to remove air bubbles, this will also produce a smooth finished surface. Let mold sit for 48 hours with traditional mix or as little as 3 hrs with polymer modified mix.

Step 5 : Polishing your concrete countertop - Polishing can be a short or long process depending on what you want your finish to look like. If your after a flat look with limited aggregate exposed. You'll want to wet sand lightly with 200 then 400 grit diamond sanding discs to remove any heavy deposits of concrete on the back side of the countertop pour.
Step 6 : Sealing your concrete countertop - This is probably the most important step. Use a high quality sealer specifically designed for counter tops. In the video Heidi used surecrete sealer but there are many other good products out there. So do some research online and see what else you can find. One recommendation I would give when looking for a good sealer is make use it is a two part sealer. These tend to be far more durable.
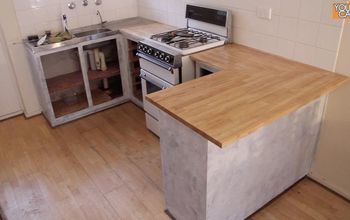
Installation was easy just use some caulking on the top of the cabinet and slide the countertop in place. If you liked this project check my other projects out on:
- Youtube @ youtube.com/c/timbertea
- Instagram @ instagram.com/timberandtea_
If you have any questions leave me a comment and I'll do my best to help!
Resources for this project:
See all materials


Comments
Join the conversation
-
There is no way I could do this but it gives me joy to know there are people in this world who have the confidence and pure grit to attempt such an undertaking.
The young couple just exude a sense of creativity and happiness.

-
Looks great! I admire you for tackling a job like that. I hope you enjoy your kitchen for many years.


Frequently asked questions
Have a question about this project?
How long did this take roughly per counter.
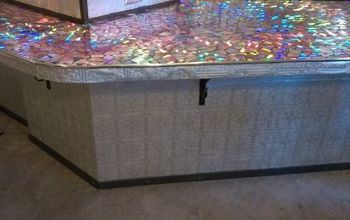
I think colored glass or some other colored material would be pretty-how would I incorporate that into the countertop ? Sand/grind it smooth ?
He has himself a cute wife....
How come they look like they did this a thousand times?
Maybe they move a lot....