


4th of July Garland - No Sew

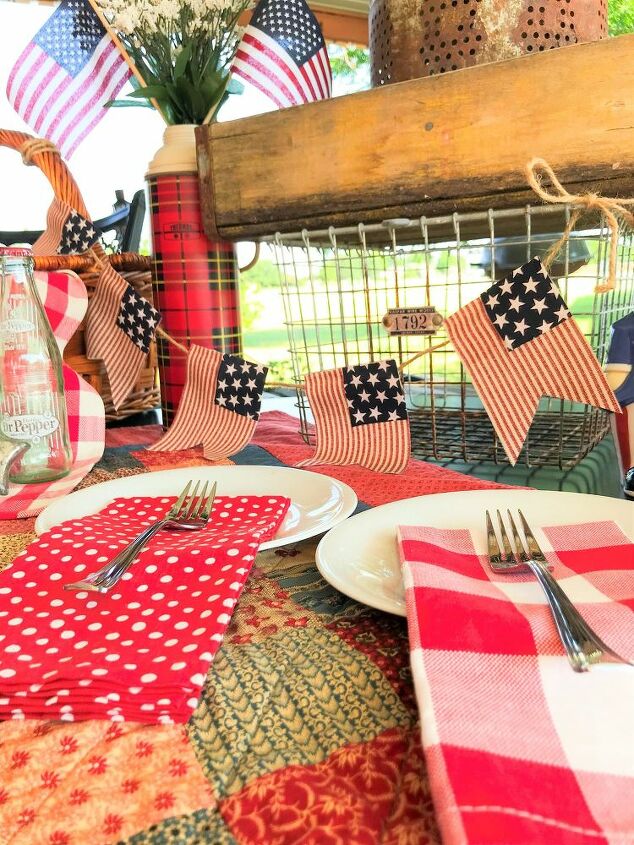
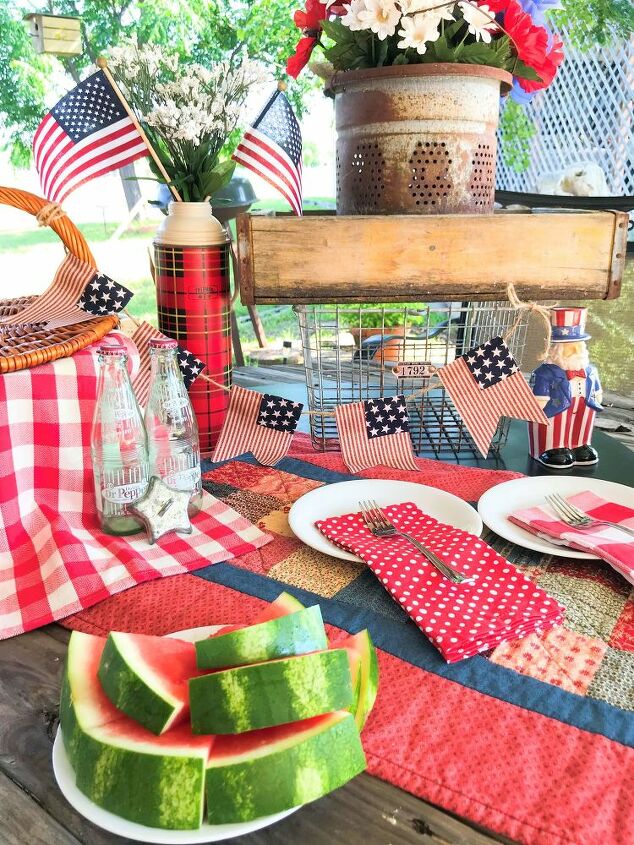
Sometimes you just need to have a picnic on the back patio and sometimes that picnic needs a theme! Actually this little set up was a tour I was part of on Instagram. You can take the tour HERE.
I'm going to show you how to make a little patriotic garland. Its really simple and no sewing! You should have time to whip one up before the 4th!
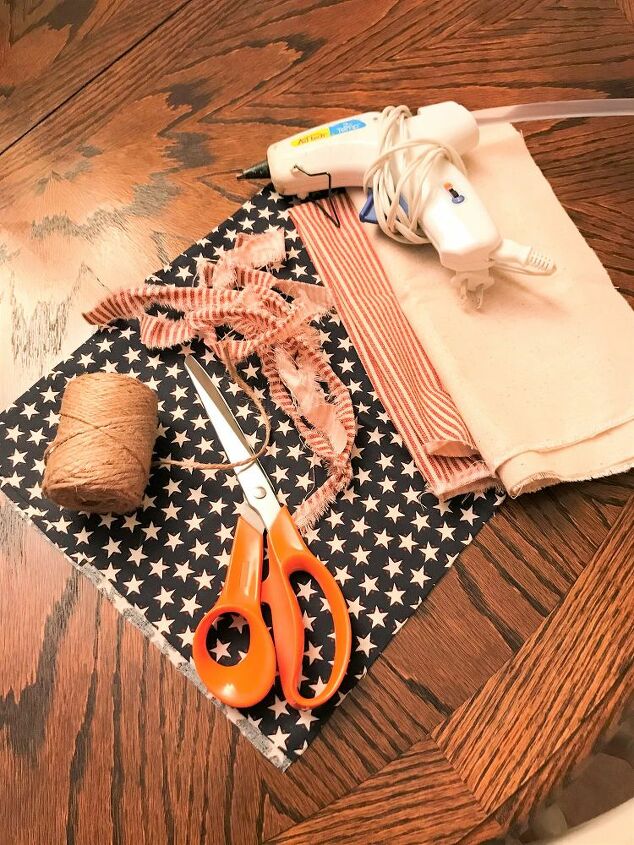
You will need the following to recreate my garland:
Red and white striped fabric
Small star fabric
Light weight muslin fabric
Scissors
Jute twine
Hot glue gun and glue
*Ignore the strips of fabric, I decided not to use those.
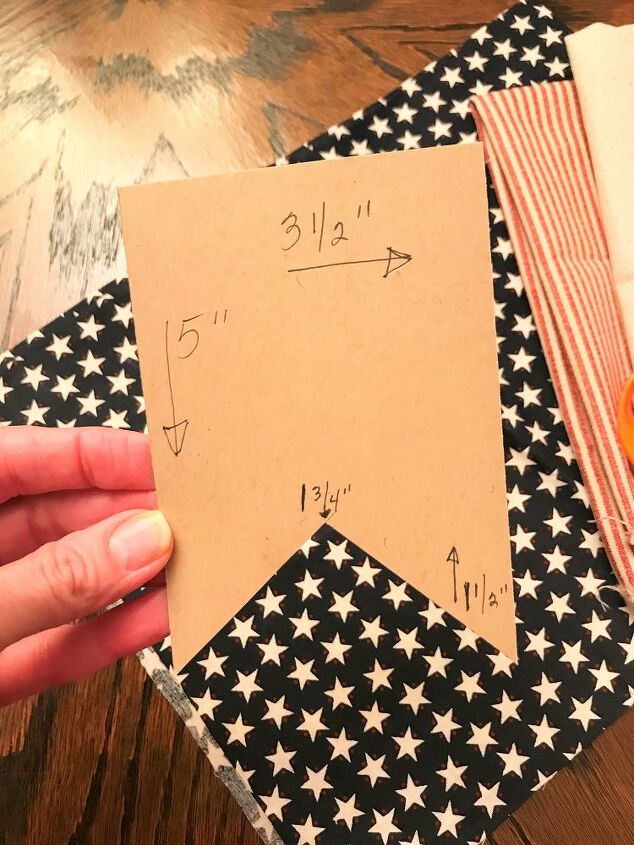
I made a template for each flag using a piece of kraft card stock. It's 5" long, 3-1/2" wide. I found the "center" at 1-3/4" and then measured up 1-1/2" for my points.
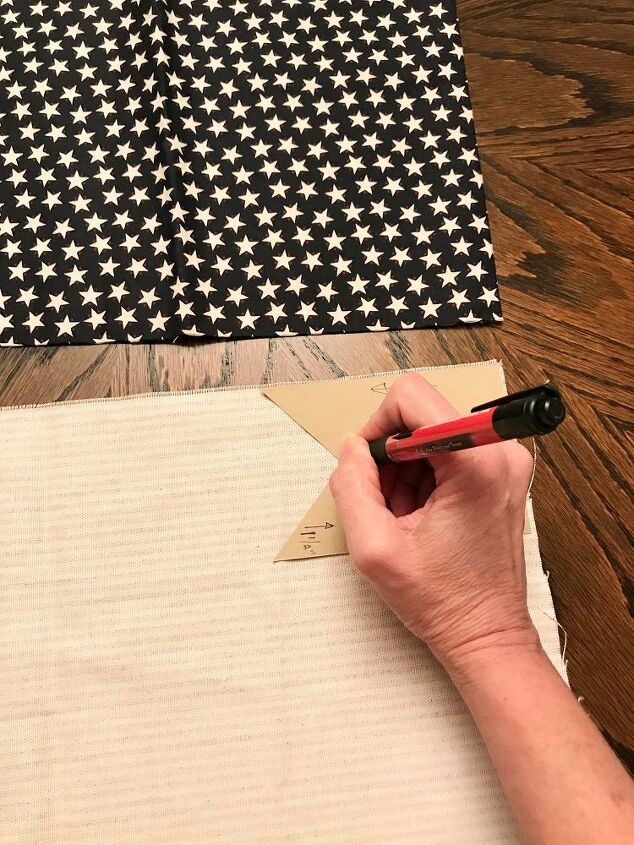
On the wrong side of your striped fabric, trace your flags. I made five (5) for my garland.
Trace them all at once making sure your stripes are going in the right direction.
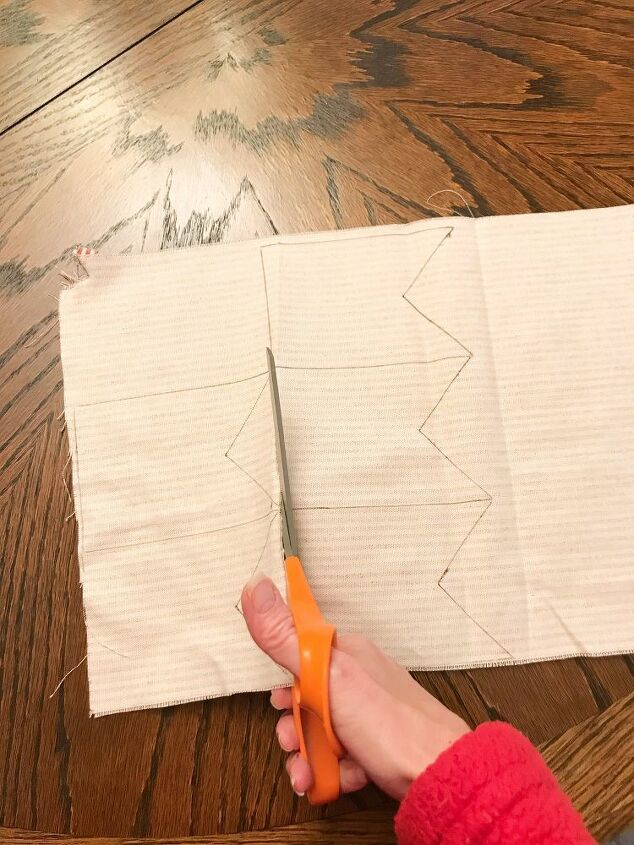
Now cut them out using a nice pair of fabric scissors for good crisp lines.
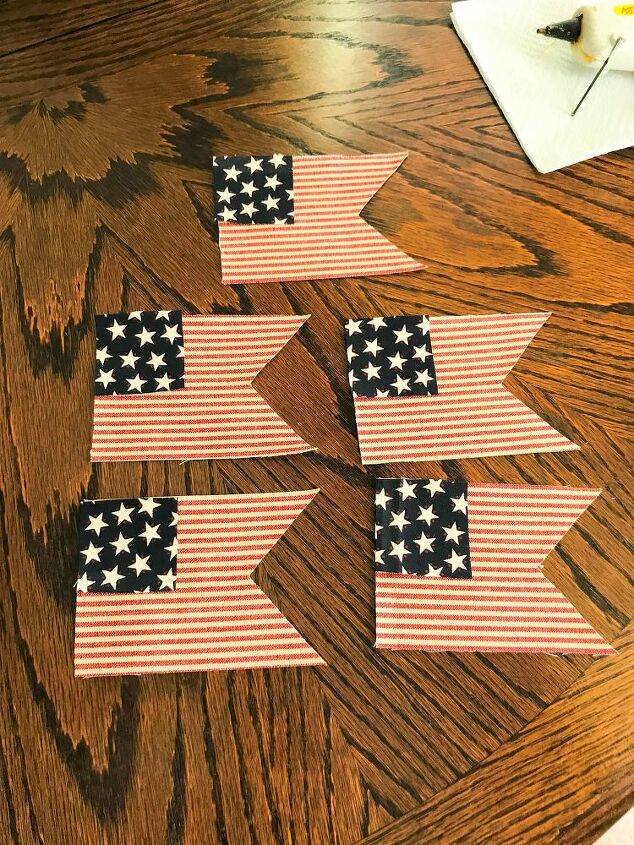
Now using the star fabric, cut out (5) 2" x 2" squares.
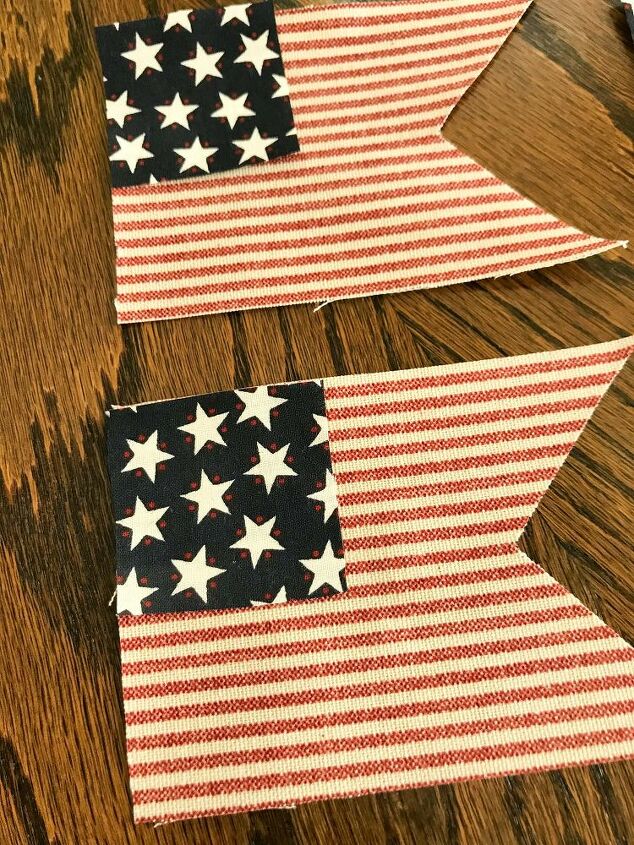
Attach the stars to the stripes using your hot glue gun on the low setting. It doesn't take a lot of glue, just enough to bond the fabric together.
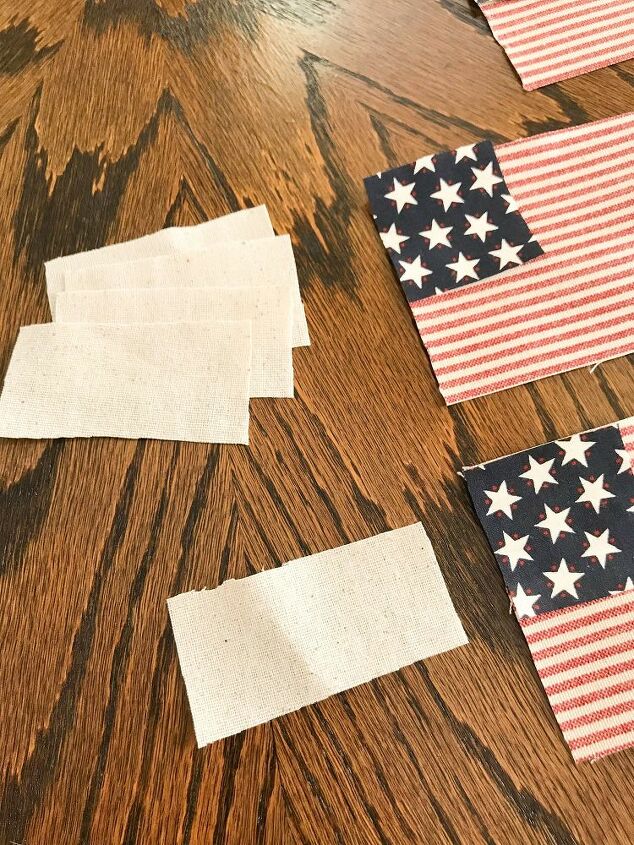
Now to make a little pocket for the twine to run through. Take your muslin fabric and cut (5) pieces that measure 5" wide by 1-3/4" tall.
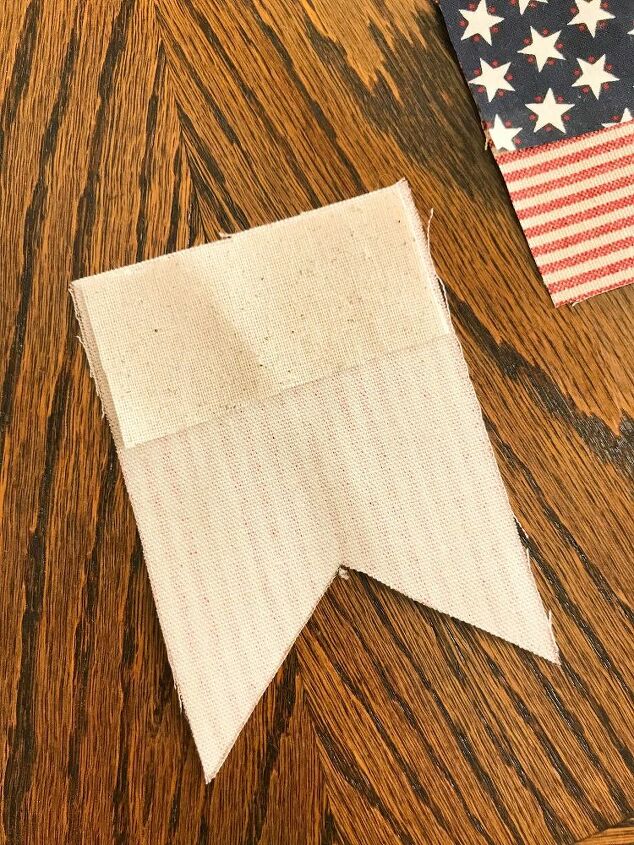
Using your hot glue gun on low, glue just the top and bottom of the muslin to the flag. Leave sides open so you can thread your twine through for hanging.
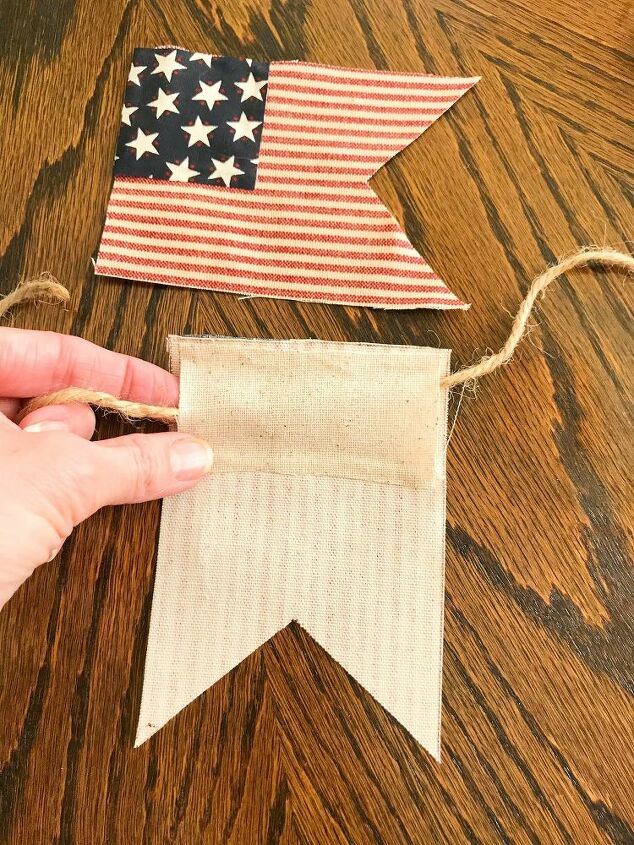
After your glue is cooled and you make sure everything is secure, thread a piece of twine through each flag. I cut my twine at about 4 foot long. You can always make more flags and make your twine longer if you need to.
I tied a small knot at each end of the twine to prevent it from unraveling.
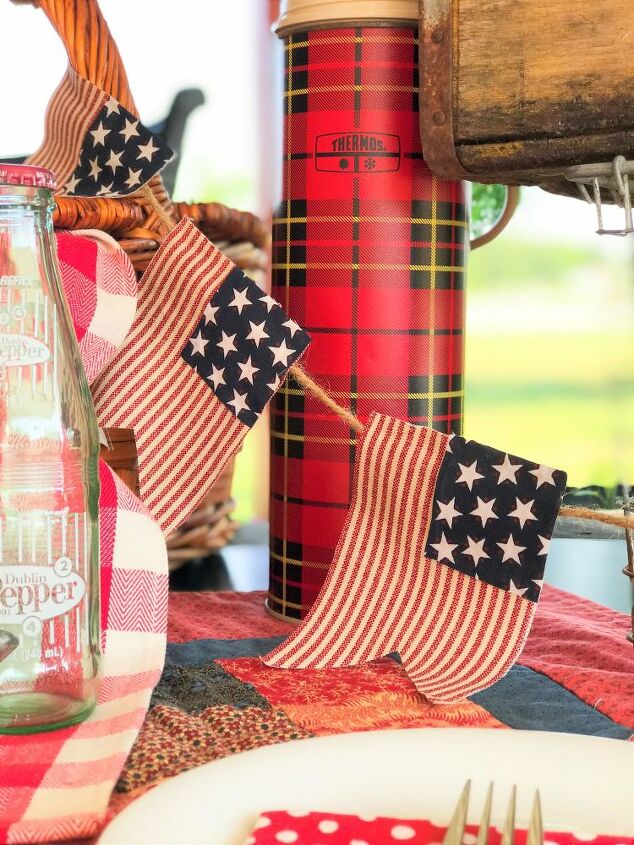
I think its adorable! It was so simple to make that I have even more ideas swirling around in my head to make more in the future.
After our picnic was over, I moved it inside of the house to the front of our fireplace screen. It looks cute there too!
Resources for this project:
See all materials


Comments
Join the conversation
-
This is so darn cute and easy! Glue gun compatible! Love it and thank you for sharing!
-
Cute and easy. I do agree with the direction of the flags though. So many people don't know there is flag etiquette.


Frequently asked questions
Have a question about this project?
If I wanted a reversible flag (so it could be seen from both sides) couldn’t I just glue another flag on the back with a pocket on the top?