


Build This American Flag Wall Safe Before the Fourth of July!

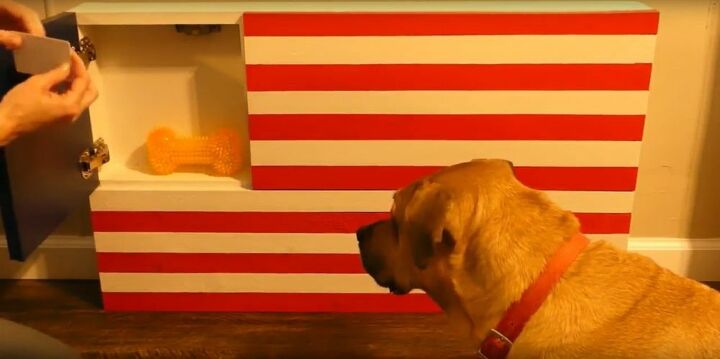
To anyone else, this looks like patriotic wall décor. Only you'll know it's something more. With three compartments secured by RFID locks, this American Flag Wall Safe has no key holes to give away that your priceless valuables are inside.
You'll need: (Affiliate links can be found on my website. Proceeds are donated to no-kill animal shelters and rescue organizations!)
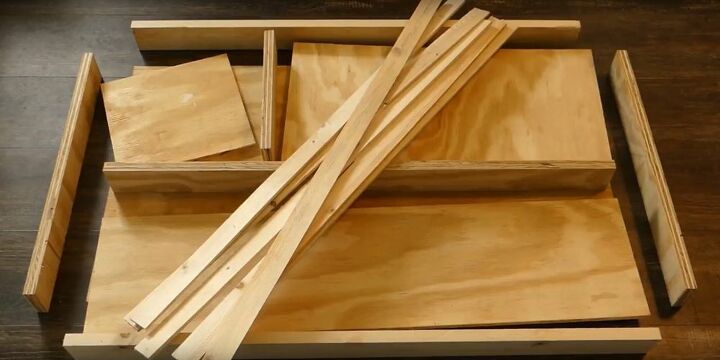
* 13 pieces of lath
* A drill
* Measuring tape
* Construction adhesive
* Caulk gun
* Safety glasses
* A pencil
* Table saw
* Miter saw
* Red paint
* White paint
* Blue paint
* Paint brush
* 50 - 1" wood stars
* Super glue
* 6 concealed hinges
* 1.5" screws
* 3 RFID locks
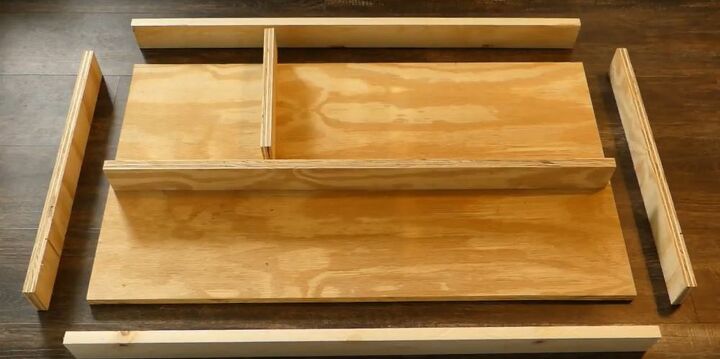
Using the table saw and miter saw, cut the 3/4 inch thick plywood to these measurements:
* Back piece: 20 and a half by 36 inches
* Top and bottom: 2 and ¾ by 36 inches
* Left and right sides: 2 and ¾ by 18 and 7/8 inches
* Inner vertical: 2 and ¾ by 10 and 1/4 inches
* Inner horizontal: 2 and ¾ by 34 and a half inches
* Blue field compartment: 11 by 11 and a half inches
Cut the half inch thick plywood to these measurements:
* 7 Stripe compartment: 11 and a half by 25 inches
* 6 stripe compartment: 9 by 36 inches
For the stripes: I’m using lath that measures about one and a half inches wide. Cut 7 of the stripes at 25 inches long and the remaining 6 at 36 inches long.
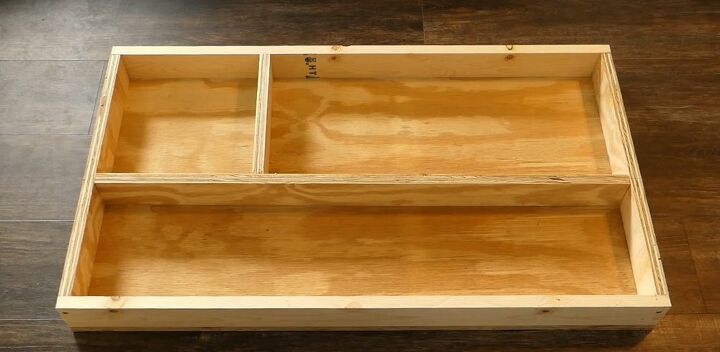
First, drive screws through the back piece and into the top, bottom, and sides to create the frame.
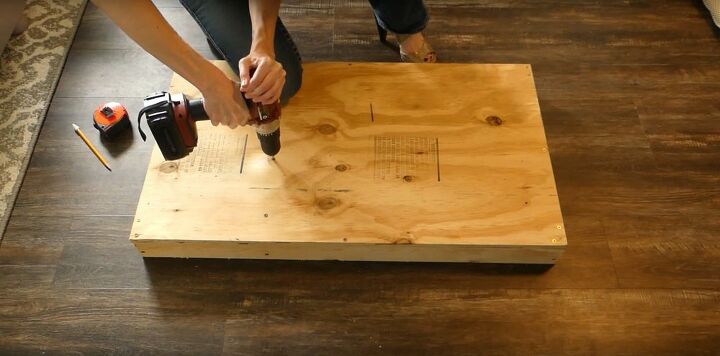
The inner vertical piece should be screwed in at 10 ¾ inches from the left and your inner horizontal piece should be screwed in at 11 inches from the top to create the compartments.
Your compartment door pieces should fit on top with no overlap around the outer edges.
Paint the compartment doors, the stars and stripes, and the rest of the wall safe.
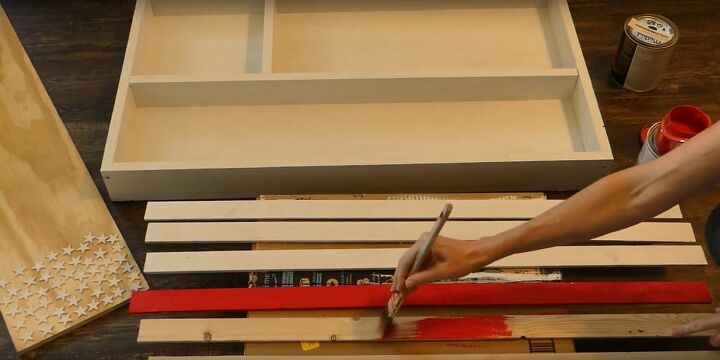
Assemble the striped compartment doors - 7 stripes will go on the upper right compartment and 6 on the bottom compartment. Run a bead of construction adhesive on the back of each stripe and press firmly onto the door. Make sure no glue seeps out around the edges and allow to fully dry.

Following the instructions for full overlay, attach two hinges per door. They can handle small alignment corrections so tweak them until they can open and shut without touching the other two doors.

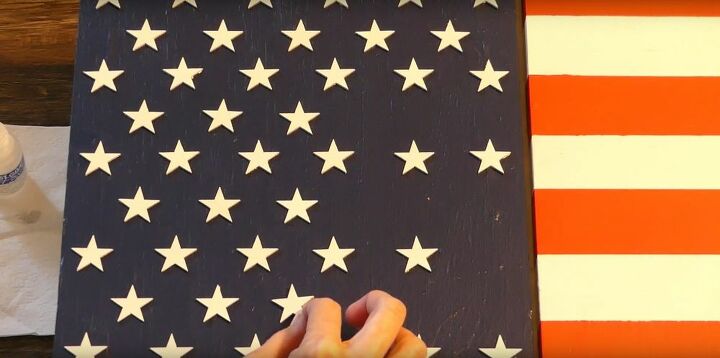
Once the blue field compartment door is in place, glue the stars on. I used super glue since construction adhesive is too bulky for these little pieces.
Program the RFID locks and then attach according to the manufacturer's directions. I highly recommend programming them before securing to the inside of each compartment.
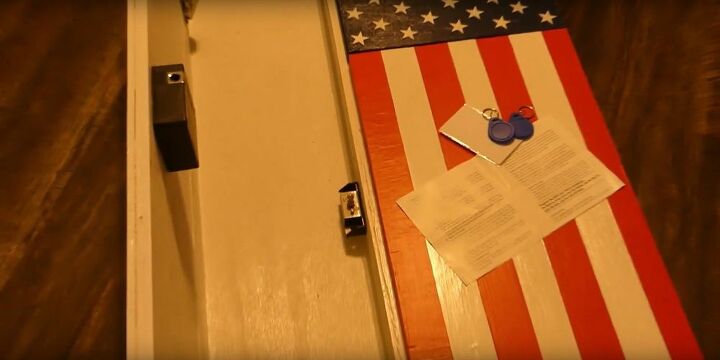
The finished safe is pretty heavy so secure it on the wall via the studs and appropriate hardware.
Watch the video link for the entire tutorial!

Resources for this project:
See all materials


Comments
Join the conversation
-
Nice! But I had to laugh when I saw you wearing heels at the table saw 😆.
Thank you for sharing this project.
-
Beautiful flag project. Fantastic instructions. The best I've ever seen here.
and.....
GOD BLESS AMERICA!


Frequently asked questions
Have a question about this project?
Loved the idea! And, the donations going to a no kill shelter💝What is the link to your website? Or, did I miss it?
How does that lock work??