


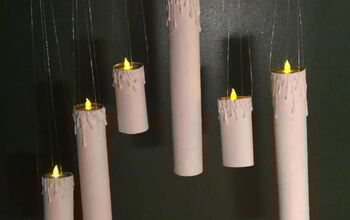
DIY Halloween Candles
I love crafts that are fast, inexpensive and make a big impact, like my DIY Halloween ghosts and my DIY Halloween apothecary jars. These DIY Halloween candles check all the boxes too. The options are endless, if you can print it, you can create it!
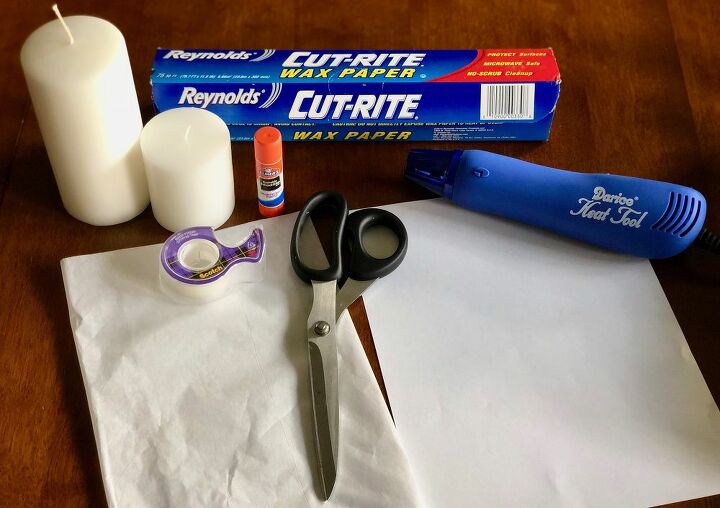
Here is what you'll need:
- candles
- wax paper
- card stock– went through my printer better than plain paper
- tissue paper
- scissors
- tape and glue stick
- heat tool-you can also use a blowdryer
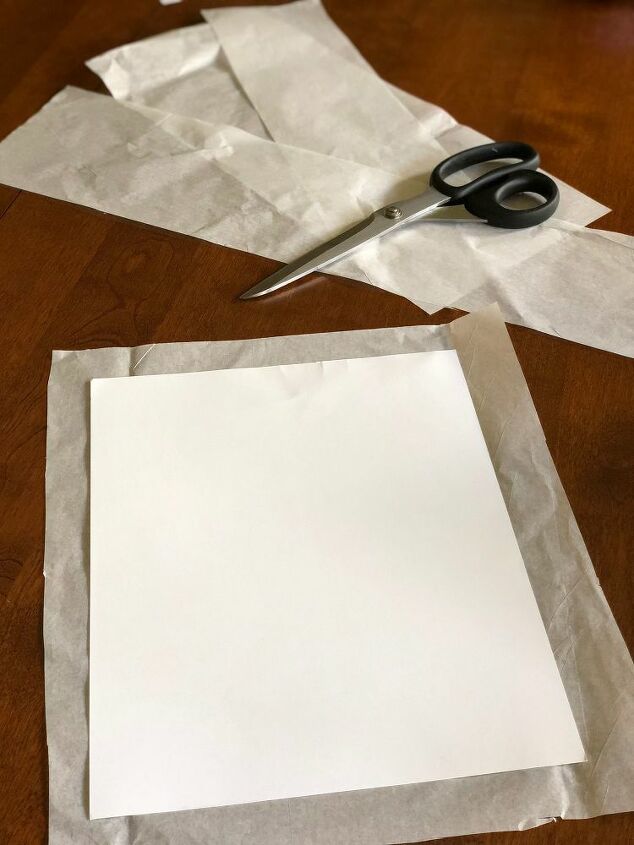
The first thing to do is to pick out your images online. Next wrap your card stock in tissue paper and tape SECURELY around all edges so your printer doesn’t catch and rip it.
Make sure it’s tape all around the edges and that you know what side it’s going to print on when you feed it into your computer.
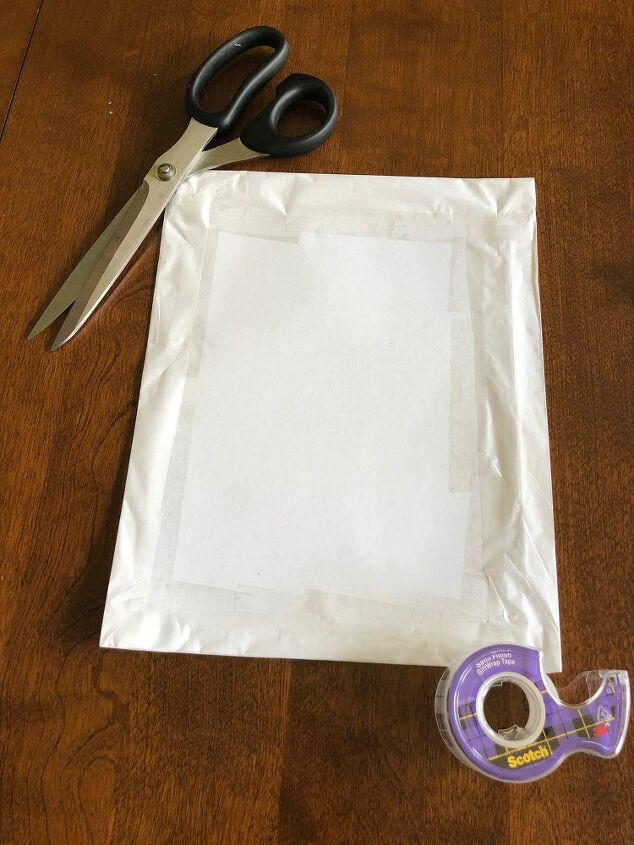
Print your images and cut them out. You no longer need the card stock.
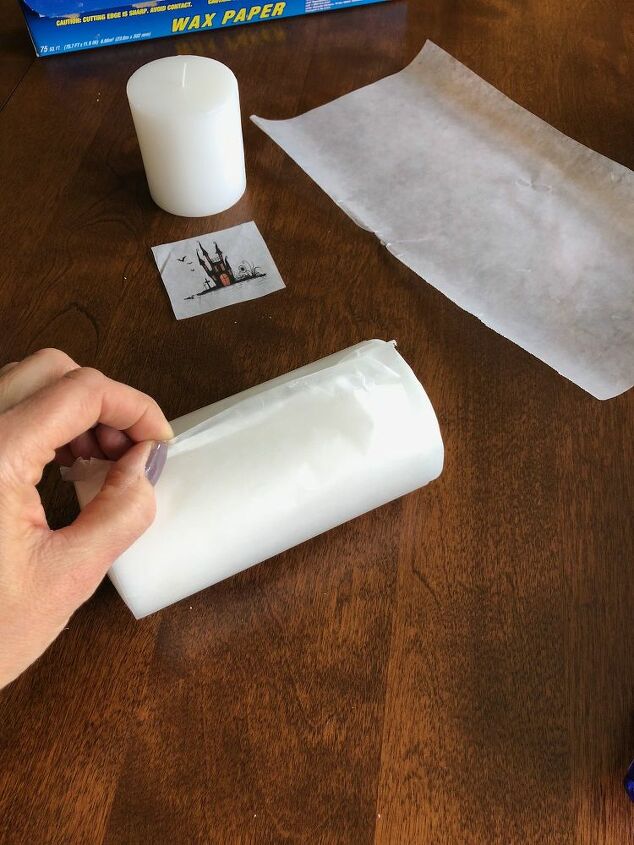
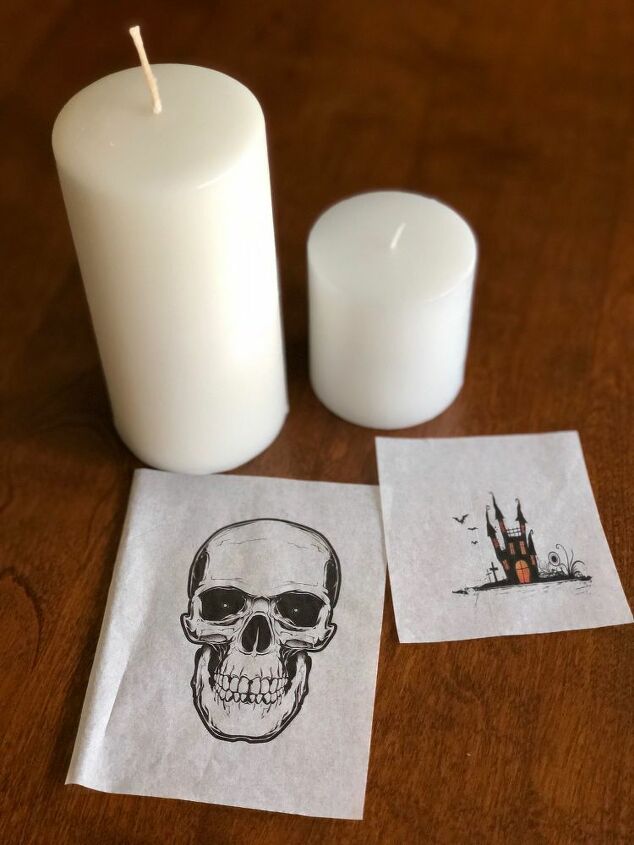
Here is where the magic happens. Place your image where you want it to be on your candle, ink-side out (NOT towards the candle) and wrap a piece of wax paper TIGHTLY around it. I fold the edges to make them more secure.
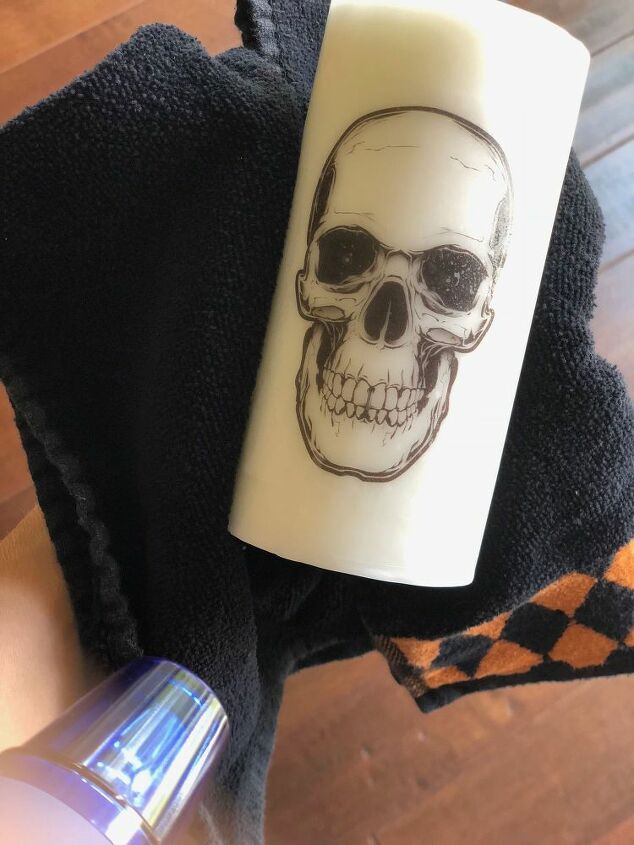
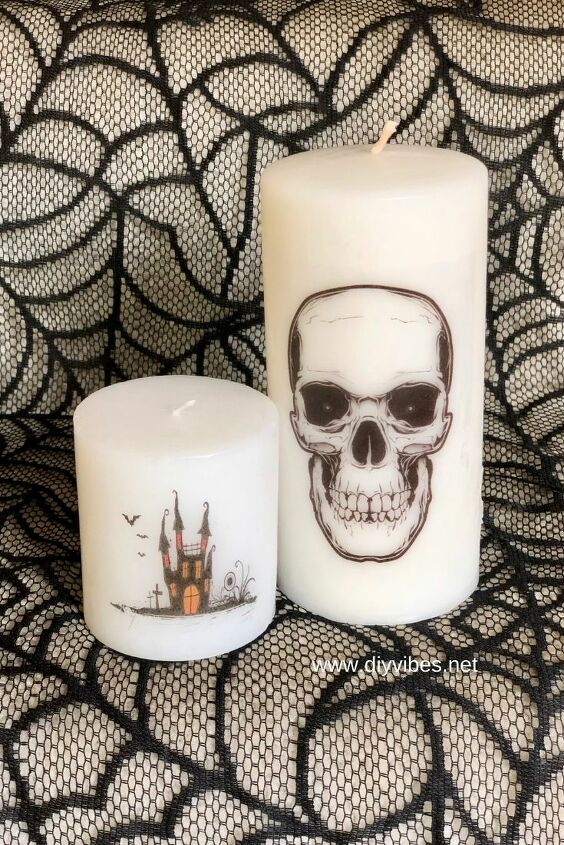
Now grab an oven mitt or a towel so you don’t burn your hand. Start using your heating tool or blow dryer on the image until you see it turn shiny. Place the candle down and let it cool for a couple minutes. Peel off the wax and you’ve got yourself a Halloween candle. TAH-DAH! Wasn’t that easy? The options are endless. These are great for any holiday or as gifts.
Resources for this project:
See all materials


Comments
Join the conversation
-
why didn't I think of that? Fantastic idea.
-
This is super cool! I'm going to give it a try.


Frequently asked questions
Have a question about this project?
I'm curious...how does this work with the ink facing out? I would think in order for the print to transfer onto the candle you'd need the ink touching the candle.
Am I missing something? Thanks! (Honest question)
Does the color of the tissue paper have to match the color of the candle?
Would this work on glass, do you think?