


Large Globe Light Fixture

A friend saw my rustic kitchen light fixture and asked if I could adapt it to use these large Ikea globes she just had to have. I said YES! Here's the process.

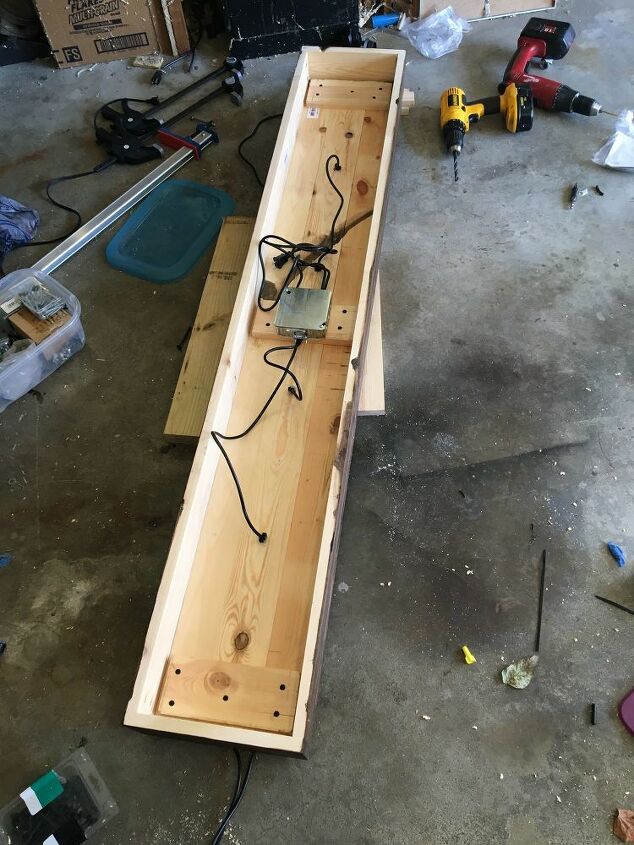
My buddy Emily had just built a large dining table from barn wood off a farm that had been in her husband's family for years. She wanted a long light fixture to go with the 72" table. I settled on a 64" box/frame like a previous fixture, but used all new wood this time. The lamp face (Bottom?) is 64" long and 10 1/2" wide (the width of three 1x4s). The sides are cut 1 1/2" shorter to make up for the thickness of the ends (2 x 3/4" ea). I opted for pocket screws on the inside for the frame. These seven pieces along with their scraps will make up the wooden section of the fixture.
Here's a list of what you'll need:
- wood
- screws
- drill
- clamp
- stain
- electrical box
- tape measure
- pendant light cords
- cord grips
- zip ties
- washers
- brackets
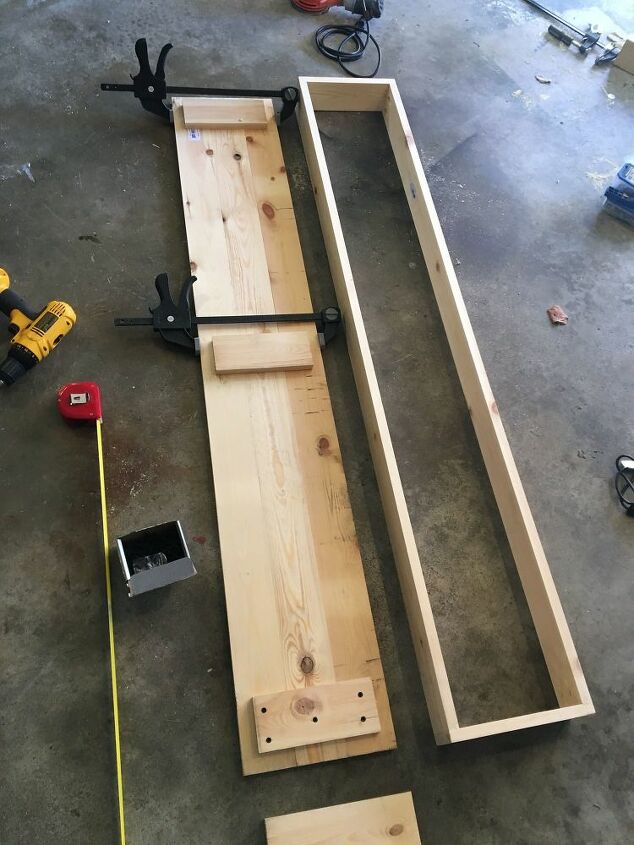
I built the frame first, and then lined up the 1x4 boards for the lamp face. Make sure you know which side of the board you want out vs. in. Here you can see I'm using scraps from the 1x4s to tie the boards together. A clamp or two holds it all together while I put in No 6 x 1 1/4 drywall screws.
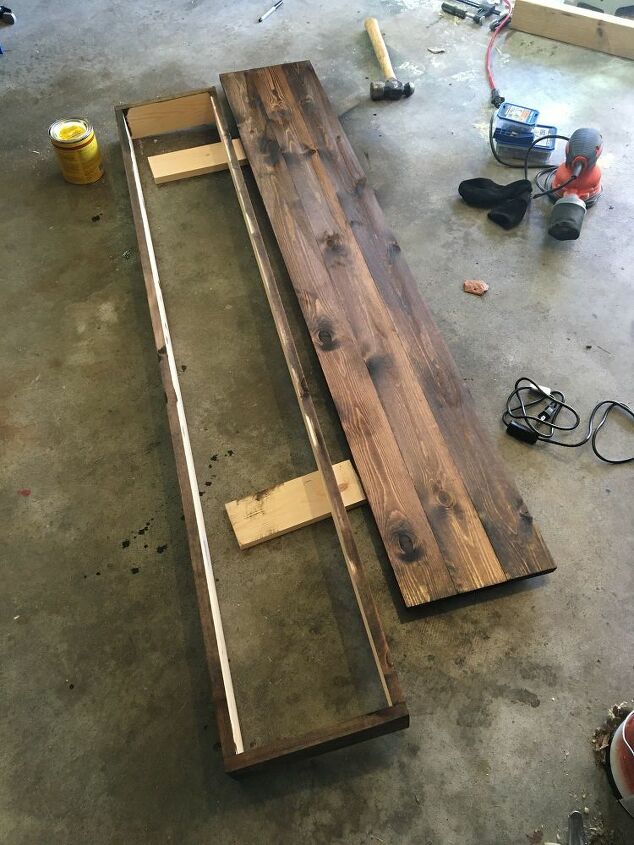
Once the two pieces are built I stained with Minwax Espresso (my personal fave). I use an old sock inside out and go one coat, making sure my strokes go the full length of the boards as I apply the stain.
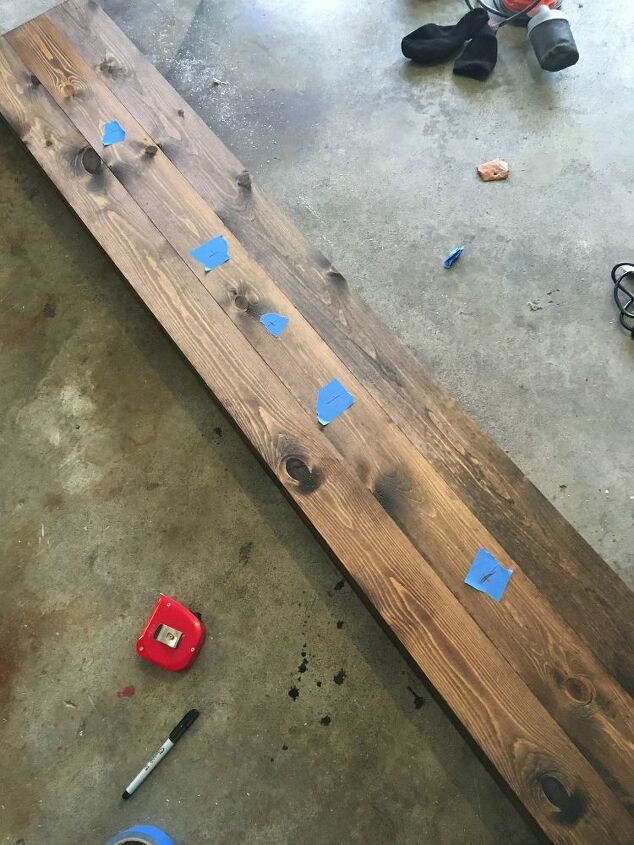
Earlier we had placed the globes on Emily's table to see how big they would look in the room, and decided on putting an inch between them. I measured the four globes (11 1/2" - they're huge!). This math was harder than it looked. Next time I'll make a cardboard template for the spacing, and simply land it in the center of the fixture. FYI this is a 37 1/2" span, but you can do whatever you like or think looks good etc.
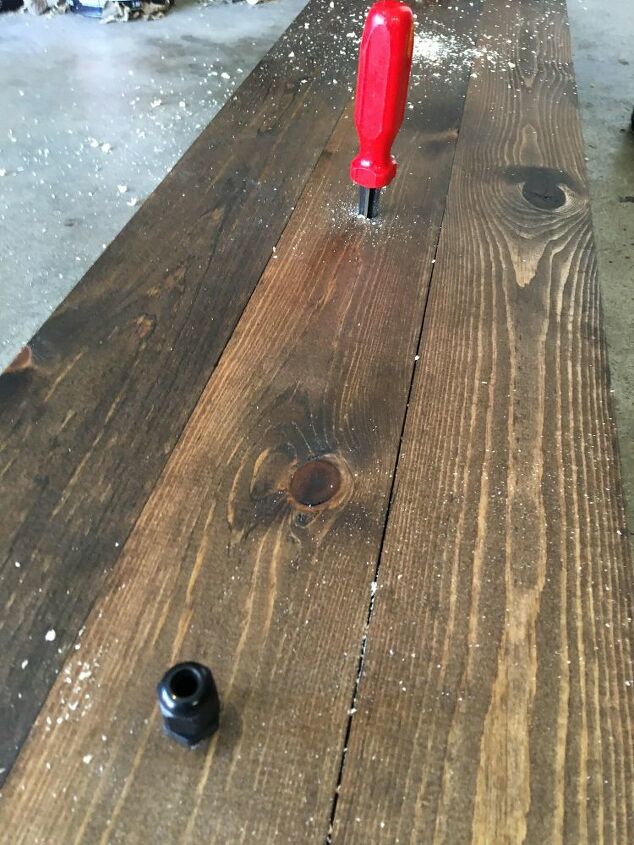
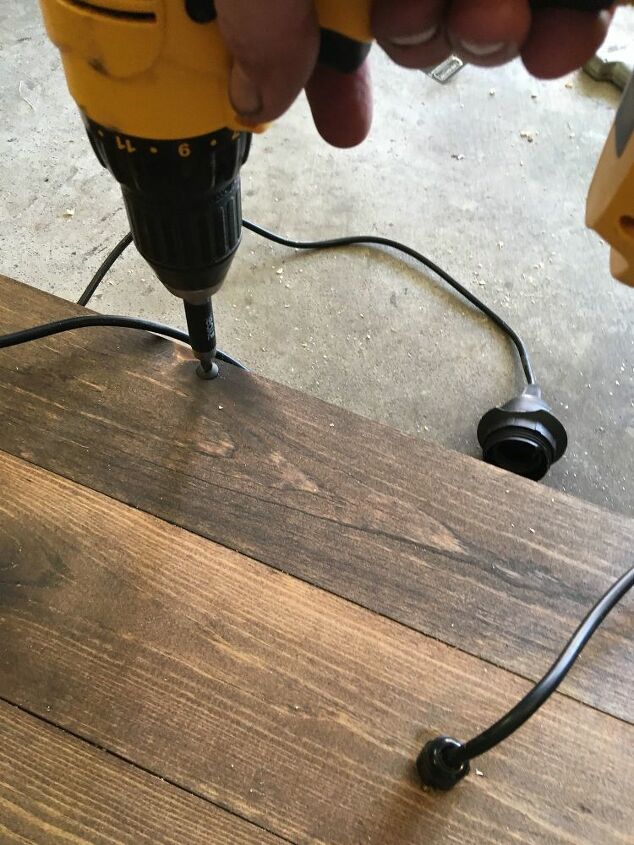
I drilled 1/4" pilot holes in the lamp face, and then using a hand reamer, slowly opened up the holes until my cord grips would go in tightly. These are super popular around industrial electricity, I decided to borrow the techonology for home use. (NOTE: The IKEA lamp cords did not come with included cord grips so I bought an assortment box from Amazon to make sure I'd get some that would work.) The threads actually gripped the pine fairly well, but I backed them out and added some super glue gel afterwards just in case. Here you can see one cord grip installed.
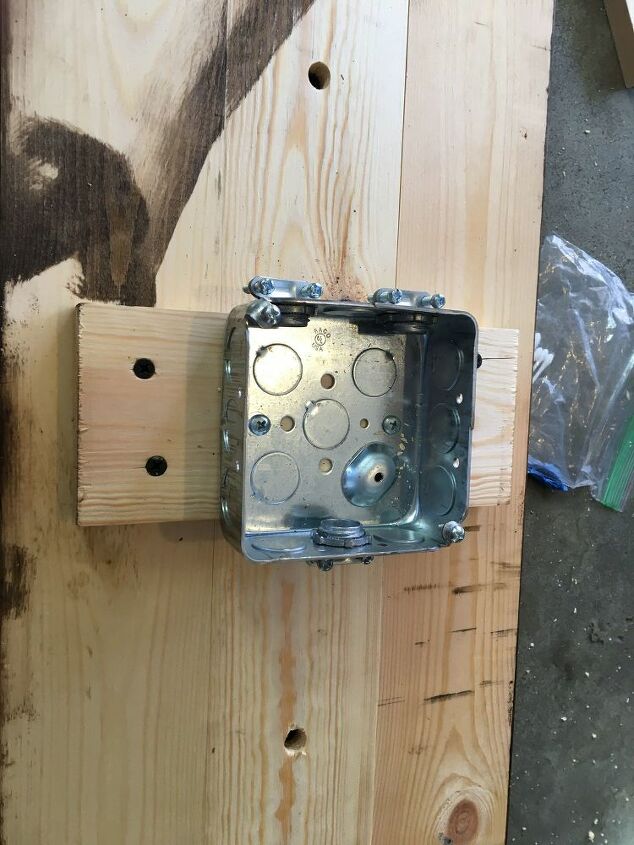
Flipping the lamp face (bottom) over I attached a 4x4 electrical box with NM cable clamps in three knockouts. I used a couple of spare No 10 x1/2" sheet metal screws. Another one of those things handy to have around. Buy a box of 100, because you'll never know when you might need them.

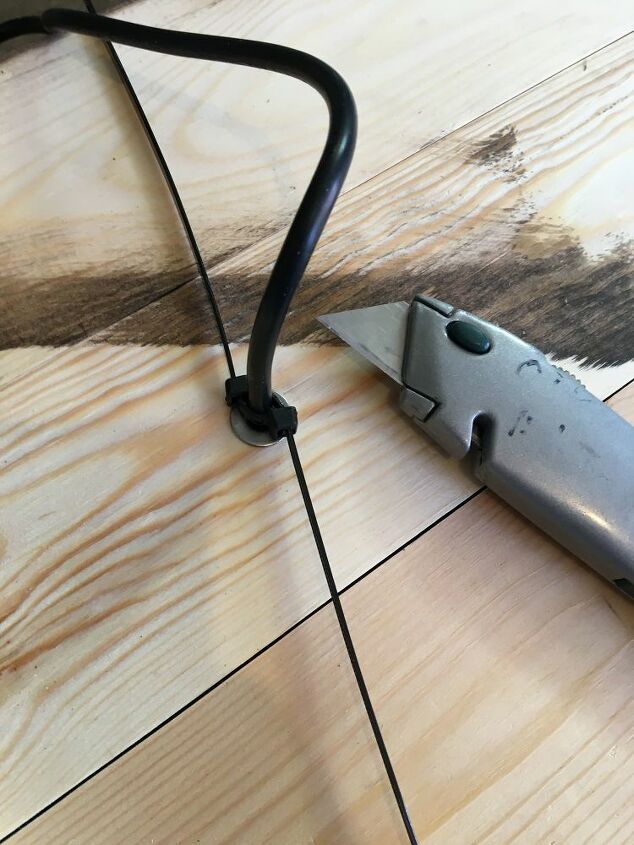
The pendant light cords from Ikea were matched to Emily's globes. I cut off the plugs and inserted the cables thru the bottom side of the lamp face. On the back side I added a 1/4" washer and two wire ties end-to-end for strain relief. Remember to trim them with a box cutter not side cutting pliers for safer edges/ends.
NOTE: The globe height is still adjustable with the cord grips providing the adjustment point 
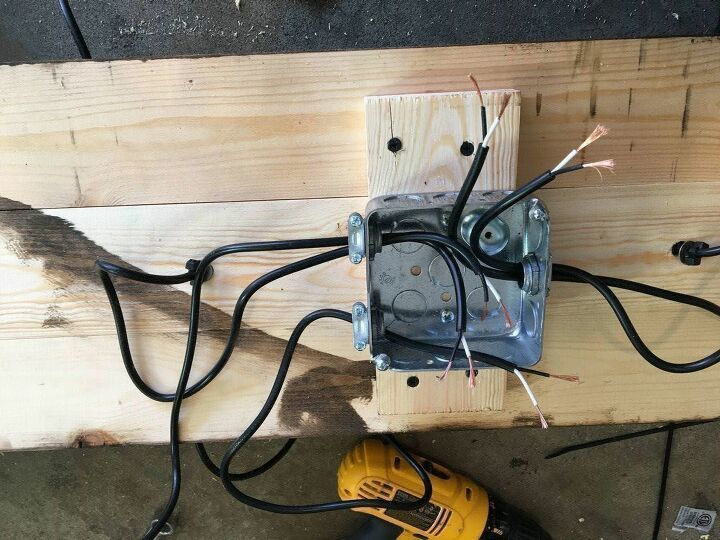
I brought in two pendant cords each side, and one of the plugs previously cut off. I used two yellow wire nuts to tie the five black and five white wires together. I observed polarity markings the whole time. If this sounds scary, take time to research it, or find a buddy that knows some electrical. I swear it's not too difficult or I wouldn't post it here.
Note: I removed the existing fixture at Emily's house and installed a ceiling outlet, just like I did in my own kitchen. Check local codes to see if this is possible in your area. Again, ask an electrical buddy if you need to. (The biggest safety concerns for the ceiling outlet are min 6' from any water source, and bonding. Your locale may be different)
Install the lamp face onto the frame. I used some cabinet screws for appearance. Take your time to make sure the frame and lamp face are square/lined up. I marked each piece on one corner with some masking tape so later I would know how it went together. PRE-DRILL YOUR HOLES!
This is a good time to test your electrical. Put a bulb in each socket. Plug into an outlet strip so you have an easy switch to control it. When it all works be sure and put a 4x4 cover on your electrical box.
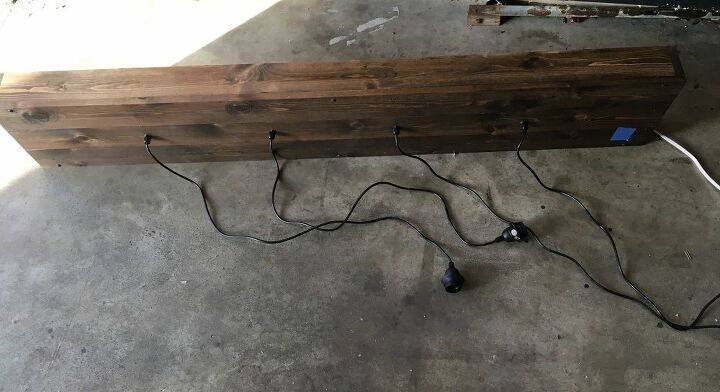
All assembled and ready to transport to Emily's house!
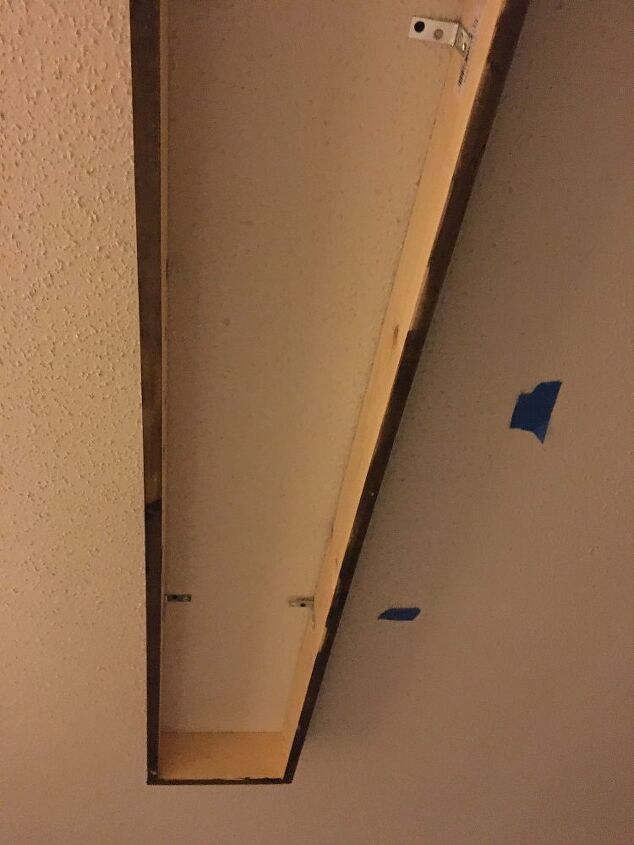
We measured and measured to get the placement right. You can see we used a stud finder and found every ceiling joist. I took the lamp face off and installed a couple of brackets where they would line up with the joists, and still have the end of the frame placed over the table. I mounted these L brackets down about 1/4 below the top edge of the frame using the supplied screws so they would be sure and draw up firmly against the ceiling. This part takes two people for sure. Thankfully it's not heavy. Four each of No 8 x2" drywall screws up into the joists make everything secure

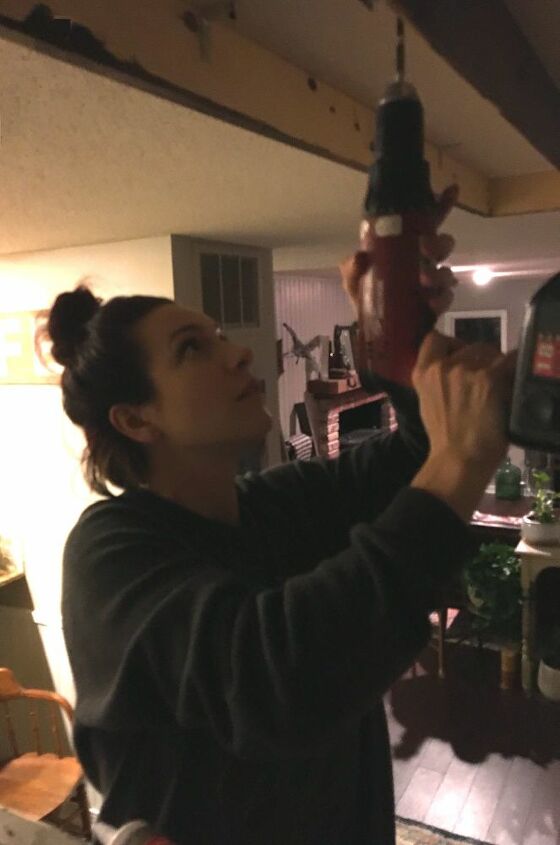
Here's Emily putting in the last screw to hold the frame to the ceiling. I wanted her to have some pride in the installation as well as the idea 
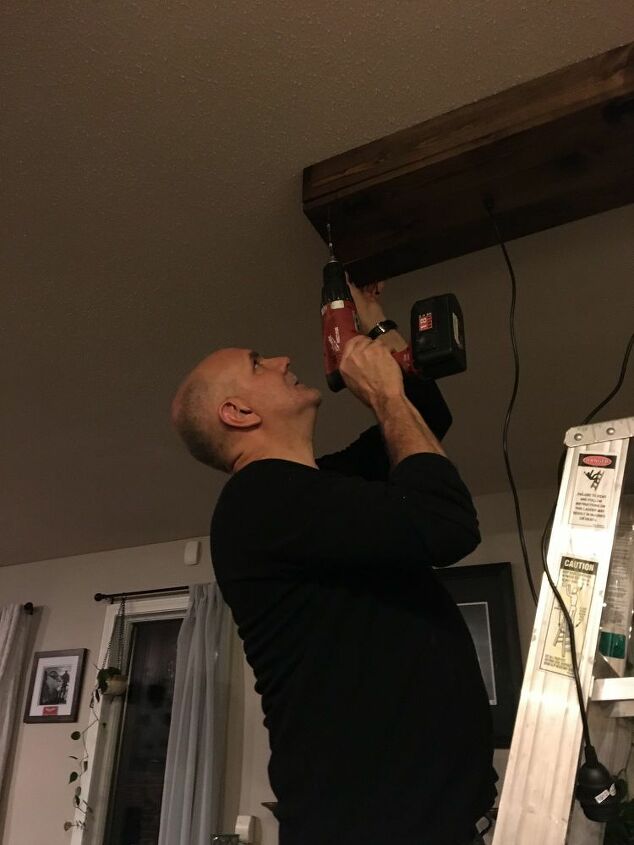
With Emily holding the other end in place, I re-attached the lamp face to the frame using the same screws as before. Make sure you have the face and frame lined up like before so your screws and holes match.
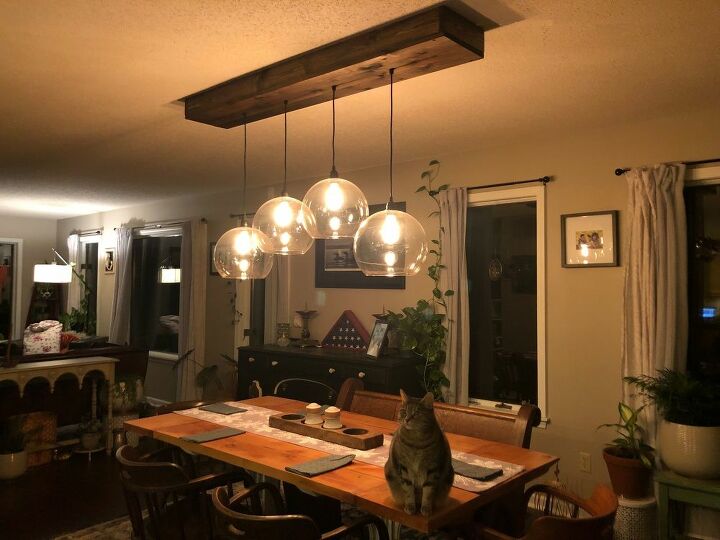
Here's the finished fixture with globes attached. Hopefully the cords will straighten with time. Just ten days later they look better.
Holler if you have any questions, and please comment if you have an idea that will make this better/easier for someone else.
Resources for this project:
See all materials


Comments
Join the conversation
-
Wow that's the awesome DIY work!
-
O MY GOSH!!! THIS LOOKS AMAZING!!! GREAT JOB!!!! wished I could do this in my kitchen.


Frequently asked questions
Have a question about this project?
Will you come to my house?! Wow. So nice. Perfect with the table. Hope you signed and dated your work.
How would you hang on a sloped ceiling? Should I shorten one side of the box ?
Not a question. Just showing I did this one. Their not hard and so cute! Excellent project. Thanks for the ideas.