


Snow Covered Pine Cones

I love using natural elements in my Christmas decor. Nothing screams Christmas more to me than pine cones. I have them everywhere. They are a great filler that you can keep out all winter, in my opinion. I normally use just plain pine cones, but this year I wanted to add a touch of snow. So, I decided to DIY some snow kissed pine cones and this process couldn't have been easier. I love budget friendly and easy DIY projects!
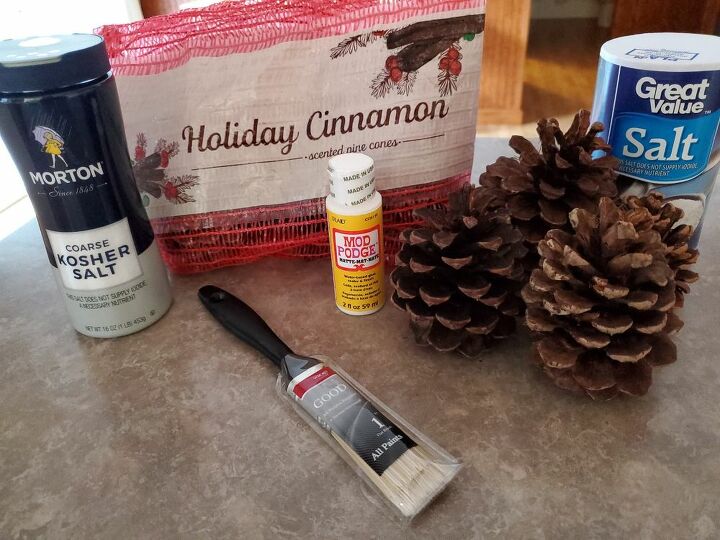
Material List:
- Pine cones (store bought or found will work)
- Mod Podge Matte
- Salt (fine)
- Kosher Salt (coarse)
- 1 inch paint brush
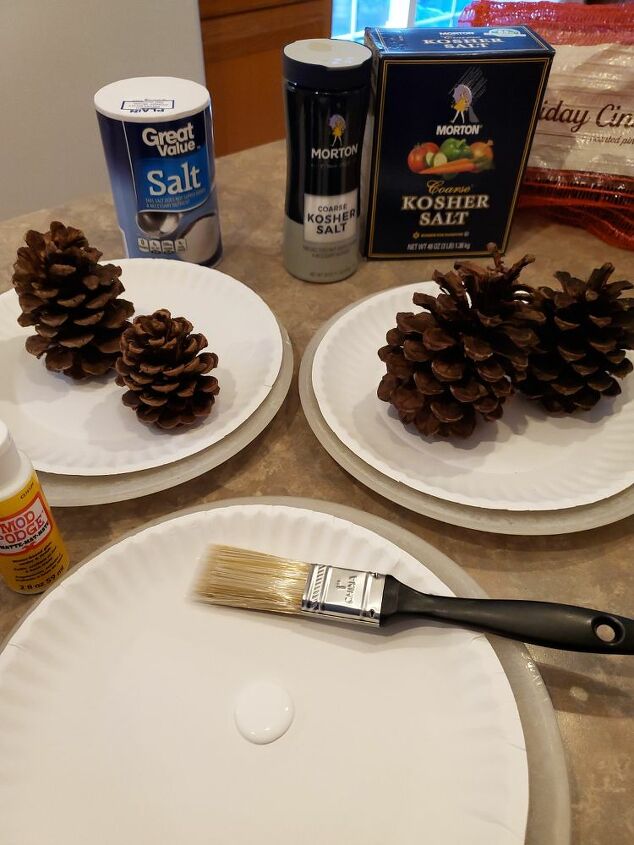
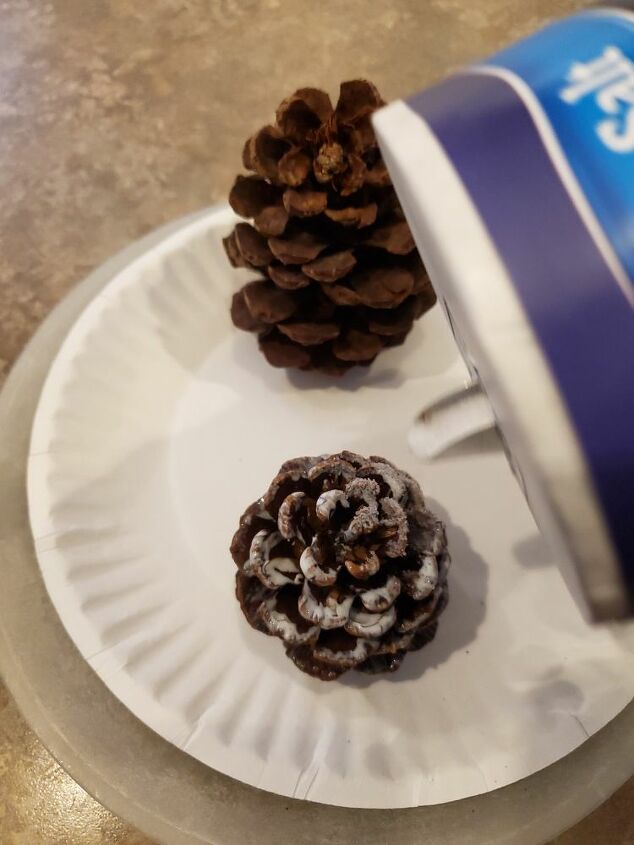
I prepared my work area using paper plates on top of plastic plates so I could reuse the over spill of salt. I also used another plate for my mod podge. That allowed me to control how much product I was using.
*Tip- walmart sells the 2 fl oz. size for 97 cents.*
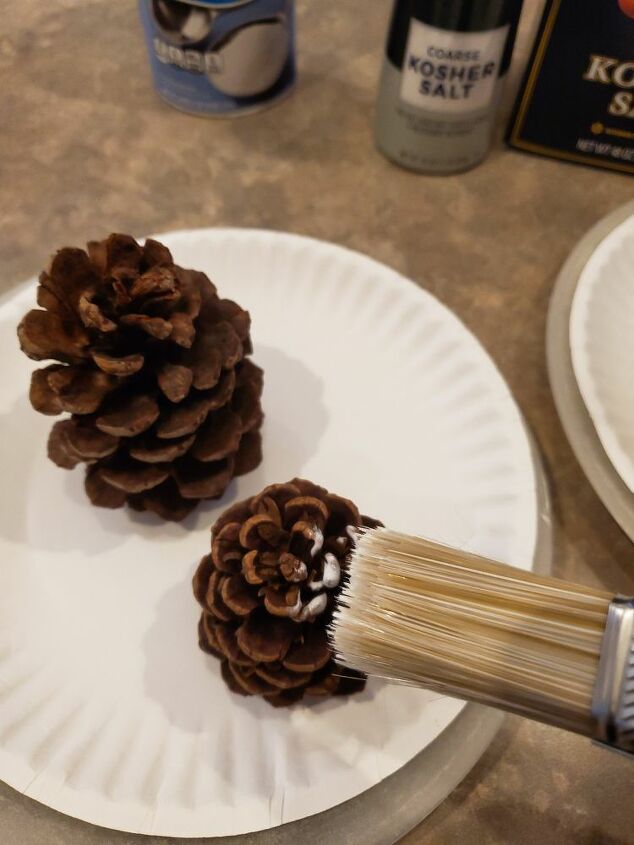
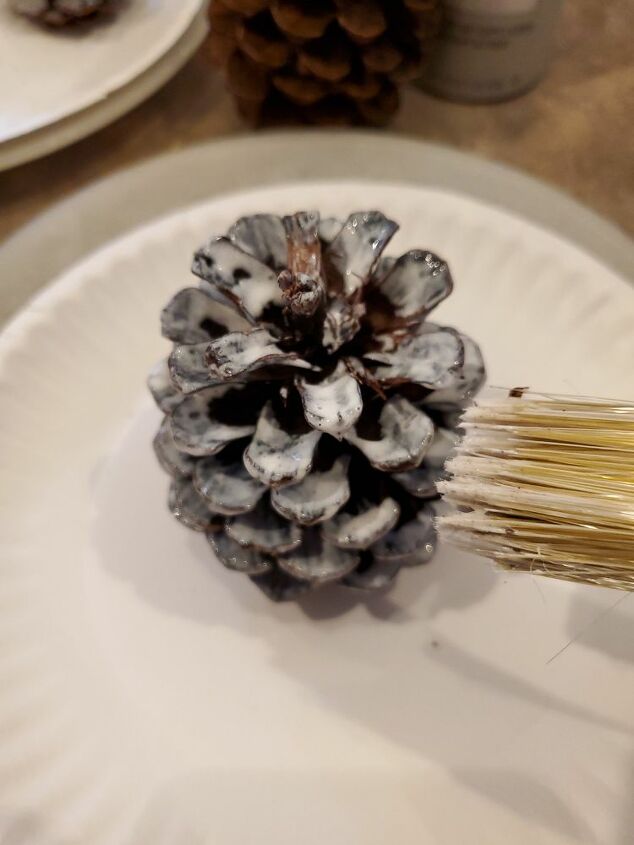
Since this was my first time using mod podge I started off conservatively and applied the product to the edges of the pine cone.
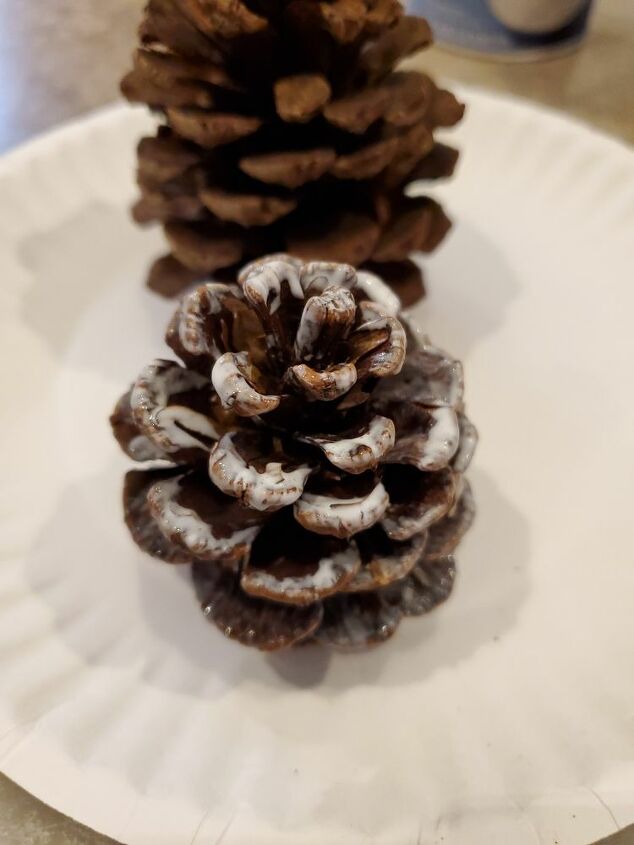
This is how the pine cone looks once it is is completely painted with the mod podge.
Then I started pouring the fine salt all over the pine cone and covering the mod podge.
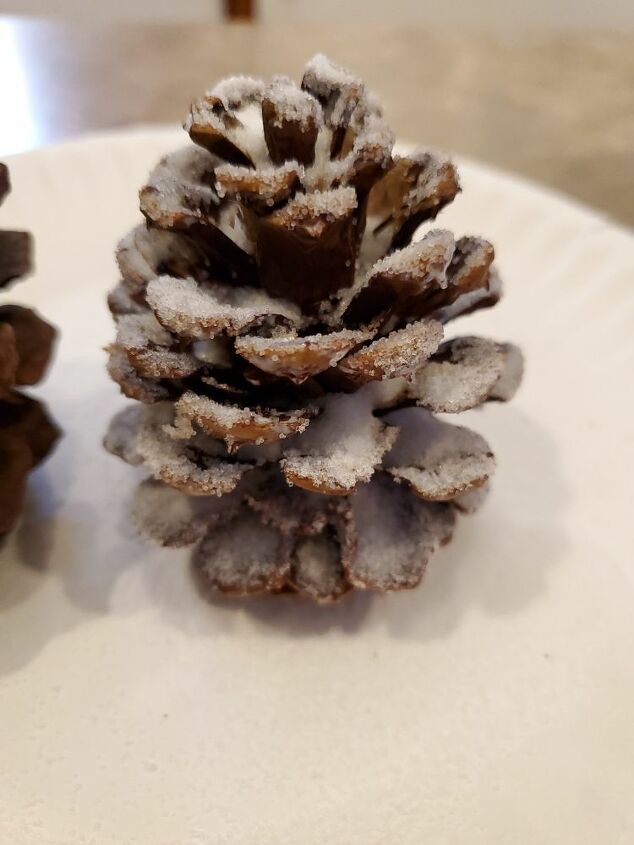
This is how the pine cone looks prior to gently knocking off the extra salt. If you use paper plates you can be heavy handed with your salt and still reuse what doesn't stick to the pine cone.
I did a few pine cone with the fine salt and then decided to use the coarse salt on the others. I wasn't sure how the coarse salt would stick so I put more mod podge on these ones.
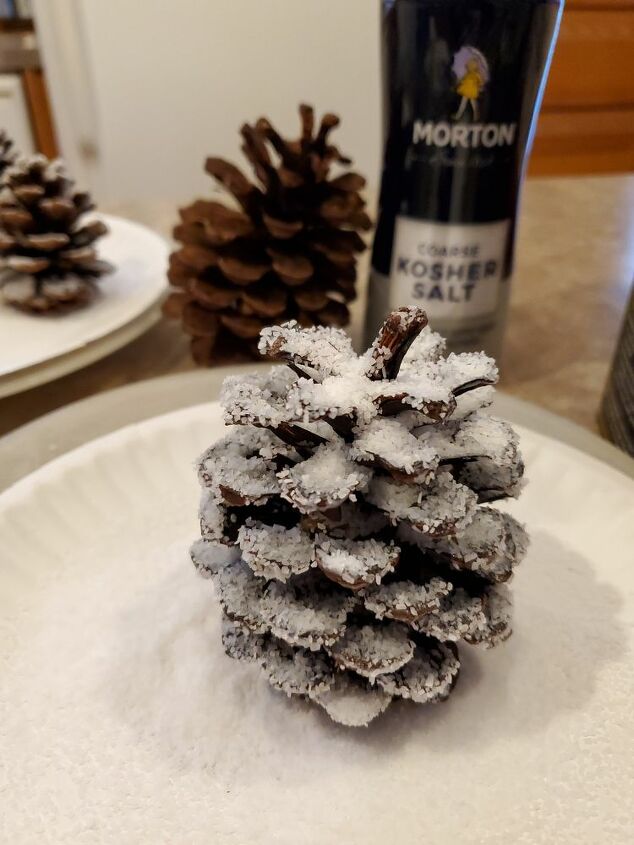
Then I poured the coarse kosher salt all over the pine cone. Make sure you lift the pine cone up to get to the bottom row. You may need to add more mod podge and salt to the top stem area after you handle it to get the pine cone covered all over.
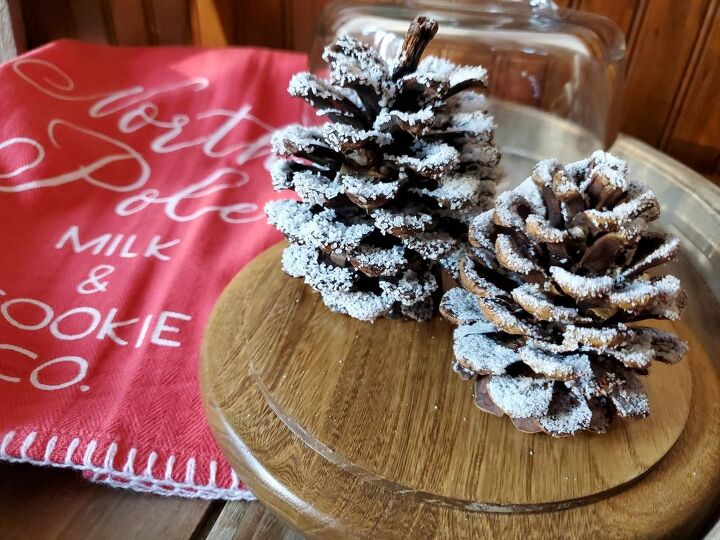
Let them dry for a day before handling. After that they are ready for decorating.
NOTE- I am planning to spray these with Minwax water based matte polyurethane to help hold the salt on and be able to use year after year with no mess. Fingers crossed it works.
*If you have tried this preserving method please leave a comment and let me know how it worked for you! Thanks!
Resources for this project:
See all materials


Comments
Join the conversation
-
INSTEAD OF SALT-- use DIAMOND DUST type GLITTER from the craft store- not made from real diamonds of course-- much safer, does not melt, degrade, or otherwise ... and will last for centuries! Glitter now comes in every color of the rainbow-- GO FOR BROKE ... it's NOT very expensive ... even at the $ store!!!!! Use WHITE for "snow" ... happy merry making!
-
If you have children or pets in your home it is best to stick with salt, either Epsom or table, as they are edible and will not cause intestinal distress or eye damage that glitter can.


Frequently asked questions
Have a question about this project?
Wonder if using a water based clear will cause the salt to dissolve? Might be better to use solvent based clear.
I have TV trays that have broken plastic clamps can't find them anywhere how can I fix or get clamps to repair
Do I have to join to get an answer
Hi! How thick did you put the mod podge on for the fine salt? I love this idea and can't wait to try it !
!