


Installing a Peel & Stick Mural

by
Amanda
2 Materials
$380
4 Hours
Medium
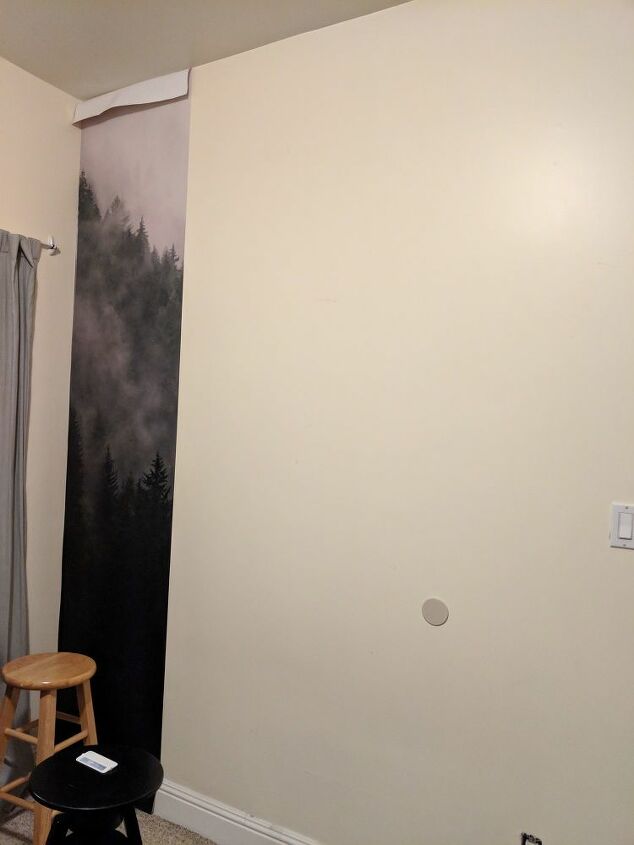
We wanted to give our guest room a makeover, but the room is small and pretty dark. It was hard to go colorful in that space! So, we decided to lean into the dark cozy vibes and make the place more like a retreat. I chose this forest wall paper to match the dark tones and the vibe we were going for. This wasn't a cheap mural, by the way, but it was one of the few I found that was tall enough to cover our nine foot ceilings and the image quality was excellent.
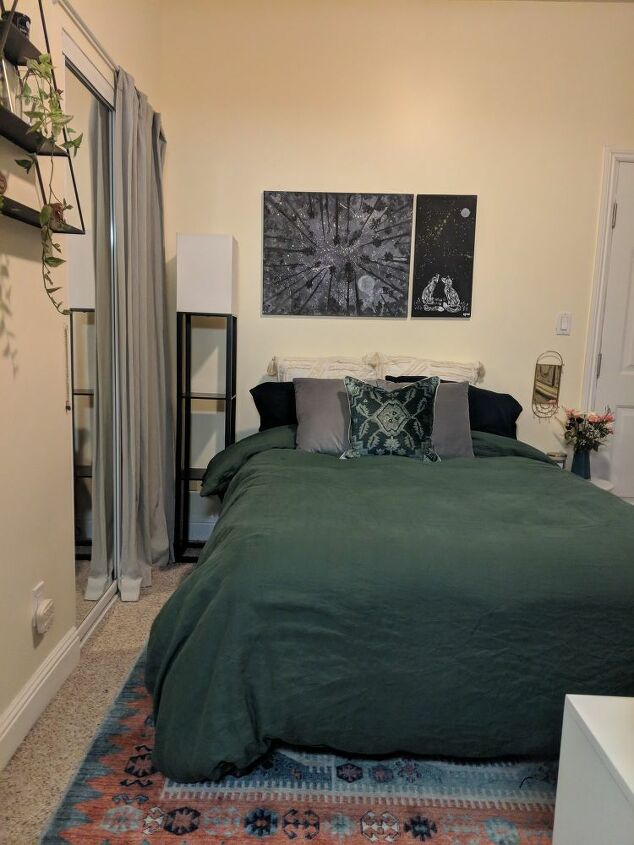
Before Picture!

How it came packaged
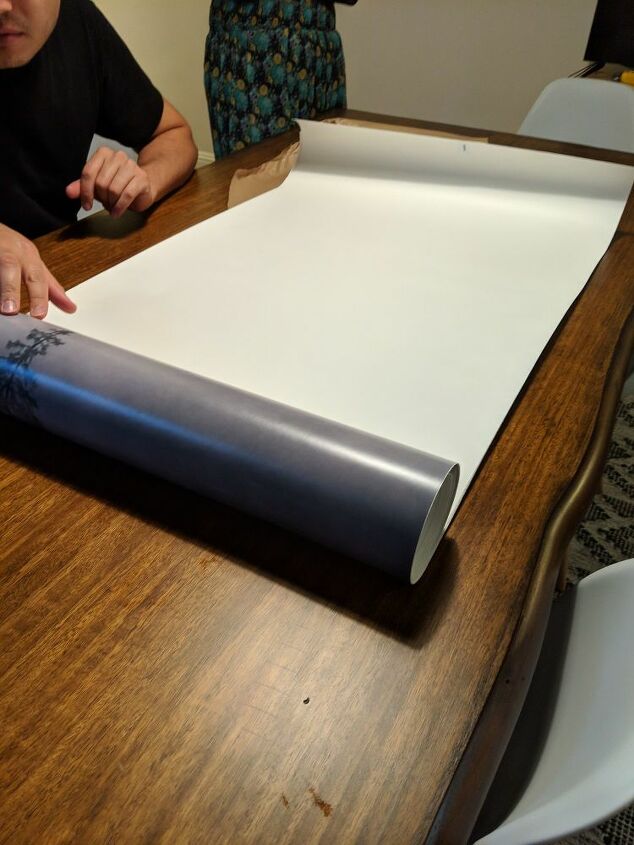
Unroll each panel and see which one is number 1. Since mine is a photograph it was important to go in order. They're very large so I rolled them out onto the dining room table where we had a lot of space.
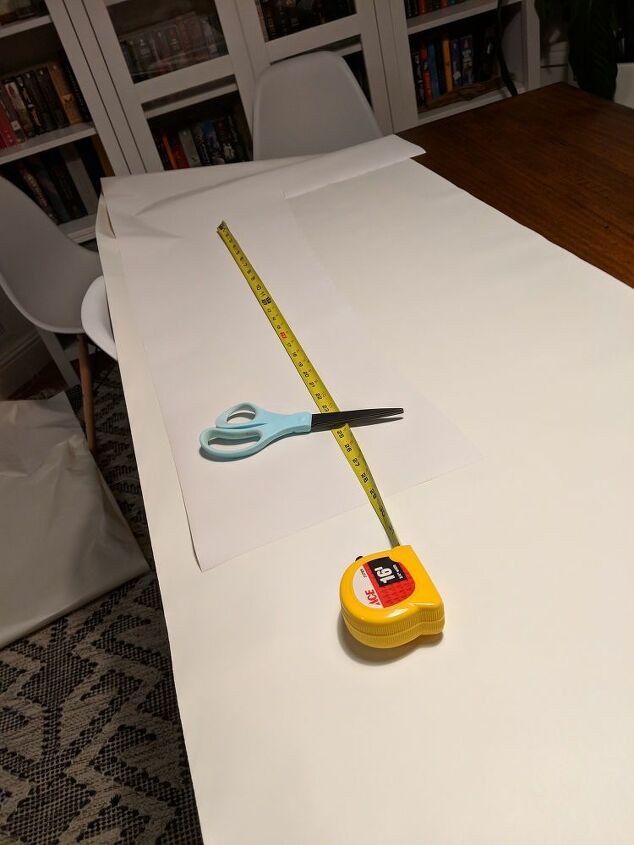
For edges around door frames or windows I found that tracing the shape with the backing of another piece and then cutting similar to size was most helpful. ALWAYS cut bigger than you think you need since it may stretch into space, but a gap will be really sad!
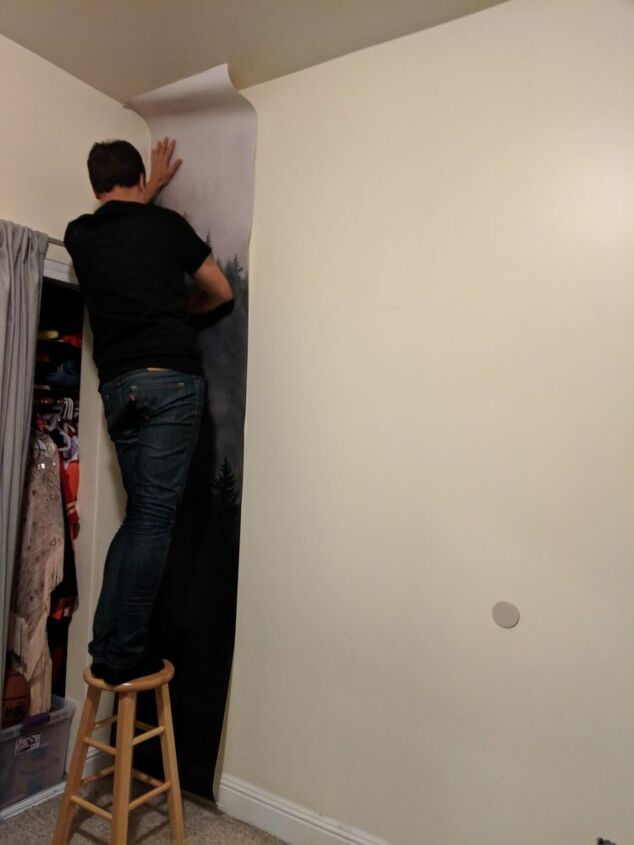
I needed help doing this because I'm not tall enough to reach the ceiling!! Get a friend!
Each panel is then lined up and placed next to the last one
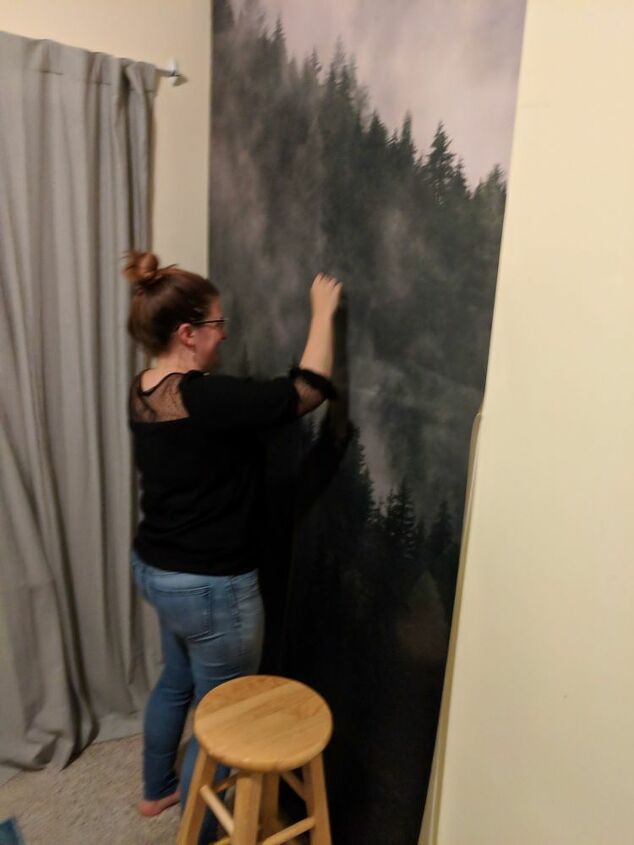
Pull the backing off as you go down. Press down with your tool, credit card, or squeegee, even just your hand will work and smooth all of the air bubbles out. Panels can be re positioned until it's right. We did a very small amount of overlap which make the image a little uneven in spaces, but overall allowed a lot of forgiveness in the positions.
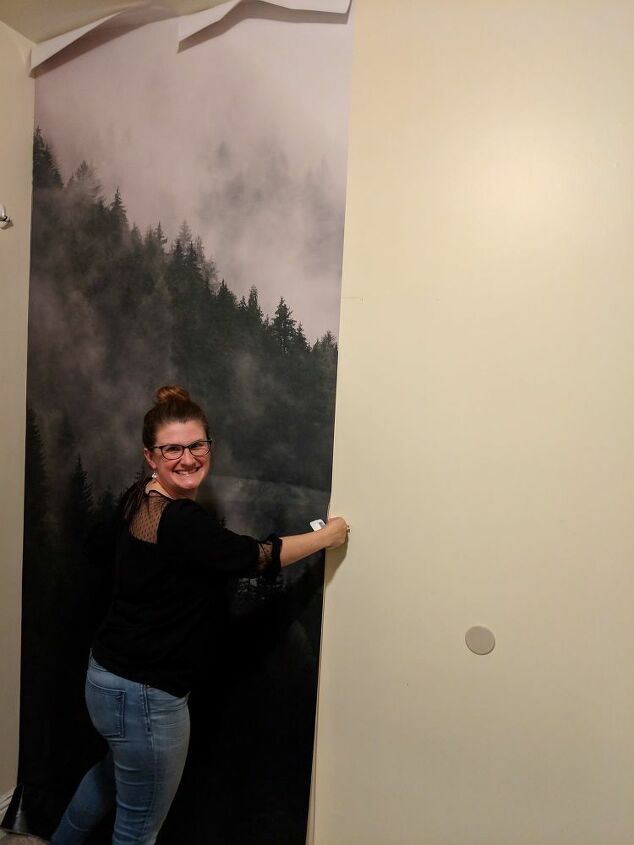
So excited!
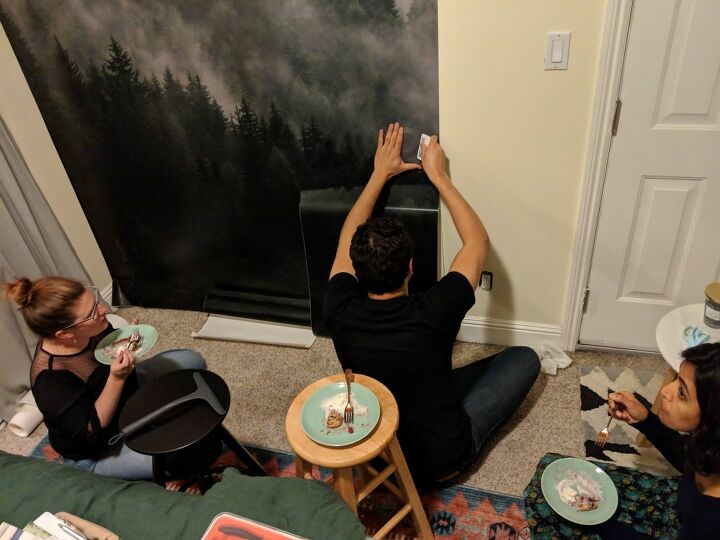
We took a break to eat some pie!
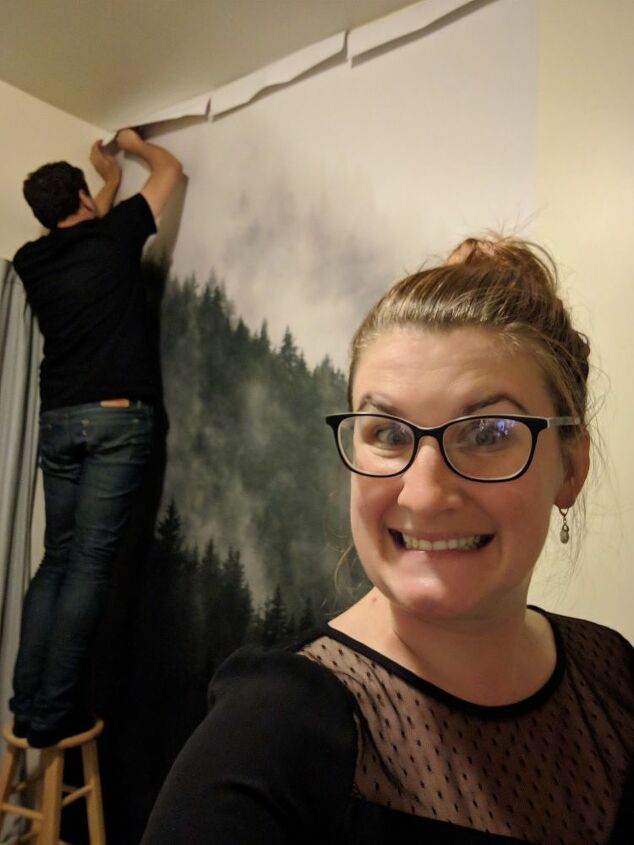
Trim off the tops! Remember you always want to start higher than you think you should because your walls are probably a little uneven!
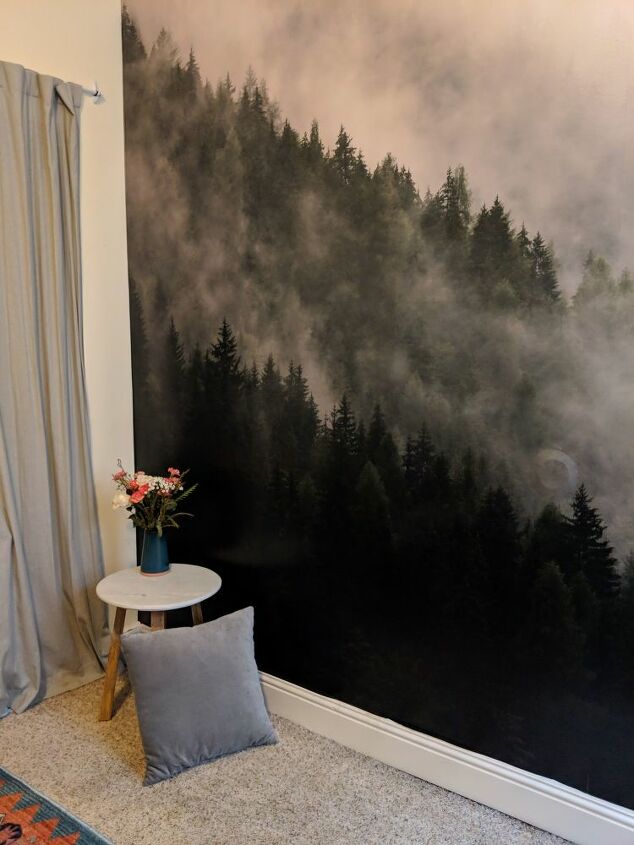
Look at that beautiful wall!
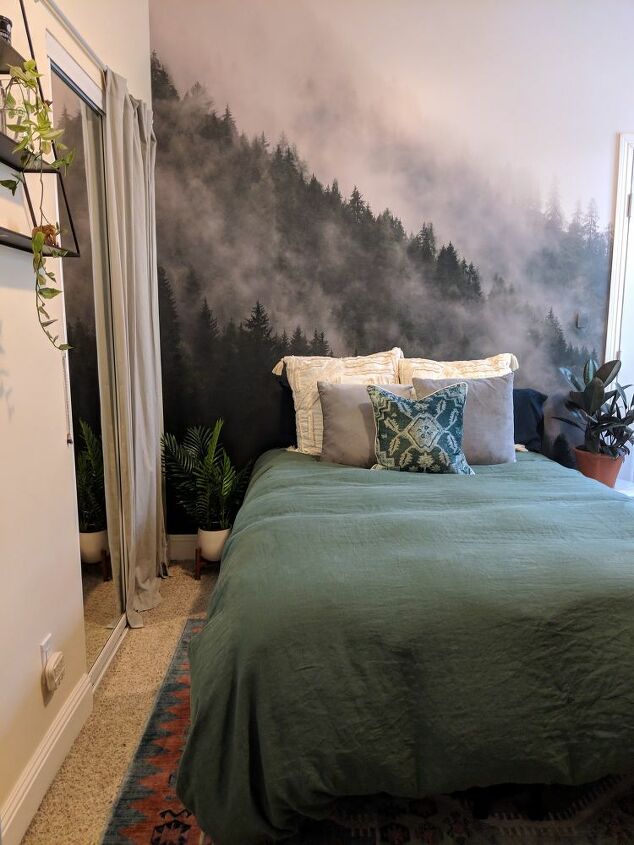
And voila! Our room put back together. What do you think?!


Any price and availability information displayed on [relevant Amazon Site(s), as applicable] at the time of purchase will apply to the purchase of this product.
Hometalk may collect a small share of sales from the links on this page.More info
Comments
Join the conversation
2 of 60 comments
-
Very nice!
-
love it will try this .


Frequently asked questions
Have a question about this project?
So..are u gonna trim for the switch and put the plate back?
Very nice, but, where are the night tables?
What about bringing your curtains up to the ceiling- makes a more cohesive look. Of course you’ll need longer curtains. Love the wallpaper.