


Jewelry Box Makeover
2 Materials
$10
2 Hours
Easy
Jewelry Box Make
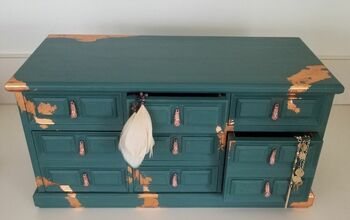
Making over a thrift store jewelry box can be fun and invigorating. Learn how I transformed this old jewelry box into a modern Farmhouse mini hutch in a few easy and fun steps.
I must confess, I have a thing for jewelry boxes, especially ones with a little history. So I have taken it up myself that on my weekly bread run to the local bakery I pop in o the thrift store next to the bakery to see if I come across any “seasoned” jewelry boxes. Well on my last run I came across this old jewelry box that just needed some TLC and decided to give it a Modern Farmhouse mini Hutch feel.
If you haven’t yet, check out my refurbished jewelry box I did not too long ago for a friend.
I enjoyed turning this old beat down jewelry box into something modern and useful and this how you can too!
Supplies:
- Jewelry box
- 150 grit sandpaper
- Black matte spray paint
- Wood glue
- Black felt
- Buffalo check scrapbook paper
- Modpodge
- Square dowel
- Wood sealer
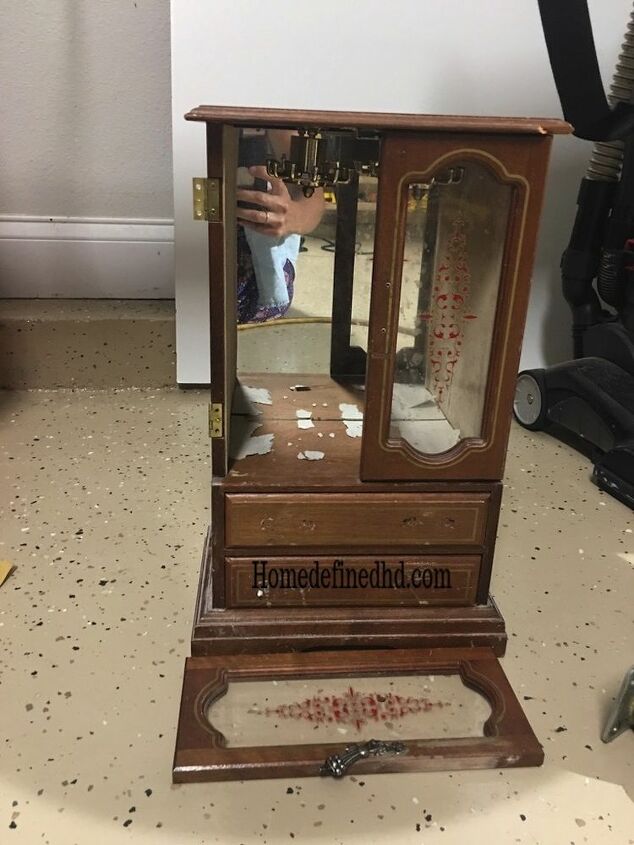
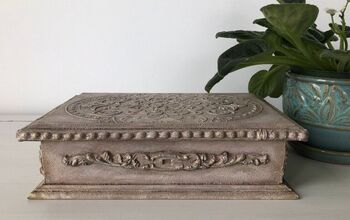
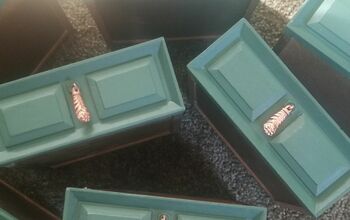
Before
Step 1: Take apart any removable parts.
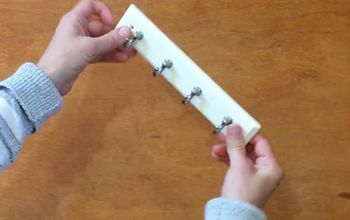
Step 2: Make the new drawer pulls.
Step 3: Paint.
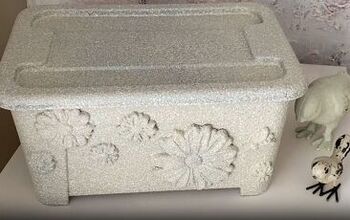
during
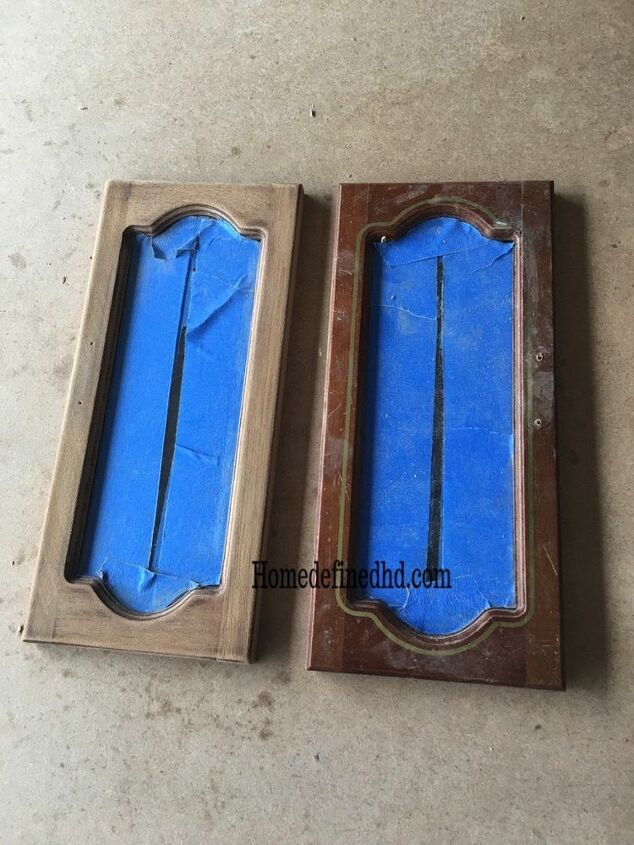
Step 4: Sand and stain.
- Remove any preexisting felt. Then continue by Sanding the jewelry, the doors, and drawers.
- Proceed by wiping them down.
- Make sure to cover any pieces you don't want to sand, like glass doors.
- I decided not to stain it to leave it the way it was after I sanded for a more raw wood look.
- Continue by sealing the entire jewelry box.
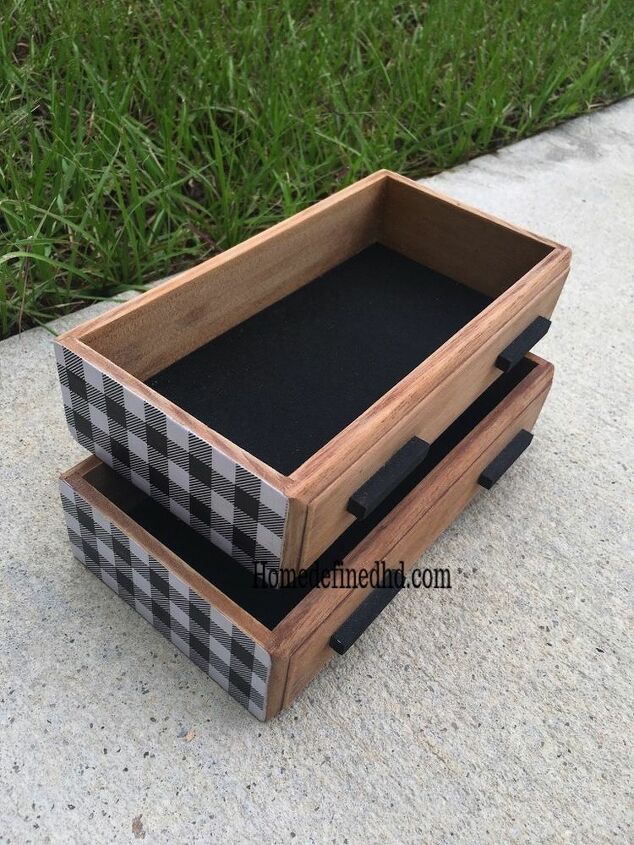
Step 5: Line and decoupage.
- Line the inside of the drawers and to the bottom of the main jewelry compartment using black felt.
- I used felt that had an adhesive backing, so it was pretty easy to apply.
- Continue by decoupaging a buffalo check print to the sides of drawers.
- The black felt and the buffalo check print adds on to the Modern Farmhouse look I was aiming for.
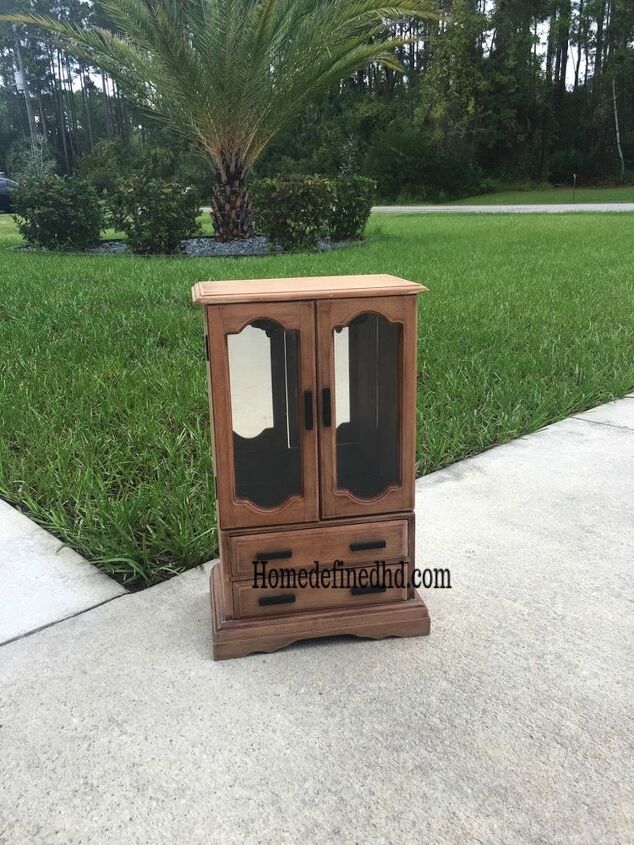
Step 6: Reassemble.
Step 7: Enjoy!!!!


Any price and availability information displayed on [relevant Amazon Site(s), as applicable] at the time of purchase will apply to the purchase of this product.
Hometalk may collect a small share of sales from the links on this page.More info

Want more details about this and other DIY projects? Check out my blog post!
Comments
Join the conversation
3 of 18 comments
-
Finished jewelry box is last picture..
-
There’s no finished box


Frequently asked questions
Have a question about this project?
Precious! I love it! How did you get the red design off the glass?
Still not sure how you got the design off the glass. Answer to this would be much appreciated.
How did you remove the pattern that was on the glass? Did you replace the glass?