


DIY Wood Mantle
After looking at ready-made mantles for sale online, we did not see anything we loved. We decided to make our own using sources found at Home Depot. It turned out cheaper than those we first saw and it was the exact look and size we wanted.

When we bought our house, the image I had for our fireplace was so different. There was wood paneling surrounding the fireplace that I figured we would paint, clean up the stone, and be done. However, we noticed light coming in where a section of panel was pulling away from the wall, and there were two distinct sun bleached rectangles on either side of the fireplace. We pulled back the paneling and discovered original windows! We also saw that the fireplace originally had a bell curve shape and two sconces on either side. A leaning chimney and messed up fireplace lead our vision to a whole new place!
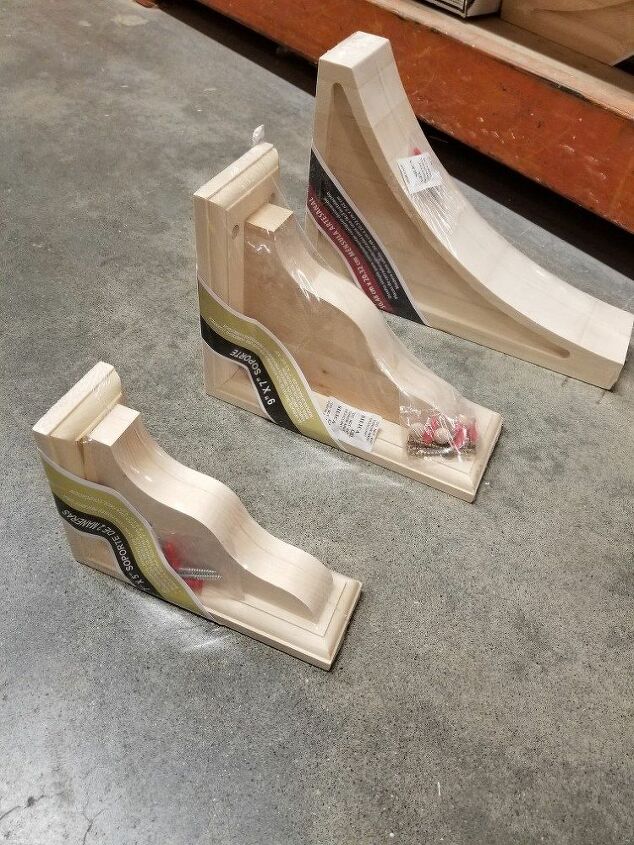
Fast forward a few projects, like building out the bell shape, installing the insert, laying tile etc, and we come to the mantle. At first we really liked the clean look of the completed fireplace, but our first Christmas in the house was coming and I really wanted to hang our stockings on a mantle! I came across unfinished corbels in my mantle search and asked my husband if there was a way to use them for our mantle. There are many corbel options online. Just type "corbel" in your search engine and a ton come up. You can choose from very simple designs to intricately carved pieces with faux aging. We went with something fairly simple that we found online at Home Depot.
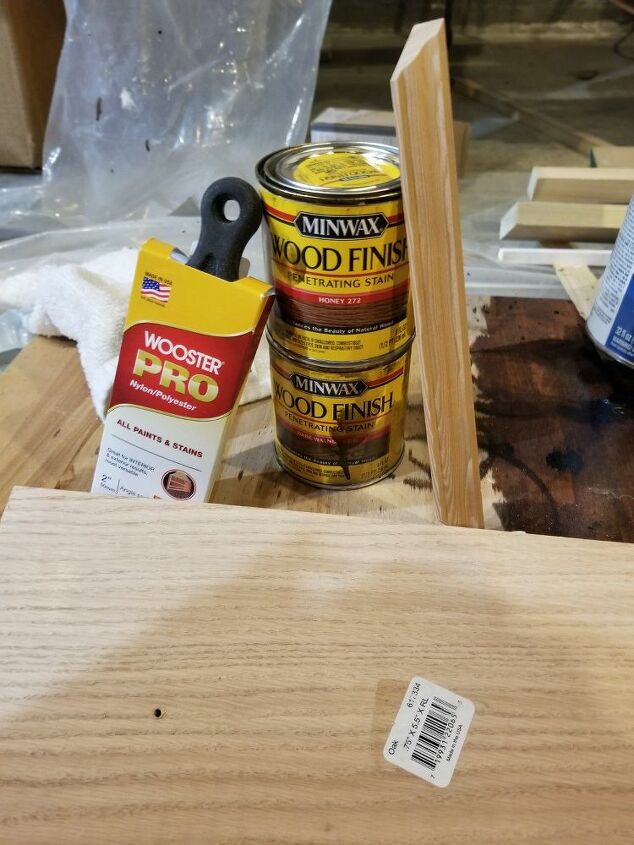
While planning the mantle shape, we were also thinking of a stain color. At the time, we had no trim around our discovered windows. The other windows in the room had old, chipped white trim. We had purchased a new front door that had been stained a medium to dark color. I attempted to match that color as best I could. Color matching stain is always tricky with different wood species. On that note, I should mention that all the wood we used was red oak. The corbels and trim pieces were actually ordered online because our local Home Depot didn't have them in red oak.
I used a blend of MinWax wood stains in Honey and English Chestnut to get our desired color. We later matched the window trim to this color too.
Other materials not pictured: 220 grit sandpaper or sanding block, nail gun, drill, screws, nails.
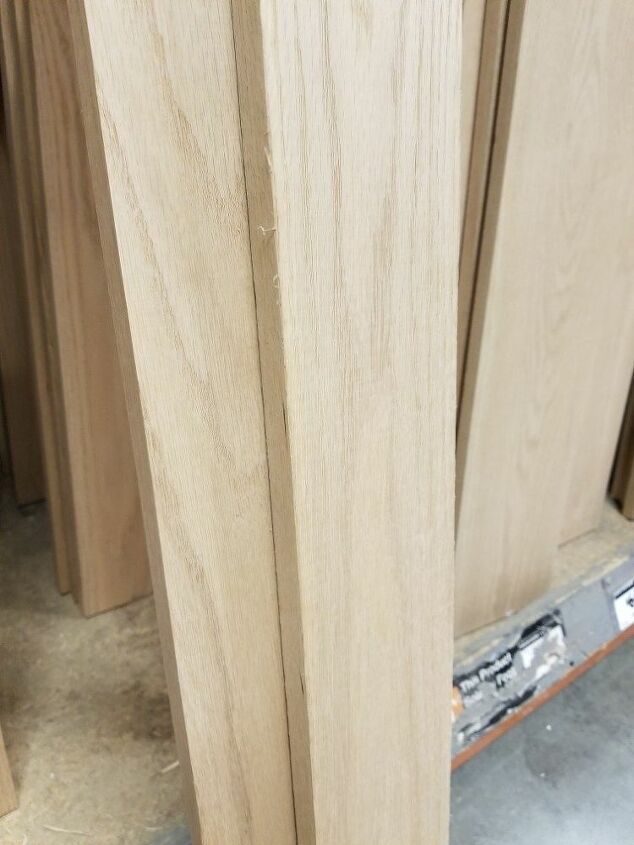
Hubby got creative and researched types of wood to use. He found some red oak planks in 1" x 6" and 1" x 4" and cove trim pieces that would pair well.
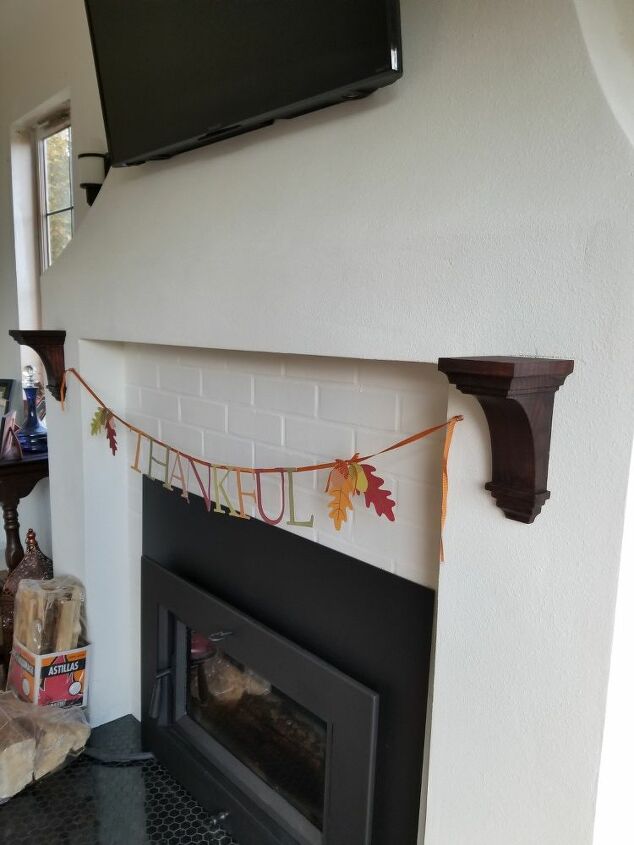
We centered the corbels on the "column" pieces, cut one oak plank to the length of the entire fireplace, and cut a second plank piece one inch shorter. The second oak plank was placed centered under the first oak plank.
Once we had the layout we wanted, we measured two times for accuracy's sake , and then made the cuts on the table saw. I wasn't able to take photos of the cutting process; must have been chasing our son or doing laundry or who knows! Thank goodness for a table saw. How did carpenters of yore build entire houses with hand tools?!!?
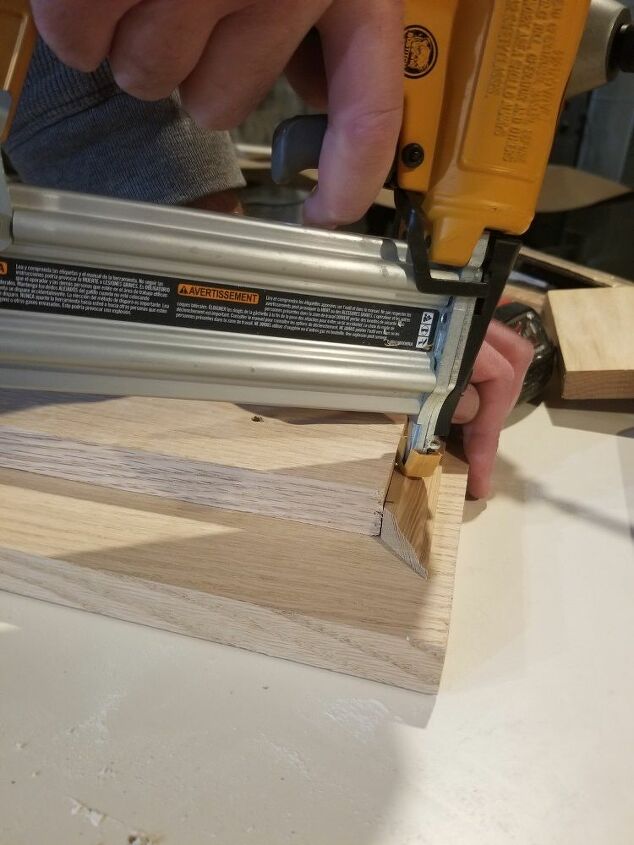
Once the planks were attached, the trim was measured and cut. I also missed taking photos of cutting trim- sorry! The trim wraps around the lower plank, providing some visual interest. 18 gauge finishing nails were used in the nail gun.
With the planks and trim secured together to form our mantle shelf, I stained them, as well as the corbels. Ugh, I also did not capture the staing process, but you can visualize it right?
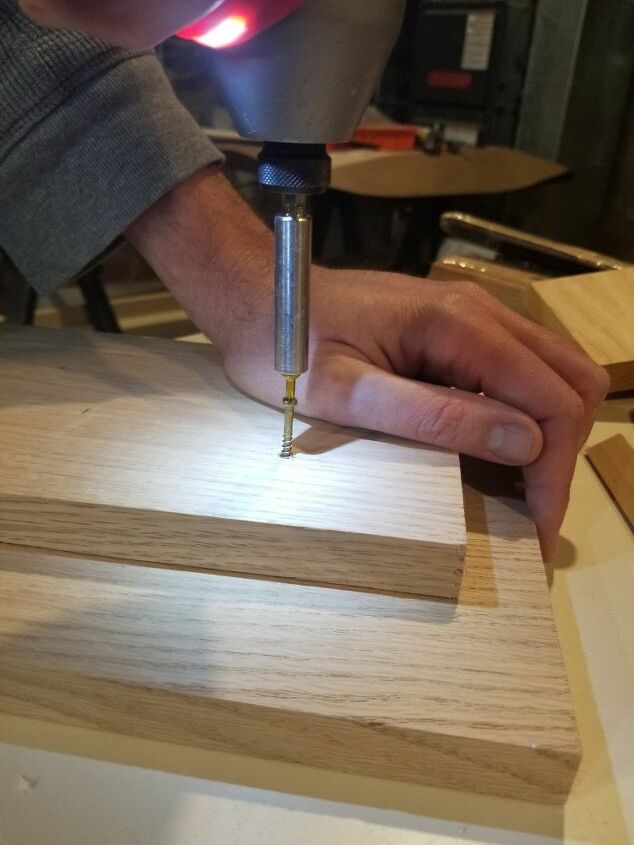
The corbels came with mounting hardware, but my husband used self-drilling drywall anchors.
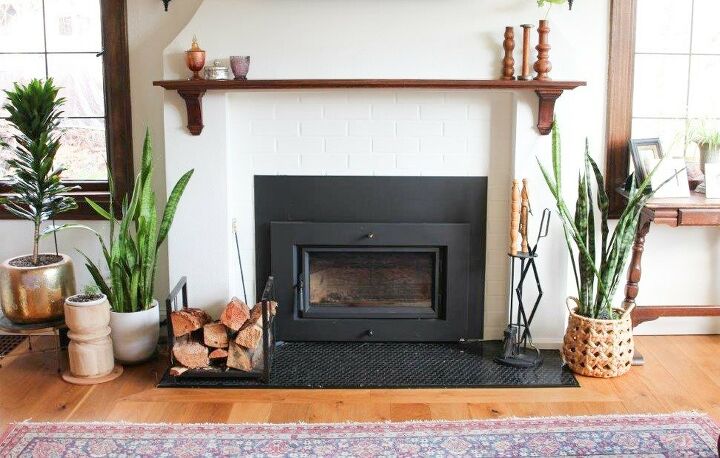
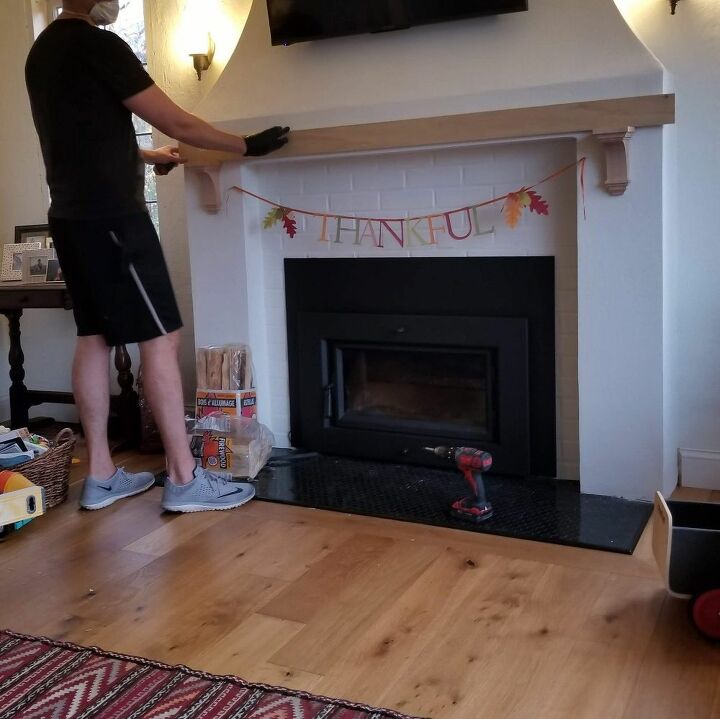
With the stain dry on the mantle shelf, it was screwed into the corbels and the wall. Our mantle was done in time for that first Christmas in our home! It was also the first Christmas we celebrated away our parents and other family, so for me, hanging our stockings was a small comforting reminder of holidays past.
According to my husband, this is an easy project. I would preface this by saying it's easy if you have some carpentry experience and if you have the tools, like a nail gun, air compressor, table saw and drill.
As for the project budget, I did not include the cost of those power tools.
Thanks for reading!
Want to see more before and afters of my home? Check out my guest room refresh reveal.
Sometimes we take breaks from home renovation and I do crafts, like DIY concrete bowls.
For more renovation and DIY fun, follow me at: Instagram.com/this.dear.casa
Resources for this project:
See all materials


Comments
Join the conversation
-
What a beautiful transformation…unbelievable!
-
Wow! 2 windows . . . what a cool surprise! The finished project is gorgeous. I’d love to see a photo further away to get the full effect. ❤️


Frequently asked questions
Have a question about this project?
How did you get the look of white painted bricks on the front of the fireplace?
It looks like stones were removed, as in the original picture the right side of the fireplace was bigger than the left. The original fireplace also ended closer to the windows. Did you not notice the windows from the outside of the house?
Oh my gosh I would have burst into tears of happiness/excitement discovering those original windows. I almost did that just reading this! I can't even imagine. 😄 What year was your house built? There's something about the "feel" of old houses that makes me absolutely swoon. I wonder if there are any other hidden gems in your house? You guys did a beautiful job rebuilding the fireplace. CONGRATULATIONS!!