


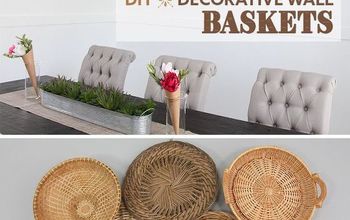
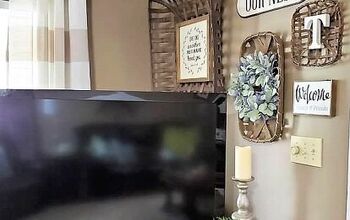
DIY Basket Wall

Hey there! When you think of an accent wall, do you think permanent and/or expensive? Well they don’t have to be!
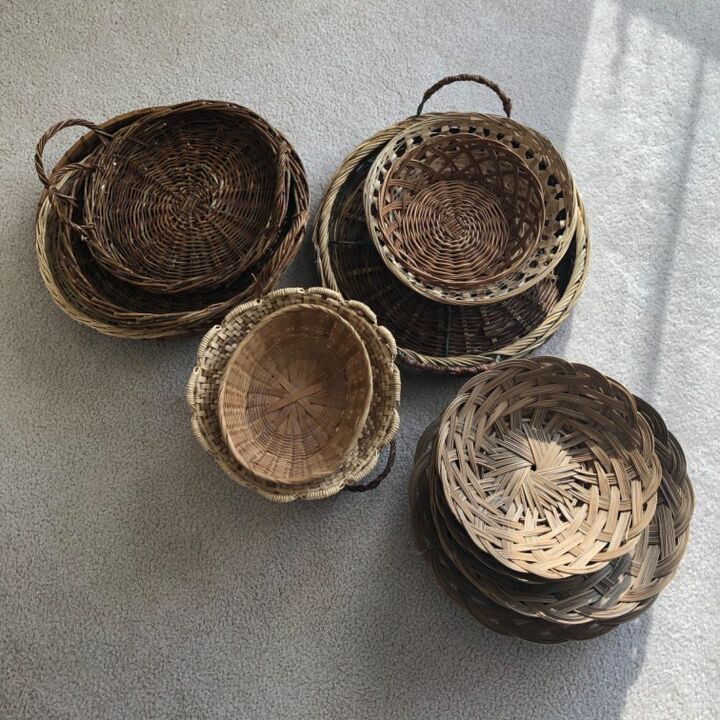
I had an empty wall in one of our bedrooms that I didn’t know what to do with for a long time. I started collecting baskets from thrift stores to add some texture and dimension. I got my baskets from Goodwill and a couple other thrift stores. The small and medium sized baskets were usually $1 (sometimes cheaper) and the bigger sized ones were usually $3.
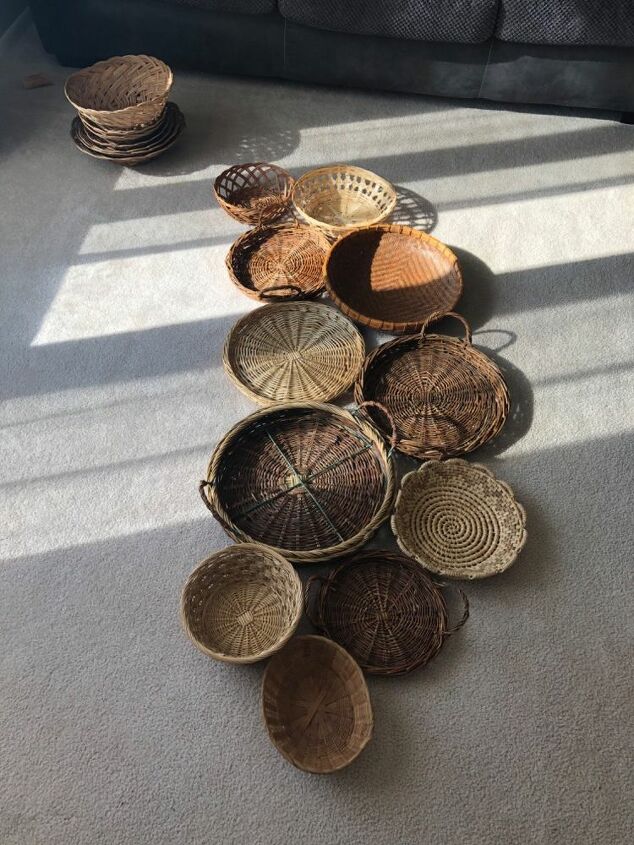
I wiped all my baskets down with a disinfecting wipe and then laid them out on the floor in what I thought was an appealing pattern. I chose to put my baskets tight together, but you could space them farther apart and arrange in any shape you like!
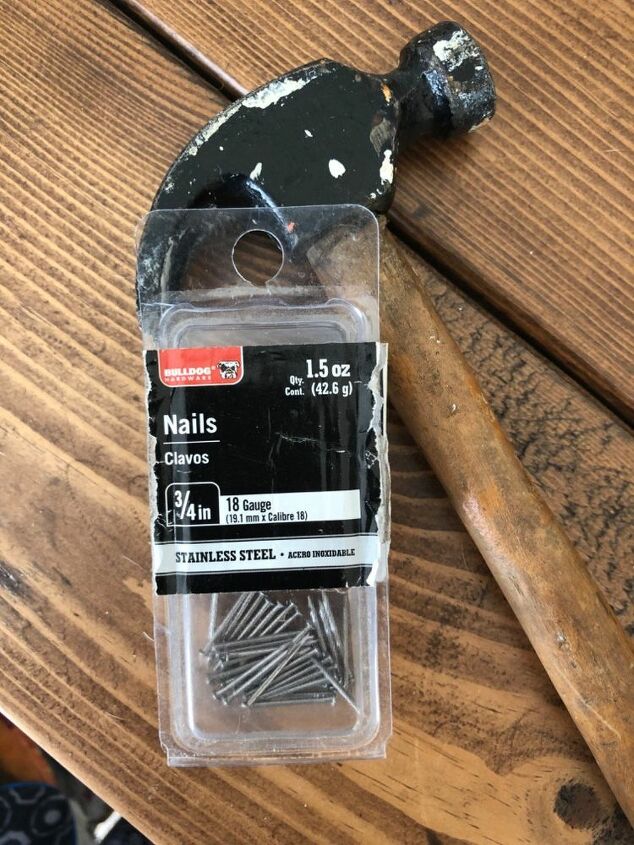
To attach the baskets to the wall, I used these small nails that don’t do a lot of damage to the baskets or the wall! Win! I only had to use one nail for most baskets.
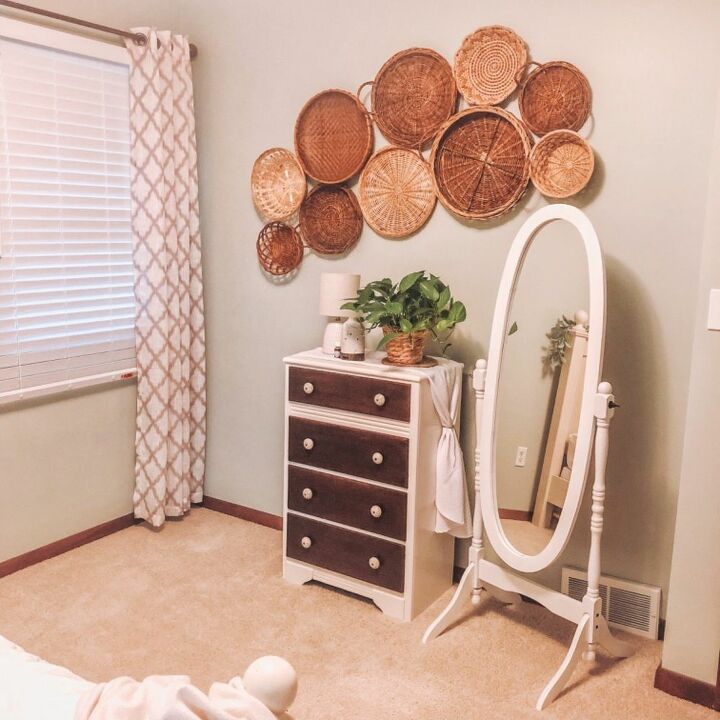
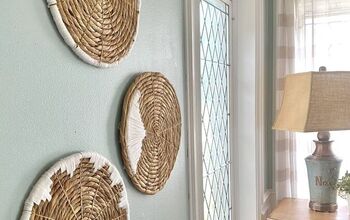
What an easy and cheap little project! I love the texture the baskets give to this space, and that I can take it down in a matter of minutes if I get sick of it. The holes left from the nails are so small, I wouldn’t even have to spackle them if I didn’t want to!


Comments
Join the conversation
-
Very pretty! This look never goes out of style. I have done something similar several times throughout my lifetime. You did a great job. Thanks for sharing. 🌞
-
I love looking for unusual baskets AND basket weave fans which used to be plentiful, but are rare to find these days. Changing up a wall is easy, too. I use to change the baskets around to fit over the pin or needle holes, too. Hadn't thought about putting the baskets closer together....will try that next time. Thanks for sharing!


Frequently asked questions
Have a question about this project?