


How To Hang An Old Window From The Ceiling
Chippy old windows might just be one of the most beautiful pieces of décor you can add to your farmhouse-style home! There is something so lovely about the wavy glass in every wooden pane that reminds us of the past and a simpler time.
Although they might not be energy efficient to use in your home anymore, they sure do look gorgeous hanging up inside! But it’s so important to do it the right way to avoid damage to your home or the window--or worse, an injury.
In this post, I’ll outline all the steps for how to hang your window safely! You can also watch this video to see exactly how we did it:
This project started because the previous owner of our home cut a pass-through opening between the kitchen area and the family room. I suppose they must have wanted more of an open concept, but to me, it feels like the to-go window at a fast food restaurant.
Definitely not my style!
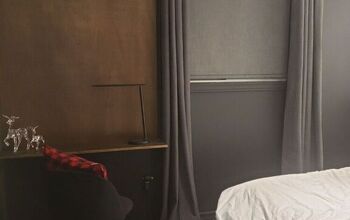
Here’s what it looked like before we hung our window:
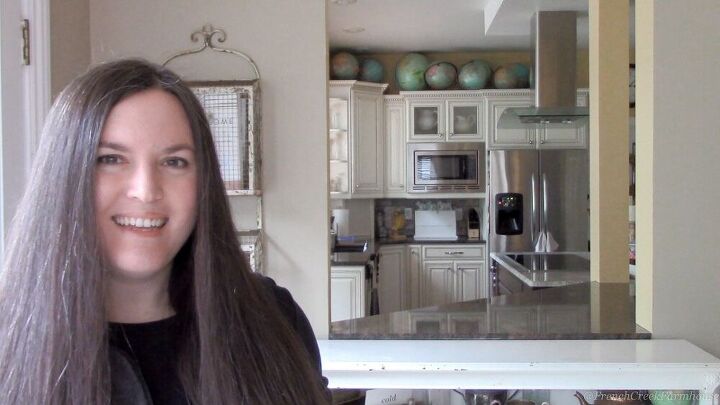
The first option would have been to put the wall back up, but that would have meant we’d lose counter space for our breakfast bar.
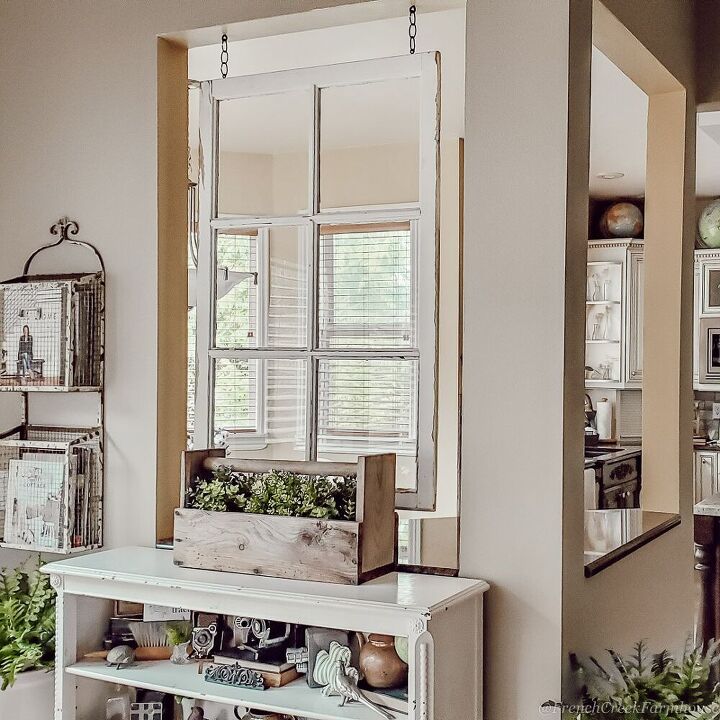
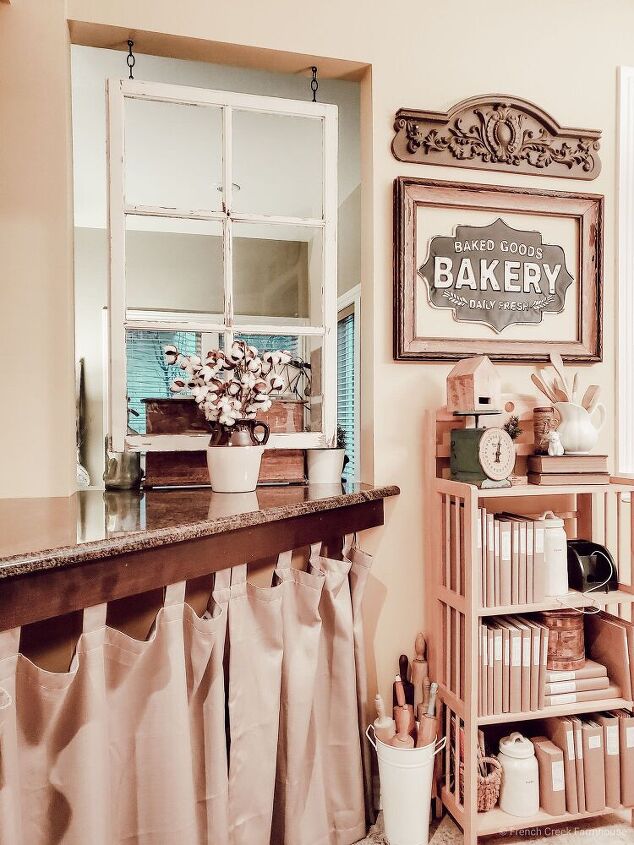
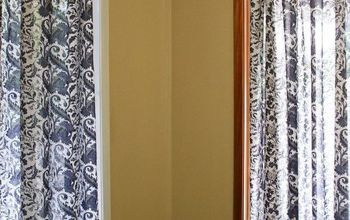
Instead, we decided to disguise the eye sore by hanging an antique farmhouse window in the pass-through. This way, we don’t block the flow of natural light, but the pass-through is practically unnoticeable.
Just look how cute it was this spring as a backdrop for some birds and bunnies decor! So much nicer than a big blank hole between the rooms!
You can find more views of this space in our spring home tour, plus get a free printable guide for springtime home to-do’s—all you need to know for the home and garden at springtime! Perfect for your home maintenance binder!
Now, let’s get on with the project!

To complete this simple DIY project, you’ll need the following:
- Wood-framed window or stained glass
- 4 eye hooks
- Metal chain
- Drill and drill bits
- Screwdriver
- Tape measure

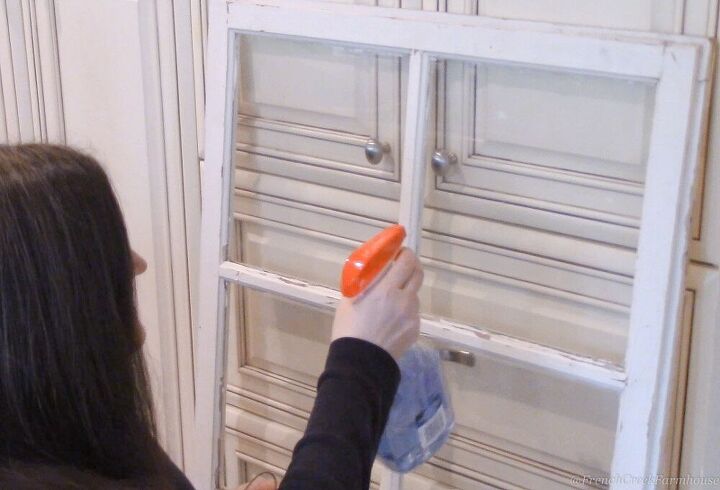
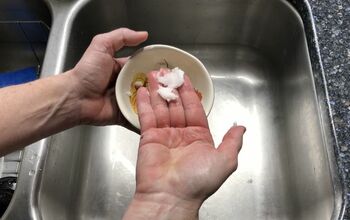
STEP ONE: CLEAN THE WINDOW
I found my window in a barn, so it was pretty dusty and dirty from years of neglect. Be sure to give it a good cleaning before hanging in your home.
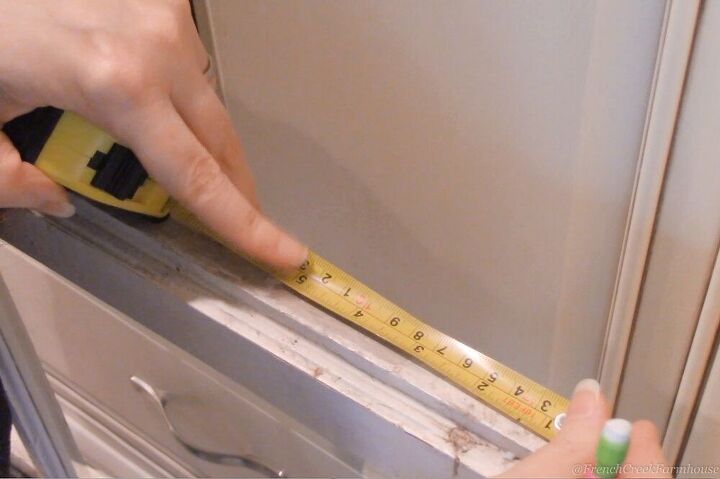
STEP TWO: MEASURE WINDOW
Determine the best spots to add eye hooks to the wood frame of your window. Make sure that you center the markings so that the eye hooks will be spaced properly.
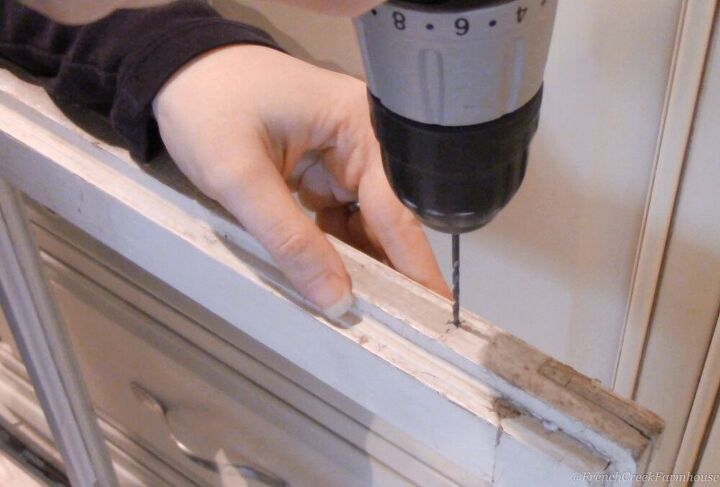
STEP THREE: DRILL PILOT HOLES
Use a drill bit that’s smaller in diameter than the threads on your eye hook to drill small pilot holes. This will help to prevent the wood from splitting.
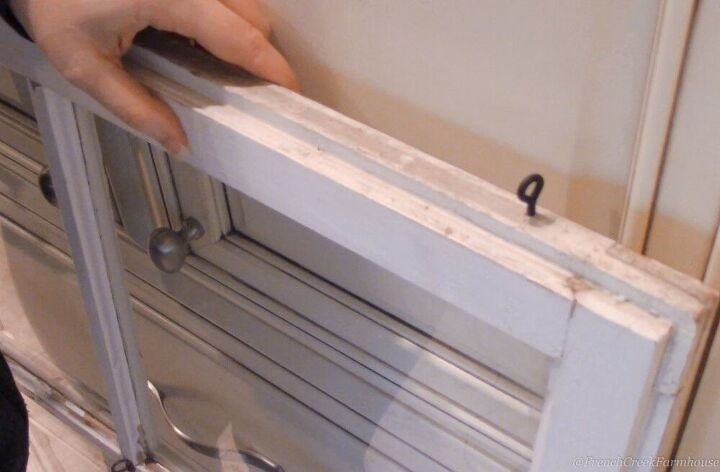
STEP FOUR: ADD EYE HOOKS
You should be able to add your eye hooks by hand, right into the pilot holes.
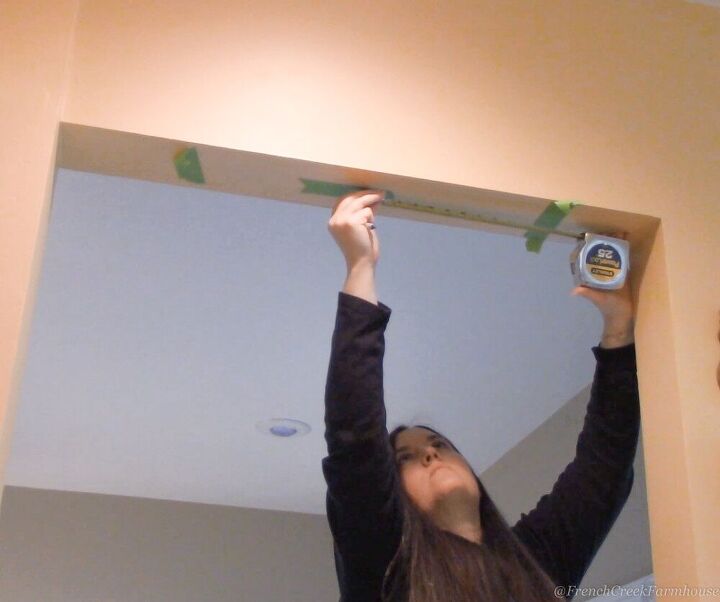
STEP FIVE: MEASURE CEILING BEAM
We drilled into a beam in our pass-through, so it was easy to find the “center” and match everything up. We also didn't have to worry because the beam can certainly support the weight of the window.
If you don’t have a beam, you’ll need to insert a drywall anchor so that the eye hooks have something to support the weight of the window.
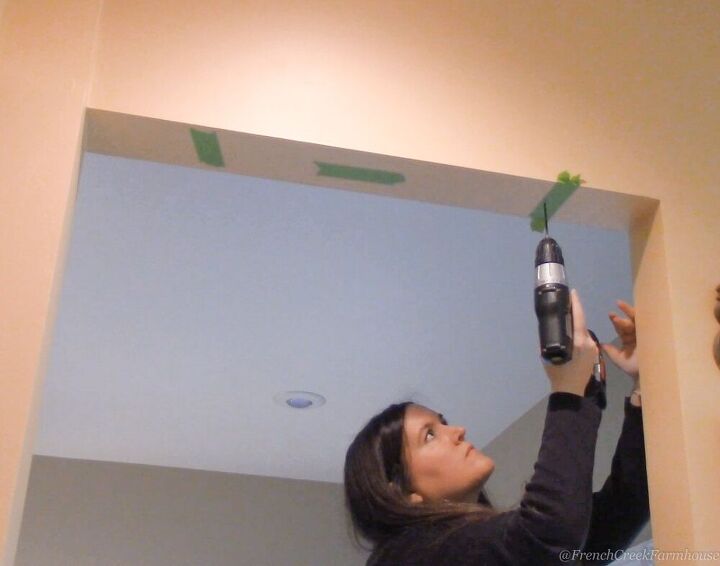
STEP SIX: DRILL INTO CEILING BEAM
Just like when you added pilot holes to the window frame, add them again to your ceiling beam.
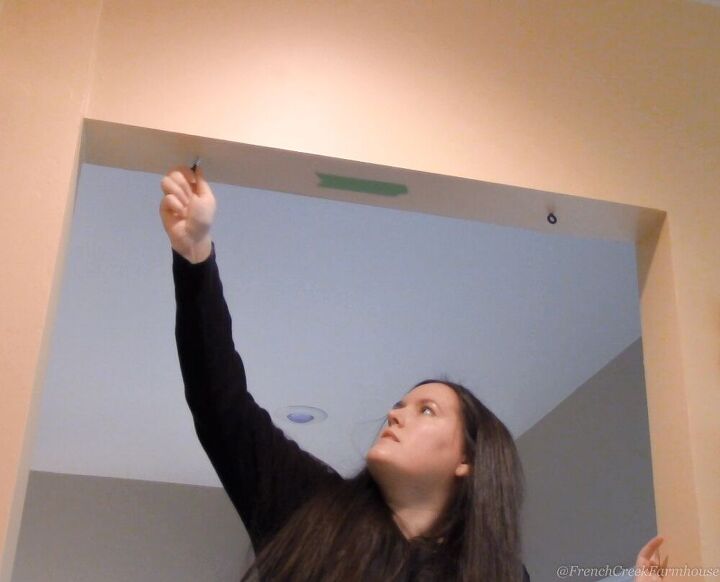
STEP SEVEN: ADD EYE HOOKS TO CEILING
By hand, twist the eye hooks into the ceiling beam. If they become hard to turn by hand, you can insert a screwdriver through the eye, and use it as a handle to turn.
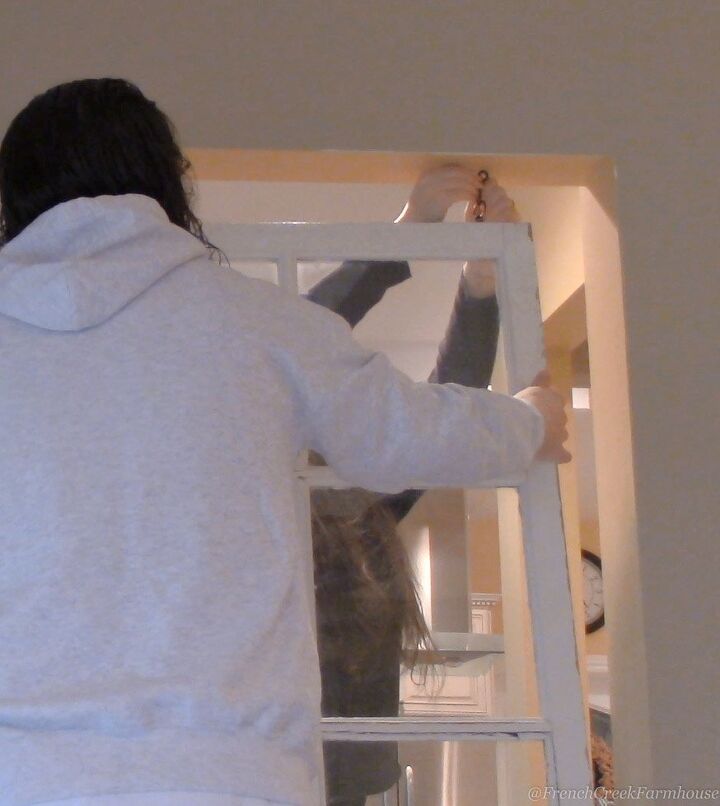
STEP EIGHT: HANG WINDOW
Using an appropriate length of chain for the height you’d like your window to hang, have one person hold the window in place while the other attaches the chain to the eye hooks.

Want to see more of how this window looks in our farmhouse? Check out the original post { HERE}.
If you enjoyed this project, please like, save, and drop a comment to let me know! 
To see more projects, be sure to follow me here and also on Instagram, Facebook, and Pinterest @frenchcreekfarmhouse to keep up with all of my farmhouse-inspired DIYs!
Resources for this project:
See all materials


Comments
Join the conversation
-
So clever & cute 👍 Had you considered white ship lap under the breakfast bar? Just thinking 🤷♀️
-
I have vintage windows that decoratively hang hither and dither throughout my home.
unrelated, though, I LOVE your globes!!!


Frequently asked questions
Have a question about this project?
Love Old Windows! Did you anchor the bottom or was it left free? Wish I had a place to do this.. Beautiful!
Did you check it for lead paint? Especially because you called it 'chippy' I'm concerned about your health.