


DIY Shiplap Feature Wall

I’ve been loving the shiplap look lately & I love the character it can give your space (not to mention budget friendly!)

This is the wall we decided to shiplap. It’s the main focal point when you come into our home. I was feeling like it needed some character. We decided to only go a little over half way up the wall instead of the full length. The area we shiplapped is 87” wide by 64” tall.
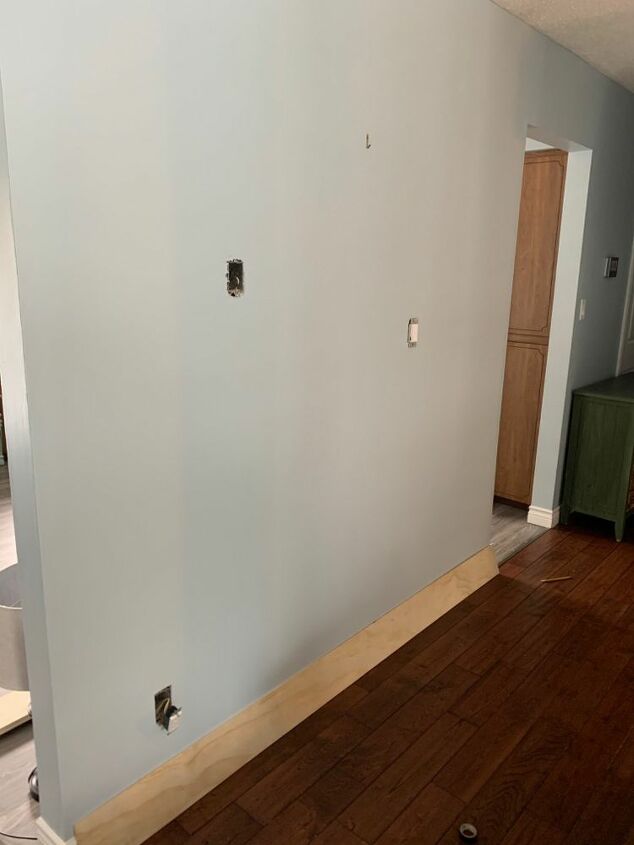
We removed all of the covers for the light switches as the first step. I never bother painting my wall before hand as I don’t feel you can see the colour of the wall between the spacing of the boards (personal preference- you may want to paint yours).
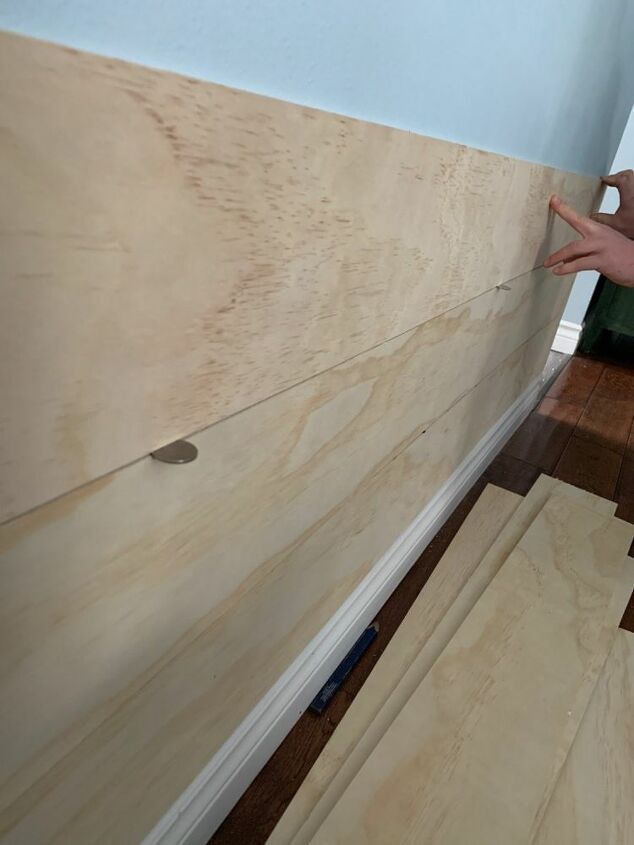
We use 1/4” plywood for our shiplap projects it works great and is also affordable. We used one and a half sheets of plywood for this particular project. We also like to use three nickels spaced out to ensure the gap is the same between each board. You can cut the boards yourself or get your local hardware store to cut it for you only costs a few dollars (I get it cut 6” wide).
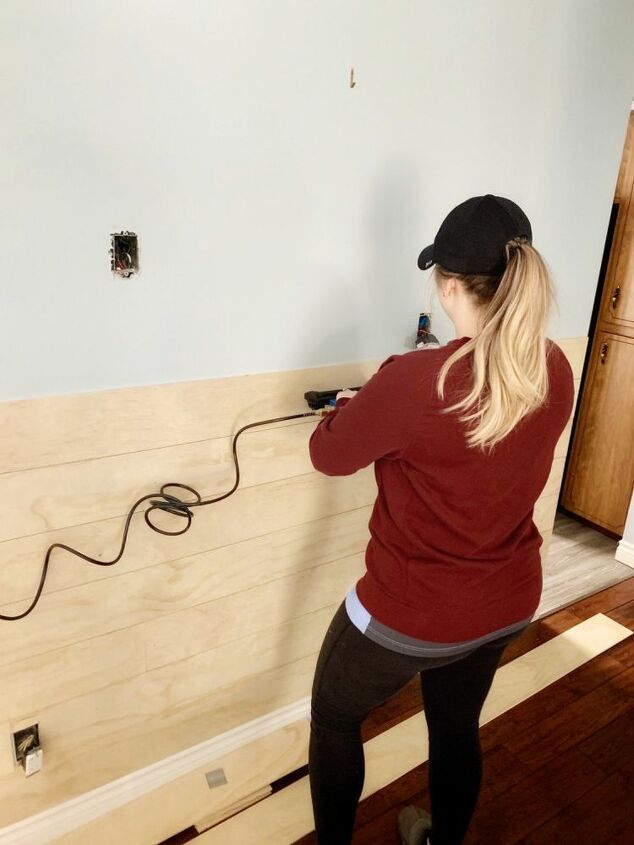
We cut our boards at different lengths as apposed to using one length pieces all the way across (this method works well if you have receptacles to cut around). We then just secure the boards by using a brad nailer with inch and a quarter nails. Generally your studs are 16” apart, which is where we nail into. If you measure the first board across every 16” you can just line your nails up on each board after that.
When it comes to cutting around receptacles/switches we used a oscillating multi tool to cut out the necessary measurements.
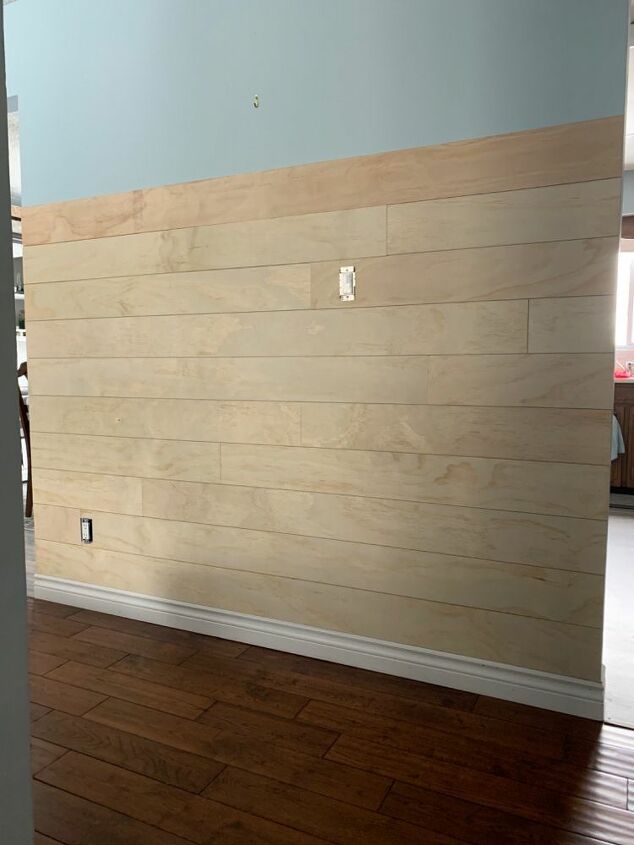
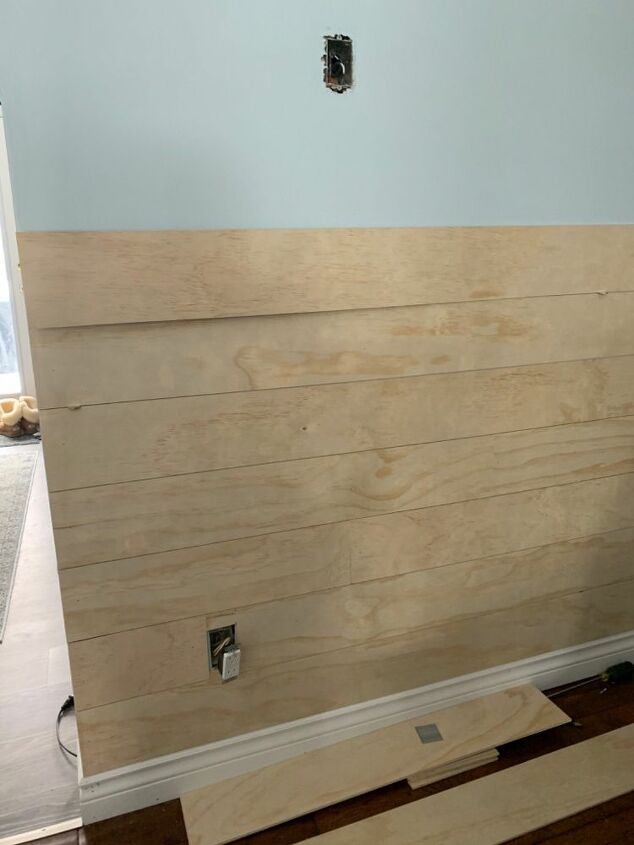
This is what it looks like after all of the boards are put up/before paint goes on.
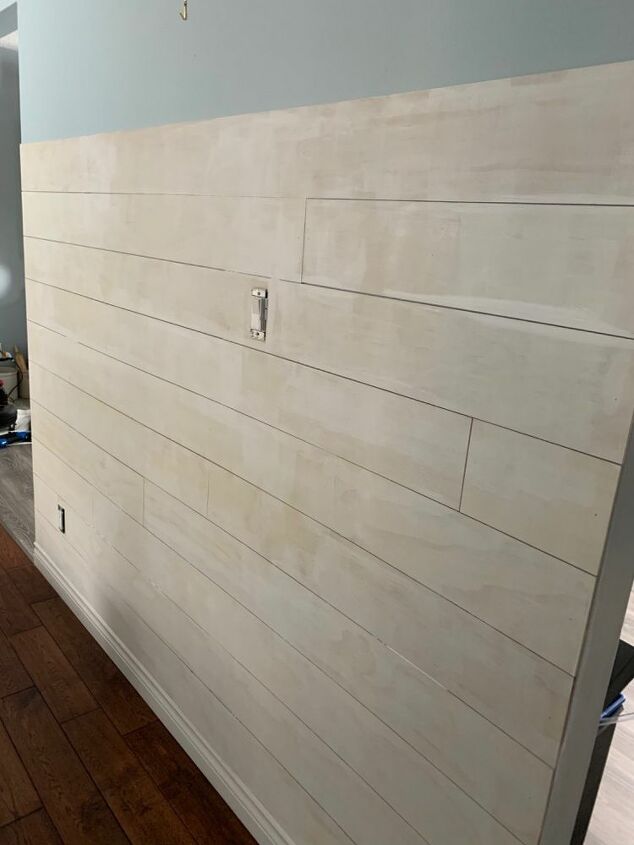
This is after the first coat of paint/primer that I used. I recommend either priming the wood before painting or using a paint/primer as you don’t want to yellow from the wood to eventually bleed threw.
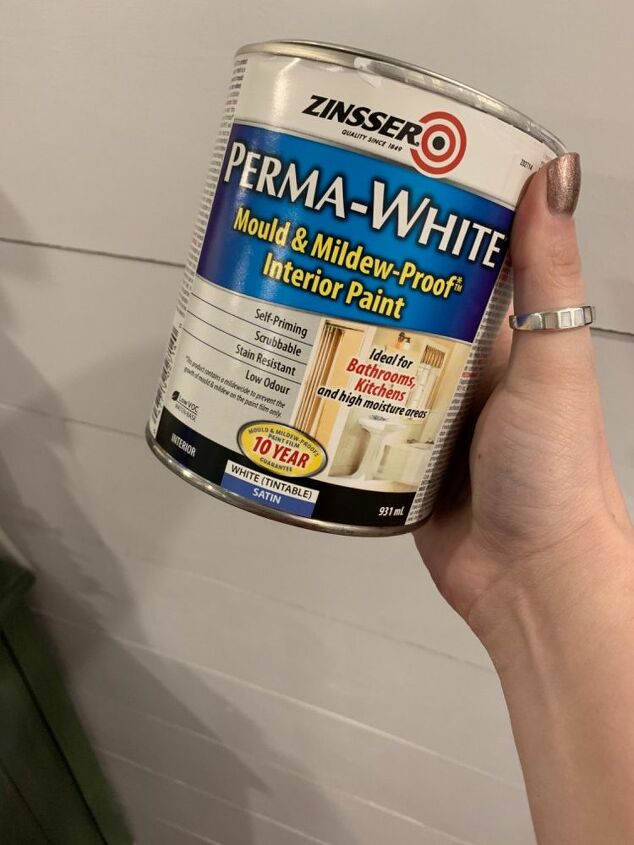
This is the product i used to paint the shiplap along with a small paint roller from the Dollar store.
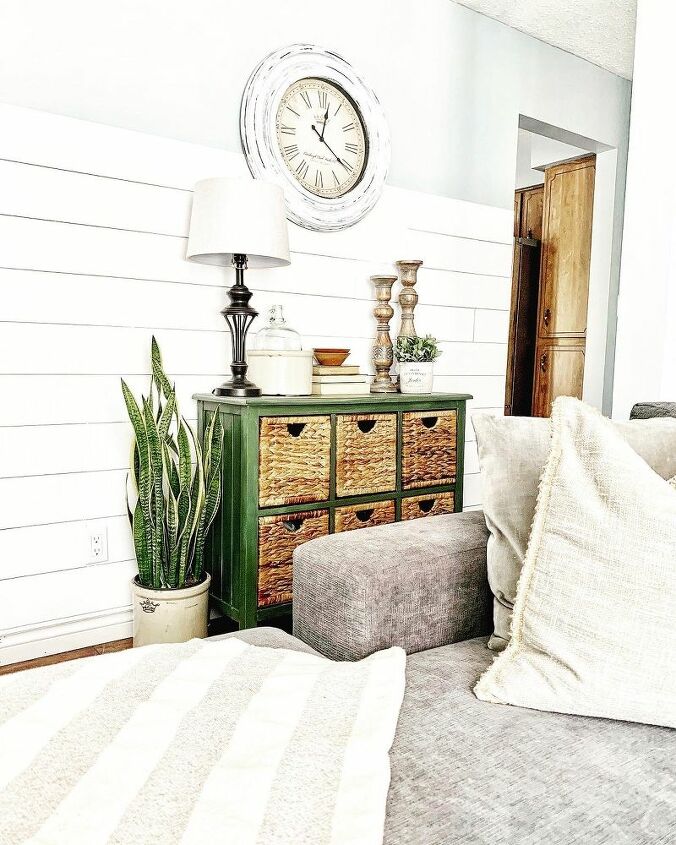
This is the finished project! My fiancé and I were able to get the shiplap up within an hour & then I did three coats of paint. Love how it all turned out!
Resources for this project:
See all materials


Comments
Join the conversation
-
Good idea and a lovely room!
-
I like it a lot. I really like that you did it so quickly. It inspires me to do my laundry room that is much needed for a redo.


Frequently asked questions
Have a question about this project?
We have Wayne's coating on 2 walls in kitchen half way up wall. I despise the walls any ideas for replacing it or putting something over top of the wood
If I want to do this in my bathroom would I need to use anything different because of moisture?
I have been wanting to do this in my very tiny bathroom. My problem is I have old tiles from the 50’s that need to come off. I am concerned that it will damage the drywall, if that is the case would you suggest using a water proof drywall. Also since my bathroom is very narrow And small would you suggest to cut the boards 5” instead of 6”.