


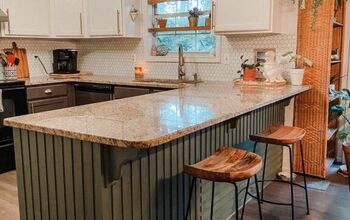
How to Paint a Kitchen Island!

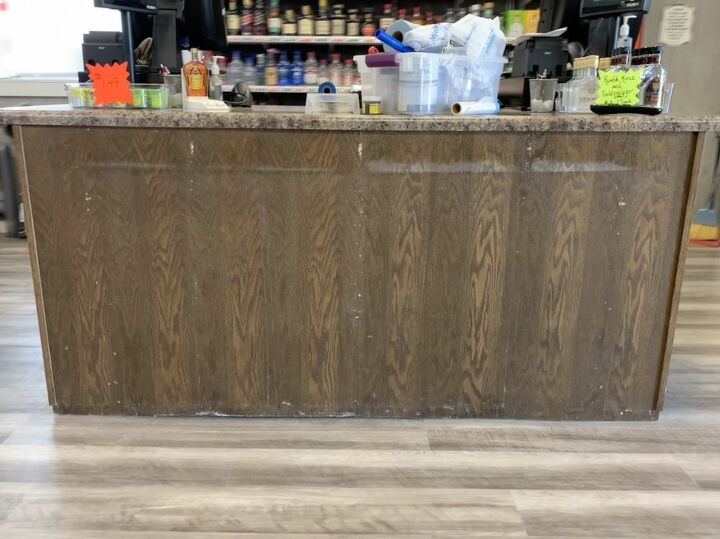
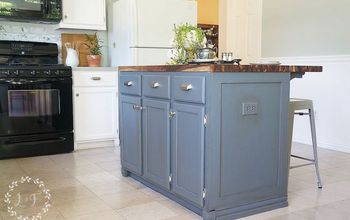
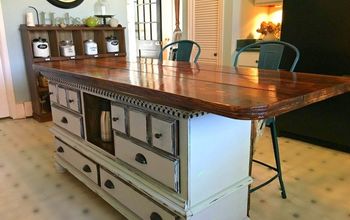
Your kitchen island is a focal point in your home! It is the center of the kitchen. The place where everyone gathers to sit, eat, talk and make memories. Having an eye catching island is important! I want to share with you how you can paint your kitchen island the easiest way! No sanding or priming required for this technique!
How to Paint a Kitchen Island
A light wipe with a splash of vinegar and water is a great way to naturally clean wood!
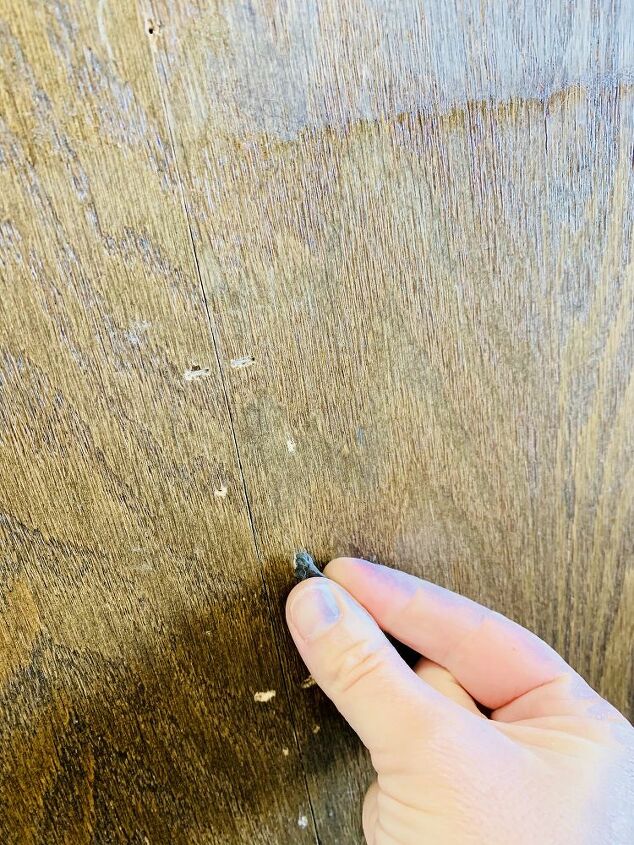
I did putty in some holes on this island. It had a lower countertop for barstools that had been removed. This kitchen island was being repurposed into a new store for their cash register.
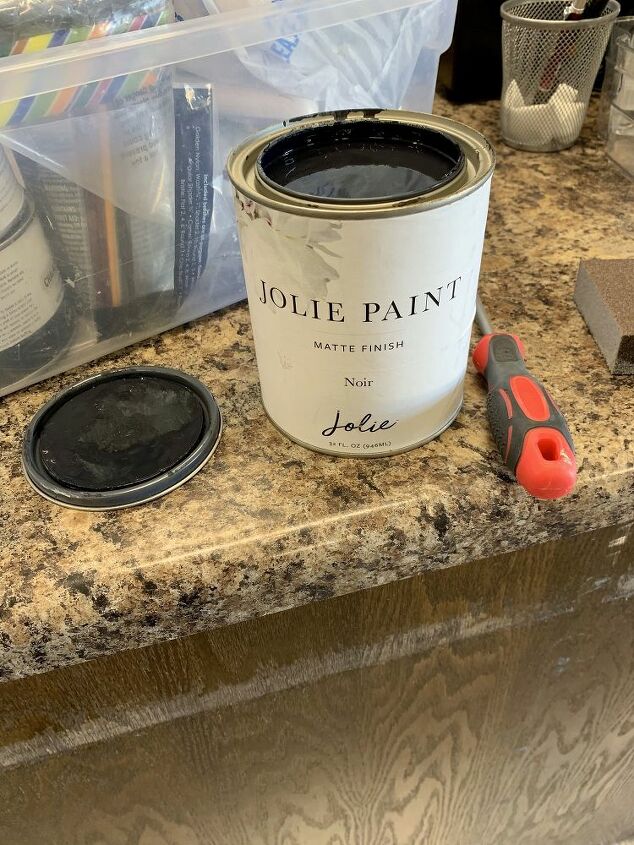
Pour a small amount of Jolie Noir into the paint pan. I like to add a small amount of water to thin the paint out. This will help to apply the paint to a large flat surface. A great technique for an island!
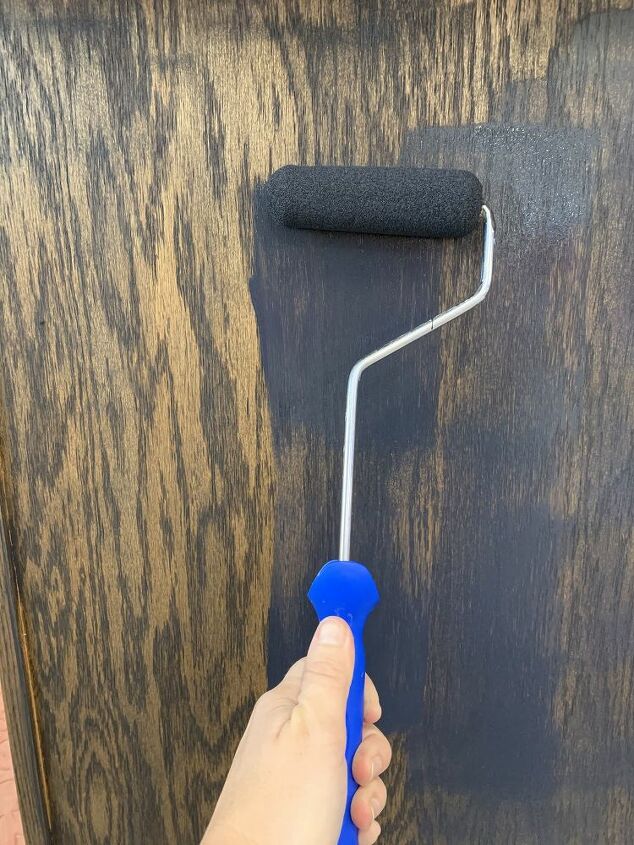
Once paint has been thined with water you are ready to add paint to your roller. Roll your roller through the paint and apply paint in up and down motions. This will take 2-3 coats of paint. Allow paint to dry in-between coats.
TIP: Use painters tape on bottom of island to prevent getting paint on the floor!
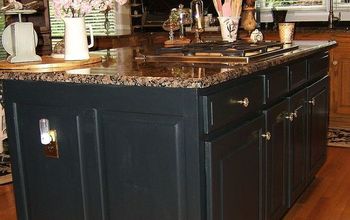
When paint has fully dried and island has nice coverage you are ready to seal your kitchen island! I used Jolie finishing wax to lightly seal this island. It provides a durable finish. You can apply the finishing wax with a wax brush or an old cotton t-shirt!
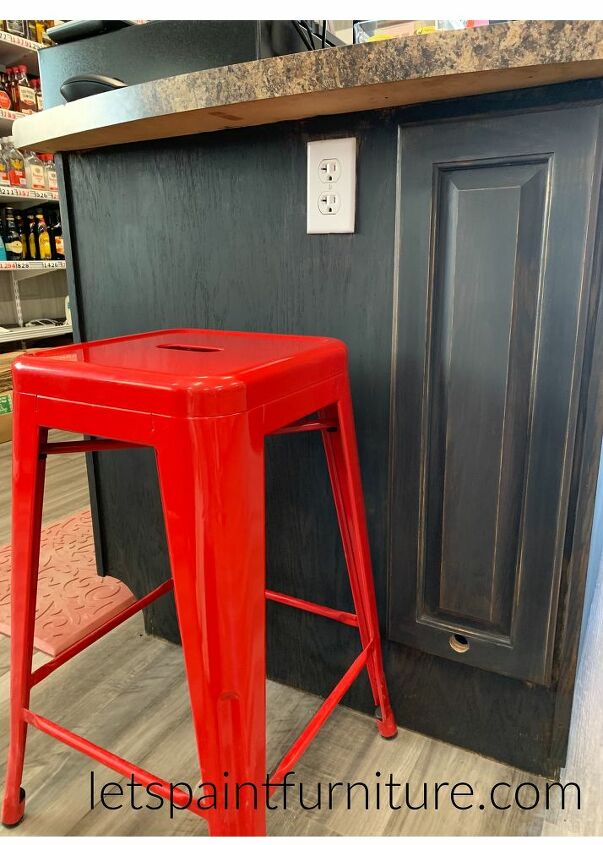
FUN TIP: Use your sanding block to lightly sand the edges of the cabinet doors. This will create an authentic distressed look!
I hope this tutorial has helped you! If you have any questions please leave a comment below! I’d love to help!

Ps. CLICK HERE for a free download on how to clean your kitchen cabinets before painting!
Pss. Yes this kitchen island was repurposed into a cash register at a liquor store. 
Resources for this project:
See all materials


Frequently asked questions
Have a question about this project?
Same to do to island painted? Also after painting it I want to add some drawings on canvas. Any suggestions?