


DIY Mortar Joint Repair

Hey friends! Today we tackled a project that we’ve known needed to be done since we bought our home three years ago, but just never got around to it!
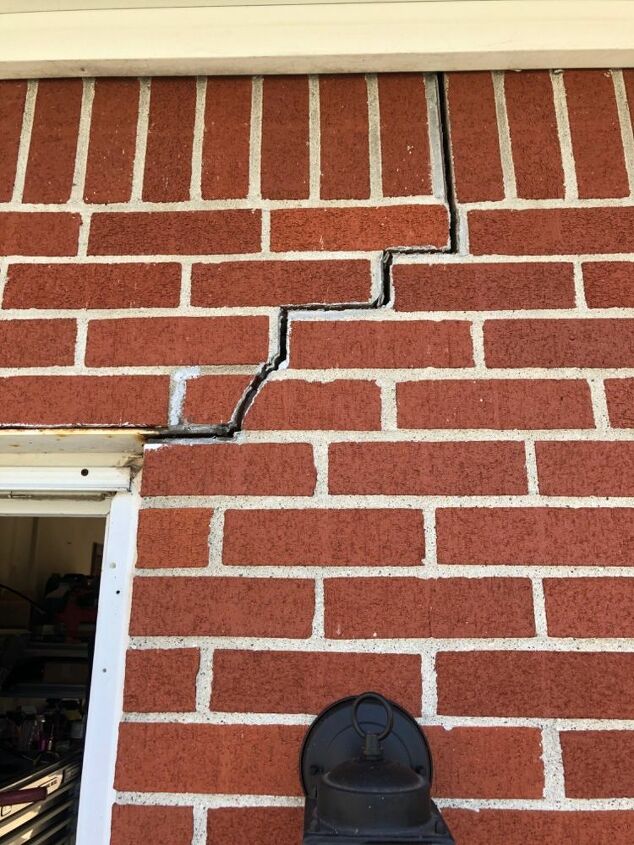
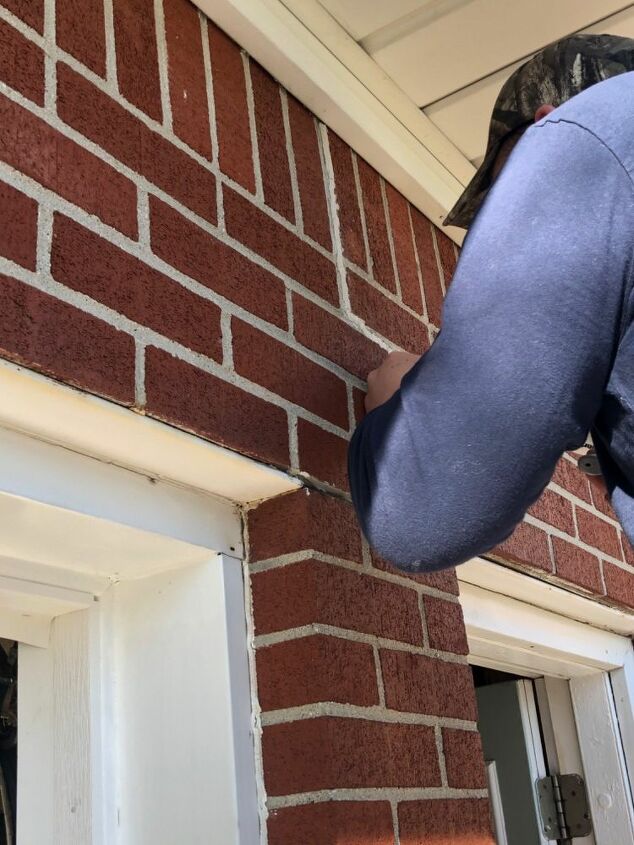
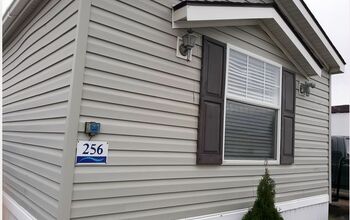
Our home is a 1967 brick ranch. The brick and mortar is in really good shape, except for these areas in the front and back where our garage has settled a bit. I didn’t get a before picture of the front, so this is the back.
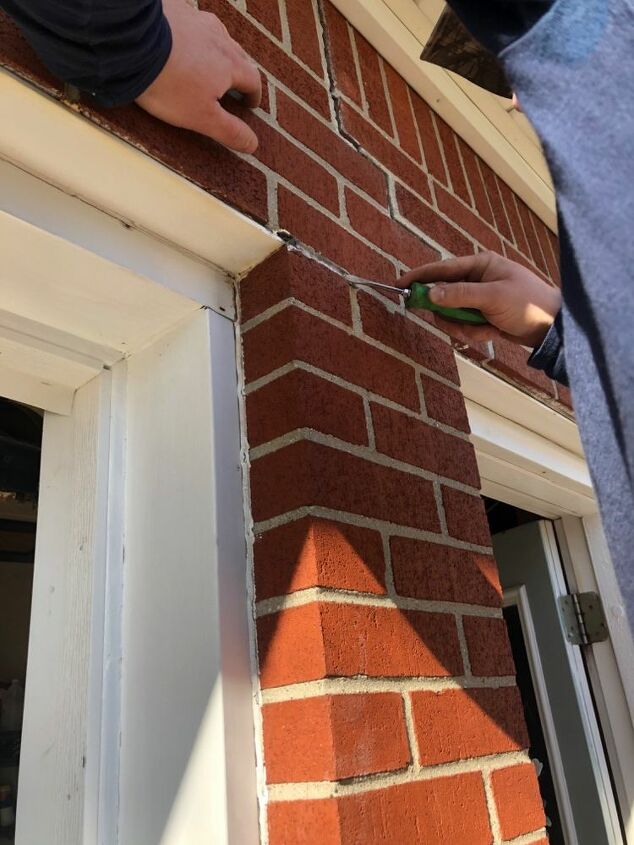
To start, my husband chipped away all of the loose mortar and previous caulk someone used to try to fix the mortar before. He used a flathead screwdriver and some muscle. There may be a better tool for this, but it got the job done.
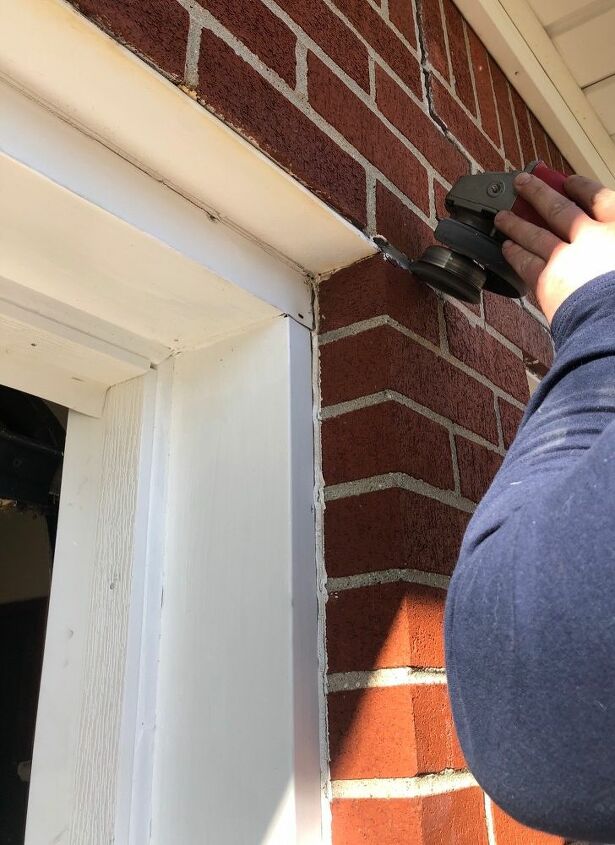
Then he went over those areas very carefully with his grinder to make sure everything was nice and smooth.
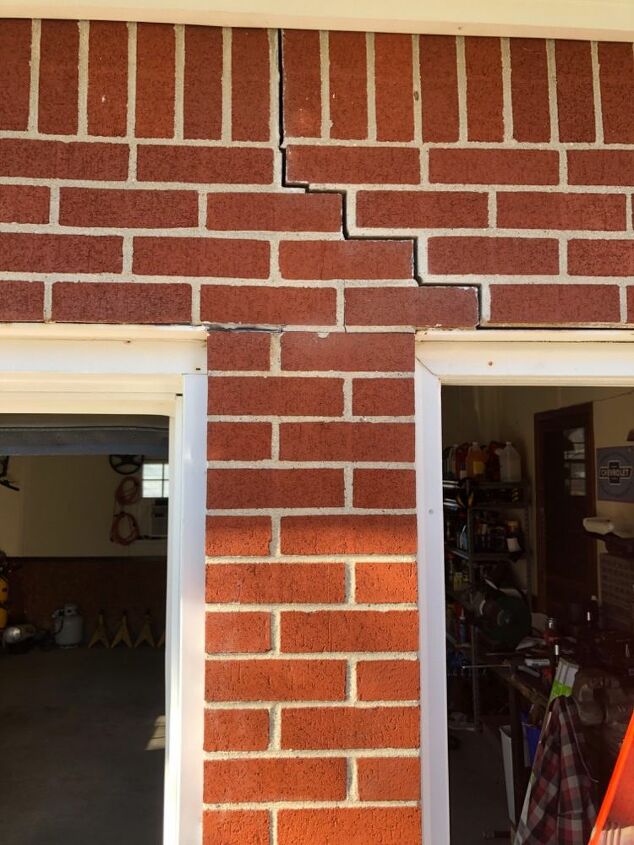
Prepped and ready to fill.
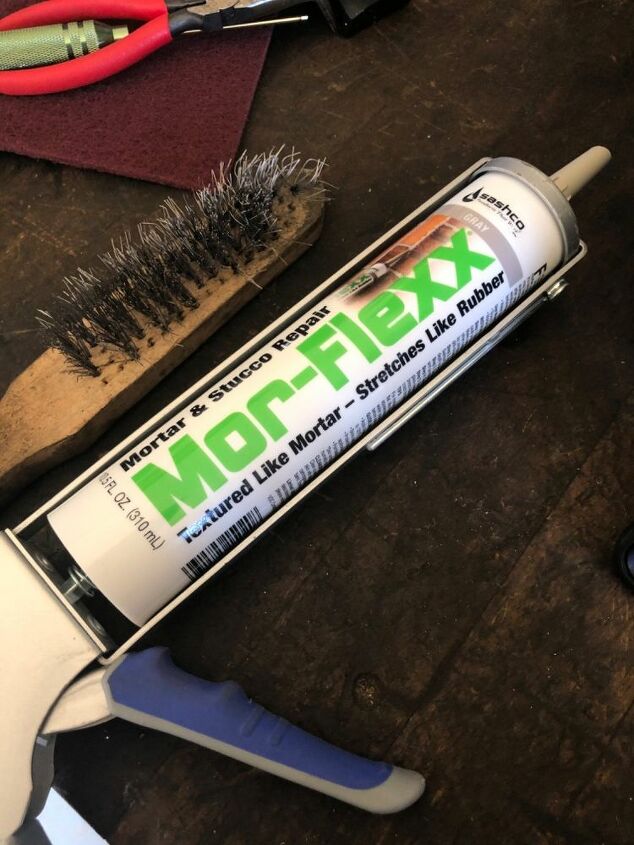
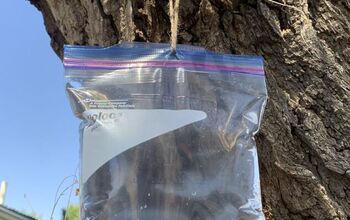
This is the product he got to fill
the mortar joints. Its textured like real mortar and is supposed to stretch like a flexible caulk would.
Application was very easy - using a caulk gun, just squeeze the product into the joints like you would caulk. He made sure to go slow and apply as smooth of a line as possible, so he wouldn’t have to do as much finger smoothing and worry about getting product on the brick.
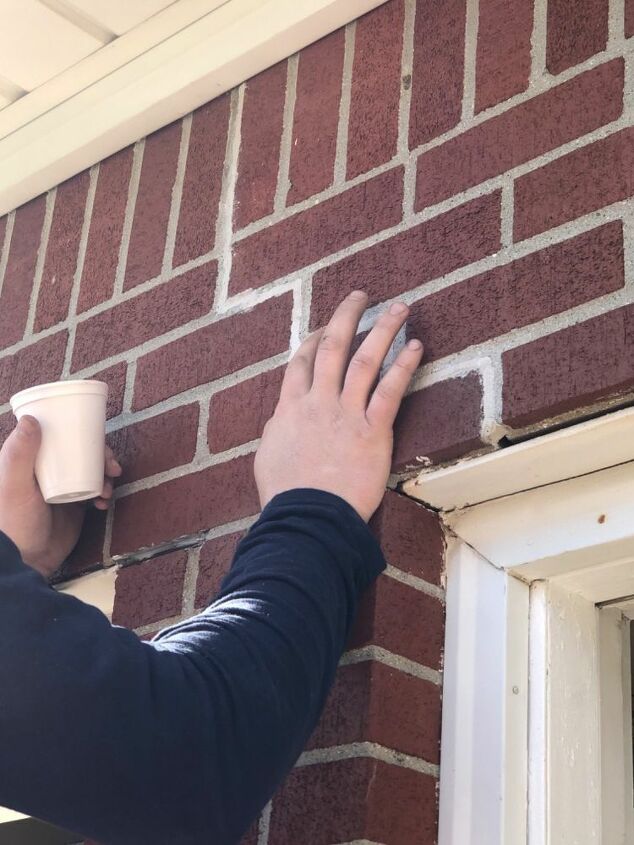
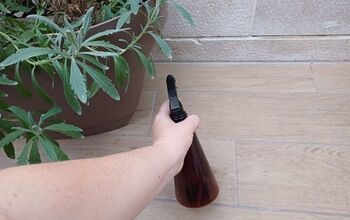
While the product was still wet, he got a little cup of warm water and would dip his finger then smooth out any areas that needed it.

So much better! To see more of our home and projects, visit my Instagram!


Frequently asked questions
Have a question about this project?