


Custom Wood Sign- No Cricut Needed!

Hey friends, if you're like me and love those custom wood signs but don't own an expensive Cricut machine... then this tutorial is for you! This sign cost me less than $10 to make and requires few supplies.

What you'll need for this project:
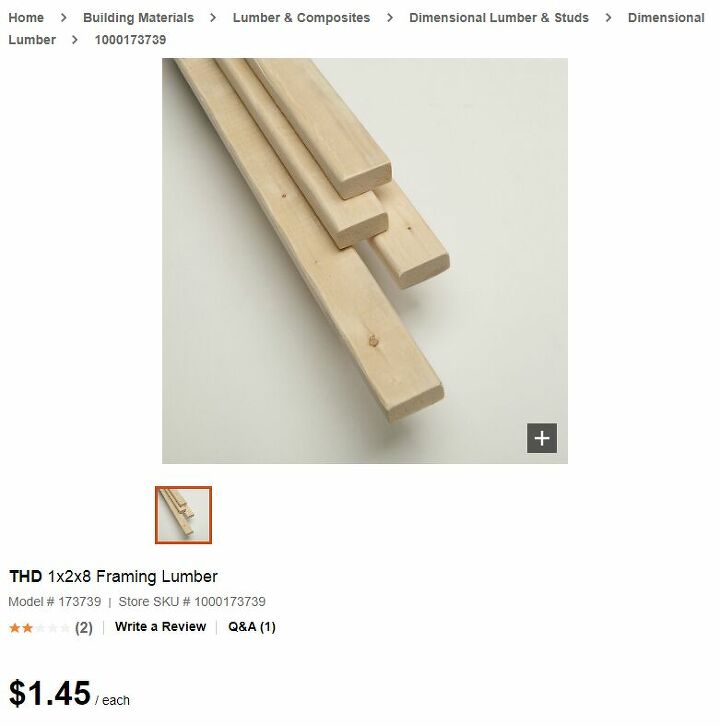
- 1"x2"x8' lumber (I use spruce)
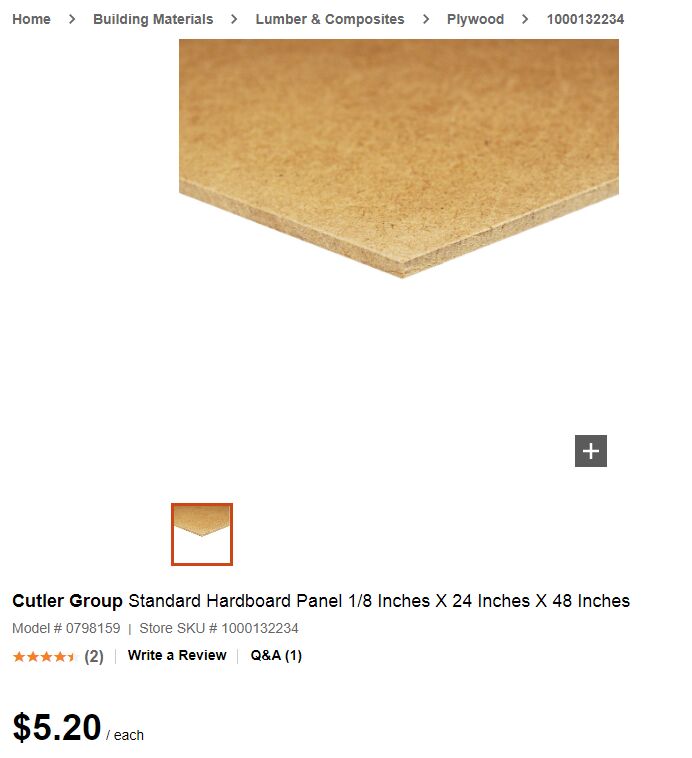
- 2'x4' board/plywood (can be any size or composite you'd like)
- Paint and stain of choice
- Printer and paper
- Sharpie
- Soft pencil (B-6B preferably)
- Picture hanging hooks
- Some patience ;)
Cut wood to desired sign size. I used a 2'x4' board and left it that size.
Paint it white or your desired sign colour. I used "White Kitten" by Beauti-Tone.
Cut the wood to size and stain. Put aside until the end.
I used "Classic Gray" by Minwax.
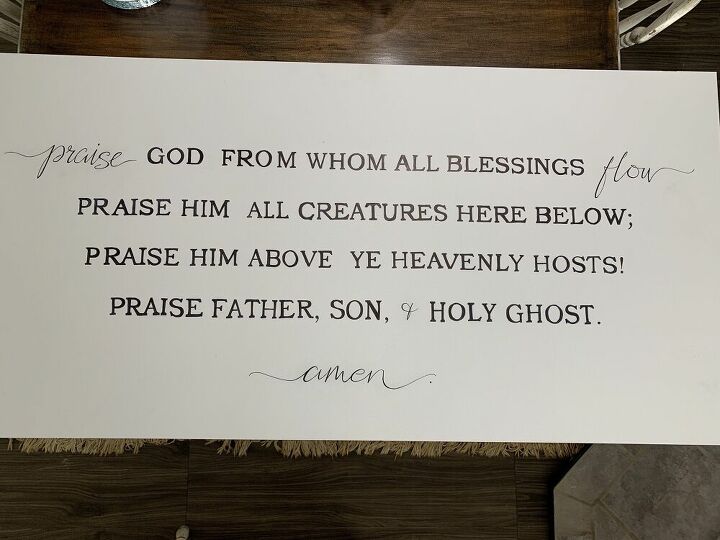
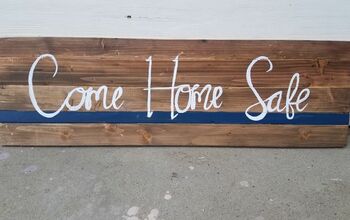
Choose the text you'd like on your sign. I'm going to be using the hymn "Praise God From Whom All Blessings Flow".
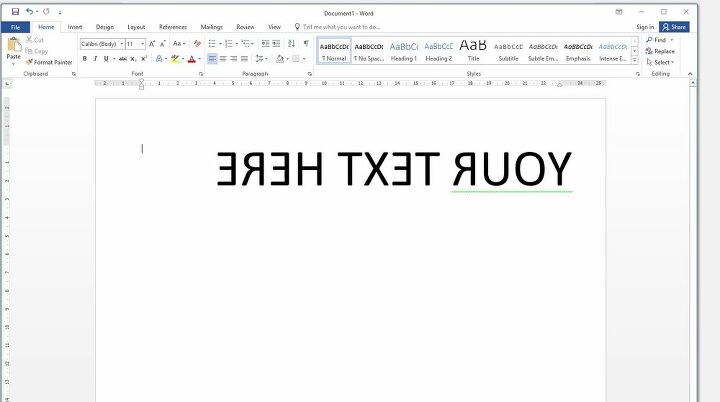
Type up your text in text boxes in Word using your desired size and font. What you'll print onto paper is the size of wording that will be transferred to your sign.
The text is going to have to be upside down/mirror when it prints out (as shown above).
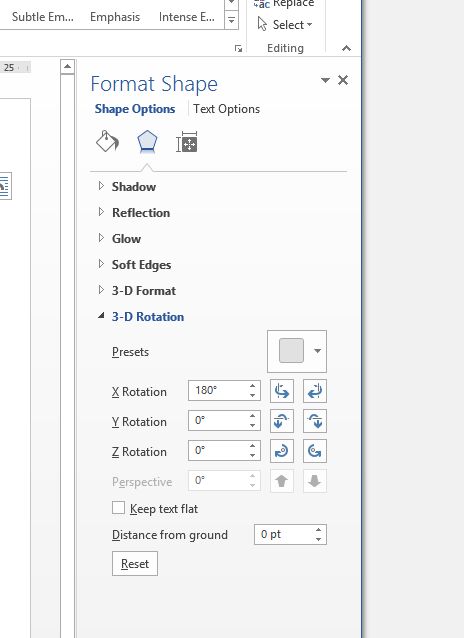
To flip your text upside down/mirrored:
- Right click your text box
- Click "Format Shape"
- Under "Effects" (the pentagon shape), click "3-D Rotation"
- Type in "180" in the X Rotation box
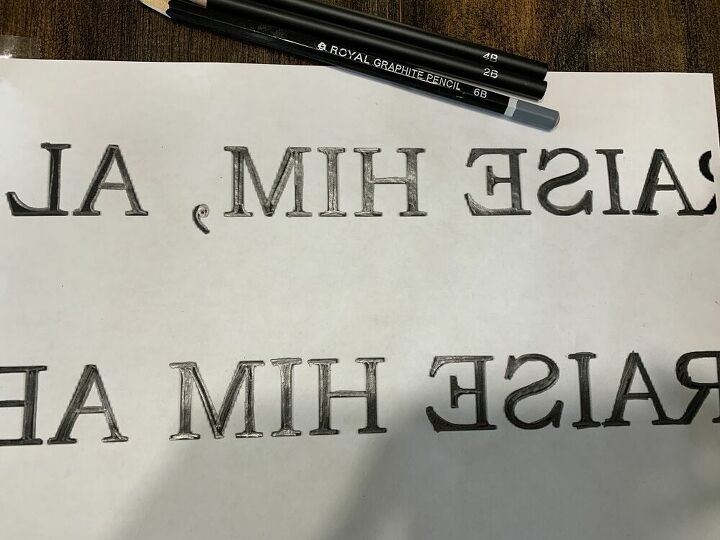
Fill in/colour your text using soft pencils. Pencils labeled "H" means hard and pencils labeled "B" means black. HB is a common pencil grade (medium hard/black), but 1B, 2B, etc. means that it's more soft/black as the numbers go up to 6B. I'm using 2B, 4B, and 6B pencils.
*Using soft pencils is important because we are going to transfer the pencil's lead drawn on the paper onto the sign. A soft pencil transfers easily and will also be quicker and easier on your hands.
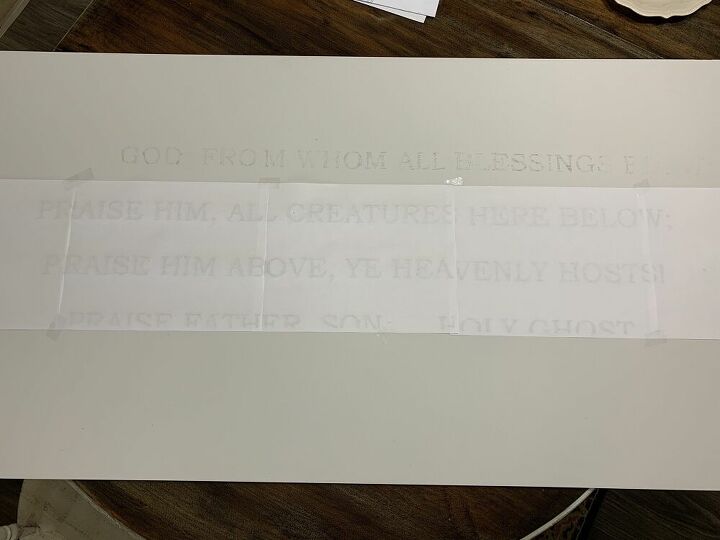
Flip your papers over onto your sign. As you can see, the wording now looks the right way. Tape into place once they are in the desired spot.
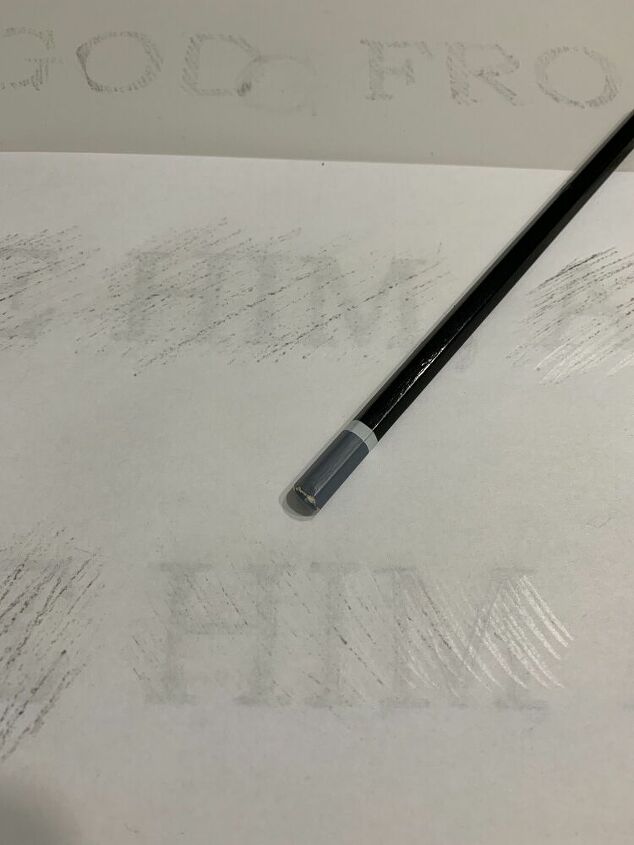
Using the back of your pencil or a hard object, start transferring your text. Scratch or rub firmly over top of where the letters are. This is going to transfer the pencil's lead on the other side of the sheet onto your sign.
Remove the papers.

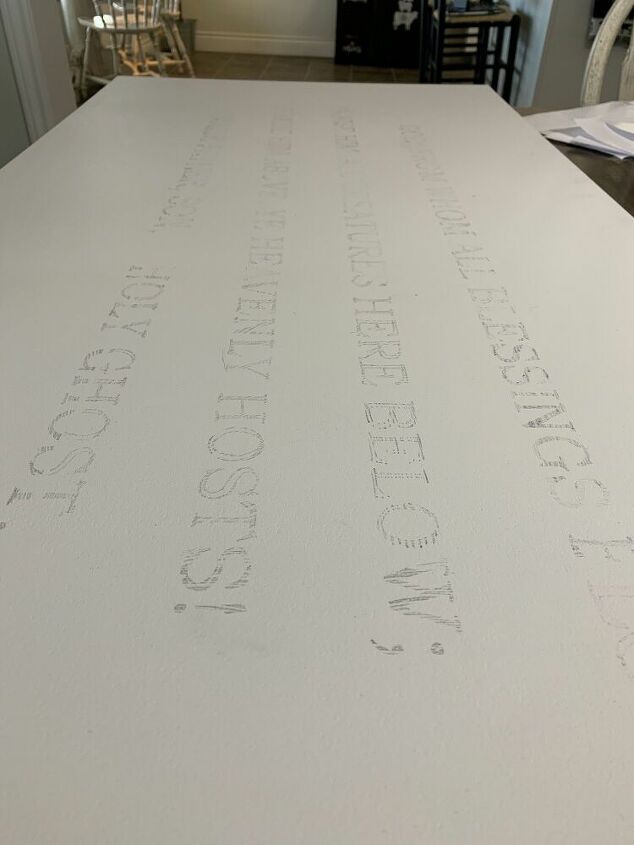
This is what my sign looks like with just the text transferred onto the wood. I chose to do a few words in a different font, so I free-handed those at the end.
Using your Sharpie, start filling in those letters! I used a thin Sharpie to outline the letters, then used a thicker Sharpie to fill them in.
*Tip: Lay a clean sheet of paper down where your wrist rests to avoid smudging the letters around where you're working.
Done! This took quite a while, but I just layed the sign on our coffee table and watched TV while filling in the letters!
Attach your stained 1x2 pieces of wood to make the frame. I first attached the pieces onto the board with wood glue, then used a brad nailer to secure from the back of the sign.
Attach the picture hanging hooks onto the back.
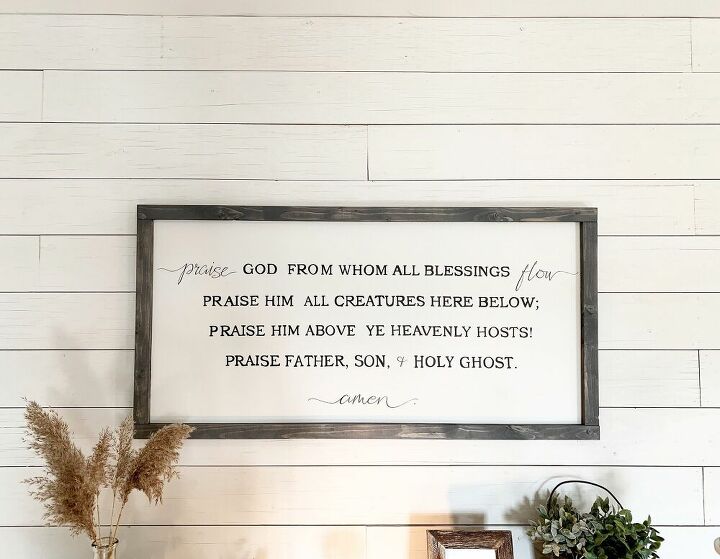
Enjoy your new sign!
For more ideas and ongoing projects, follow along on Instagram and Facebook!
Insta: @farmhouse.ongunnshill
Facebook: Lauren Ann Design
~Lauren 
Comments
Join the conversation
-
I love that you shared! I am all about these signs but don’t want to commit to a Cricut machine. Will follow your page!
-
Love this! I have some signs I would like to do but didn’t know how to make it work! Now I do, thanks!


Frequently asked questions
Have a question about this project?