


An Old School Chair Gets Revived for Spring

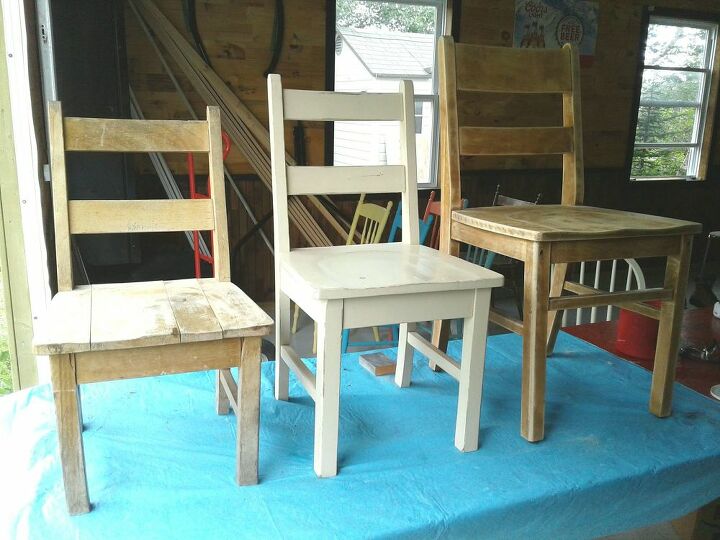
We are struggling here to have a glimpse of what Spring might look like, we've endured a very long Winter! I needed to see flowers and color but how with all of those snowbanks still hanging around? I know...paint and paper napkins!! I chose a small, wooden school chair to brighten and hopefully cheer me up! Here it is before I started along with mama and Papa chair.
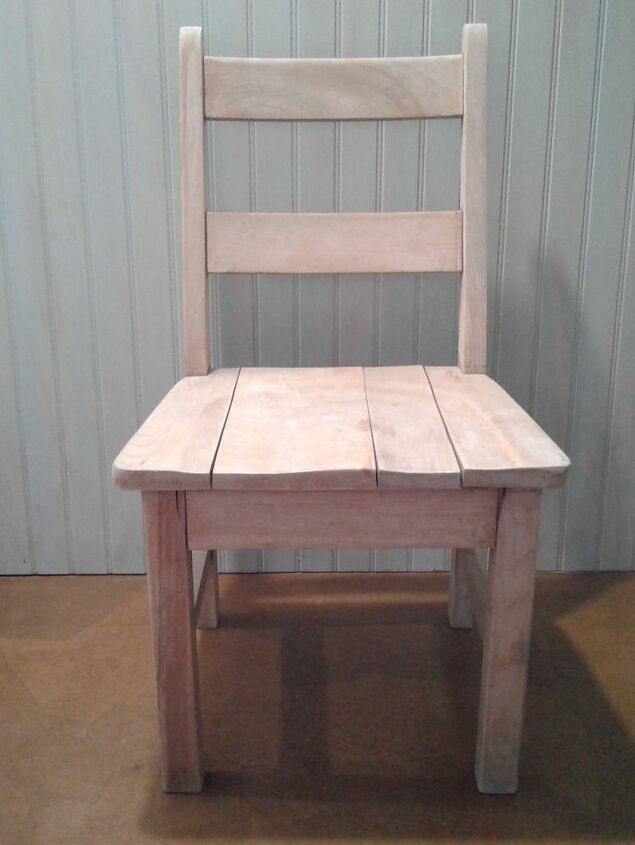
The chair was sanded with my sander last Summer, when we had good weather! I tried to remove most of the nicks and dings and the old varnish. It was just set aside after that until the plan for it came to me.
I wanted a bright, energetic color and luckily I found it in my paint stash....ORANGE!
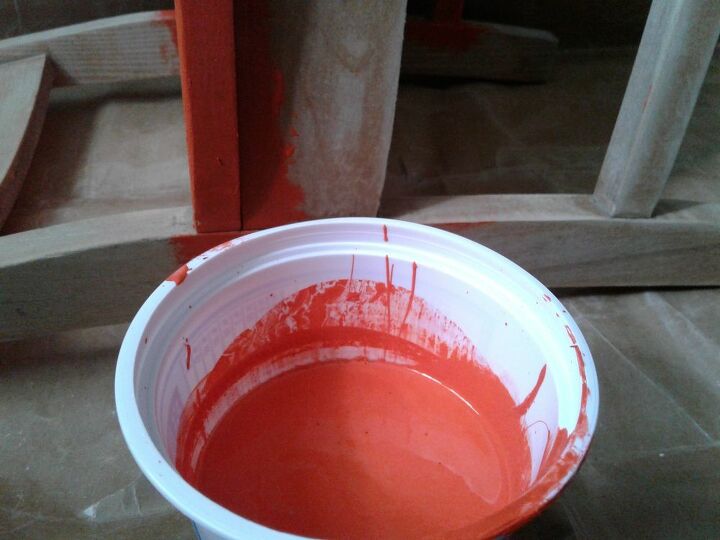
I just used my chippy brush and liberally applied the latex paint on everything except the back rails. Right now during self isolation my good paint brushes are precious and kept for my walls and trim paint jobs!
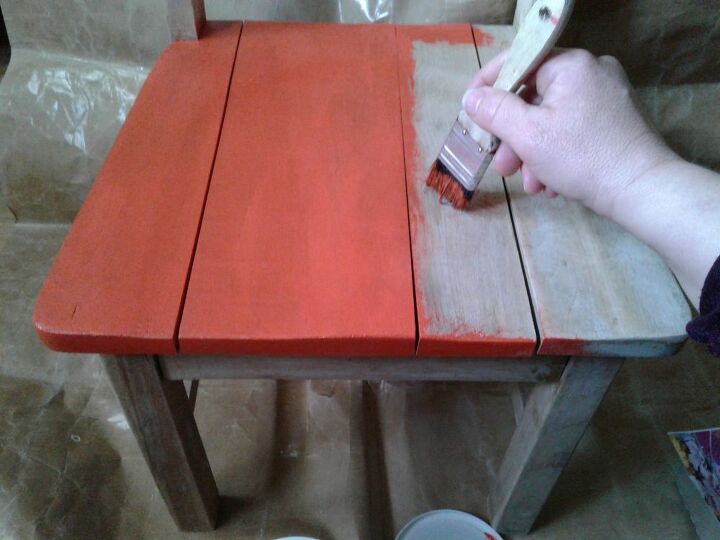
This will just be an accent piece therefore I didnt go through the extreme measure to repair the seams, I felt it gave a nod to the life that it lived. For the back rails I chose to paint these white because I have something different planned for them.
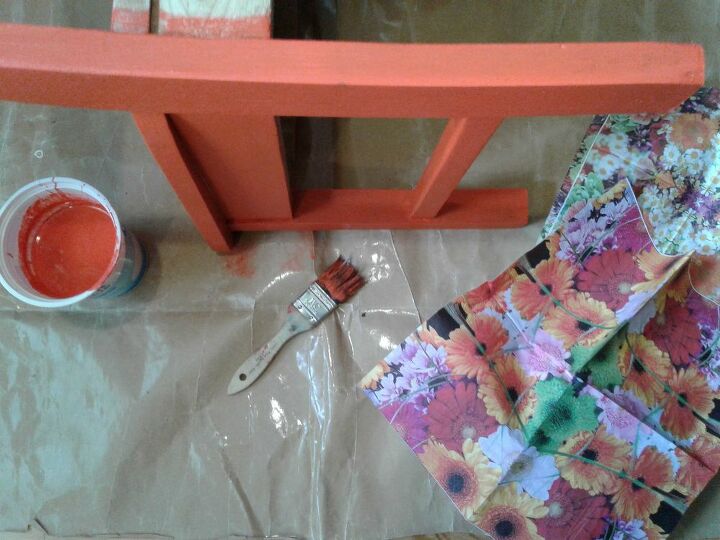
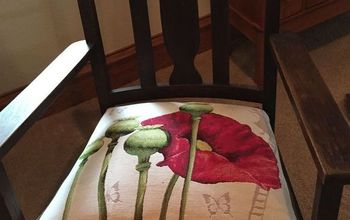
The plan for the rails was to decoupage some beautiful floral print onto them. I had two coordinating options, a dinner and cocktail napkin both with orange floral patterns.I chose the larger print because the orange flowers in it were a closer match to my paint color.
To use the napkin for mod podge I had to separate the three layers of tissue paper, the bottom two can be used for clean up because the top layer is what I need. Since the paper is so thin I find its best to apply it over a light color base which is why I painted the rails white.
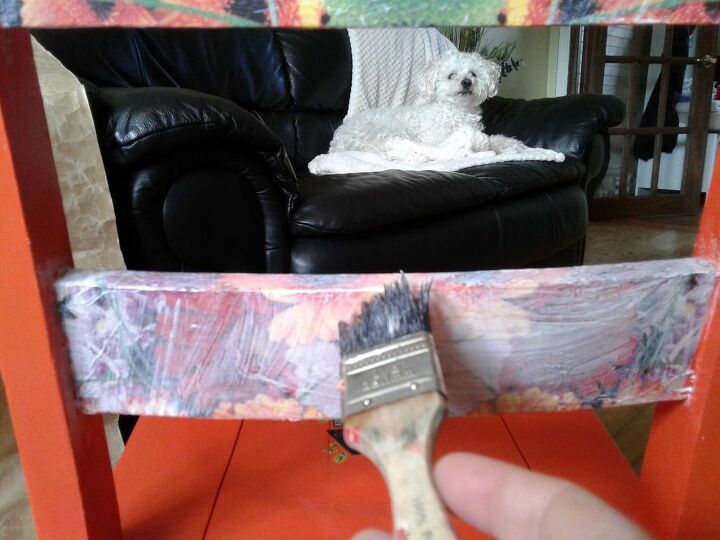
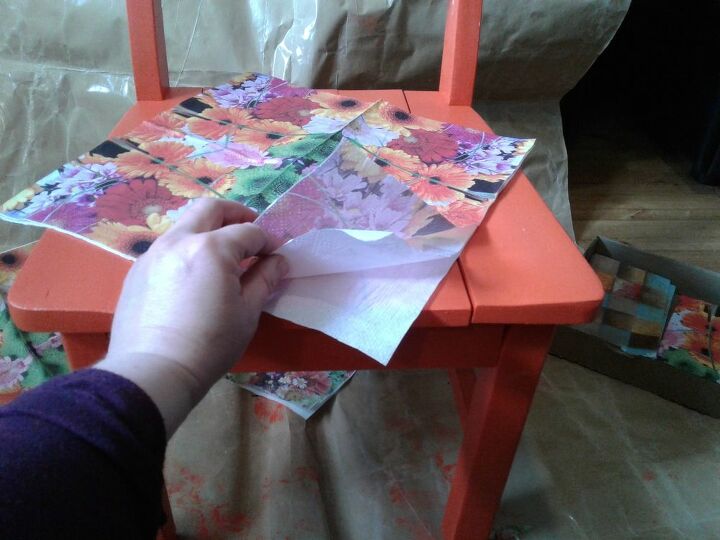
I placed my napkins over the rail while it was still dry and decided on the placement of the napkin pattern. Next, I smoothed out the fold line with my fingers and now I was ready to begin. It's a no fail process, apply mod podge and slowly and carefully lay your napkin in place. You can use your fingers to gently press out any wrinkles, I did each rail in two stages, front and then back to make application less tricky. Once it's was all covered with napkin, I applied another layer of mod podge all over the napkin surface to seal it. Once that was dry I applied another coat for extra protection because it was an area of the chair that I could predict would get handled a lot.
* Oh I'm being reminded.... ahem... that's my supervisor in the background!! 😃
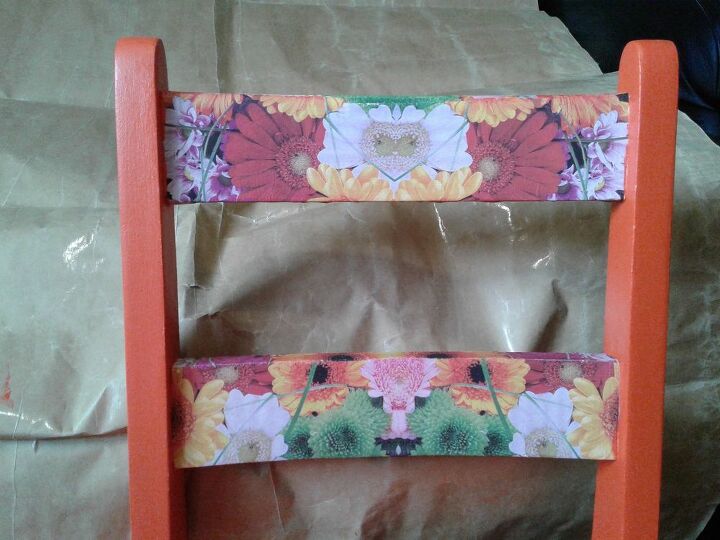
I made sure to have the napkin patterns appear a little differently on the two rails. Its looking a little more like Spring already don't you think?
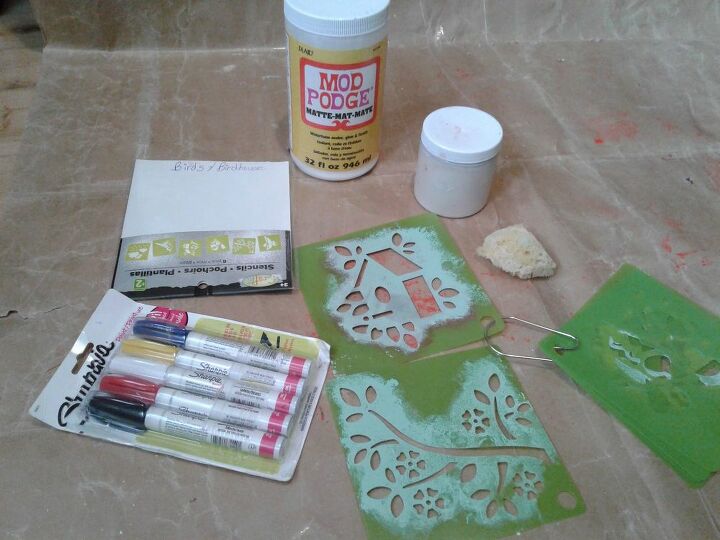
The next thing I noticed now was that the base was looking a little boring, I broke out some Spring stencils, birds, tree branches and so on. I used my white chalk paint and a small piece of household sponge, blot the sponge into the paint then blot most of it off in your scrap tissue paper. I laid and held my stencil steady in place and just blotted and dabbed the sponge over the pattern. I used the tree branch stencil twice as you'll notice to make it look as if the tree started below the seat.
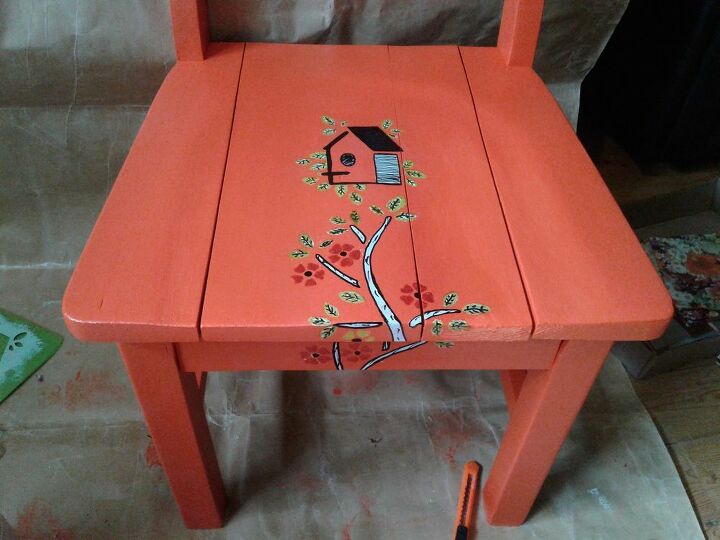
The white stencil looked stark against the colorful background of flowers! Hmm, how can I easily fix this unforseen dilemma? Cha-ching! Paint markers made the job easy peasy, it was almost as good as if I was coloring a page in primary school again!😃
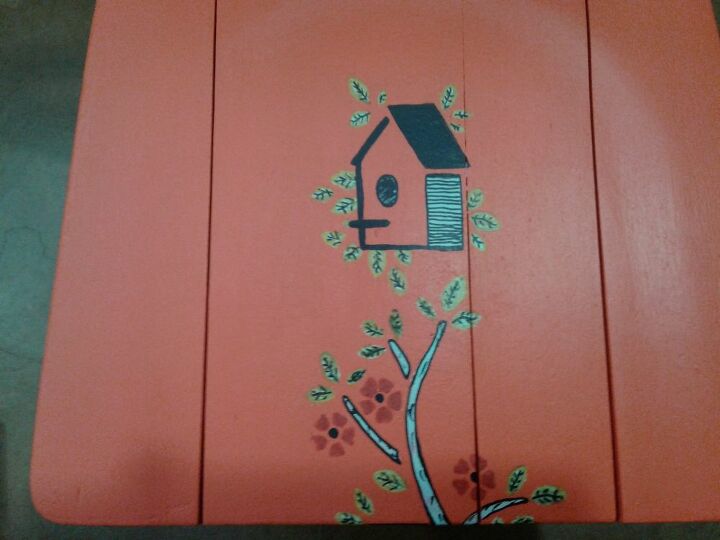
That was just what it needed, a little pop of color to make it jump off the chair and tie in with the colorful backing.

It's bright and energizing and it's my neighbors favorite color which makes it a perfect gift to give her to show my gratitude for a desperate coffee delivery!! I had run out and she offered me what she had...I was so appreciative that I wanted to give her a smile like the one she gave me!
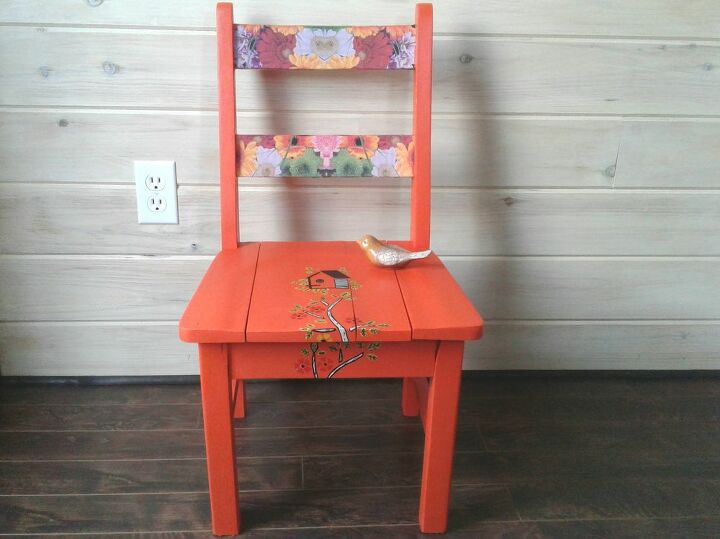
My neighbor loves orange, check....she loves flowers, check and she has a garden full of birds at her feeders, check. So you see you can turn something so plain into something so personal and pretty! I hope it sparked an idea in your head as well and let me tell you....it does feel better to give than to receive!
Resources for this project:
See all materials


Comments
Join the conversation
-
I love the color,design and your excellent instructions ! I simply enjoy this kind of
'make-over '! Beautiful !
-
Orange is my favorite color. I am going to have to try this and hope it comes out as nice as yours did.


Frequently asked questions
Have a question about this project?
What have you done with the other two chairs? Hope they're as cute as the little orange one. That one is adorable! Thanks for sharing and stay healthy!