


Laundry Room Wallpaper DIY

I have a tiny laundry area, it's not even a room. I wanted to clean it up, make it look less cluttered and add wallpaper to jazz it up.
Have you tried that peel and stick wallpaper? If not, this is a step by step tutorial for applying it to your wall.
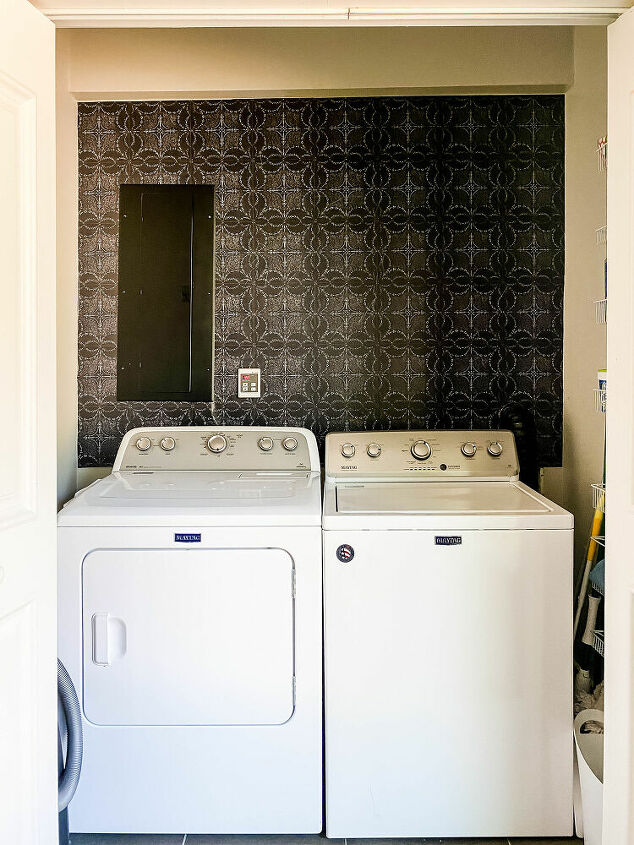
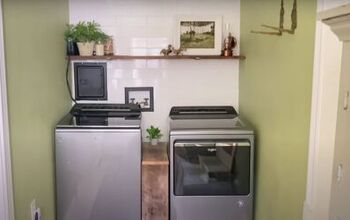
This is my laundry room after I applied the wallpaper. If you'd like to see other DIY projects, head over to my blog.
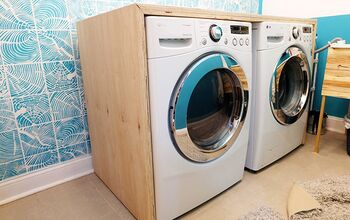
There are so many adorable peel and stick wallpapers. This one came from ETSY.
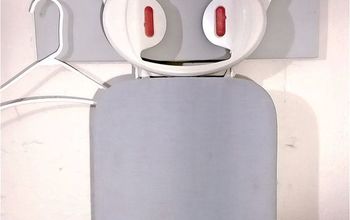
The first step before you apply wallpaper is to clear the wall of everything including light switches, an electric panel and shelves.
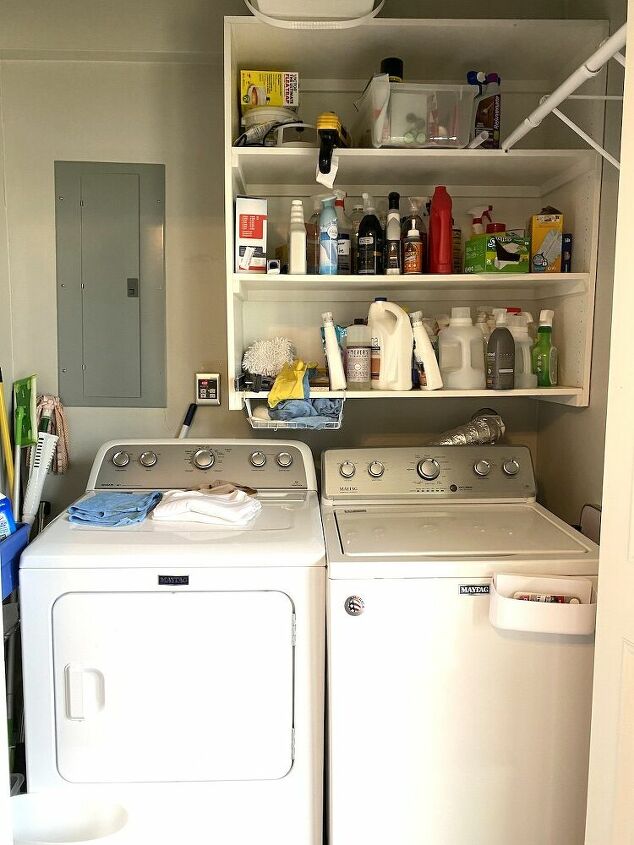
This will give you some idea of what it looked like before. I think it's a big improvement for an area that is in my kitchen.
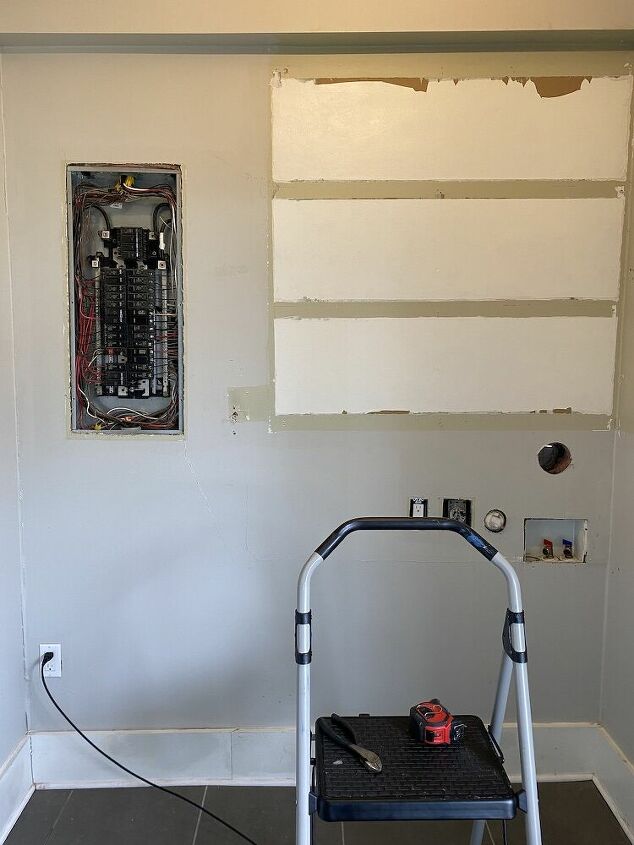
If your wallpaper doesn't have a lot of pattern you may want to smooth out any rough spots on the wall with sandpaper.
I've found that imperfections in the wall, tend to disappear with time. You notice them right when you put the paper on, but if there's enough pattern they disappear.
The second step is to peel back the top 6 inches of the backing. Start at one of the top corners.
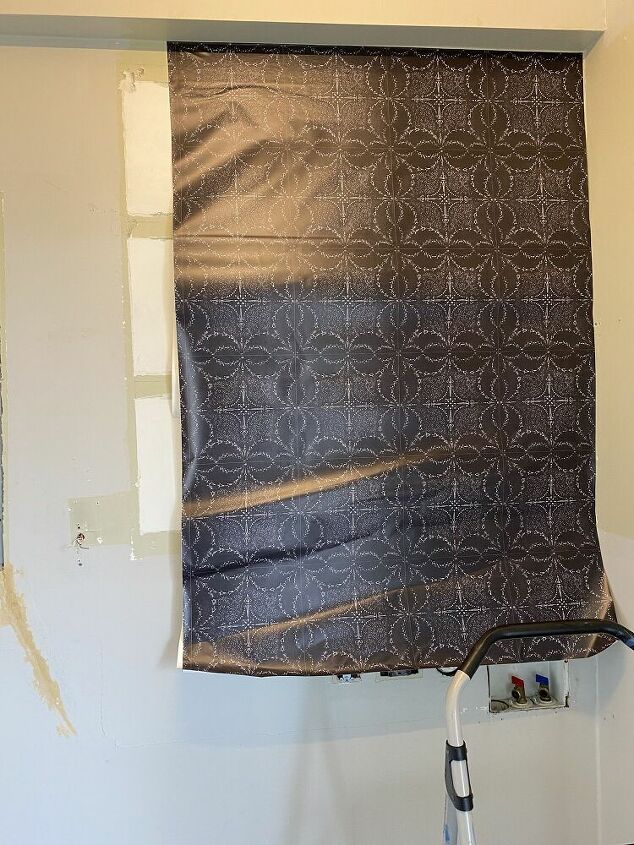
The key is to keep smoothing and pressing out all of the air as you peel off the backing. You can use a squeegee, but we found it was easier just to use a rag and your hand.

Most wallpapers has markings on where it should repeat/overlap. It's not complicated, but it is a time consuming to smooth out the air bubble and wrinkles.
Once you have it all smooth it's time to add back your switch covers, shelves. I painted the breaker box black to get it to blend in better with the wallpaper.
Using A Handyman
This isn't a hard DIY project, but it is easier with two people. I don't have a handy husband, but I don't want that to stop me from doing DIY projects around my house. There's no shame in getting help, we can't all be married to Chips.
My helper was a handyman. I have some g reat tips for how to find a good handyman (and I use them all the time).


Comments
Join the conversation
-
This looks so good!
-
Thanks Pamela!


Frequently asked questions
Have a question about this project?