


How to DIY: A Laundry Room Waterfall Counter
Building a waterfall counter to enclose our washer and dryer was a stylish and practical choice.
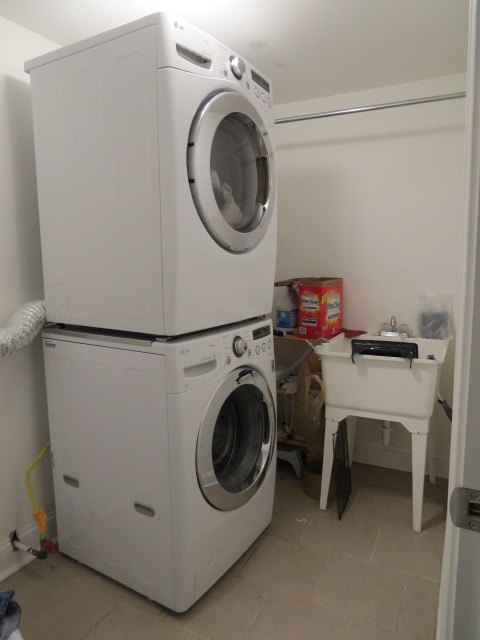
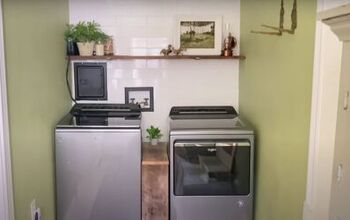
After far too long struggling with stacked machines in a sad, frumpy, dark, and tiny laundry room (but a laundry room nonetheless which I hugely appreciate), it was time to tackle this room.
Here's before above in a 9'x5' room with a 7' ceiling.
Finally the machines came apart and it was party time. For real, I did a happy dance for several days.
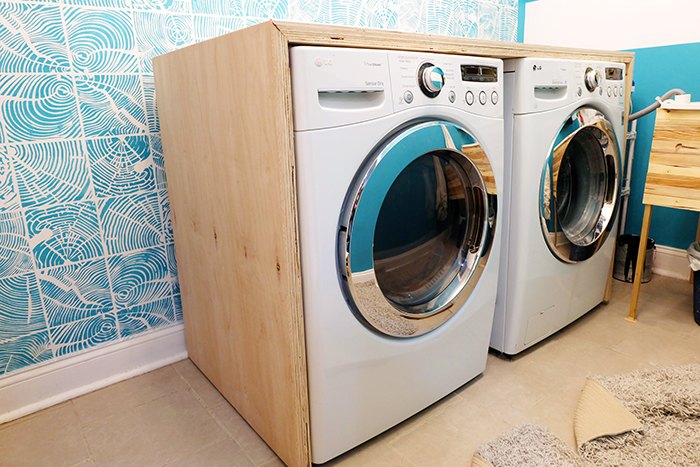
What's a waterfall counter? One that has the same material across the top going down the sides as one continuous-looking unit.
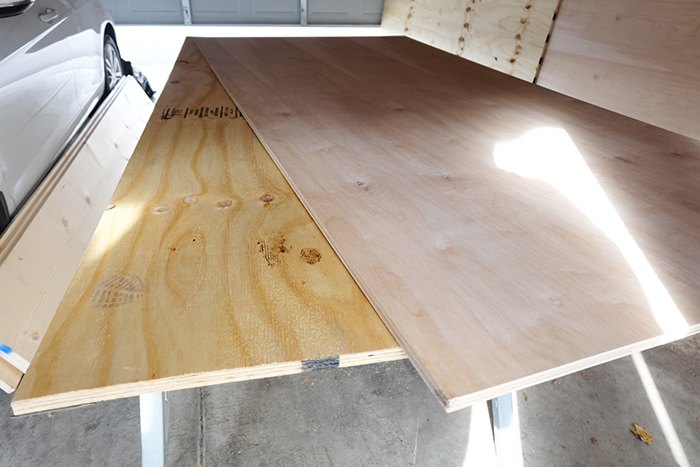
To build this, and be frugal where I could, I picked up four sheets of 4'x8' by 3/4" thick plywood, two sheets of swanky maple and two less fancy regular plywood.
My plan? Build a 1 1/2" thick counter with exposed edges so I was sandwiching two pieces of plywood together to reach that thickness.
Considering pretty well only the edges of the inside piece of plywood would be seen, that's where I saved money by using the regular, not expensive stuff. Tip: to hide it even further, paint it black!
Key to the success here was screwing the pieces of plywood together before cutting. And keeping them screwed together so everything aligned.
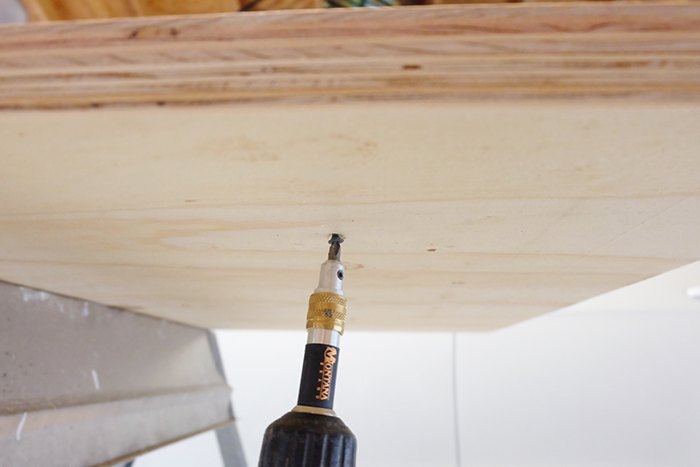
Here I'm screwing through the blah plywood into the good stuff so the screws aren't seen, after which I cut 30" straight pieces along the 8' length, aka the depth of the counter.
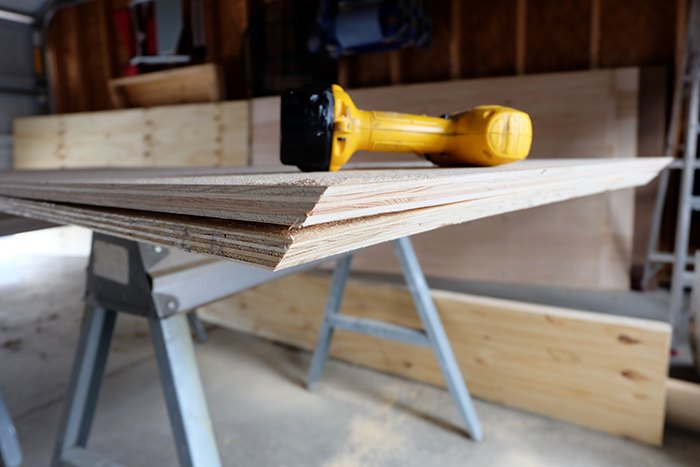
I tried to step it up for myself, cutting the plywood at 45° angles where the joints would abut. Go slow and quadruple check yourself about which way the angles need to be cut.
Back down in the basement, it was assembly time. Because the room is so small, I had to assemble around the machines rather than assemble then install.
Based on my machines and my goals for this counter, I went with 62 1/2" wide by 30" deep by 40" tall. The width was based on having a 4" gap between the machines for storage.
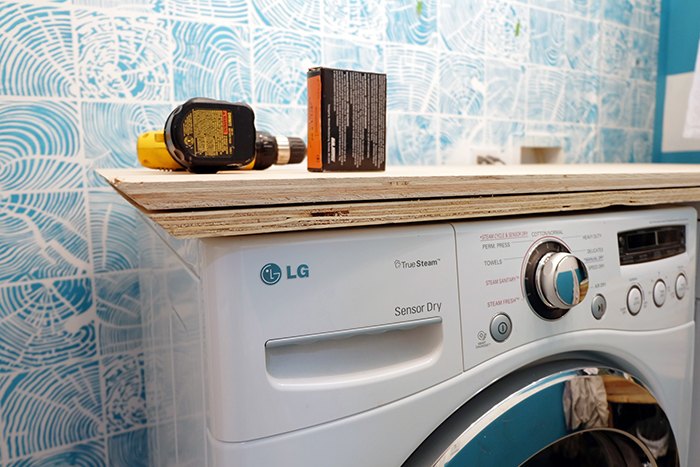
I slid the countertop onto the machines then the struggle became real.
Be sure to swing by my blog for more on this laundry room makeover process!
Things weren't lining up well, or they were flopping around, or I didn't have enough hands, or enough room to wiggle around, or....you get the picture, I had a hard time here.
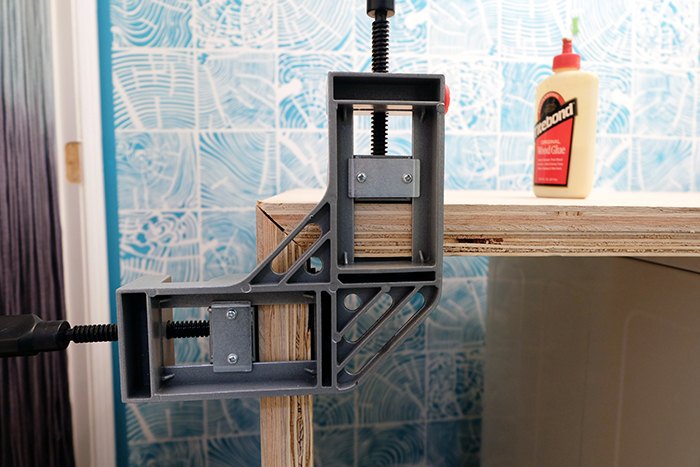
This corner clamp helped, gave me a breather.
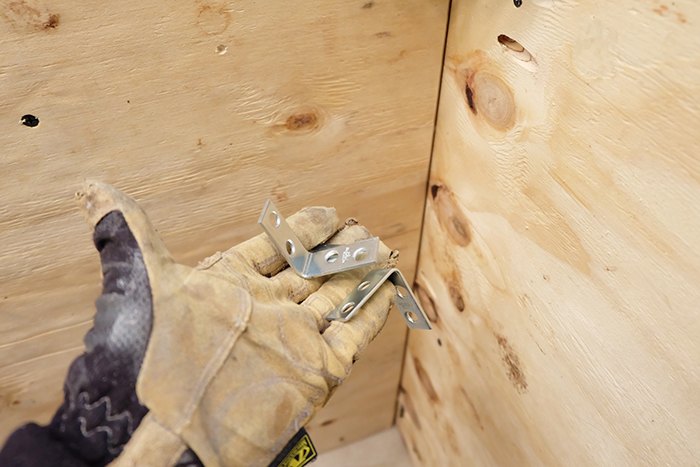
For the one side seen above, I had tried pocket holes but that just did not want to pan out. Instead I picked up some simple corner brackets and attached the side to the top that way from underneath where they're not seen.
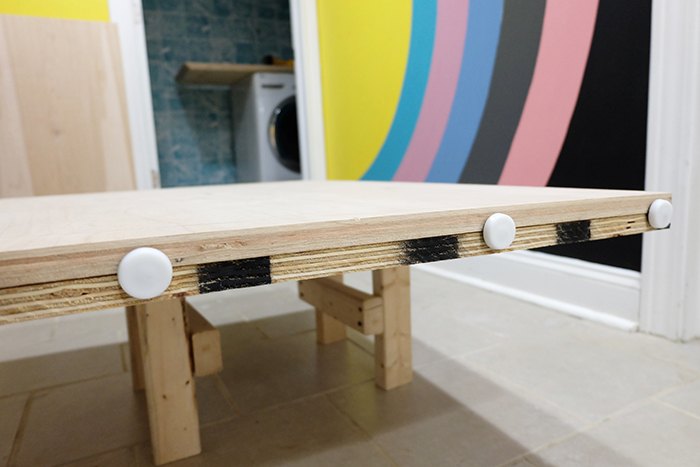
Oh, quick backtrack, sorry -- to prop the wood of the leg pieces up off the floor a hair in case of water and for other reasons, I popped in some Teflon glides.
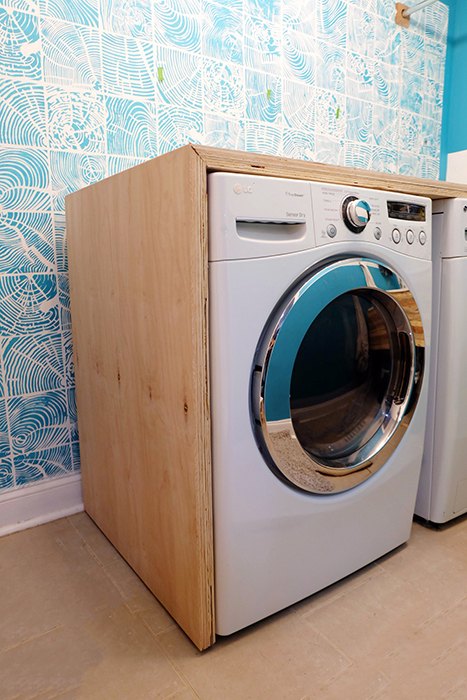
I slid the other side over the counter, dropped it down, pushed it up into place and since that side isn't seen, screwed it together from the outside. Simple to disassemble if needed.
And voila! Tada! Woo hoo!
In hindsight, I could have used some of the trimmed off extra maple plywood, made some strips and cut the plywood underneath shorter in depth, then glued in the strips to make the edges perfectly all maple, but, I wasn't thinking. My freebie tip for your counter build!
Sealed this puppy up with some paste wax after lots of hand sanding and it's terrific, I absolutely love it.
Be sure to drop by the post for more details about this project!
Need ways to create an impact in your rental?
Resources for this project:
See all materials


Comments
Join the conversation
-
Becky,
Maybe change the title to read 'integrated counter top' or 'built in look' or 'waterfall look' so the comments giving opinions about yours not being a true waterfall will end. 🙄
Whatever one chooses to call it, I think what you did makes for a more efficient and attractive laundry area. 👍️
-
I would prefer to make a sturdy under machines base. With storage under and putting machines at a height that is more comfortable than crawling on floor to put laundry in and out. Storage under snd storage over.


Frequently asked questions
Have a question about this project?
Hi,
Great idea! I have an issue with space in my too tiny laundry room and I wondered if you think I could make the opposite of what you built work for me? In otherwords, build the single cover over the washer and stack the dryer on top instead of having to purchase the stacker from the maker. What do you think could be used as something to secure the dryer? Thank you!😃
Couldn't one simple add the wood counter on top?
Sometimes my washer gets off balance- what would happen to a shelf like this in that case?