Holographic Bookshelf on a Budget - Teen Tween Decor

It is with great trepidation that I post this project. It is a bit out of my style comfort zone. Also, it doesn't photograph the way it actually looks. I like it IRL but the photos make the colors really wild and wavy. Here is how this project came to be. I had been wanting to makeover something in my daughter's room for a long time. Her response to me wanting to paint something or add some wood boards to her headboard was met with an absolute, "no". She said, "I don't want any of your painted rustic decor..." (said with great love, of course) The term "Farmhouse" was not used but definitely implied so hmff. Well, I am nothing, if not flexible and I am aware that there are other types of decor out there. CHALLENGE ACCEPTED. So, I looked at what types of things she and her friends were drawn to and decided something holographic might be a good option. I asked if I could make her a holographic bookshelf. This was met with disbelief, "You can do that?" "Well, I think so." And then she couldn't wait for me to start, and proceeded to ask me on the daily, when I was starting the holographic bookshelf.
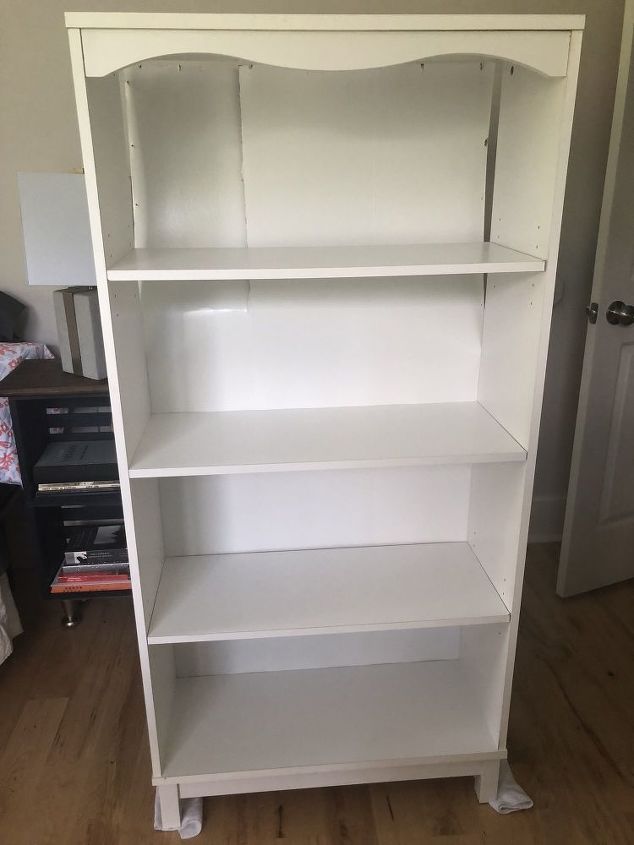
I was starting with an old bookshelf that did not make it through our last move, unscathed. But it is still a perfectly good usable bookshelf.
I used holographic gift wrap from Hobby Lobby. It is surprisingly strong and heavier quality than a lot of gift wraps. (I set the gift wrap face down on a table and it got something sticky all over it. I took a paper towel with spray cleaner on it and washed it off... not your average paper gift wrap.) My daughter won't be too hard on it and if it tears, I'll go buy extra. I decided to make this a temporary attachment so when the holographic phase is over, I can remove it and have a white bookcase again. I removed the back and covered all the shelves like gift wrapping a present.
Lots of cutting to this project. I attached everything with double sided tape. I wanted to easily change this back to a normal bookcase when she decided this was no longer her thing. I figured even if the adhesive was still on it, I could use adhesive remover to get it off.
I thought I was done at this point and asked her to take a look. I had used one entire roll of gift wrap, just about exactly. She looked at it and came running downstairs and said, " I like it! I REALLY like it" "But, I was hoping for more holo." So, back to Hobby Lobby, I went to buy another roll of gift wrap.
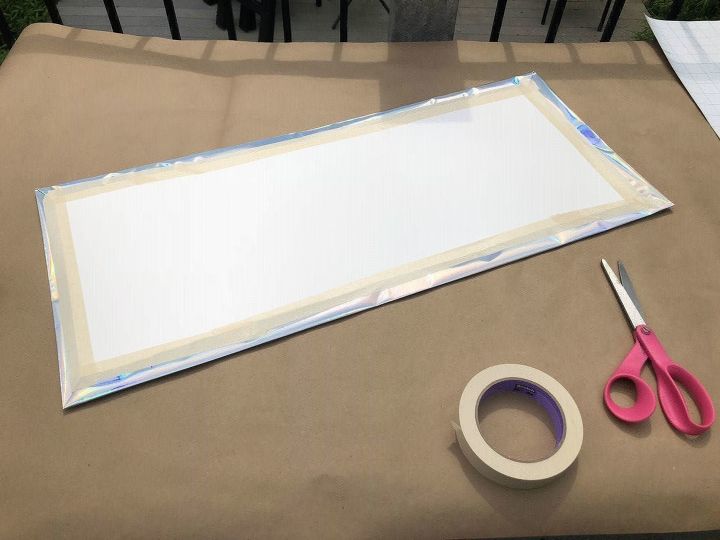
For the outside of the bookcase, I bought poster board and cut it to the width of the bookcase and enough to wrap around the front. Then I wrapped it with the holographic gift wrap.
I attached them to the bookcase with double sided adhesive tape and upholstery tacks for added insurance.
I over-lapped two panels for the outside and bent enough of the poster board to wrap around the front.
Before upholstery tacks...
At this point I thought I was done again and asked her to go look at it. Crickets... nothing, no response... So, I looked at it and said, "It must need more holo..."
I added holographic paper to the interior sides. Now, it is done. If I hadn't used every scrap of wrapping paper, I would have done the feet but I felt buying an entire roll for that was unnecessary. What does she think? She hasn't seen it yet but I hope she likes it. It wasn't costly, or super difficult but it was rather labor intensive. If you like to wrap presents, you're good to go!
I do believe it is one of a kind...
On the interior left and right sides, I attached the gift wrap to the poster board with Mod Podge. I thought it would give a smoother look and it turned out to be the opposite.
Enjoyed the project?
Resources for this project:
See all materialsComments
Join the conversation
-
 Jenny Wright Montford
on Jul 19, 2018
I love it with the upholstery tacks!
-
-











Frequently asked questions
Have a question about this project?