


48 Hour Flip: Quick and Easy DIY Laundry Room Makeover
If you're anything like me, you know that doing laundry is not exactly the most exciting task in the world. But what if I told you that with just 48 hours, you could turn your drab laundry room into a space that's both functional and gorgeous?
That's right! In this post, I'm going to share with you my secrets for a DIY laundry room makeover that's quick, easy, and totally transformative.
This post was transcribed by a member of the Hometalk editorial team from the original HometalkTV episode.
So, let's get started and give your laundry room the makeover it deserves!

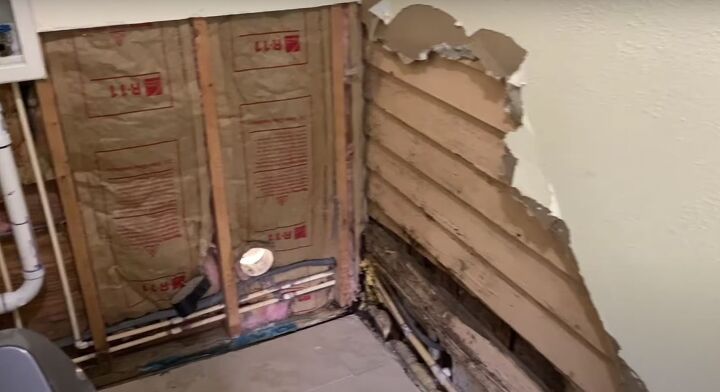
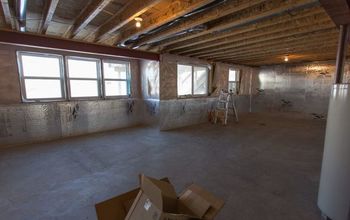
We recently purchased this house and this room is an addition to the back end of it that they made into a laundry room. The addition was done very poorly, though and they used cheap products.
1. Clear the Way for the DIY Laundry Room Makeover
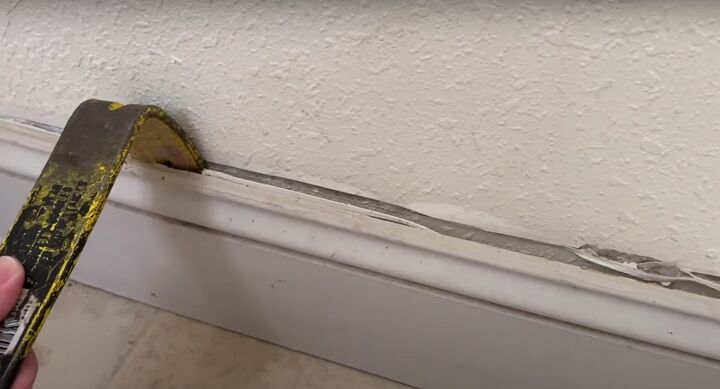
To start the renovations, we removed cheap things like the baseboards that had severe water damage.
2. Repairing and Prepping Walls for a Fresh Start
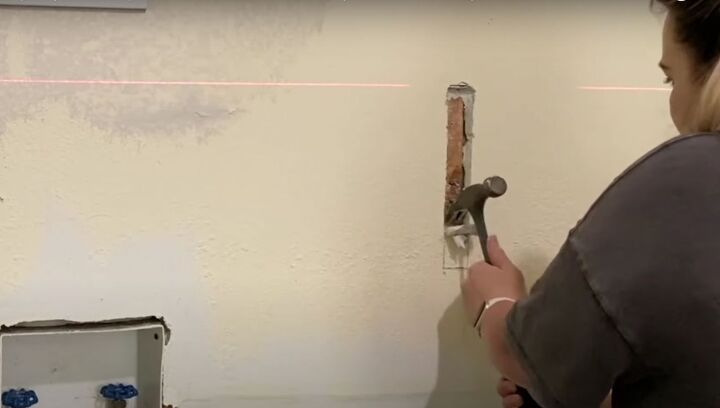
To prep the room, we did a patch repair on the side of the wall. You can see the original side of the house. We did a simple cut and cleaned it up a little bit.
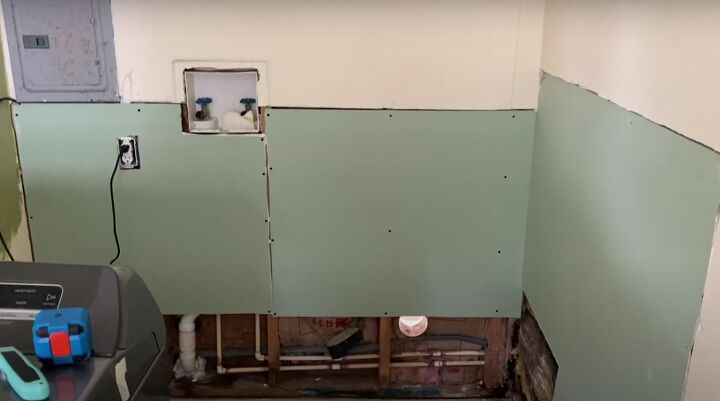
Then, we used some mold-resistant sheetrock to replace what we removed.
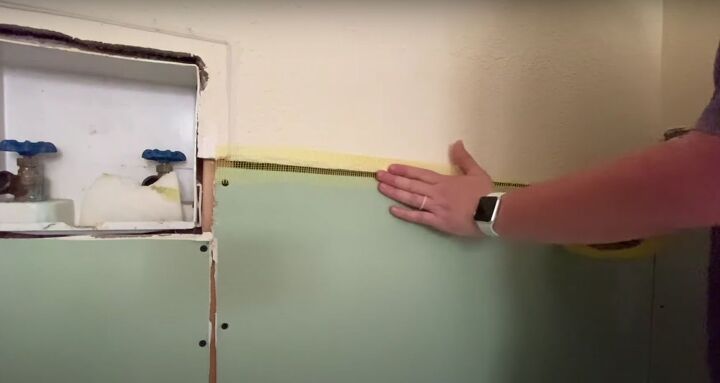
For the seams, we used sheetrock tape to cover them.
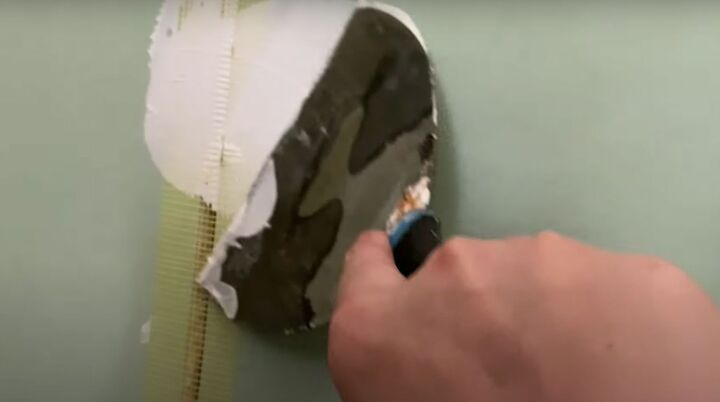
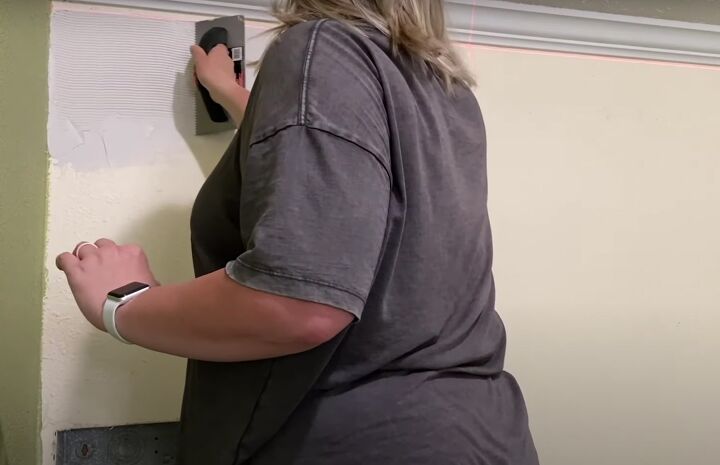
We also mudded over the tape and gave it some texture to match the wall. The mud we used was a two-step process. We put it on, let it dry, and then placed a second coat on. It was very simple to do and made a huge impact.
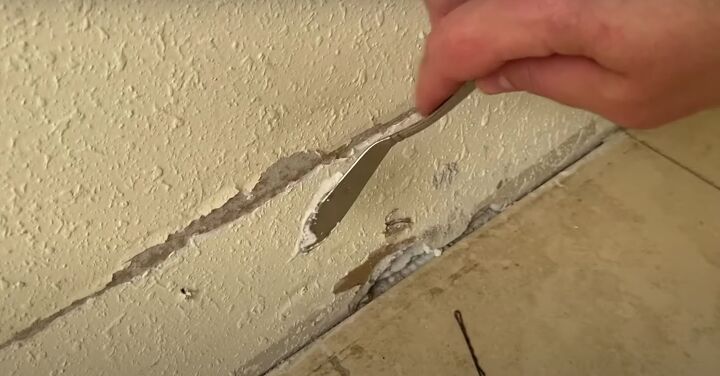
I used the same mud to repair some of the holes in the walls and some of the areas where we ripped off a little bit of the texture and paint when we removed the baseboards.
3. Add a Fresh Coat of Paint
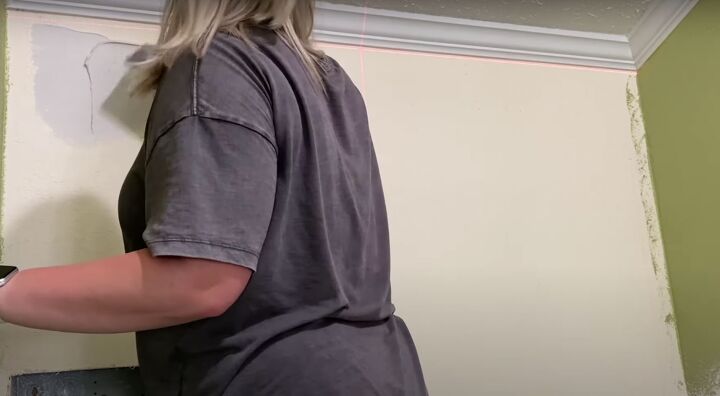
To prep for the paint, I cleaned the room very well so that the new paint would have a good surface to adhere to.
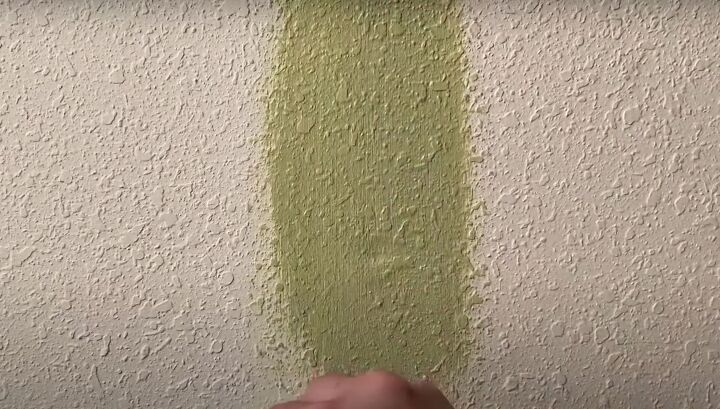
After doing a little research about what colors were popular in the 1930s, I chose a beautiful green paint.
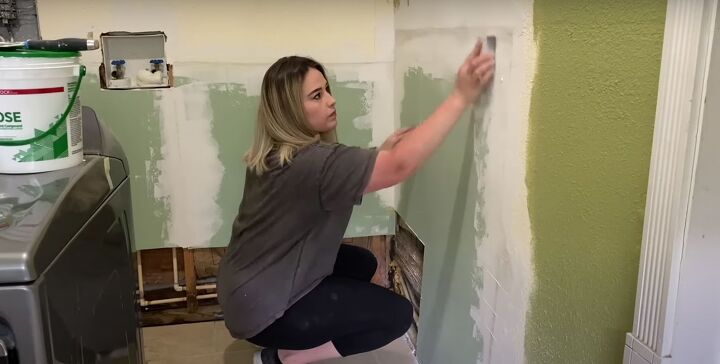
I did make sure to sand down and texture the wall, where we were going to paint.
4. Tile the Wall
For the back portion of the room, we decided to tile it. It was my first time tiling but it was a very simple procedure. Actually, the hardest part of the tiling was the cutting.
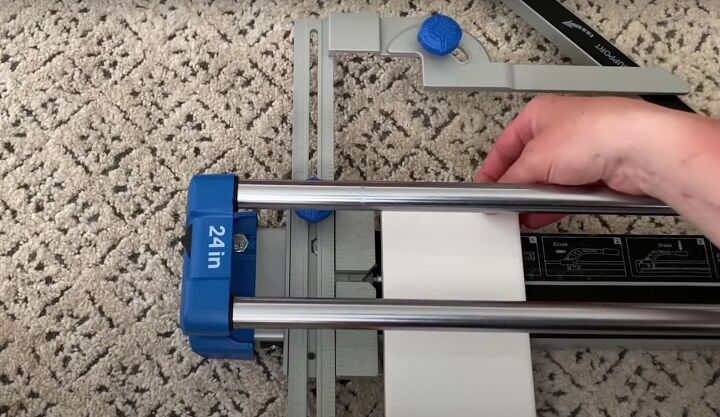
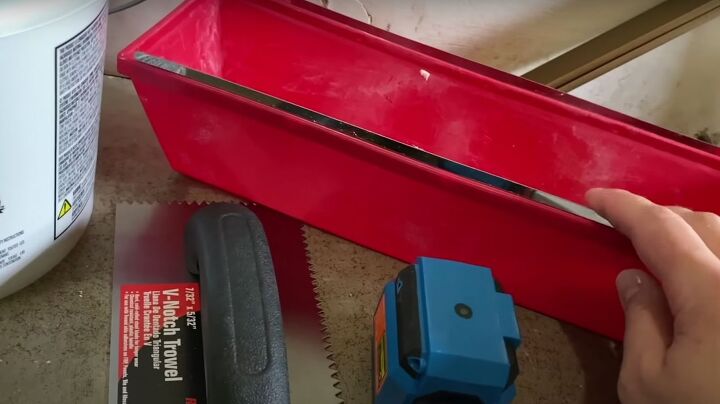
I got some nice subway tiles, a tile cutter, and grout. I originally purchased a colored grout but since this was my first time tiling, I decided against it.
Colored grout can expose some of the imperfections in your grouting and I didn't want to do that so we ended up using a white grout.
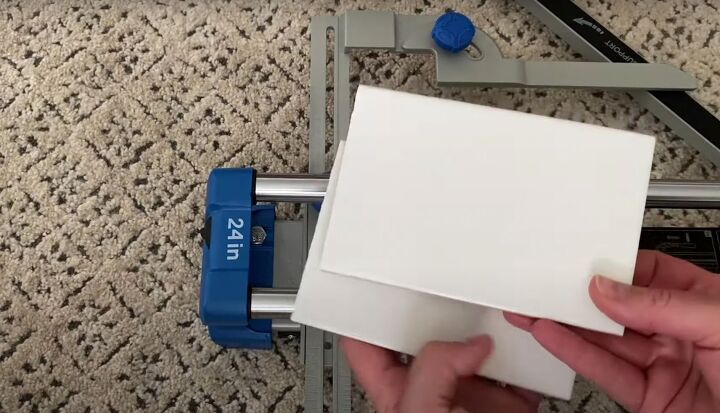
The tile cutter was very simple to use. I was a little intimidated at first and there was a little bit of a learning curve but it was easy once I got the hang of it.
To start the tiling process, I applied the adhesive to the wall and spread it on there.
Then I used the other side of the trowel to make the divots in it so that the glue can really get into the tiles.
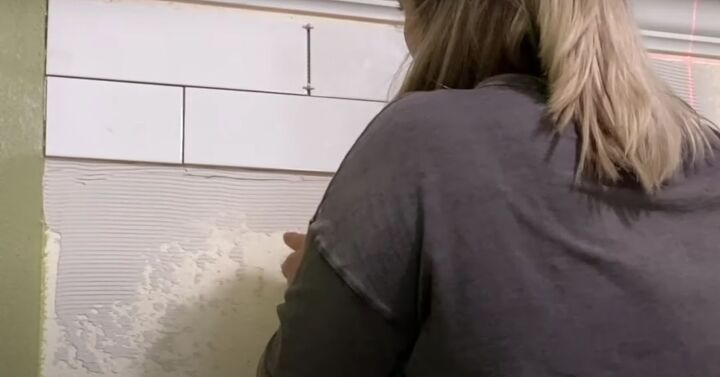
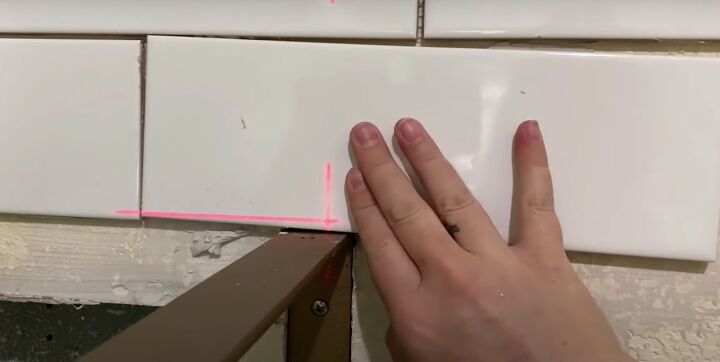
Next, I placed the tiles on the adhesive and used spacers to make sure they were all spaced out correctly. I love that I used a little bit bigger subway tiles. It was definitely easier than a smaller option.
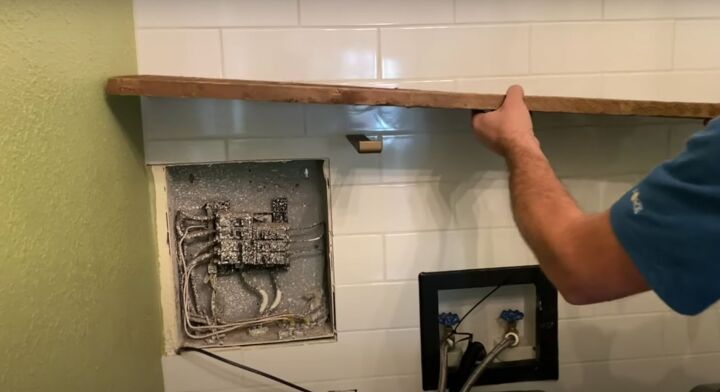
We also decided that we wanted to have recessed brackets in the wall because we wanted a shelf over the laundry machines. We didn't want the brackets to be visible so I found the studs and cut out the sheetrock directly on top of them.
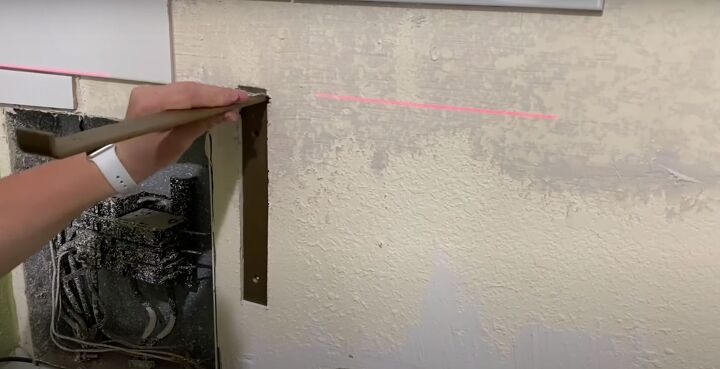
I placed the brackets in the holes and attached them directly to the studs.
I planned out my tiles so that I could put a full piece of tile over the top of the bracket and any cutwork needed would then be underneath. The brackets ended up looking amazing on the walls.
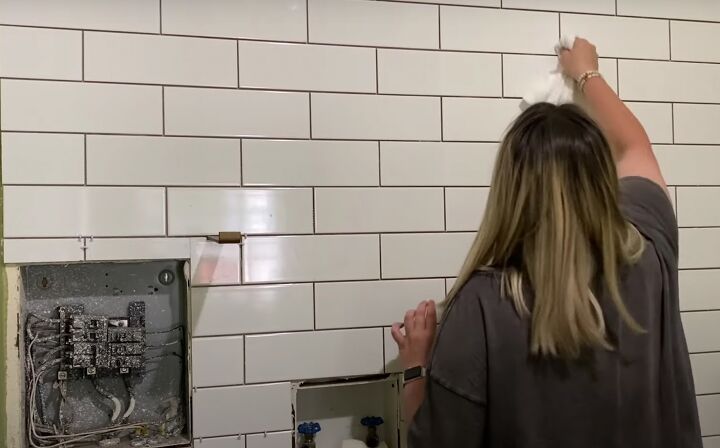
Once all of the tiles were in place, I cleaned them off really well and left them overnight.
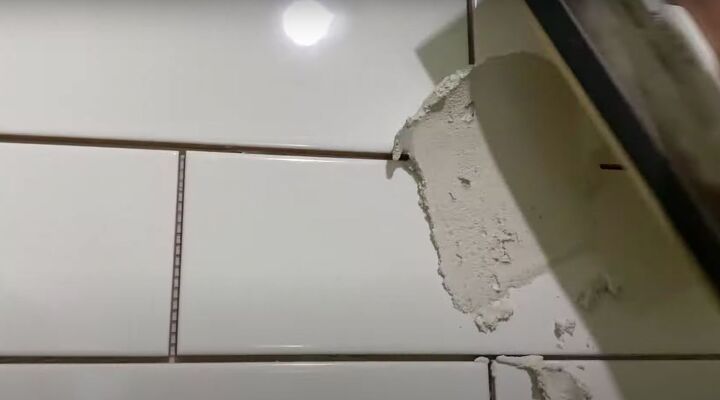
The next day I took the white grout and smeared it all over the tiles making sure to push it into all of the spaces. You have to make sure to press sideways when you're grouting and just really get it in everywhere. It took me about 30 to 35 minutes to get it all on.
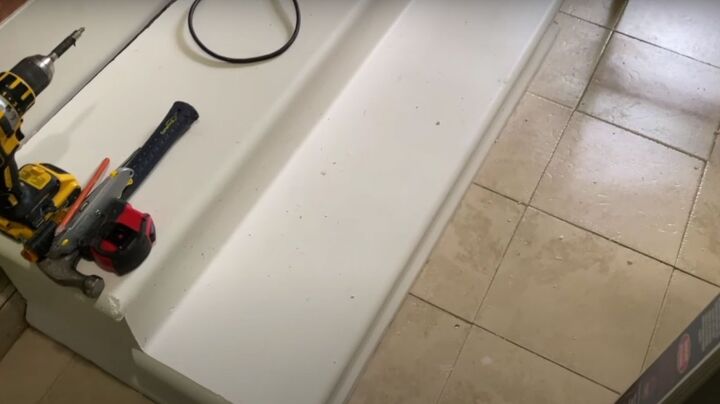
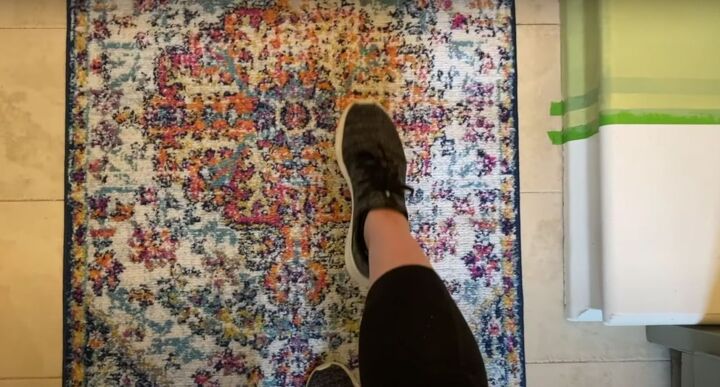
5. Paint the Stairs
While the grout was drying, I went ahead and painted our concrete stairs. I also did a fun little pattern on them that pulled some of the green from the walls.
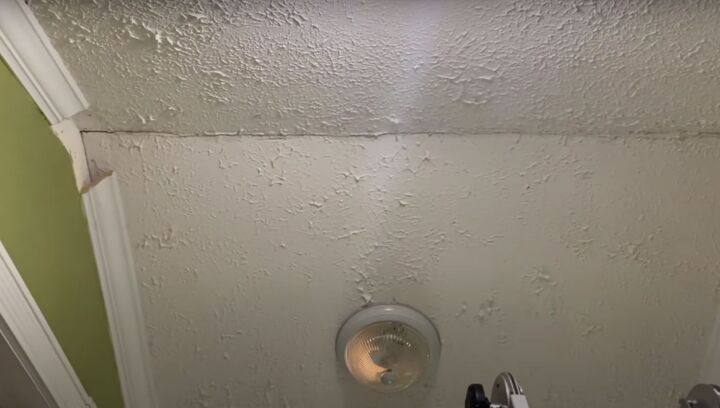
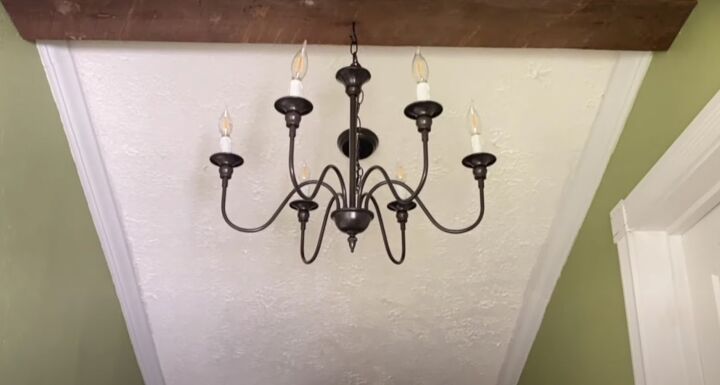
6. Get Creative with the Ceiling
For the ceiling, we wanted to add a faux beam to add some character. We used wood that we salvaged from our old barn. It was perfect at pulling everything together.
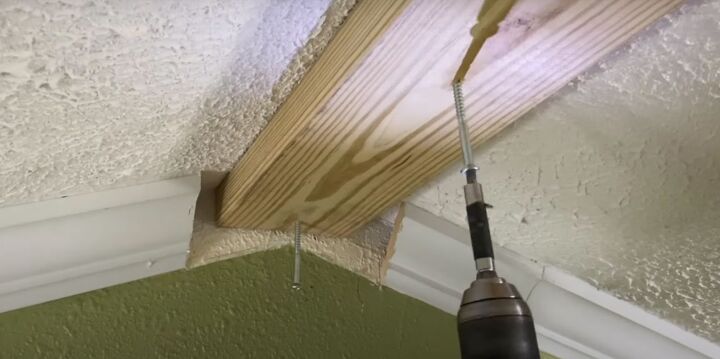
We decided to hang our nice chandelier from the top of the supporting piece and then added the other boards.
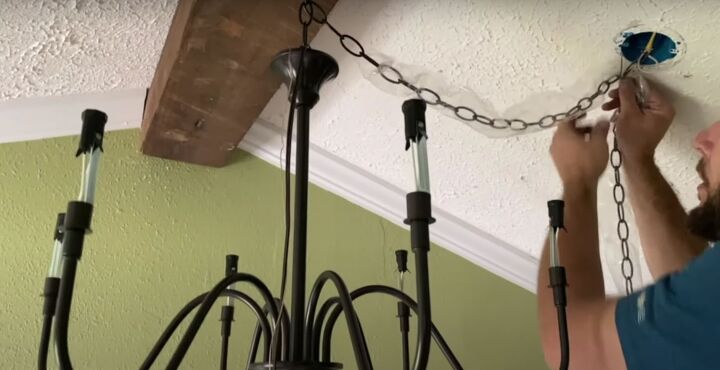
The chandelier was connected to one of the previous lights and the other we covered up.
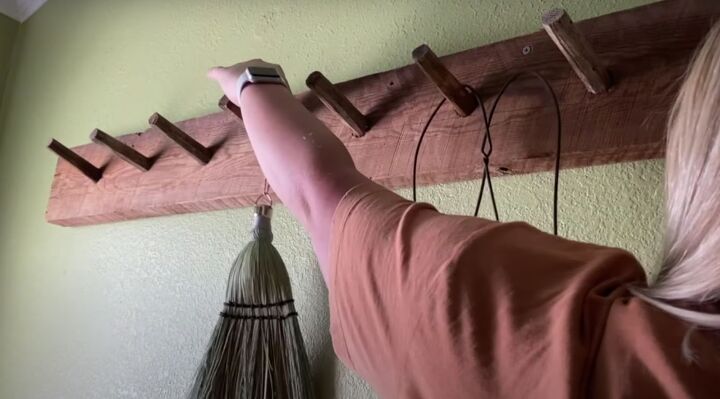
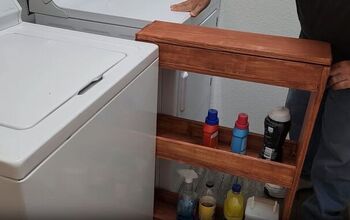
7. Hang Unique Shelves
All the old wood that we have in here just really accentuates and brings in the vintage feel. I love that we can reuse the reclaimed wood from our barn that we didn't want to take down but we had to.
8. Cover the Water Heater
Finally, we made a cover to hide the water heater.
9. Final Touches
Now it was time for the final touches.
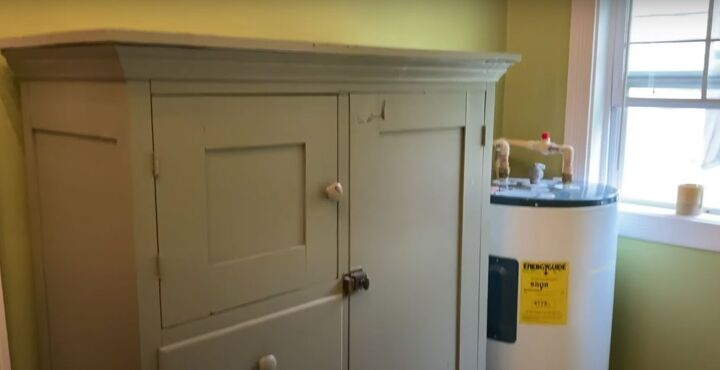
We brought in an old cabinet that my grandma gave me.
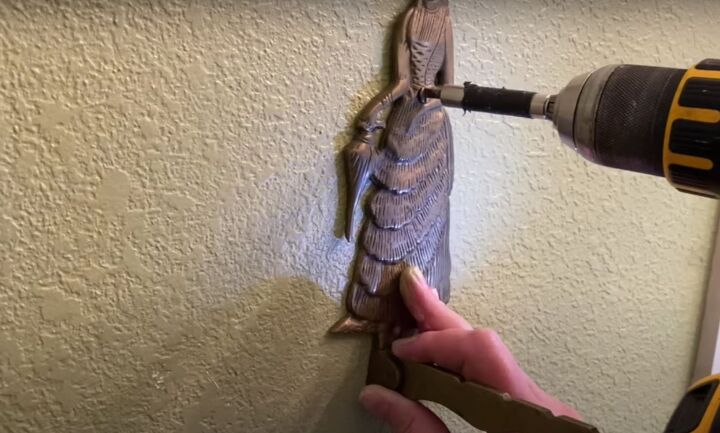
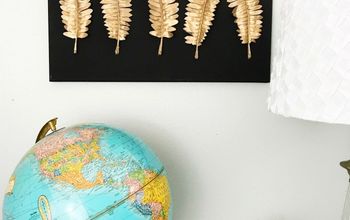
I added some brass pieces I found at an antique store.
We added a beautiful rug I got from a nice rug shop.
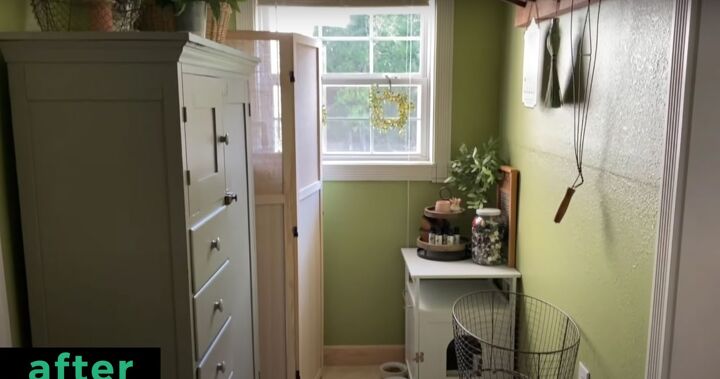
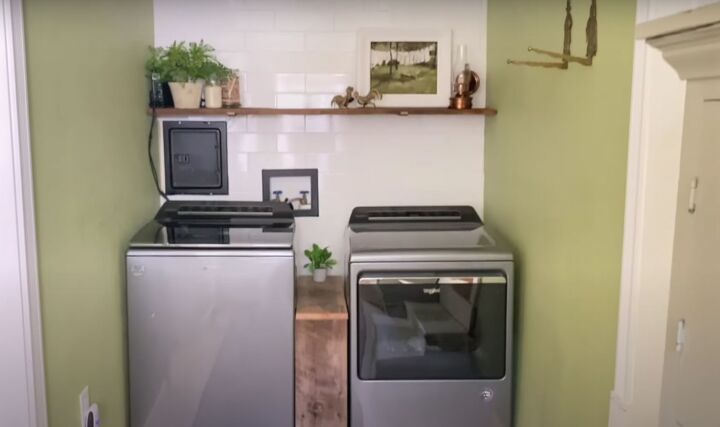
I am so excited about how this turned out. It went from very drab and very disappointing looking to a place I want to go and do my laundry.
More DIY Laundry Room Projects
DIY Laundry Room Makeover
I smile every time I walk through the door. All these final little touches just made it perfect. It was exactly what I wanted.
I hope this renovation journey has inspired you to take on more DIY projects and find new ways to make your home uniquely yours. Remember, the possibilities are endless, and all it takes is a little creativity and elbow grease to turn your vision into a reality.

Comments
Join the conversation
-
Good job. If it's a place you have to spend a lot of time in, it might as well be a beautiful place, this you accomplished.
-
Beautiful!


Frequently asked questions
Have a question about this project?
What did you do to the water heater?
What is the name and brand of paint you used? I love it.