


Bring the Beach Home With This Flower Pot Lighthouse
I just love the beach and I’ve been looking for creative ways to incorporate beachy decor into my home. This flower pot lighthouse is the perfect project to accent my shell collection! With just a few easy to find materials you can have your own nifty flower pot lighthouse in under an hour or two. This project is so easy that you don’t need any crafting experience in order to do it yourself. Check out my step by step guide and get started! You can see more of my crazy creations here
Tools and Materials:
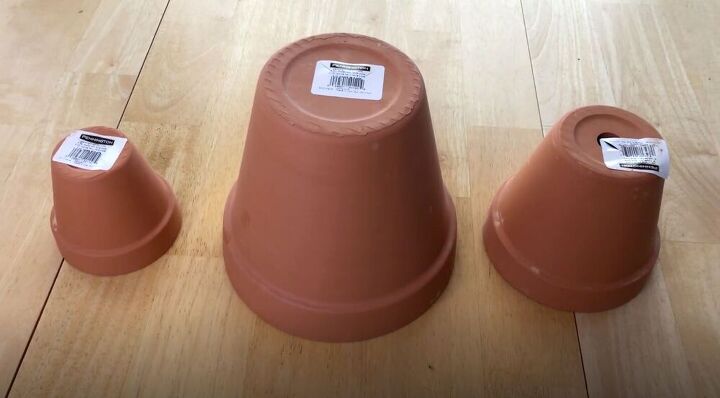
- 3 flower pots (We’ll be stacking the pots so make sure that they are different sizes and stack nicely. I got a 4”, 6”, and 8” flower pot for my lighthouse)
- Paint
- Paintbrushes
- Waterproof silicone
- Permanent marker
- Sealant
- LED light
- Lantern (or solar light if you choose)
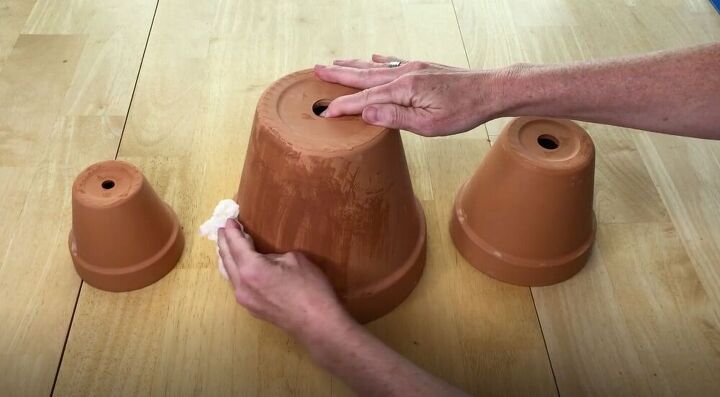
Make sure to remove the labels from the flower pots. Then wipe them down with a wet towel to remove any dirt or debris on them. This is important because if they are dirty the paint won’t stick properly. Let them dry completely before you start painting.
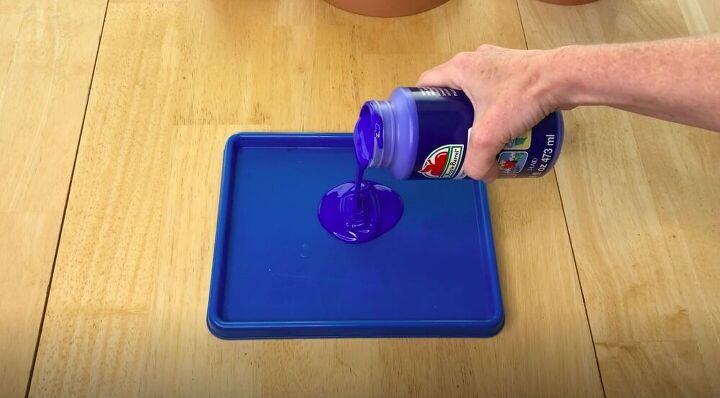
The type of paint you choose depends on where your flower pot lighthouse is going to live. If it's going to be inside, then you can simply use an acrylic paint. However, if your flower pot lighthouse is going to live outside then you need to use a paint that can withstand the elements.
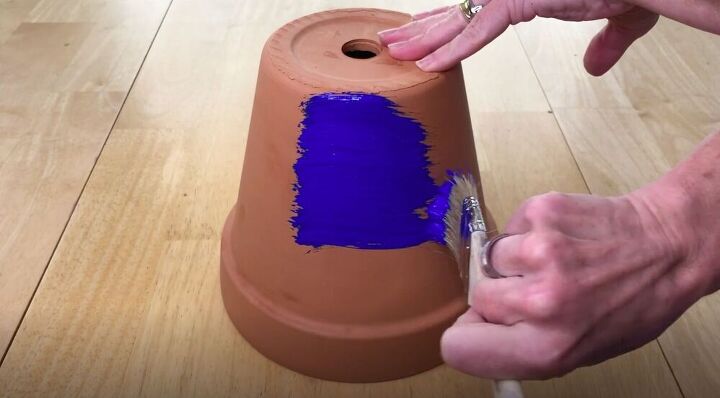
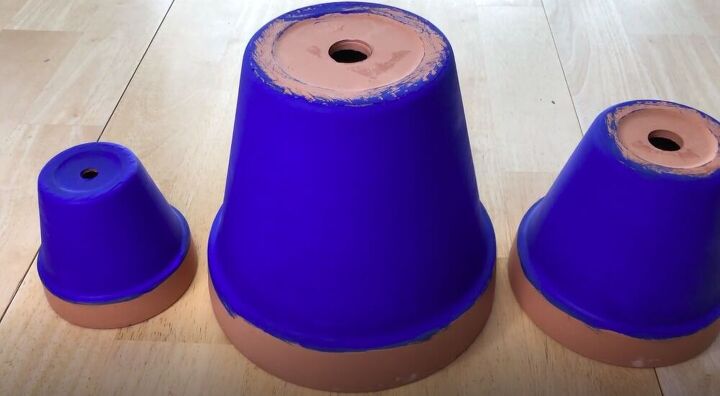
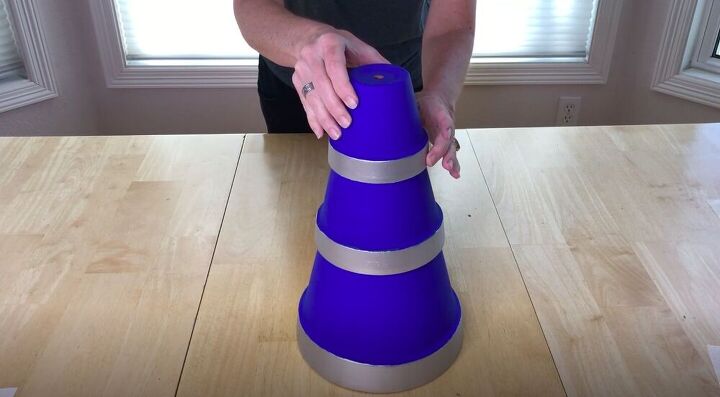
I painted the outside of the flower pots blue, leaving the rim blank.
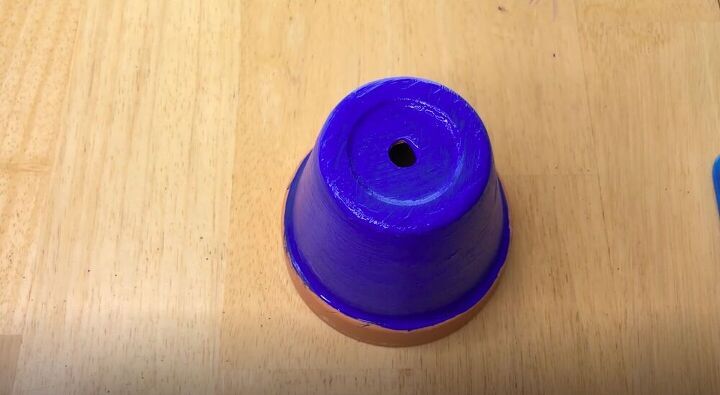
I also painted the bottom of the smallest flower pot because it would be visible on the top of the lighthouse.
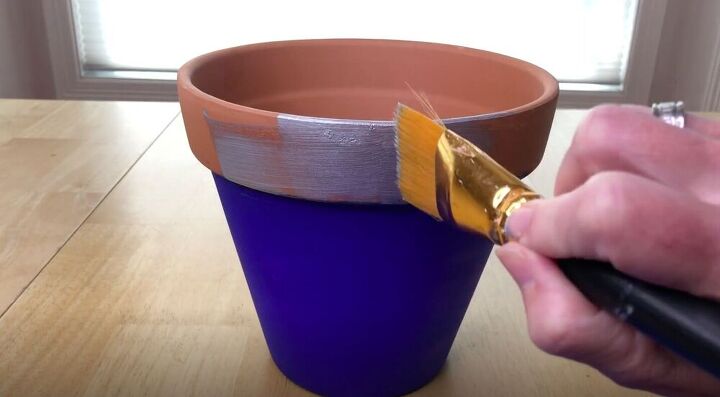
Then I painted the rims of the flower pots silver to provide some visual interest.
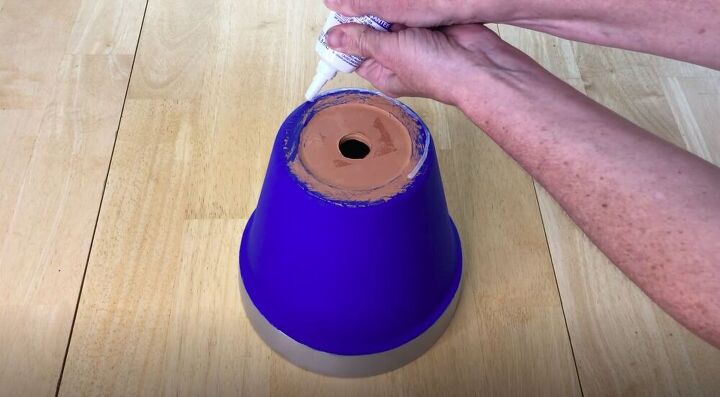
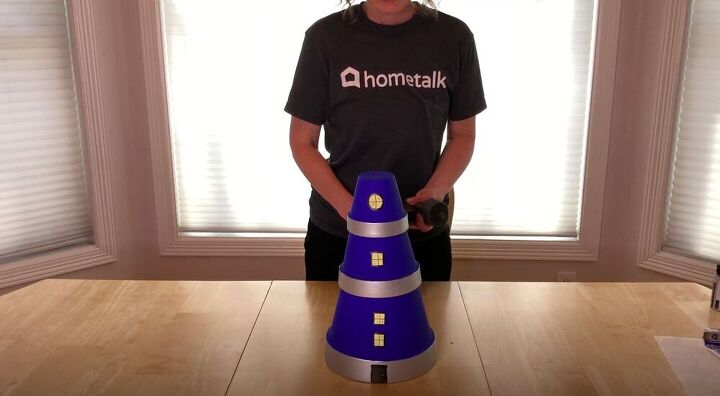
I flipped the largest flower pot over and added a ring of clear silicone along the edge of the bottom. Then I placed the smaller pot on top of it.
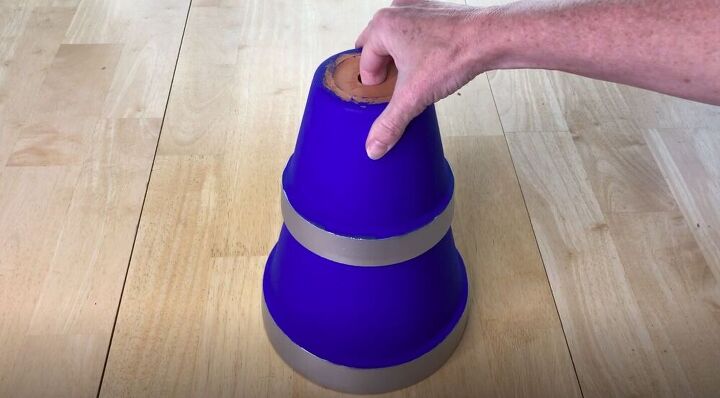
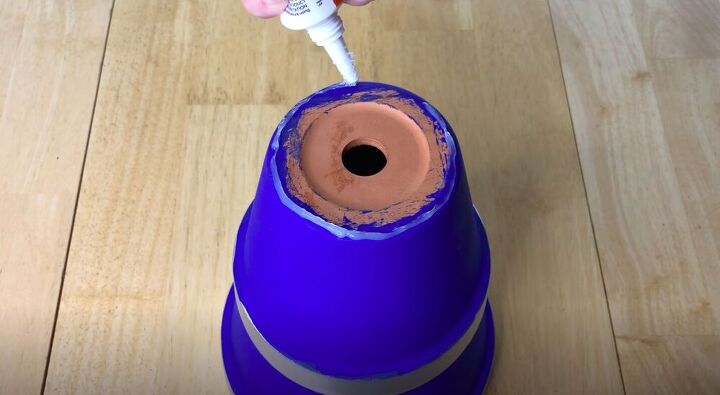
Next I repeated the process with the smallest flower pot and gave it time to dry before moving on to embellish the pot.

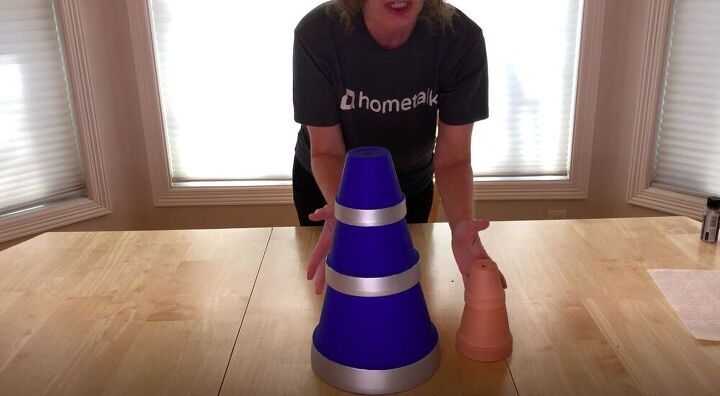
If you want you can add even more flower pots to make a larger lighthouse, or use two smaller flower pots to make a smaller lighthouse for somewhere else in your home.
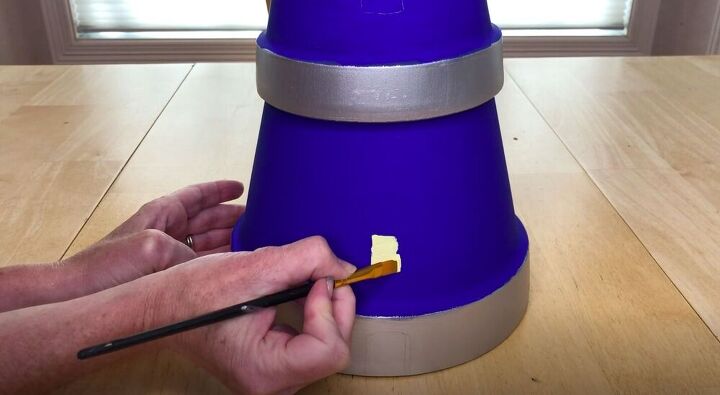
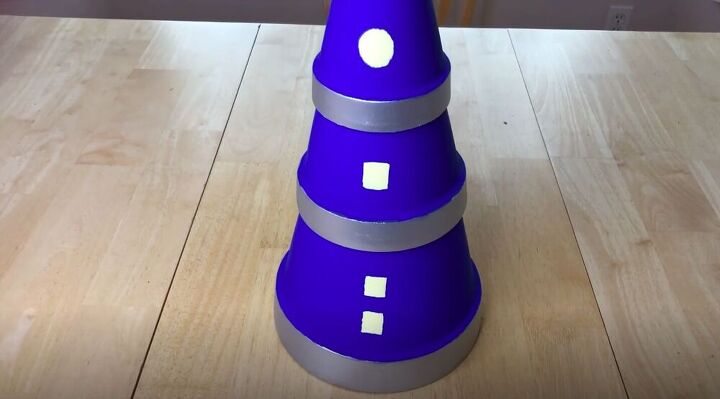
This step is totally up to you, but I chose to add a few different sized windows to my flower pot lighthouse. I used a small paintbrush and a light yellow color to mimic the look of light shining through a window.
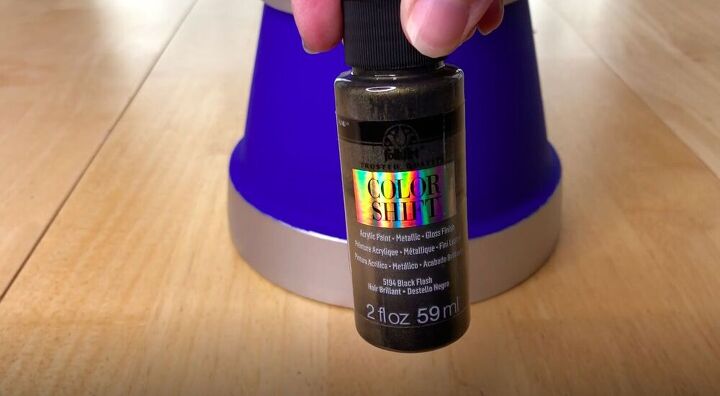
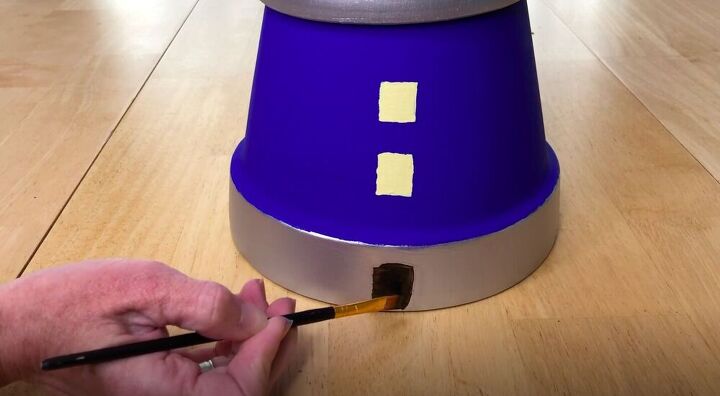
Then I used a darker color to create a door at the bottom of my lighthouse.
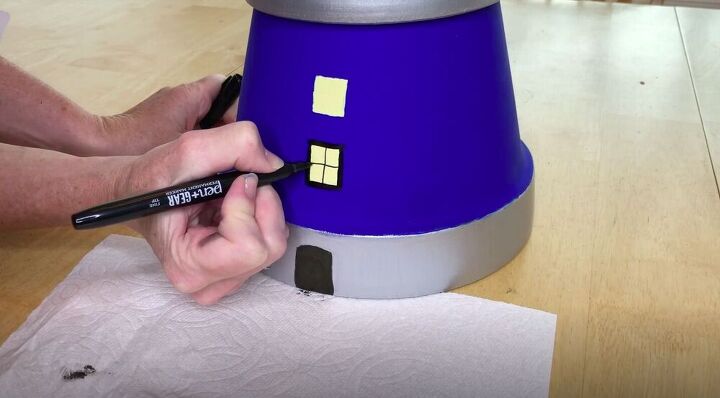
Once everything had dried I used a permanent marker to add some more details to my windows and door, and some other accents on the rest of the lighthouse. You could draw sand, rocks, or waves if you wanted to as well.

There are lots of possibilities for how you can add a light to the top of your flower pot lighthouse. If it’s going outside a solar light is a perfect fit for this project.
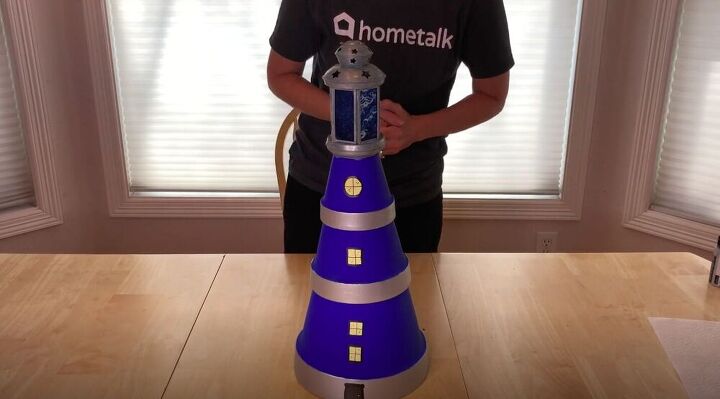
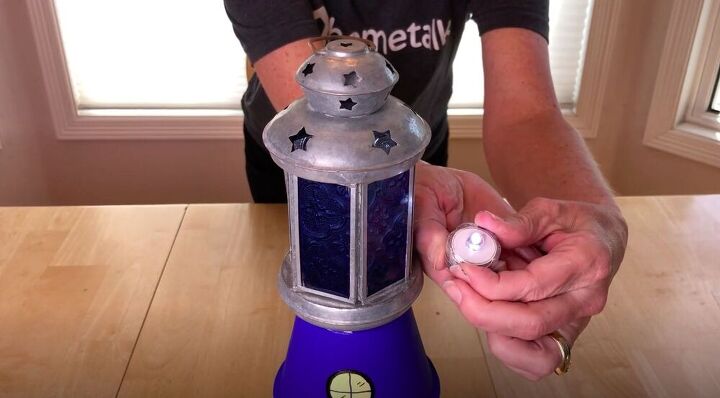
I decided to go a bit of a different route and attached a lantern that my son had given me to the top, with a battery operated waterproof LED light inside.

If you want to protect and seal your lighthouse, go ahead and give it a clear coat of mod podge or any other sealant that will stand up to the elements. My flower pot lighthouse is going to live in my house, so I skipped this step.
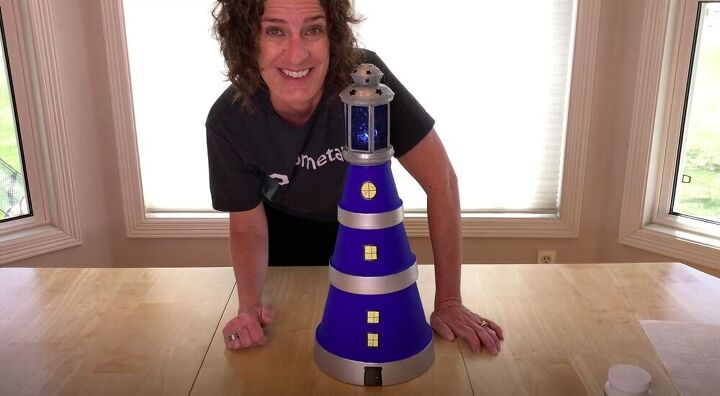
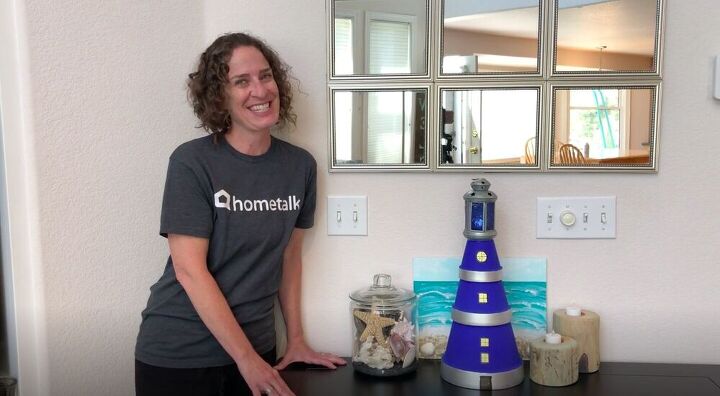
Can’t you smell the beach already? This flower pot lighthouse is a quick and easy way to bring the beach straight into your house. How would you decorate yours? Let me know in the comments below!
I would love to have you stop by my blog Chas' Crazy Creations for the full tutorial as well as sign up for my latest creations, posts, recipes, exclusives, and more...
I would love for you to subscribe to my YouTube channel to see more of my crazy creations - https://www.youtube.com/c/chascrazycreations
Resources for this project:
See all materials


Comments
Join the conversation
-
I love the lighthouse. I plan on making one this weekend.
-
I love this light house you made. I will be making one for my daughter.


Frequently asked questions
Have a question about this project?