


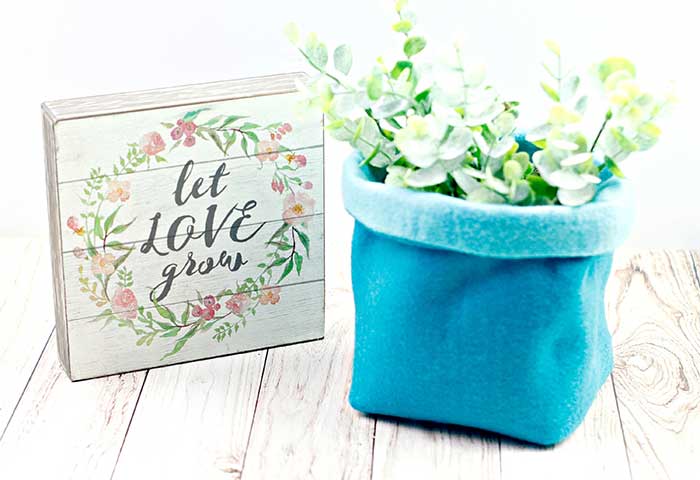
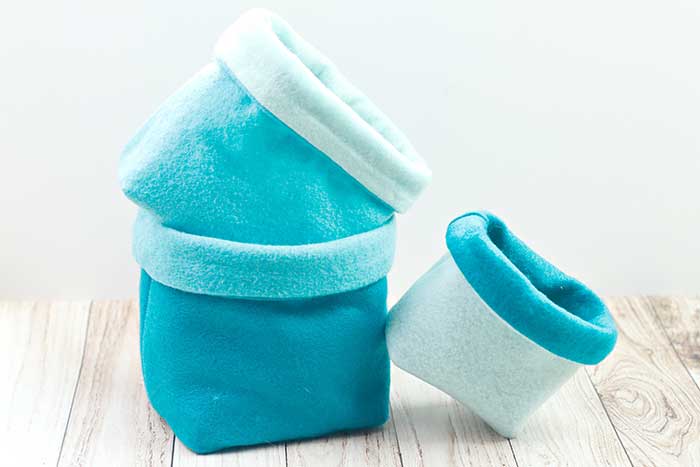
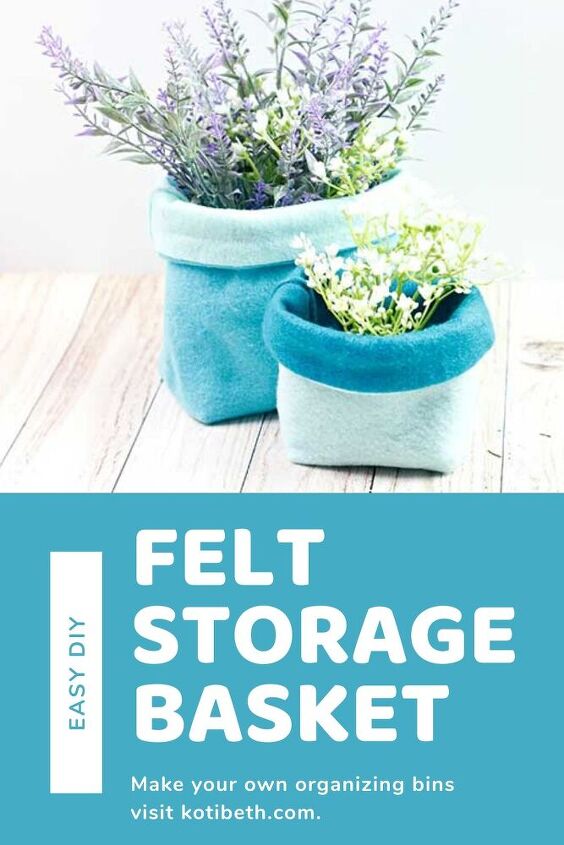
DIY Felt Storage Basket
This cute basket can be used to organize small items or for a decoration. I put fake flowers in some of mine. I also made some to hold hair accessories for my daughter
This is a fairly easy and inexpensive sewing project. You'll need felt and basic sewing supplies. I also have directions on how to make this in three different sizes.
- 2 9x12 inch pieces of felt for the outer piece
- 2 9x12 inch pieces of felt for the liner
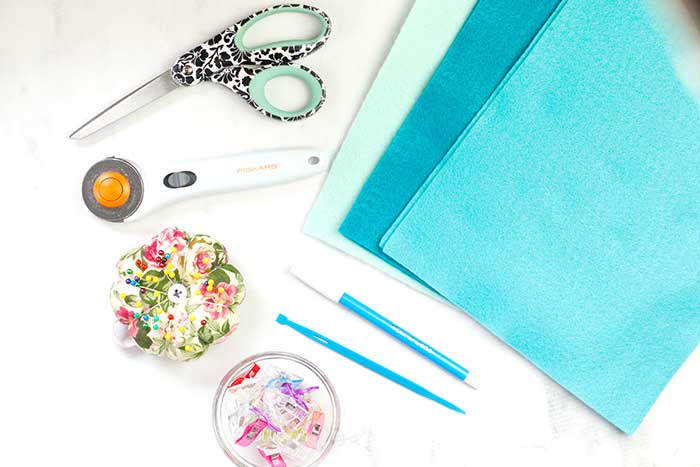
- Sewing machine
- Sewing scissors
- Cotton thread
- Pins or sewing clips
- Turning tool
- Cutting mat and rotary cutter
- Iron and ironing board

Cut the felt for the outside and the liner. I made three bins and cut them 9x9 inches, 8x8 inches, and 7x7 inches.
For the larger basket, I cut a 2x2 inch square from each corner, a 1.75x1.75 inch square for the medium basket, and a 1.5x1.5 inch square for the smallest basket.
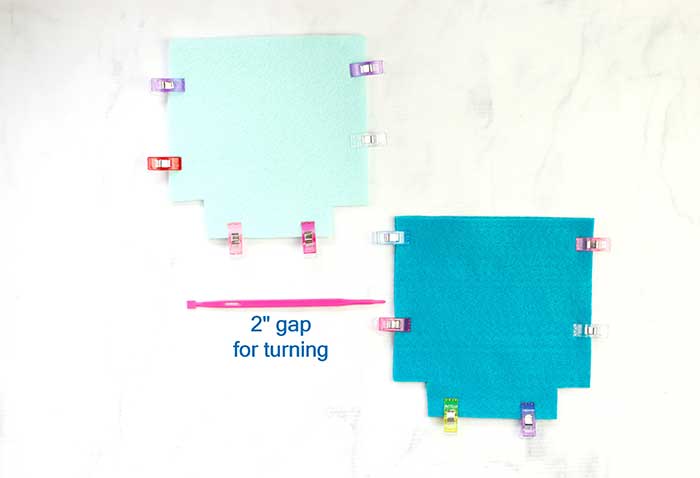
Pin or clip the pieces together.
Sew along the sides and bottom of the outer main piece using a 1/2 inch seam allowance. Do the same for the lining, leaving a 2 inch gap for turning.
Press the side seams open.
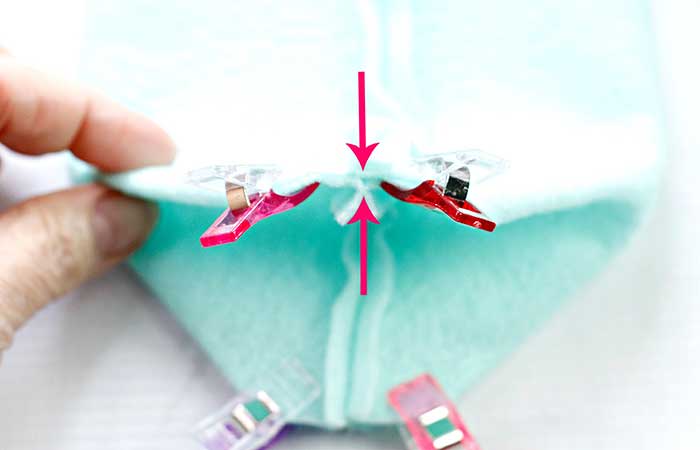
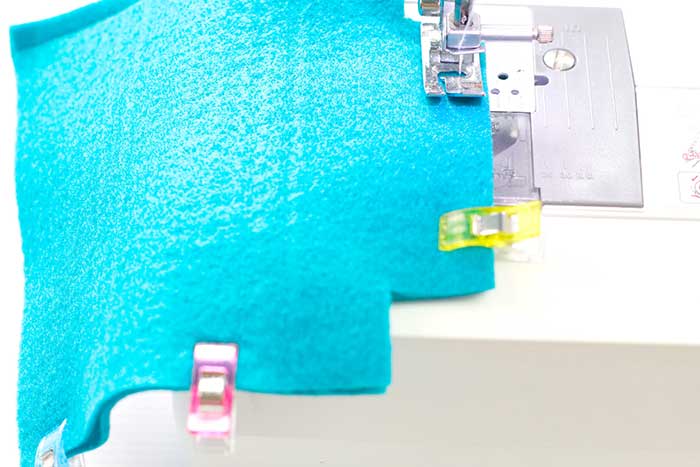
Make a box corner for both the outer piece and the lining. You can do this by pinching the opening of the corners and lining up the seams. Use a 1/4 inch seam allowance and close the opening.
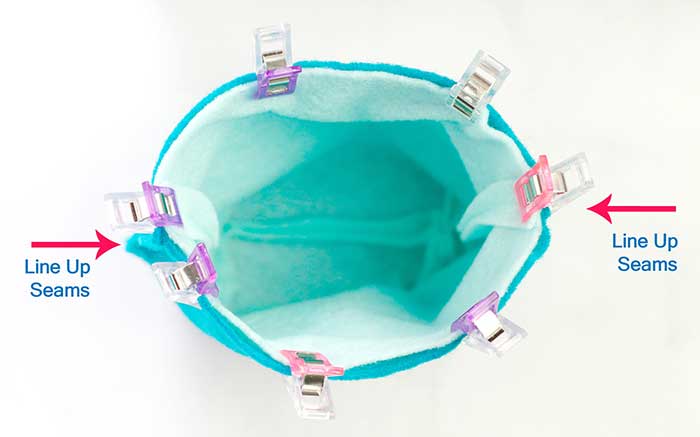
Turn the outer part of the basket and the liner right side out. Place the outer basket inside the lining with right sides together. Match up the side seams and pin or clip to hold them. Sew the inner and outer parts together around the top.
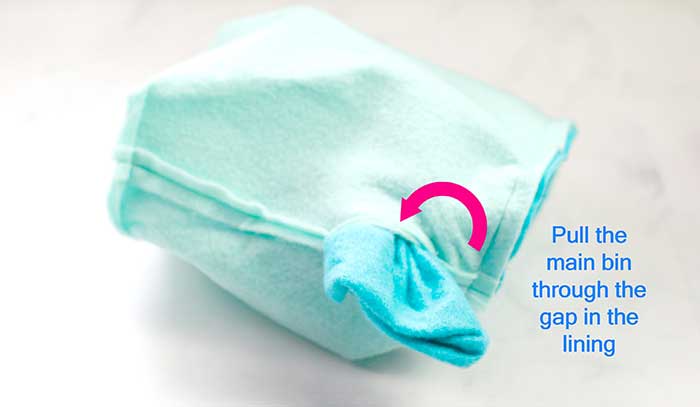
Gently pull the outer bin through the gap until both pieces are free. Close the gap with a 1/8 inch top stitch.
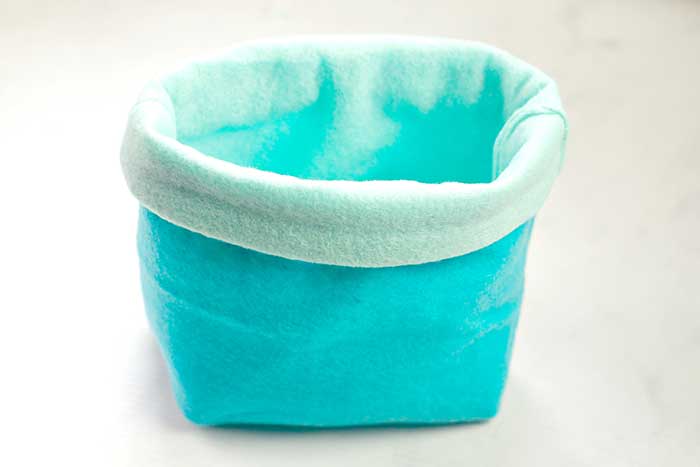
Fold over the lining and enjoy your new bin! You can use other colors or even make them one color, depending on your decor.
Now you have a cute storage basket. You can attach a felt applique or use a marker to decorate or label them.
Resources for this project:
See all materials


Frequently asked questions
Have a question about this project?