


Popcorn Ceiling Update

I have popcorn ceiling throughout my home. I have been wanting to update and decided to try wood planks instead of removing the popcorn ceiling altogether. I wanted to try out in small space to perfect my skill, so I chose a small bathroom. Be careful to really check the boards when purchasing. You want the ones with the best look and grip.
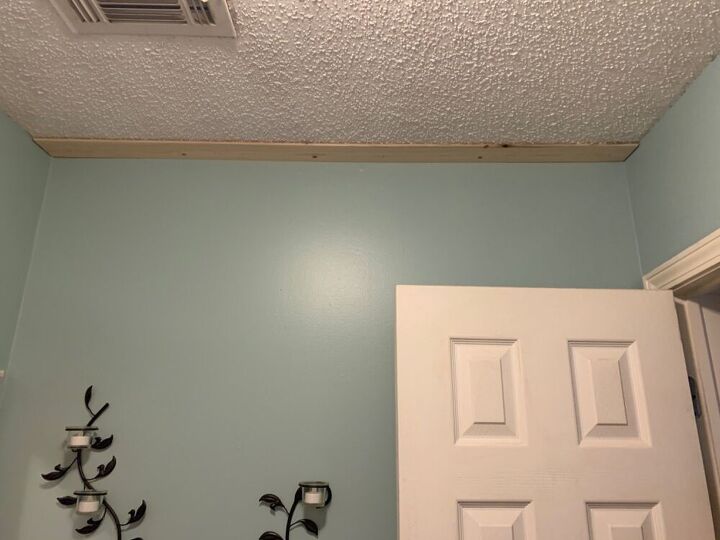
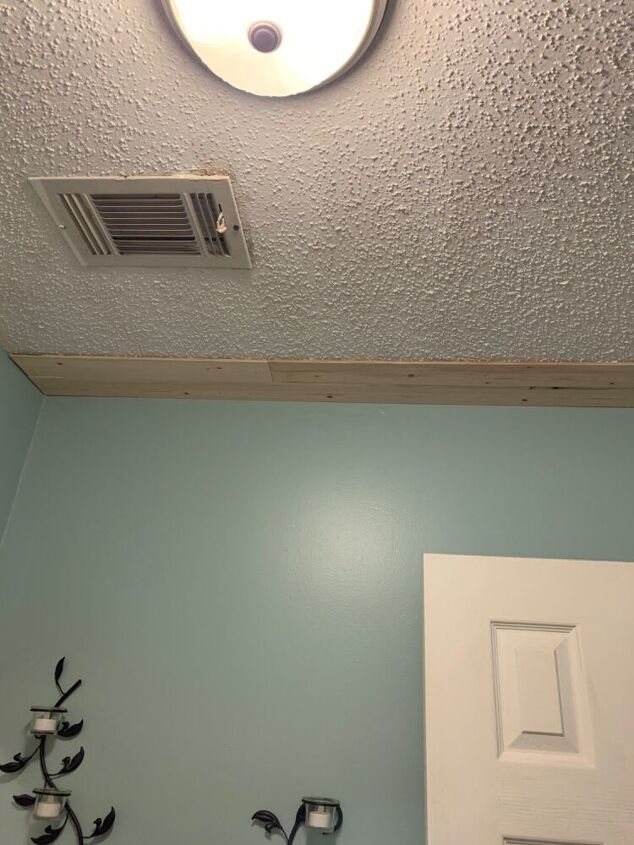
Mark studs
Since I planned on nailing directly over ceiling, I marked the location of studs in ceiling. I trimmed the first board so that it would be a full board and then planned on staggering boards on even rows.
Additional rows
I started with the leftover piece from first cut and cut another board to needed length. I used finishing nails and nailed to studs I had marked earlier.
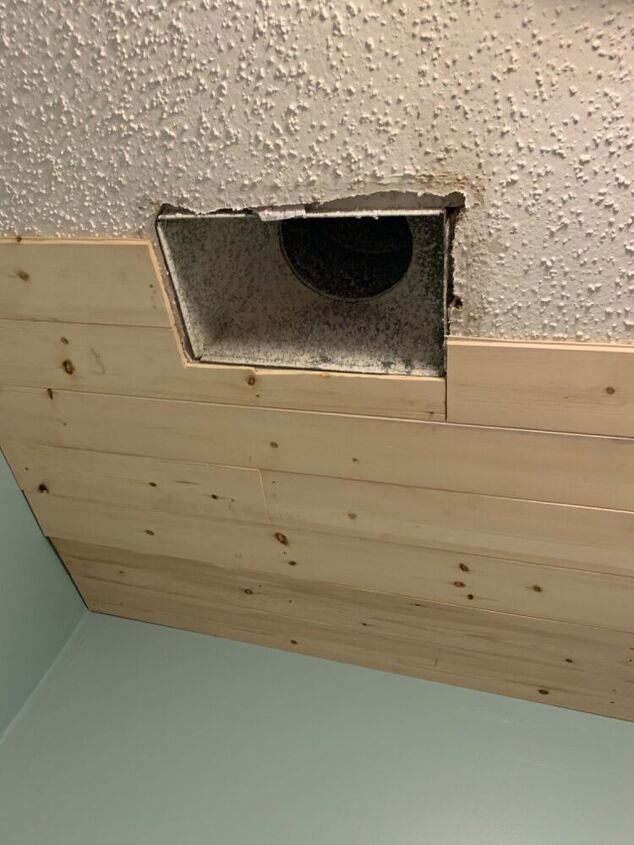
Continue adding boards
I continued adding boards and trimmed them to fit around ceiling vents and light fixture. I used a miter saw to make the cuts.
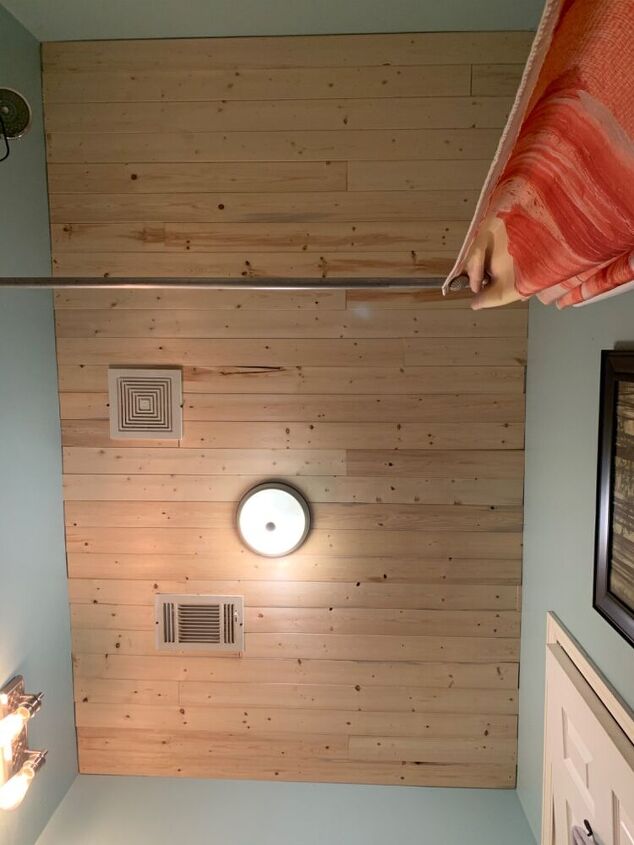
Finish nailing board
I was expecting that I may need to trim the width of the last board but it actually fit perfectly. It may be necessary to trim the last board before hanging.
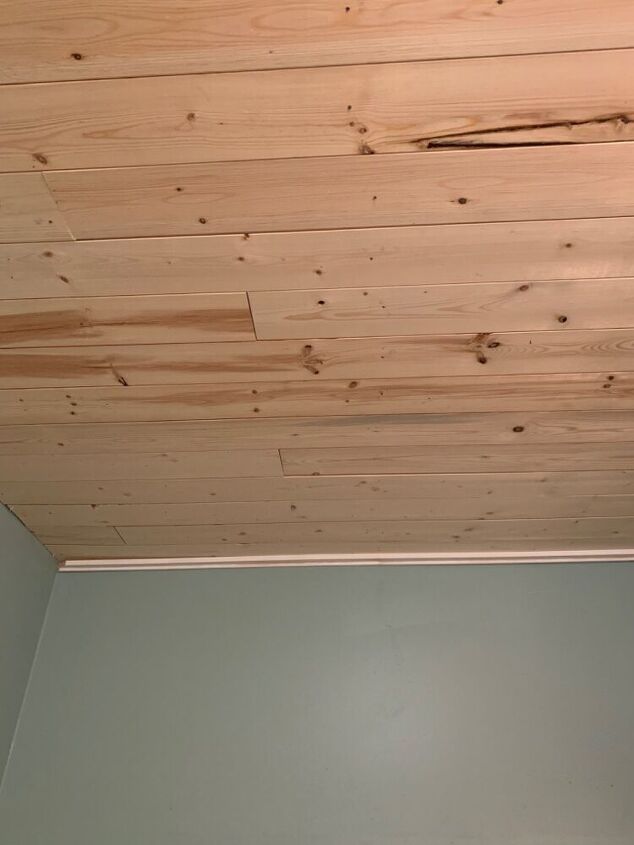
Trim
Next I added trim. I chose a simple l-shaped trim that would add support to boards on ceiling.
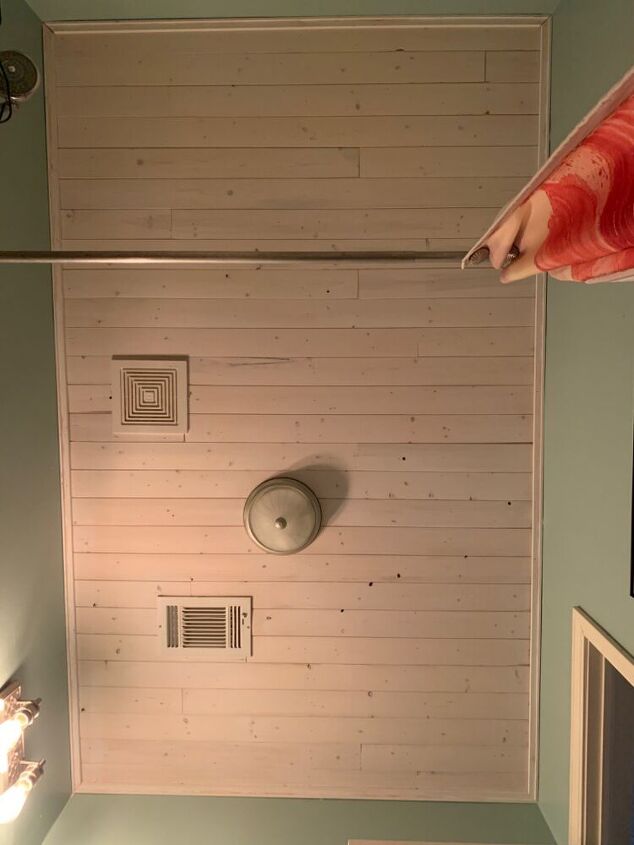
Whitewash boards
I wanted white boards but wanted to allow wood grain to show through. I used white interior latex paint and watered it down to achieve a whitewash look.
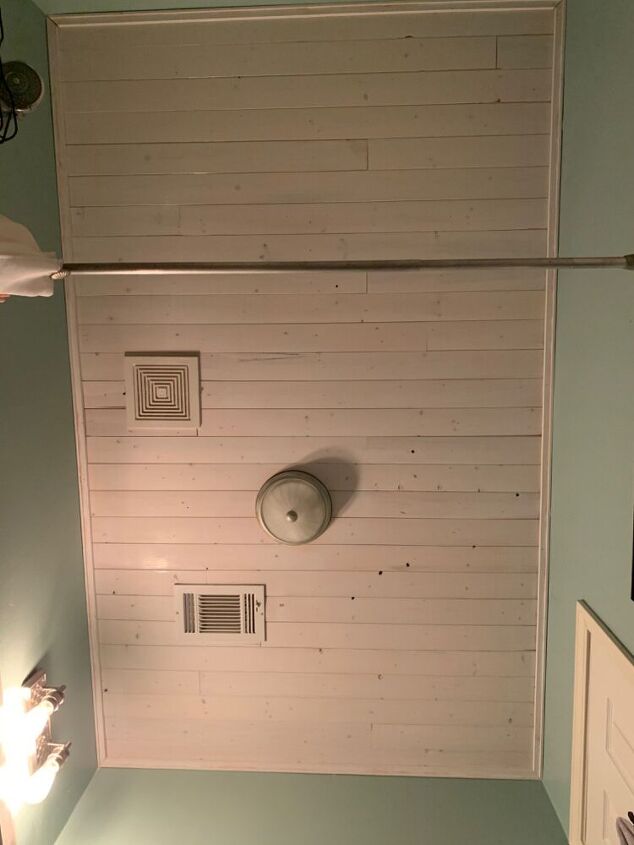
Add paint as needed
It took 3 coats to get the look I wanted.
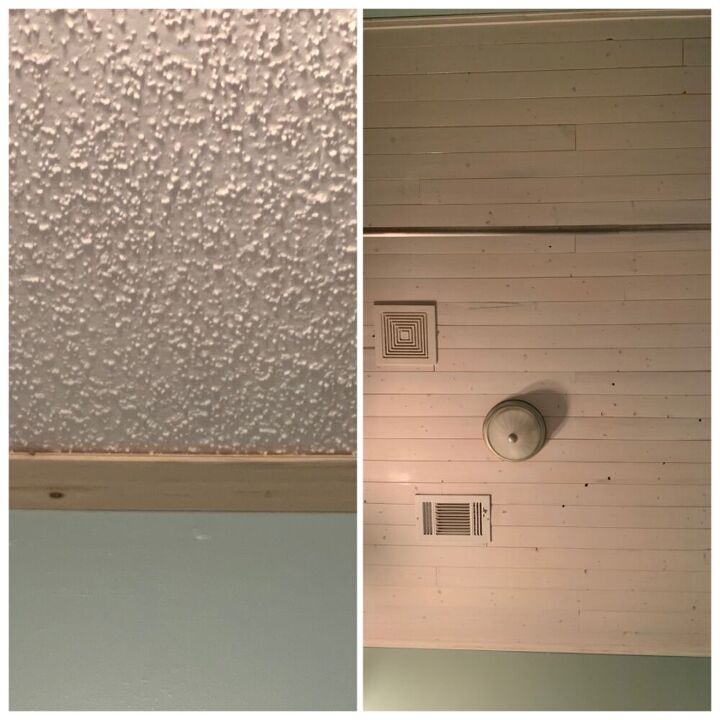
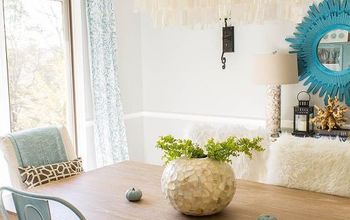
Before/after
I am pleased with how it turned out. It was not difficult and now I will use this and maybe a few other techniques to do the rest of my ceilings.
Resources for this project:
See all materials


Comments
Join the conversation
-
Awesome idea!!!!!!
-
I like it but would have liked to have seen the “finished” project with the whitewashed paint you mentioned.


Frequently asked questions
Have a question about this project?
DId you use pine boards ?
What was the asbestos content of your popcorn ceiling?
Are the boards tongue and groove?