


Rast Ikea Hack

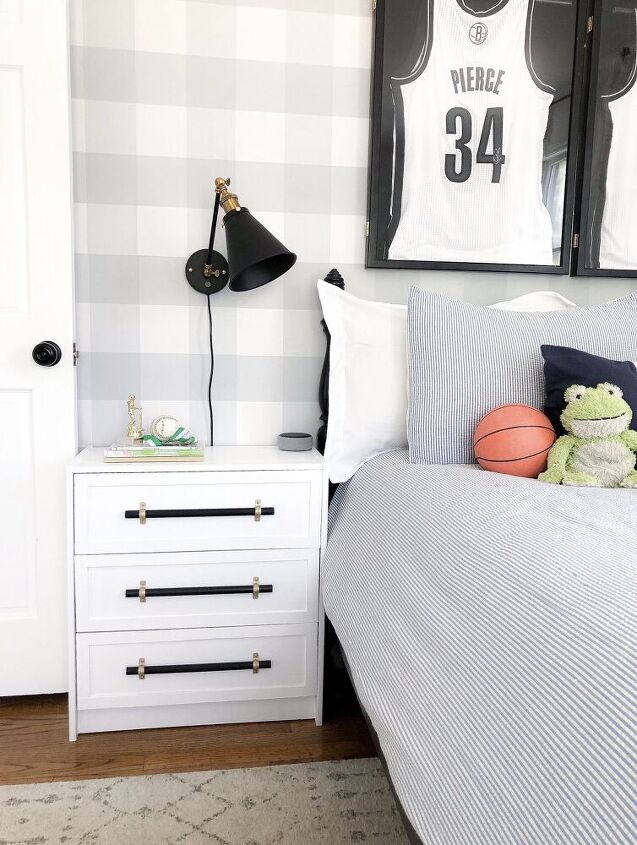
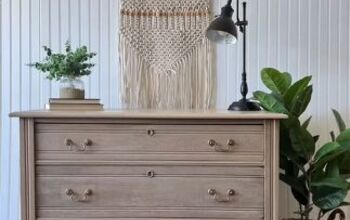
I believe most of us can say that we have shopped at IKEA, and most have hacked a piece or two. Here I am going to show you how I turned a $40 IKEA dresser into a higher end looking piece.
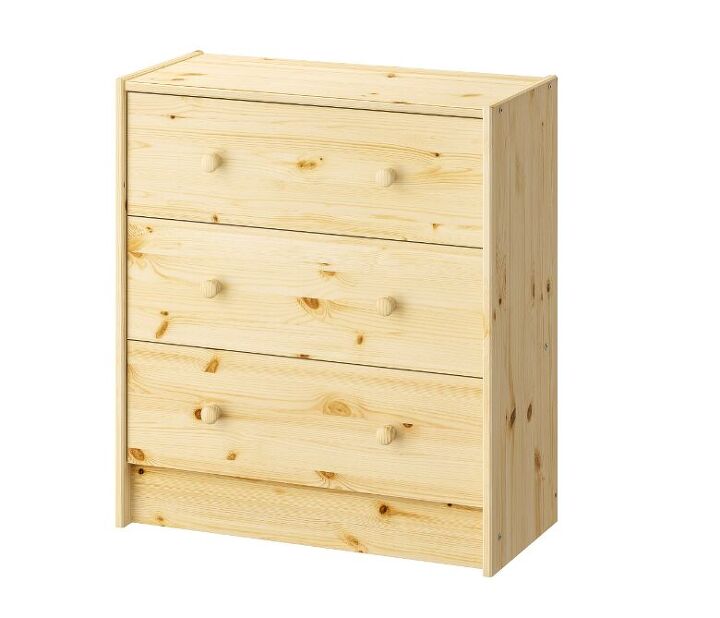
This is the cabinet from IKEA, its just a basic pine cabinet, and I find it is great to be used as a nightstand.
Here is a list of the products that I used to complete this project.
- 2 - 3/4" Wooden Dowel
- 2 - 1/2" Screws
- Lattice Molding
- Tube Strap
- Black Spray Paint
- Gold Spray Paint
- White Paint
First you will need to build the cabinet from IKEA, I know some really hate to do this, but it wasn't difficult. I just followed the instructions step by step and made sure to have my drill!
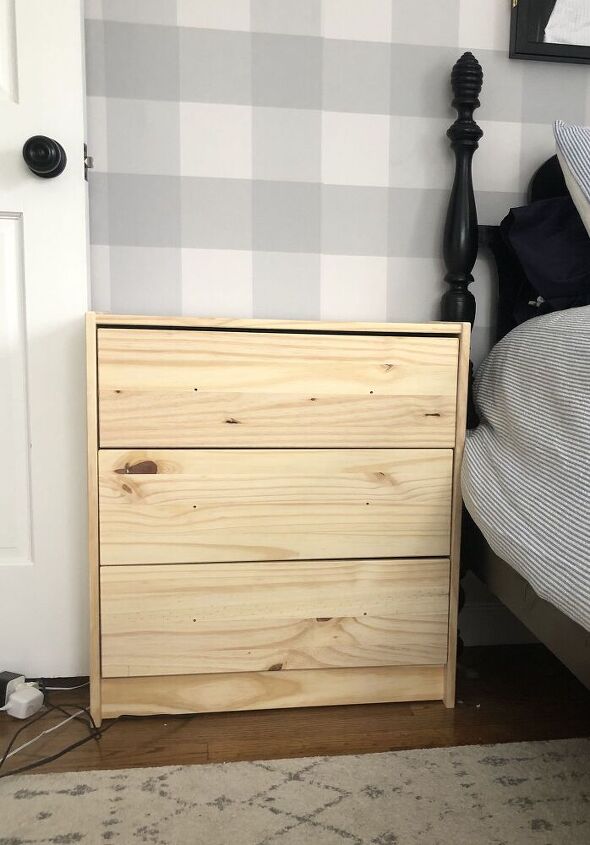
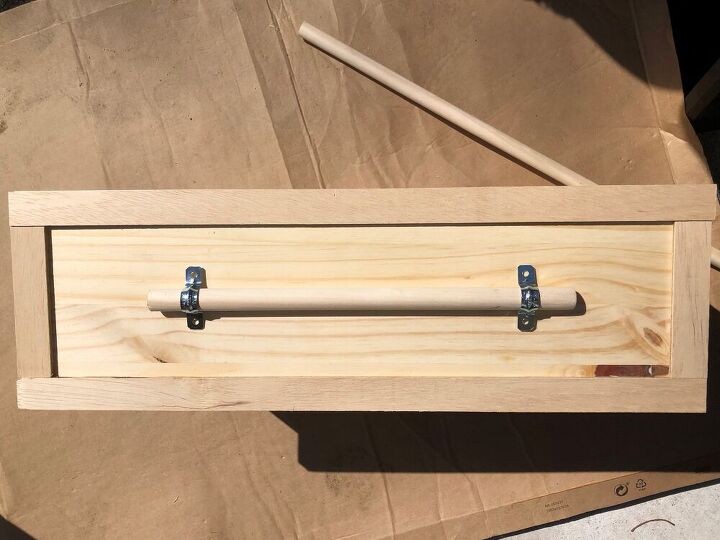
I left the knobs off as I made my own out of the wooden dowel and the pipe straps, you'll see that later.
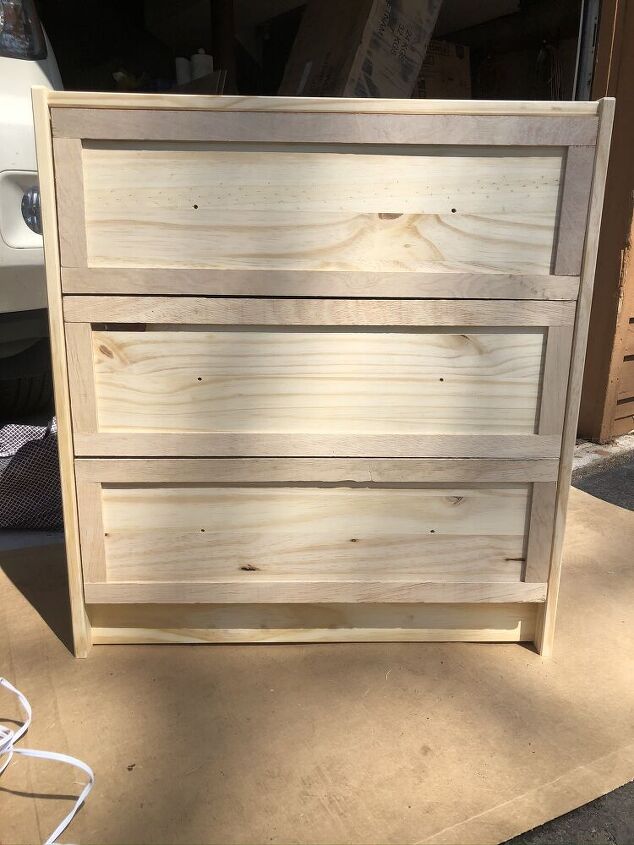
Once I got the cabinet built, I brought it down stairs and cut each of the lattice molding pieces to fit each of the drawer fronts.
I made the top portions of the drawer longer than the side, as you can see below. I then used Gorilla glue to attach each piece. Unfortunately I did not capture this on video, however it is document in my highlight on my Instagram page @schoolsidedesign.
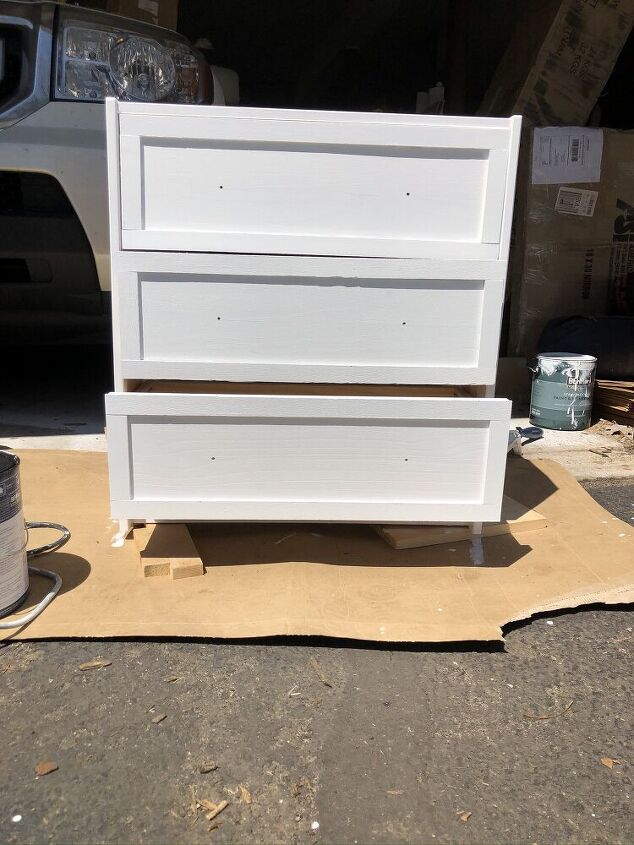
Once each of the wood pieces were attached to the dresser, I then used my Behr paint to paint the whole piece white, you can obviously choose any color for your piece. I find it best to get a 1/4" nap roller to paint the top, sides and front of the dresser, and for the molding pieces I used a short angle brush.
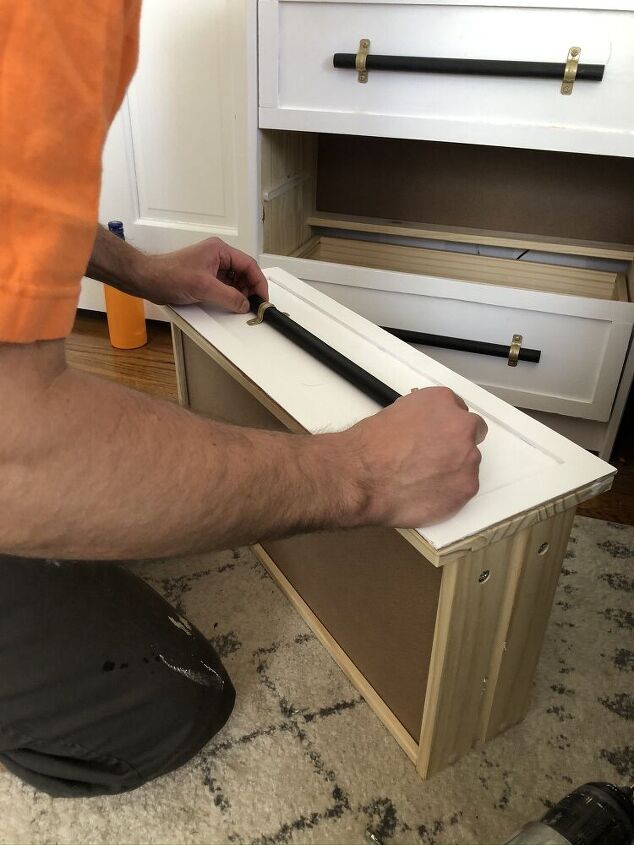
Now that the cabinet was painted, I let it dry and moved onto the handles I was going to create. I cut the wooden dowel into 18" pieces, with my chop saw. I found this was a good size to cover the existing holes that were already in the cabinet. Here you can see I placed it on top to make sure the look was what I had envisioned.
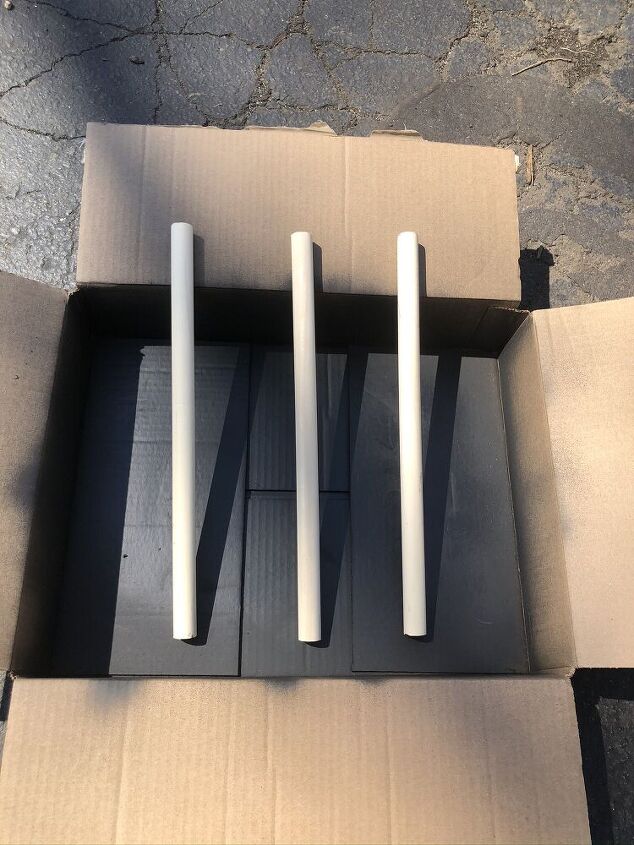
I then took the pieces I had cut and laid them in a box to spray them black. I just sprayed one side, let it dry and rotated them until they were completely dry.
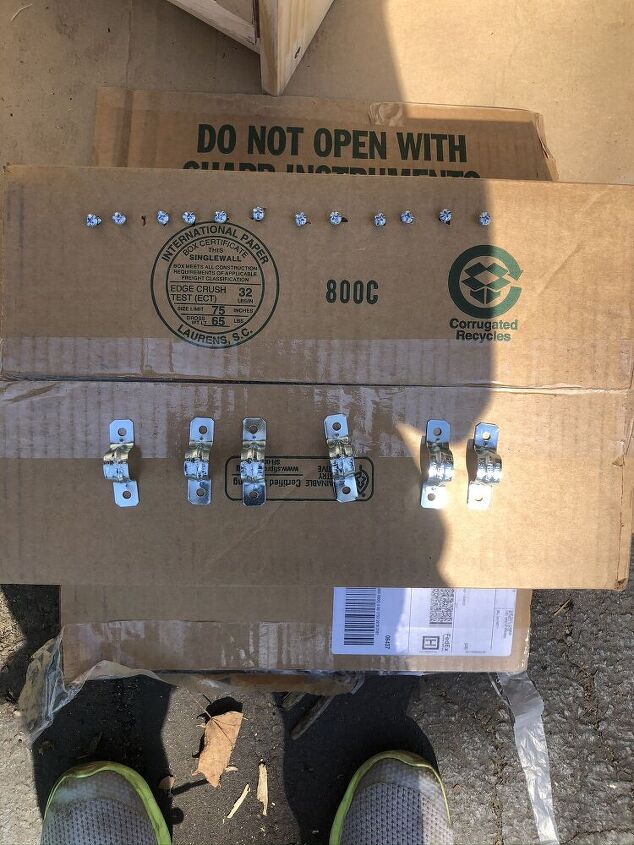
As those pieces were drying, I then laid out the pipe holders and screws to spray, I chose to spray these gold.
Once all the pieces were sprayed and dried, I took the cabinet upstairs to my sons room, and my husband helped me to drill the holes to put on the handles.
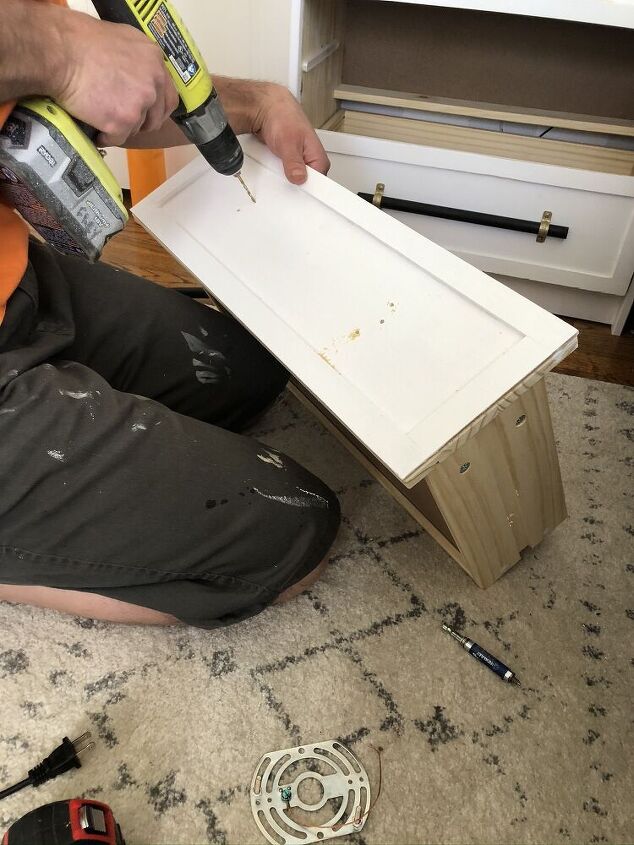
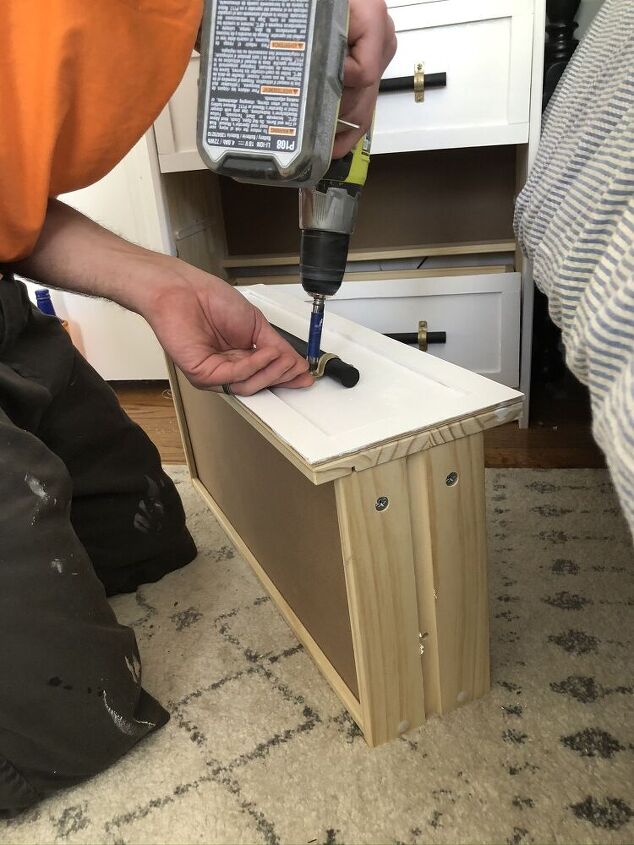
And that was it! I super simple and quick up-cycle of a small inexpensive dresser!
If you have any questions please feel free to leave a comment here or message me over on Instagram @schoolsidedesign.
Resources for this project:
See all materials


Comments
Join the conversation
-
Love it!!! Great idea.
-
Beautiful job! Completely different. Do you mind me asking where the bedding in your final shot came from? I am looking for Queen bedding in ticking


Frequently asked questions
Have a question about this project?
That’s awesome !!
How did you manage to keep the drawers flush after adding the trim boards?
If the dowel is placed tight against the dresser with the clamps how can you get your fingers behind it to open, isn't it hard?