


Headboard Restyle to Country Chic Shelf
I bought this shelf from a friend a few years ago. She said it was a headboard, but that’s not what I saw. I envisioned rows of hens tucked cozily in their nests laying eggs. Okay, I didn’t really plan on putting chickens in/on the shelf, but that’s what it reminded me of. It had so much country charm even before I put my touch to it!
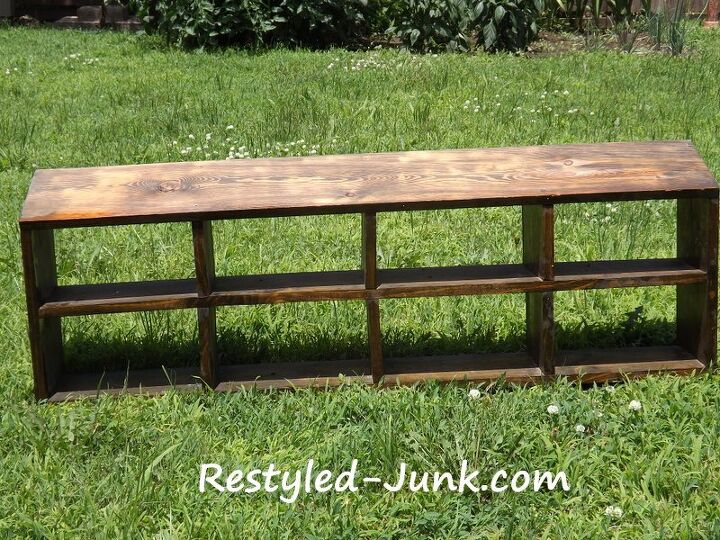
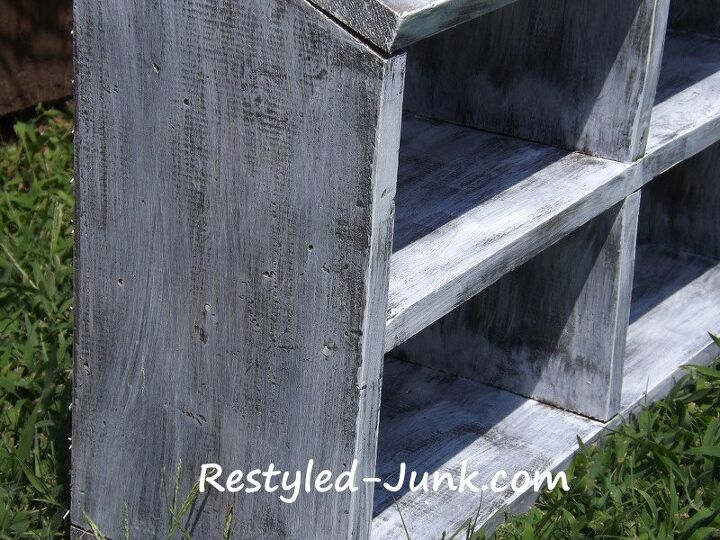
After cleaning, sanding and securing a few of the vertical dividers that were floating kinda crazily above the middle shelf, I dry brushed the entire thing using white paint. Yep, right over the stained finish. I loved the way the dark wood peeked through the paint giving it a weathered look. Note: Dry brushing doesn't require much paint and for this project most any paint will work.
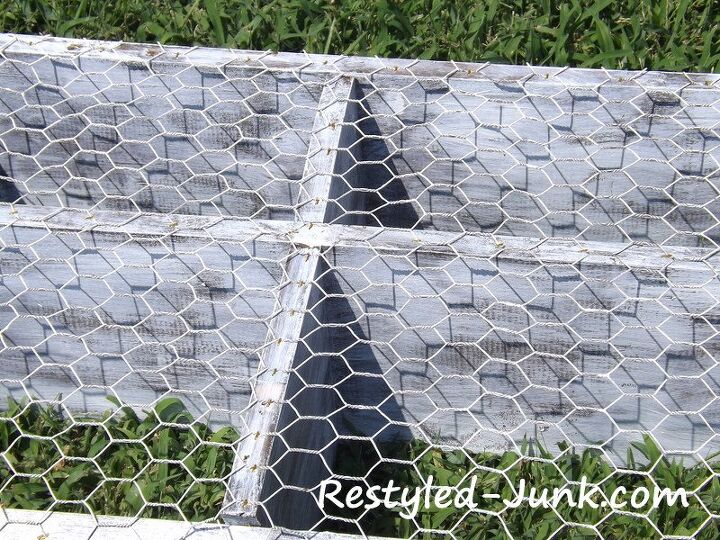
My stash of salvaged chicken wire was the perfect addition for the back of the shelf. A simple staple gun is all that was needed to secure it. The chicken wire was also brushed with the white paint, front and back.
There were hangers on the back of the headboard for hanging it on the wall. I moved them because their location was beyond my understanding. The way they were attached meant the headboard would have been hung with the long slanted side on the bottom. A slanted shelf headboard with a gap on the bottom and no back would have just frustrated me. I don't know. It just didn't make sense to me.
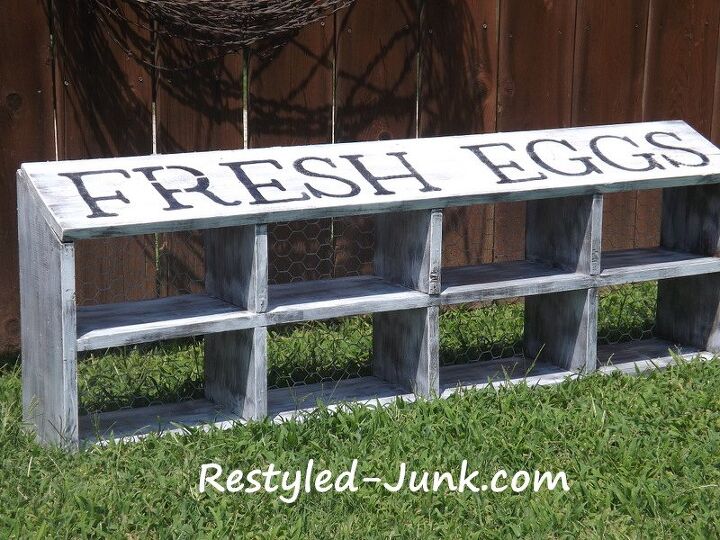
No problem. My vision had the slant on the top like a roof, and that slanted roof was perfect for a stenciled country sign. Even though no chickens would ever lay in those little cubbies, I wanted it to look like they had. Can't you just see this in a country kitchen? Or a mudroom for kids to organize their backpacks, hats and gloves?
Enjoy!


Frequently asked questions
Have a question about this project?