


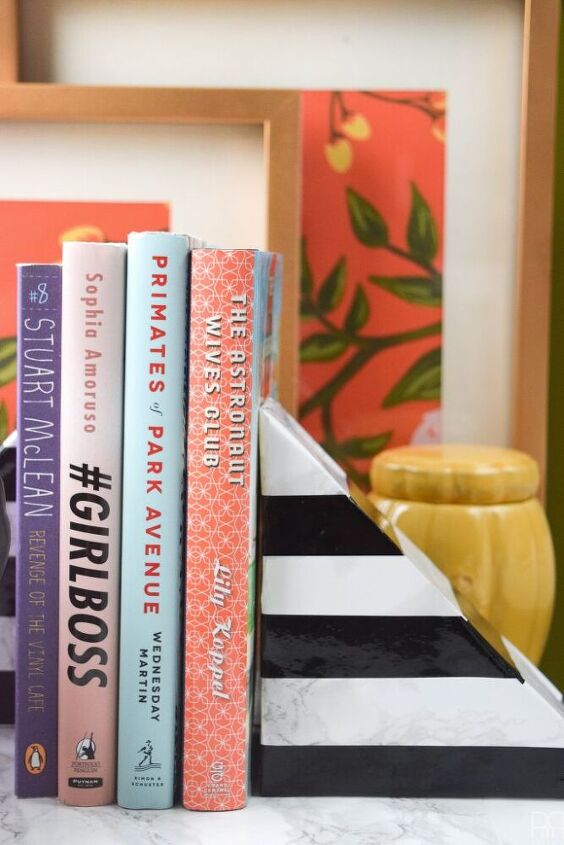
Striped Faux-Marble Bookends

Make your own Faux-Marble Bookends, inspired by a popular home decor store using contact paper, vinyl, and wood!
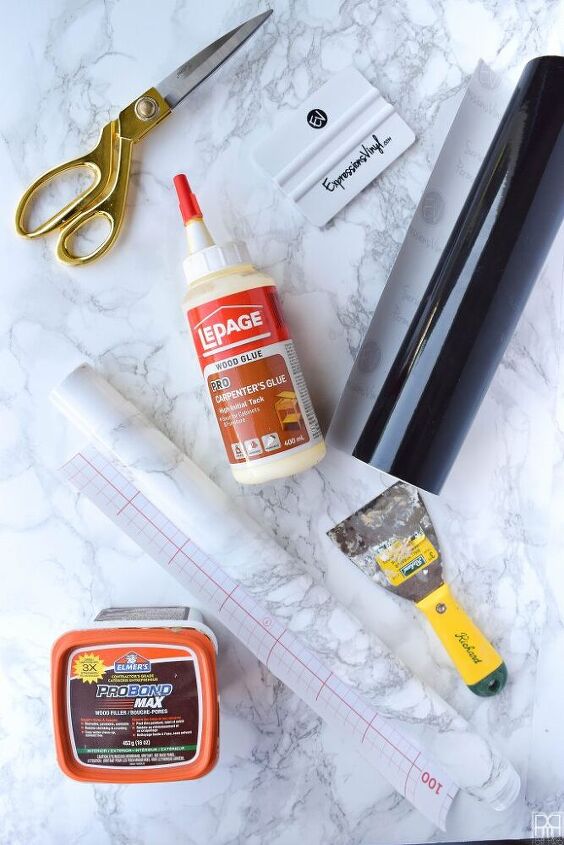
- Four 2″ x 4″ scraps – these are wood scraps, but you could conceivably buy one 2″ x 4″ and then cut it.
- Wood Glue (not No More Nails – actual wood glue)
- Mitre Saw
- Wood filler
- Putty paddle (scientific term?)
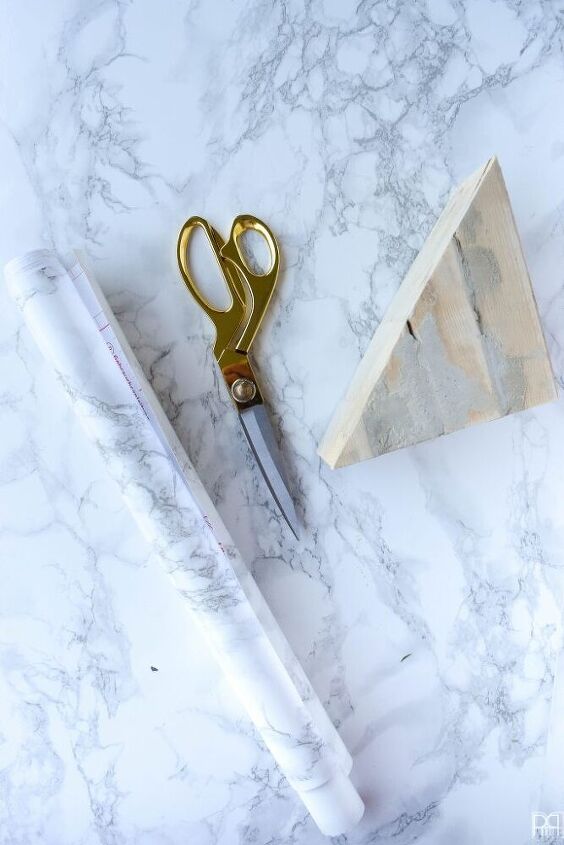
- DC Fix 346-0306 Adhesive Film, Grey Marble
- Black outdoor permanent vinyl – I got mine from Expressions Vinyl
- Scissors
- Vinyl Applicator tool

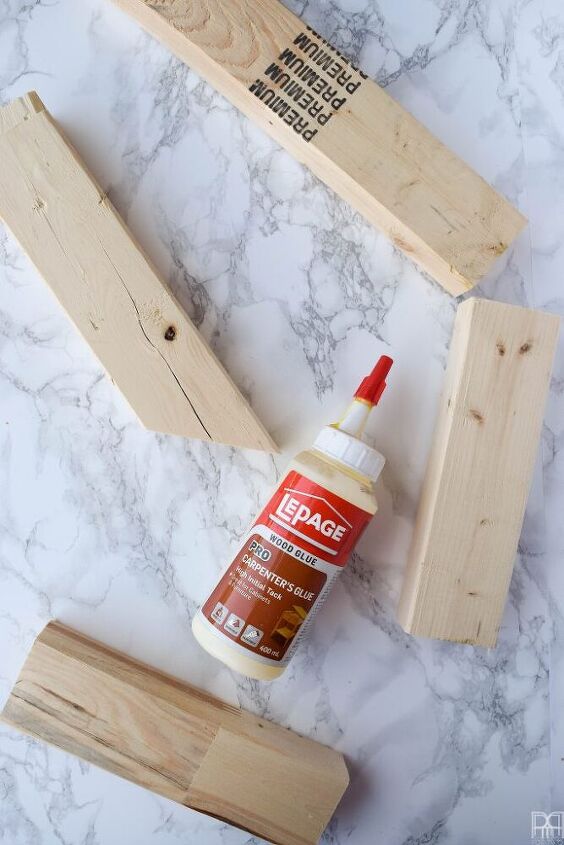
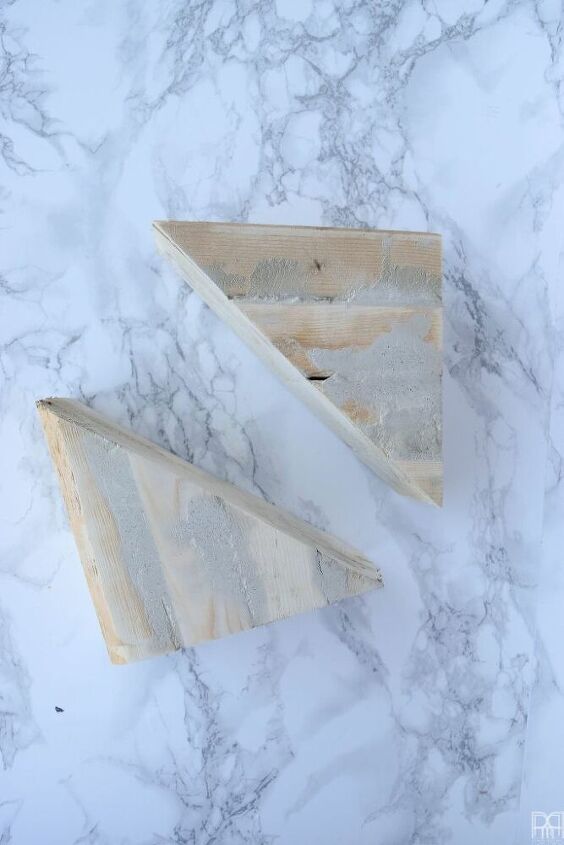
Start by gluing your pieces of wood together, stacked vertically, one on top of another. I weighed mine down with a concrete foot, and left it overnight.
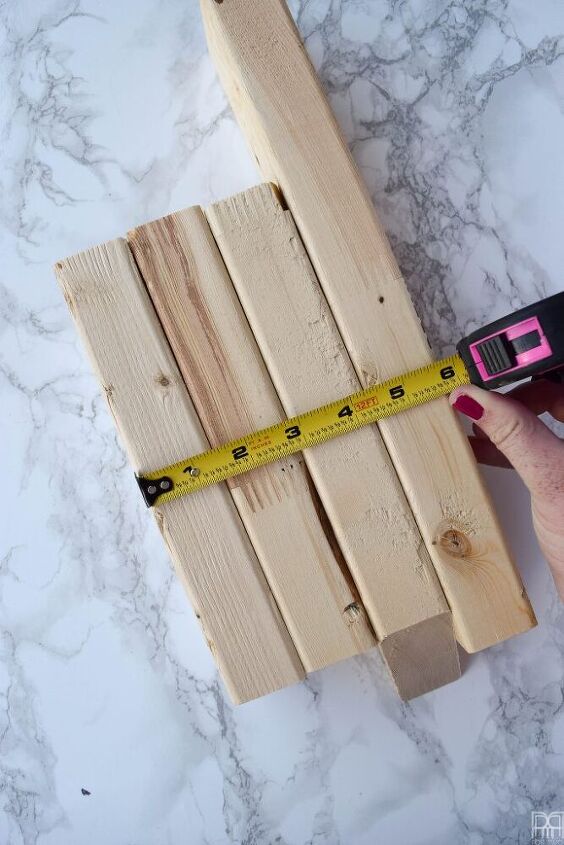
After waiting for the dry-time, I cut my wood twice:
Once, to make it a square. I measured the height of my wood stack, and then cut that length on the horizontal.
And then once, to cut the wood square from end to end on a diagonal.
I applied wood filler to all the gaps so that when I apply the contact paper and vinyl, it won’t be wrapping around the curve of the wood. Make sure you respect dry times
Sand-down any excess filler left, so that you have two smooth triangles.
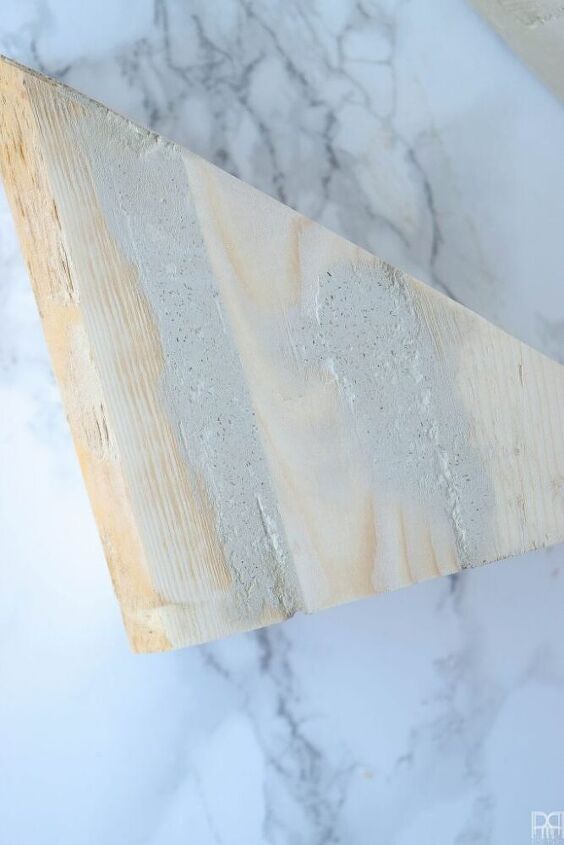
Make sure you wipe any sawdust off the wood before applying the contact paper! I also spray-painted the bottom of the wedges so that I knew which part to not wrap.
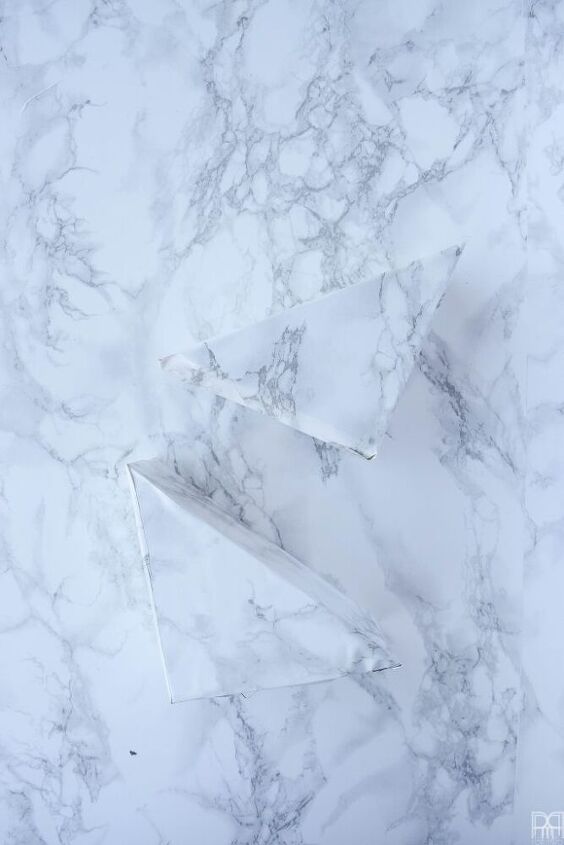
Using my vinyl applicator tool, I wrapped each triangle in marble contact paper. I was able to wrap each triangle in one continuous piece of paper.
Apply the paper from end to end. Start by getting a good straight line at one end. Once the contact paper is properly anchored to one end, slowly peel the backing off the paper, while applying it with the tool.
Cut the black vinyl into 1″ stripes. Using the same method as with the contact paper, apply the stripes horizontally across the bookends, leaving a 1″ gap between each stripe.

Enjoy your beautiful new bookends!


Frequently asked questions
Have a question about this project?