


Picture Ledge/Shelf Out of Scrap Wood

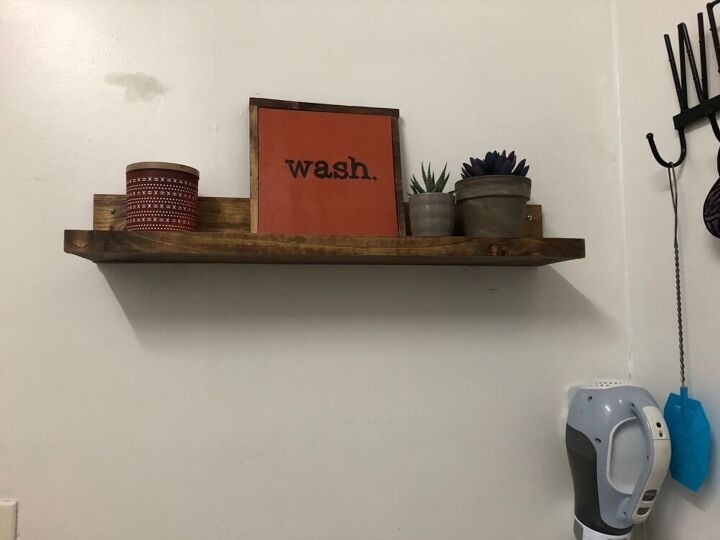
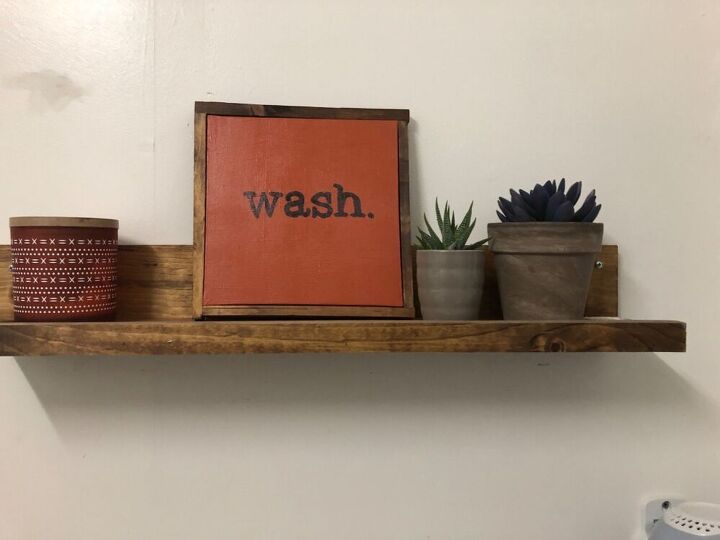
By now I think we all know that free/cheap is my “jam”. I have a multitude of scrap wood and decided to make a picture ledge/shelf to house some of my pictures, plants, and/or “doodads”. It was very easy and is something you can easily put together in less than 10 minutes. Here is how I did it.
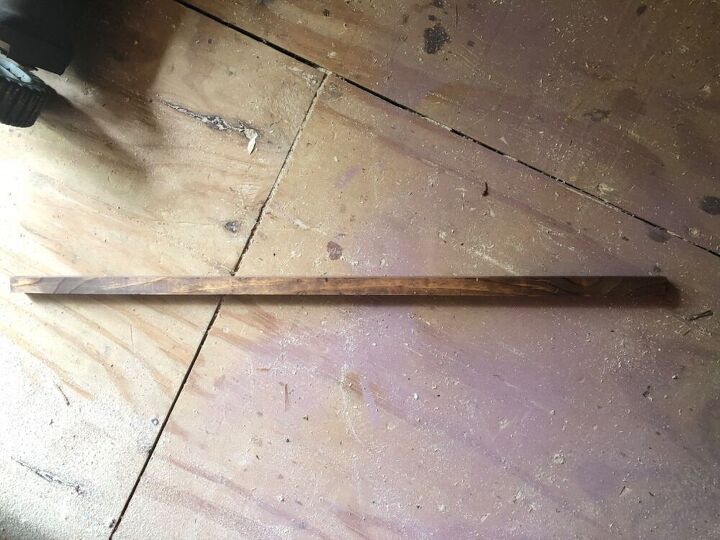
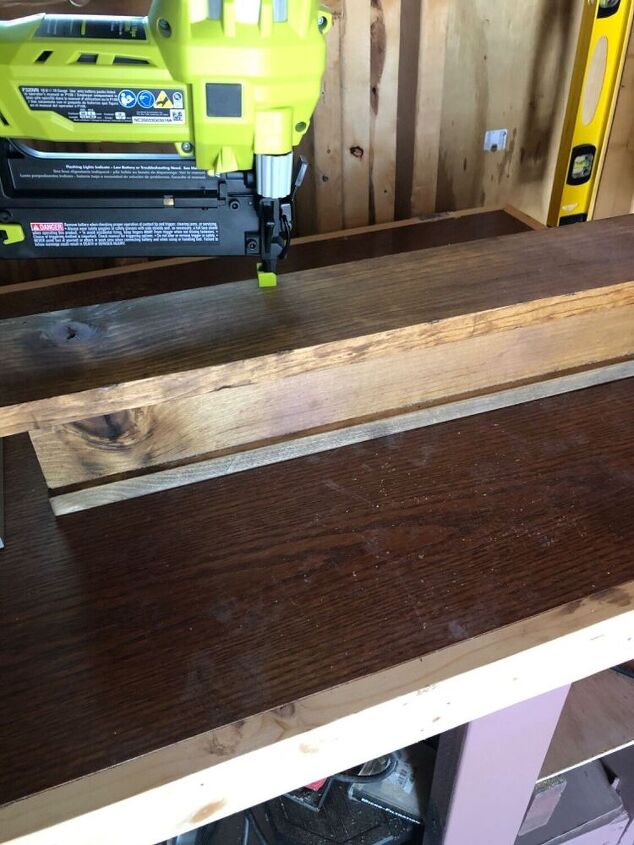
A 1”x1” board/dowel that will serve as the “lip” of the shelf. The dowel must be cut to the same length as the following...
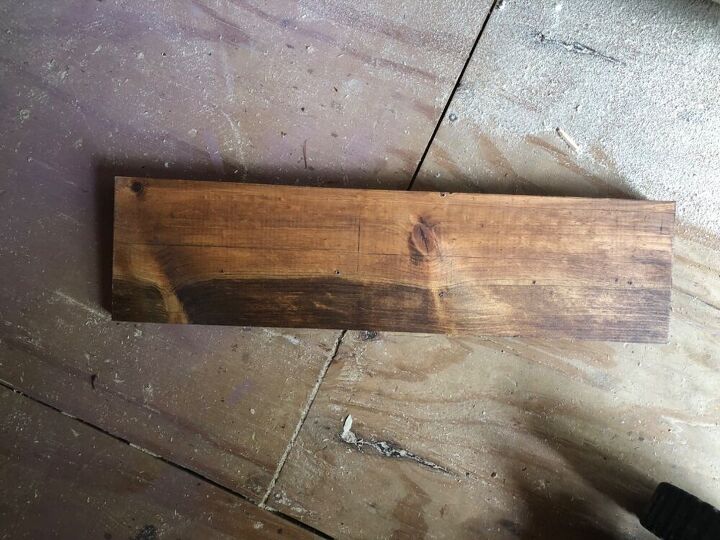
2 boards of your choice of length and width. These particular board already have been stained from a previous project/use. You will also need wood glue and nails.
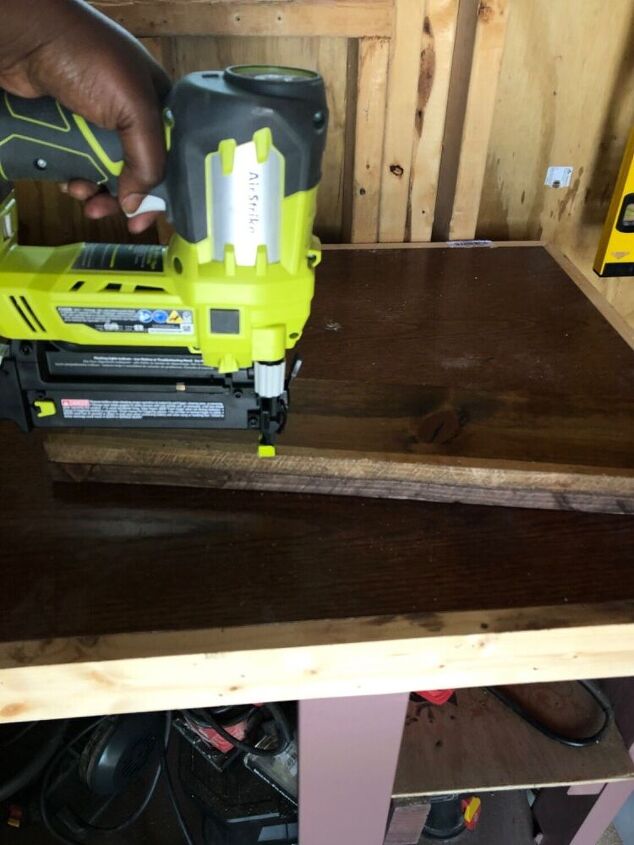
Attach the 1” square dowel to the front perimeter of one of the boards with wood glue and nails. This will create the “lip” that will stop pictures from sliding off the shelf.
Place the second board at a 90 degree angle to the first board that you just attached the dowel to. The “lip” should be facing up. Glue and nail the backer board into place.
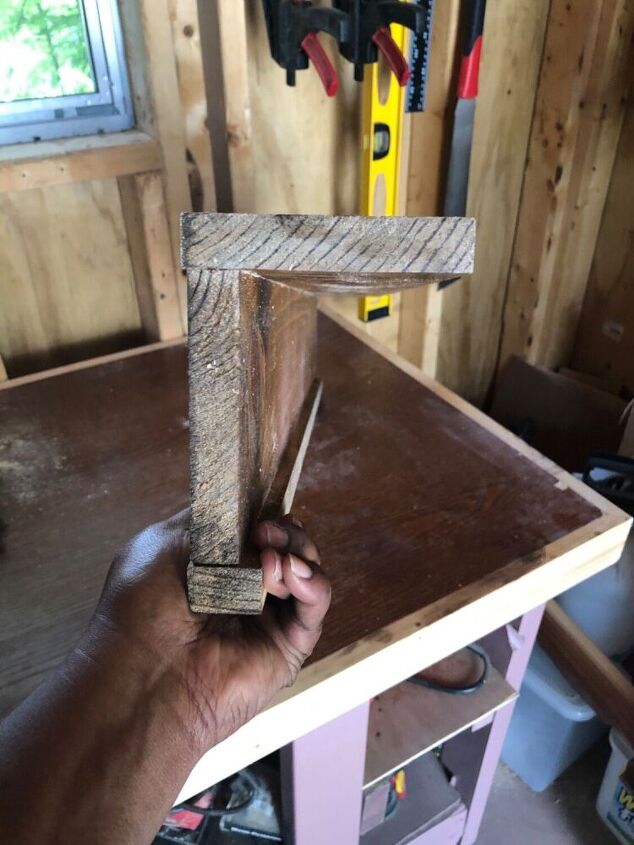
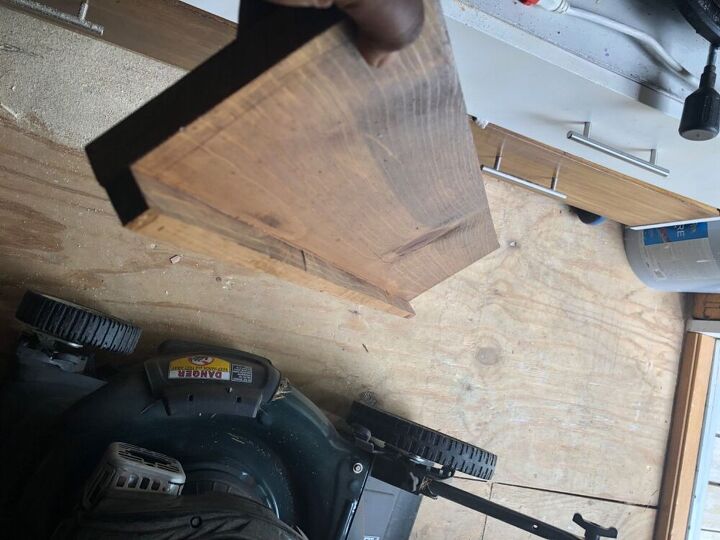
The side profile should look like this.....
I allowed my glue to dry before I drilled pilot holes in the back of board #2. These holes are where I will place my screws to attach the ledge/shelf to the wall.
Resources for this project:
See all materials


Comments
Join the conversation
-
I love the shelving of any kind. Your's is perfect and great job too!! I like the stain on the wood.

-
Looks super & you didn’t over complicate the instructions ~ thank you!


Frequently asked questions
Have a question about this project?
How attached to wall
Thank you so much for sharing. It is refreshing to finally see a new project that gives me some inspiration.