


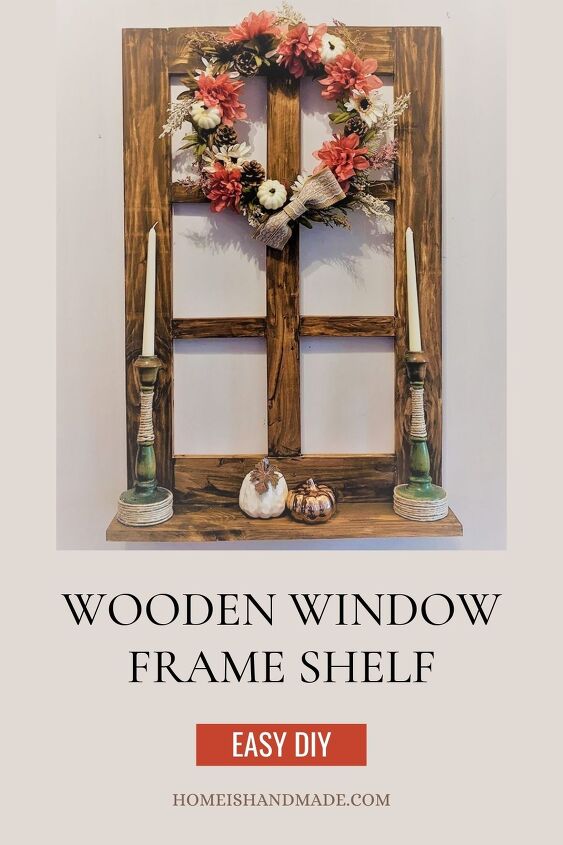
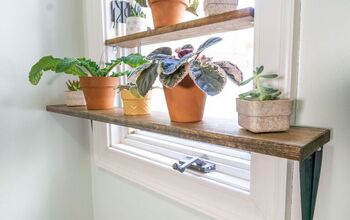
DIY Wooden Window Frame Shelf

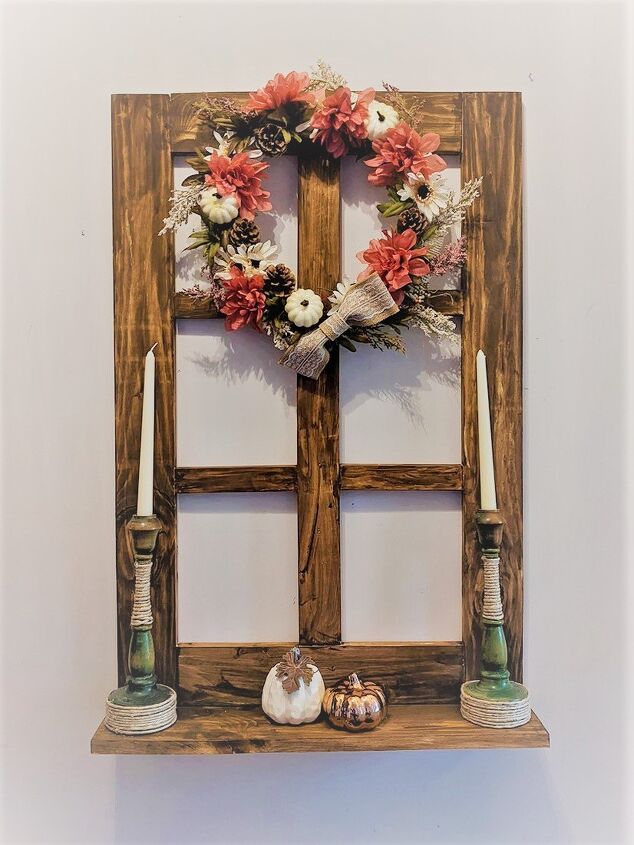
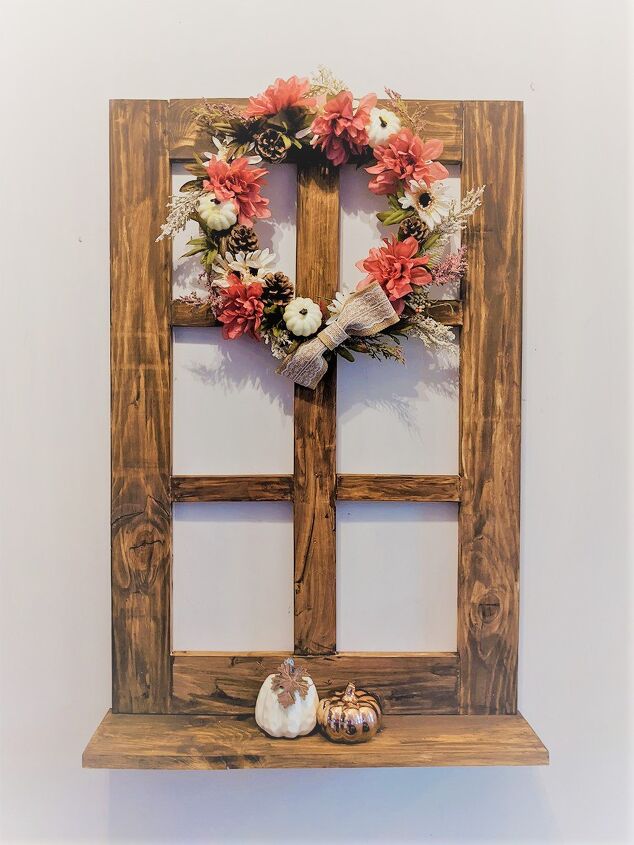
This beautiful piece of home decor is as useful as it is pretty. Hang it in an entryway to hold your keys and wallet, or place it in your dining room as a space for candles and other small decor. You can use it as a picture frame, or back it with mirrors if you prefer. However you choose to use it, it is quick and simple to make, and it looks absolutely stunning.
I have seen a ton of upcycled window frames in the past, and I have to admit they are just so cool to look at. But my house is SO full of half-done projects, lumber and tools that I just don’t have any room to take on any more.
I decided that instead of upcycling an old window, I’d take some of my scrap lumber and create my own window from scratch.
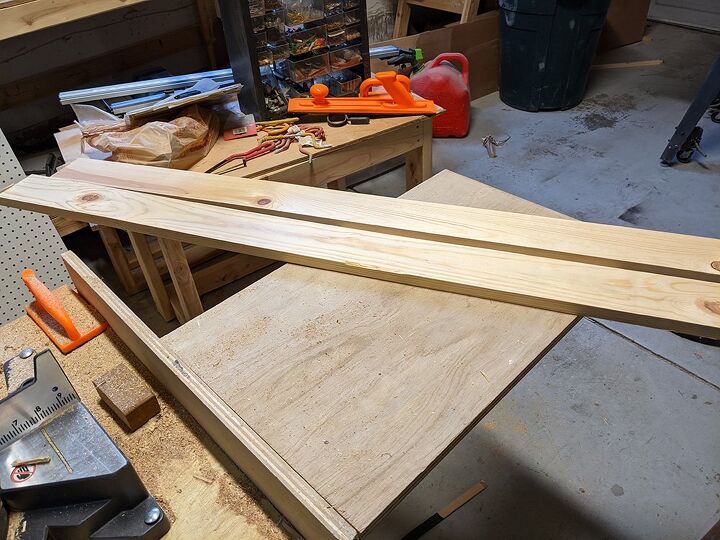
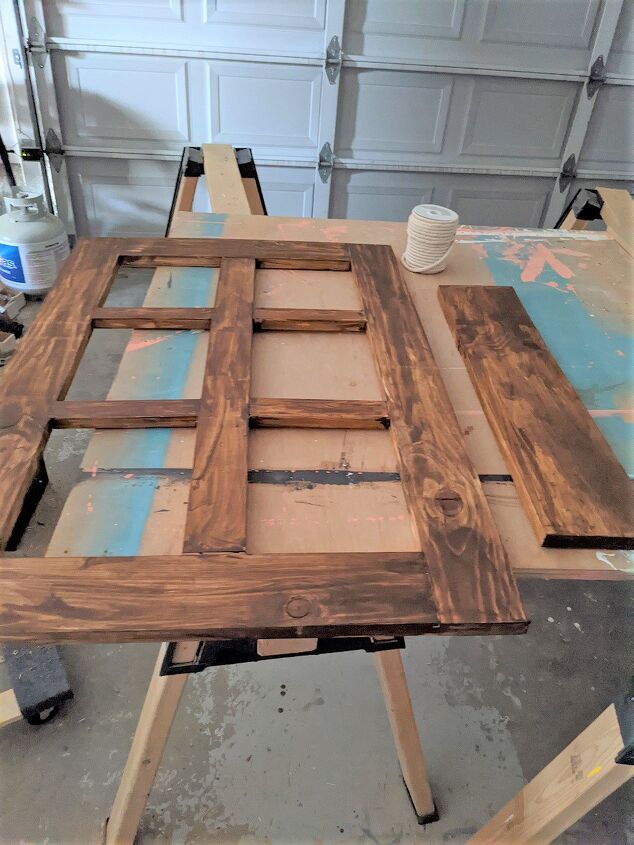
The outer frame of the window is made from 1 x 4 boards. The long side is 36 inches long, and the inner boards were cut to 17 inches. With the outer two boards each adding 3.5 inches, that gives the width of the window an additional 7 inches for a total of 24.
At the beginning of the project, I did not know I was going to be adding a shelf, so I originally had it in mind that this window would be able to be hung either vertically or horizontally. I thought it would have been cool to have that flexibility. But in the end, I had to make a decision so I could add the shelf going in one direction, so I chose to make this a vertical window. But you may choose to leave the shelf off, and you can have a window frame that you can change up either direction.
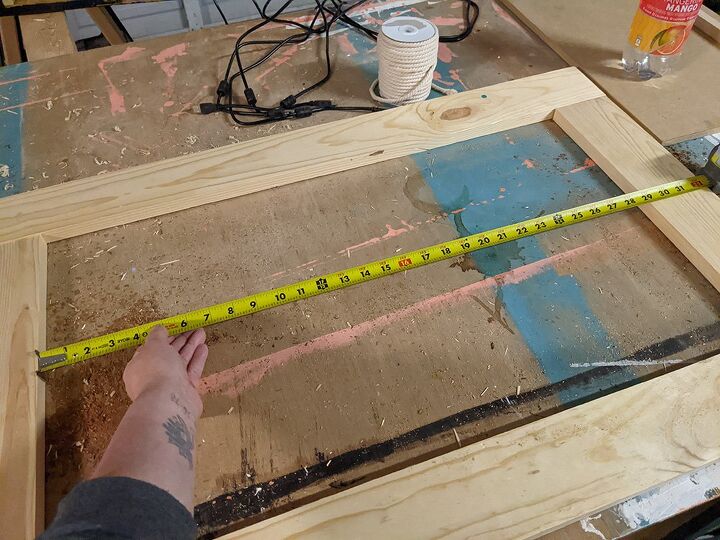
Once I had my outside boards measured and cut, I measured the space between them. It should have been 29 inches exactly (36 – 7, which is the two 3.5 in boards), but for some reason, probably a bit of warping, it was slightly under that. I highly recommend you measure yours, too, just for absolute certainty. I actually used a 1 x 3 board for the center of the window, as it looked a little better than the 1 x 4.
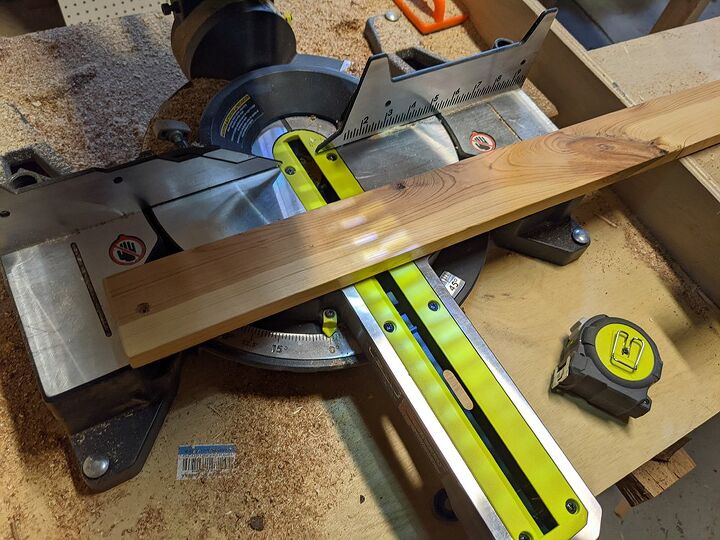
Finally, I had to measure the distance for the individual window panes. I wanted to have six panes, so I needed four 1 x 2 lengths cut. The full length across the center of the window was 17 inches, as we knew. The actual width of a 1 x 3 is 2.5 inches. So we had 14.5 inches to work with. Since we only needed one on each side, we just needed to cut that in half, meaning each 1 x 2 should be 7.25 inches. EASY!
Sorry for all the math. You can find the full cut list on my site to help you out.
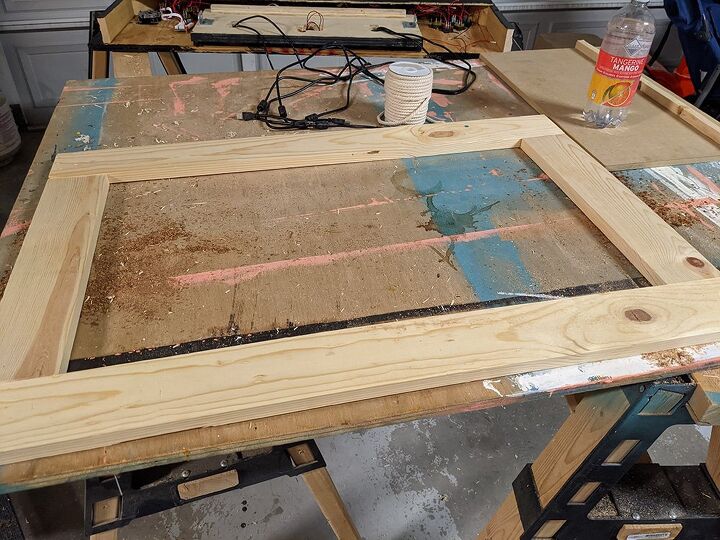
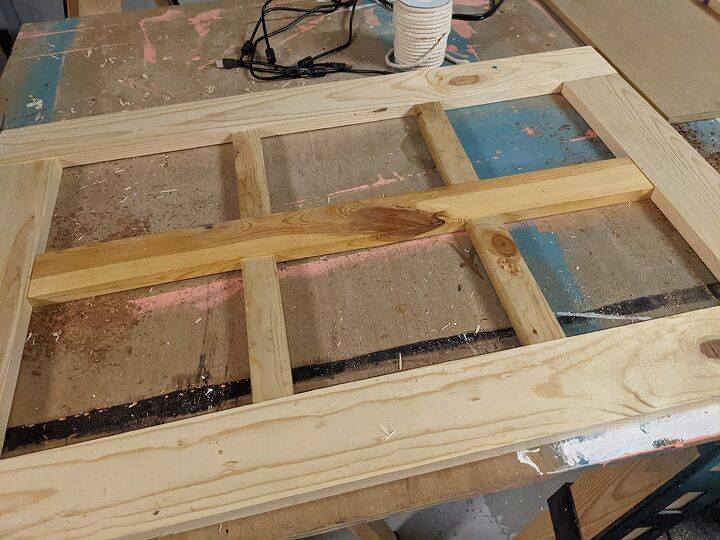
Once all the pieces were cut, I dry fit them together to make sure the window looked the way I wanted it to. I was pretty happy, so I proceeded to drill some pocket holes into the five main pieces (the outside and middle piece).
I secured them all together with pocket hole screws, and I chose to use wood glue to secure the window pane pieces. Annoyingly, these pieces suddenly seemed to be too short somehow. I’m not sure what happened, but they just didn’t quite reach the edges of the wood.
I ended up using clamps and some staples to hold them in place, which worked okay, but I’ll admit I wasn’t happy with the small gap that was left at the end. C’est la vie.

Once everything was dry, I used my disk sander to sand the whole thing smooth.
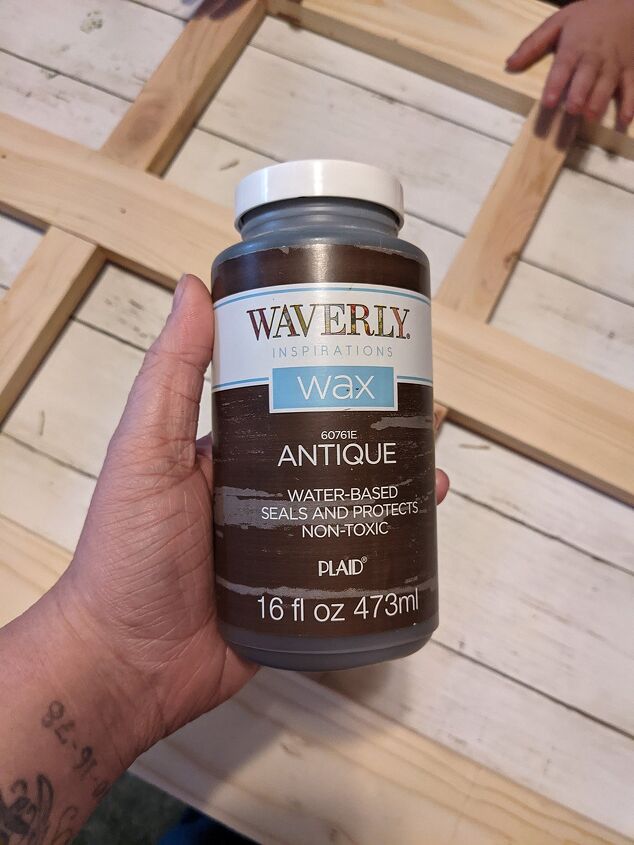
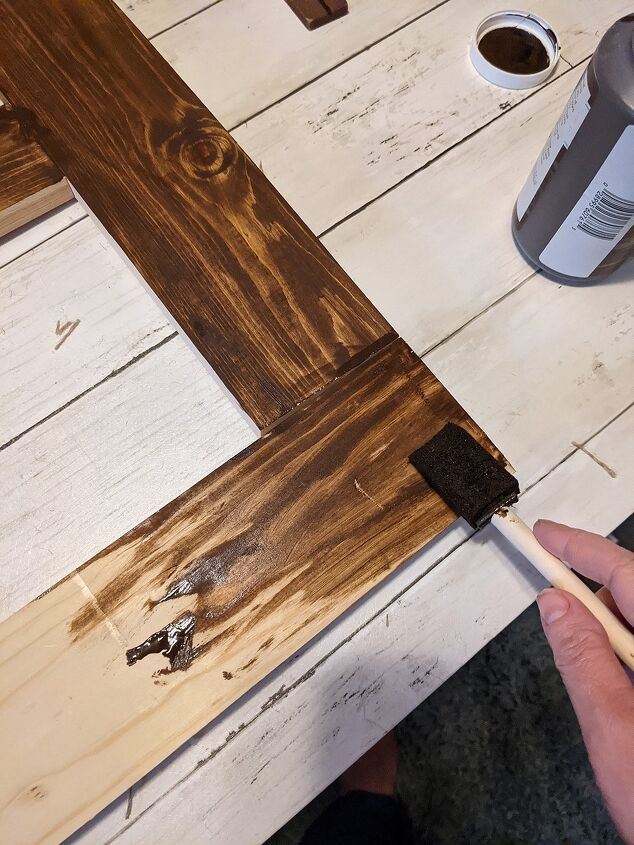
I was originally going to stain it, but I didn’t have the stain color I wanted. So I dug out my Waverly antique wax, and I added it onto the raw wood with a sponge brush, and I was pleasantly surprised by how it looked. I simply added it on with the sponge, and then I wiped it off with a rag. It came out looking like it had been stained. Very cool.
As it was drying, I realized that I wanted to add a shelf. This is where I had to make a decision about what direction I wanted the window to be. I could have added a longer shelf and had the window go horizontally, but I didn’t think it looked as good as a horizontal one. I had a very clear image in my head of a wreath on the window, and I thought that would look better if the window was vertical. So I made the decision to cut the shelf to 24 inches wide.
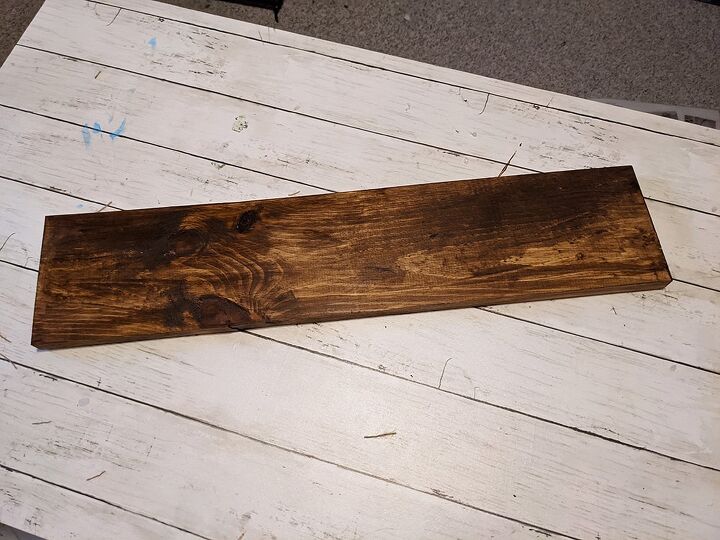
I used a 1 x 6 board for the shelf, and I used the Waverly wax to paint it the same as the rest of the window.
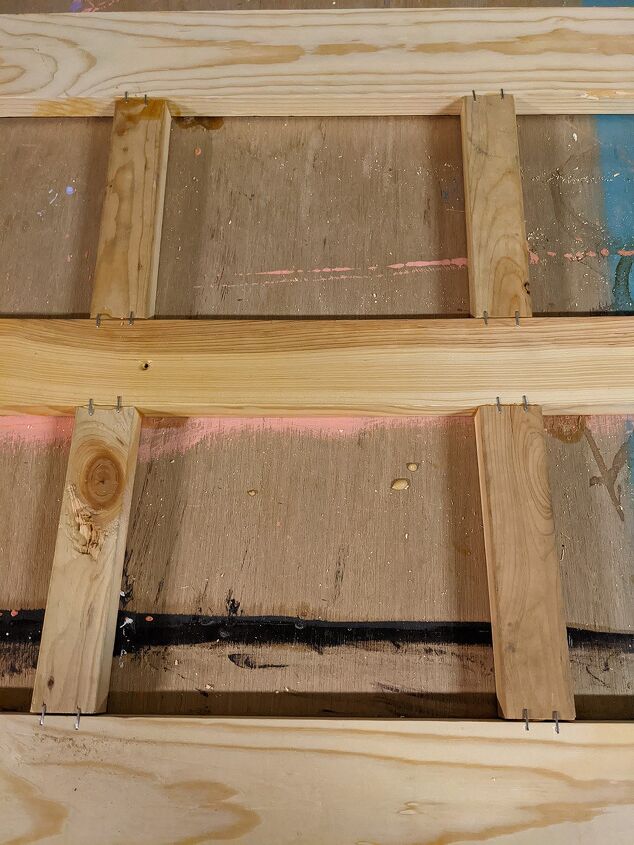
I added a few more pocket holes with my pocket hole jig into the window itself, and I secured the shelf to the rest of the window.
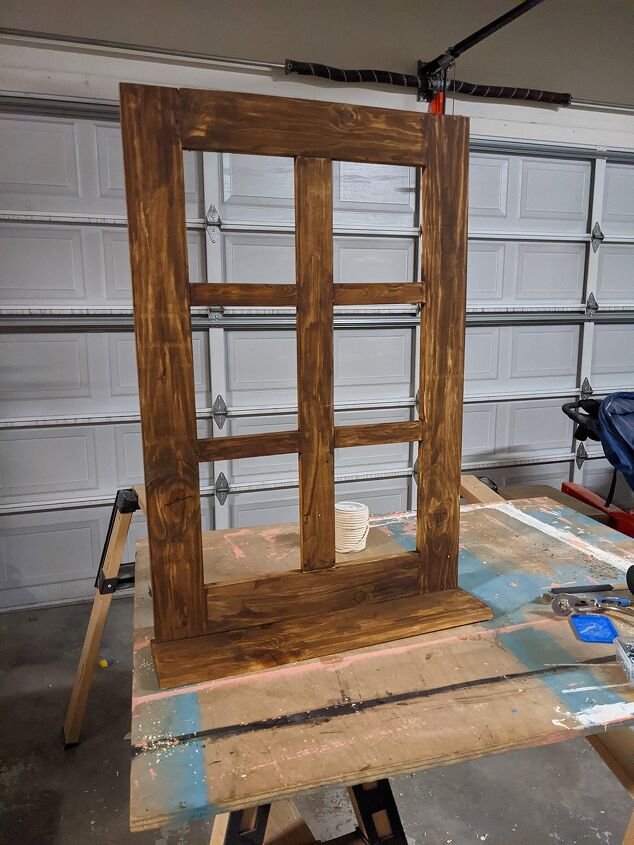
I think it’s cool that it can stand on its own, which means you aren’t limited to hanging it on a wall. You can place it on a table or mantle or anywhere you want.
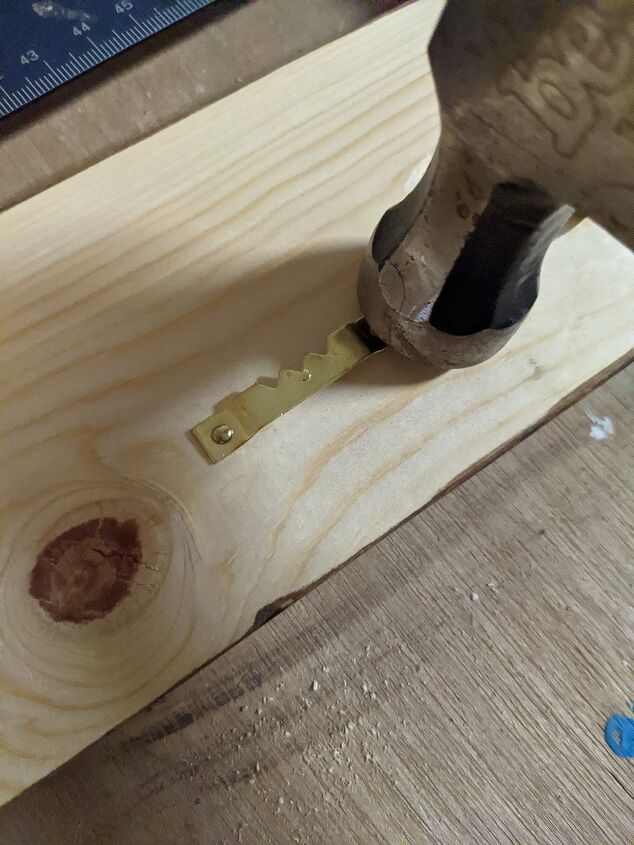
The final step was to add some picture hanging hardware to the back. I had a couple of these in my stash, so I hammered them into the back very carefully. I used a ruler and level to do it, but somehow they still came out a bit wonky. But amazingly it still hangs straight on the wall, so I’m happy.
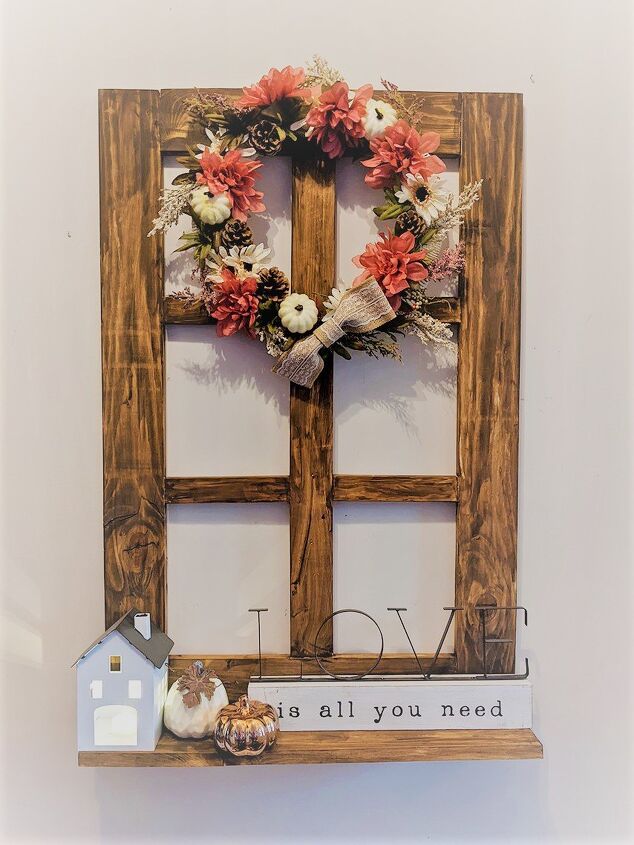
I love playing with the decor on the shelf, especially at the different holidays. I made this almost two years ago now, and I have changed it up A LOT. I think it’s so much fun to try different things and see how to make it look different.
At some point I do think I might try changing it up by painting over the window to make it look older. Maybe a crackle effect or something? I’m not sure. I’m happy with it for now, but I think it could be cool to see what else we can do with it.
Make sure to jump over to the blog post for the full cut list and detailed instructions if you want to know more.
Comments
Join the conversation
-
Really cool idea. Love your shelf/window look.
-
I Really love this idea! I might try this, and thanks.


Frequently asked questions
Have a question about this project?
That has got to be one of the nicest stain colors I have ever seen. Love your work