


How to Make a DIY Tray

Learn how to easily make a DIY tray! The beauty of this project is you can choose any style hardware for the tray handles and any color stain, so you can completely customize it to make it your style.
For more fun DIY projects and home decorating ideas, check out my blog.
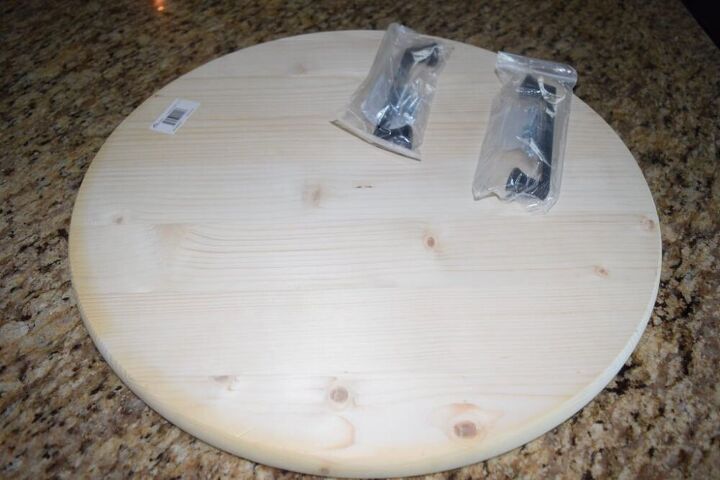
For this project, you'll need:
-a wood round (I bought mine at Home Depot for less than $6. It was a bit hard to find so be sure to ask a store employee where they are at if you can't find one!)
-two cabinet pulls (you can choose any style and size you like. I chose bronze ones! After completing this project, one recommendation I have is to find pulls that screw on the top, so you don't have the screws under the tray. They can scratch some surfaces.)
-sandpaper (you could possibly skip this step depending on how smooth your specific wood round is!)
-polyeurethane
-wood stain (I used the color American Walnut, but feel free to pick whichever color you love)
-old rag to apply the stain
-paint brush to apply the poly
-drill (to attach the pulls to the wood round)
You should only need to lightly sand the wood round, and some may not even need it. You could potentially skip this step if you picked a REALLY smooth wood round.
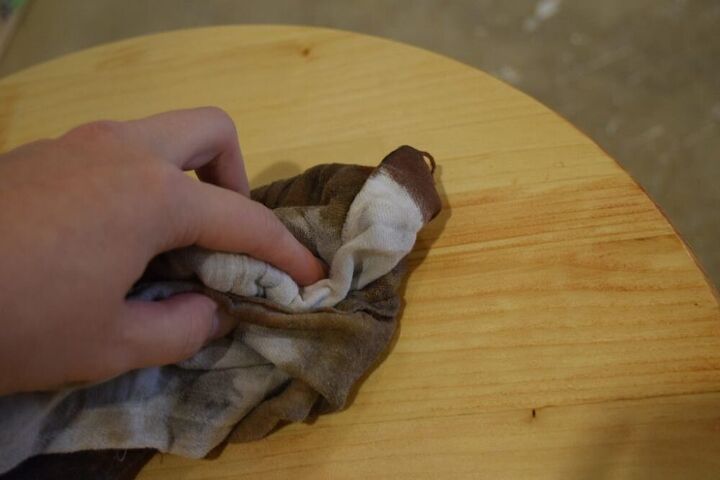
If you do lightly sand it, make sure to wipe off the access dust. Then, take an old rag, dip it into the stain you choose and rub it on the wood round. I used the stain color American walnut.
Here's how my wood round looked at this stage.
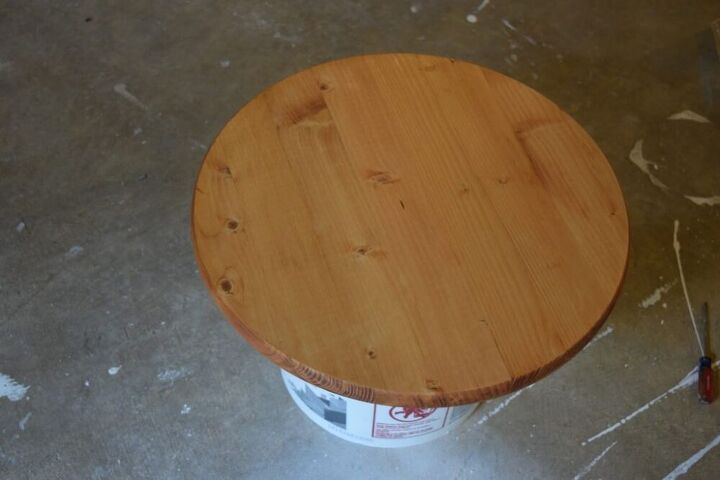
Your wood round should now look something like this.
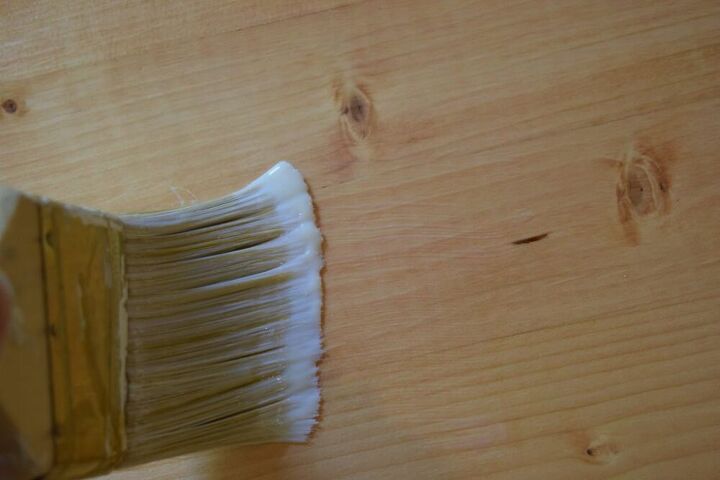
Use a paint brush to apply a thin coat of polyurethane. This will protect your piece and give it a nice smooth surface.
Make sure to let it dry completely.
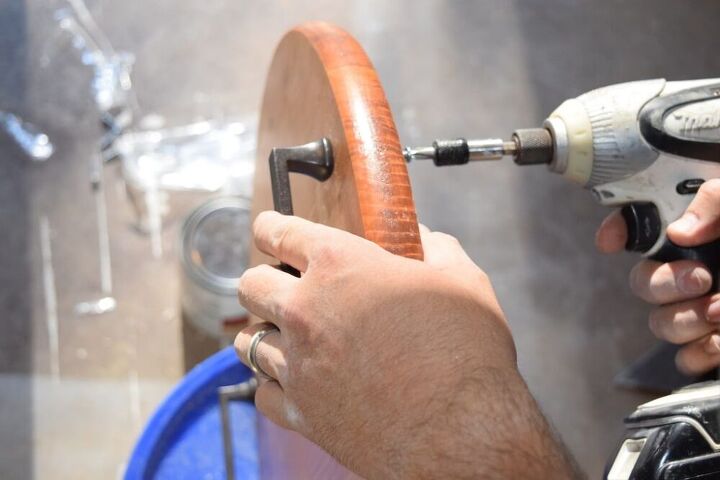
Place your two cabinet pulls where you want them and drill a screw through the wood to attach it to the wood round.
As I mentioned above, now after having doing this project, I'd recommend using cabinet pulls that screw in from the top. That way, you won't have screw heads on the bottom of your tray. The screw heads can potentially scratch some surfaces if you drag your tray across the surface.
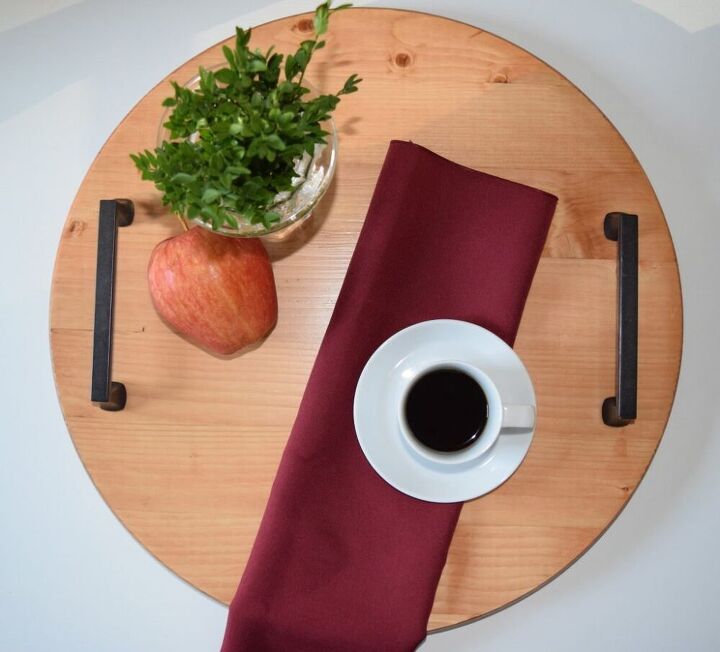
That's it! You've got yourself a simple and fun tray that you can style however you like.
Make sure to subscribe to my blog for more fun DIY projects and decorating ideas!
Resources for this project:
See all materials


Comments
Join the conversation
-
They also have small plastic dots that are self adhesive. You could also add feet or a piece of felt to the bottom.
-
I would put additional handles around not just the 2 so that what you have on tray won’t slide off.


Frequently asked questions
Have a question about this project?