


Microwaved Tie Dye Pillowcases With Firecracker Technique

As I am VERY impatient so I had to do something about waiting 6-8 hours (or sometimes 12 hours) to see my tie dye creating and how it turned out. I managed to save the time by placing the tie dye in the microwave for 2 minutes! Same results as waiting.
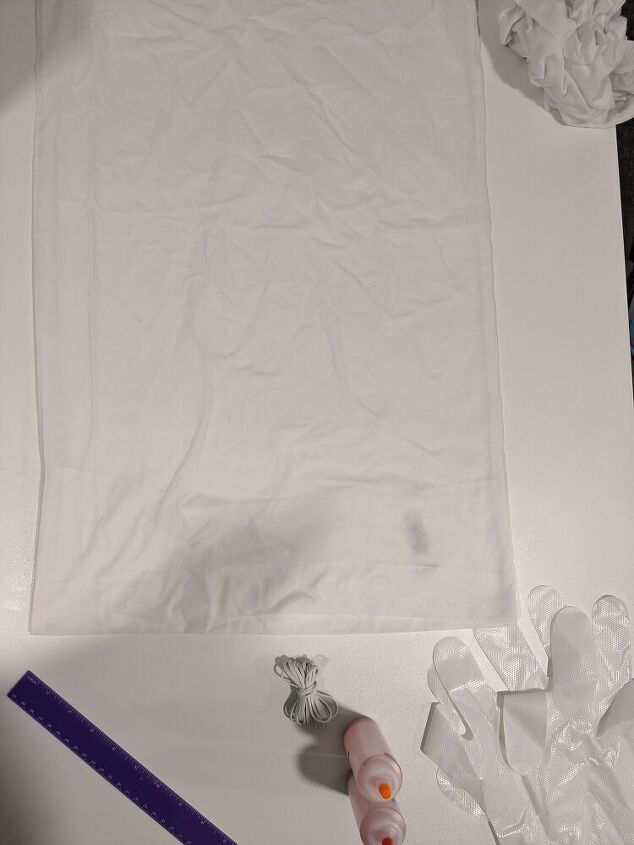
First, I followed the regular steps for tie dye. I started by rising my pillowcases and squeezing all the excessive water out, leaving it damp.
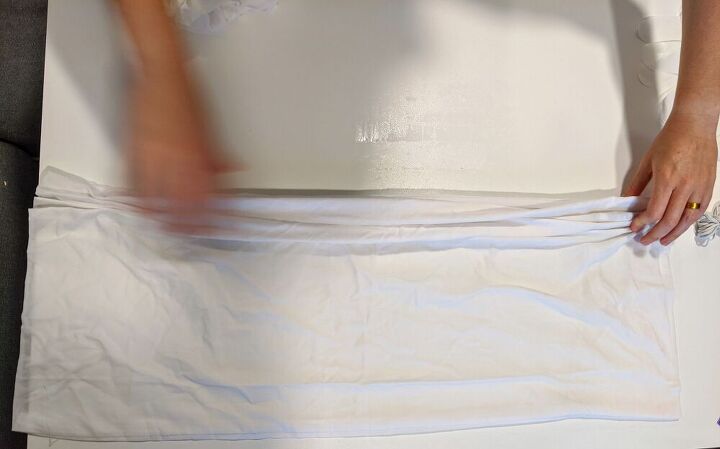
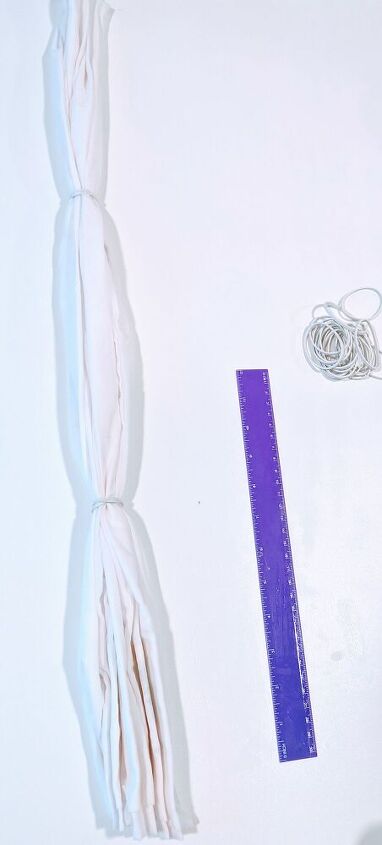
Then, I "pinched" the fabric in, random in size.
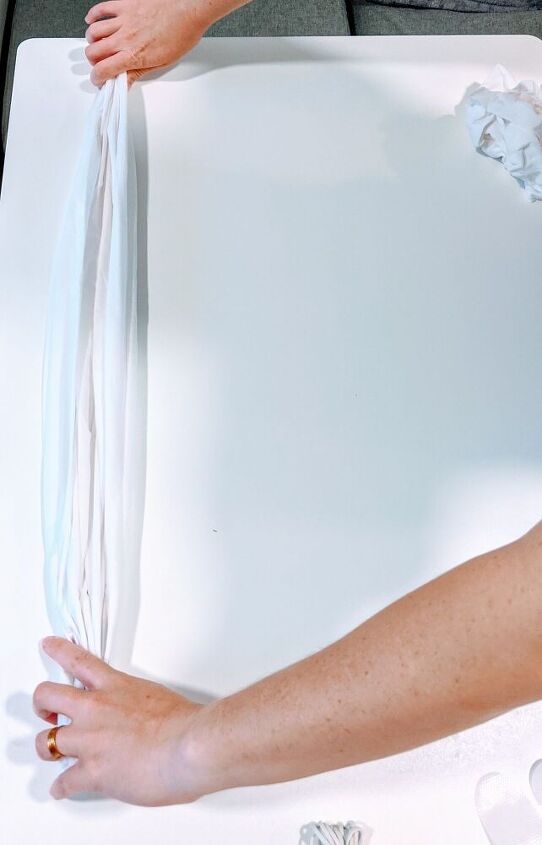
Until I reached the end of the pillowcase.
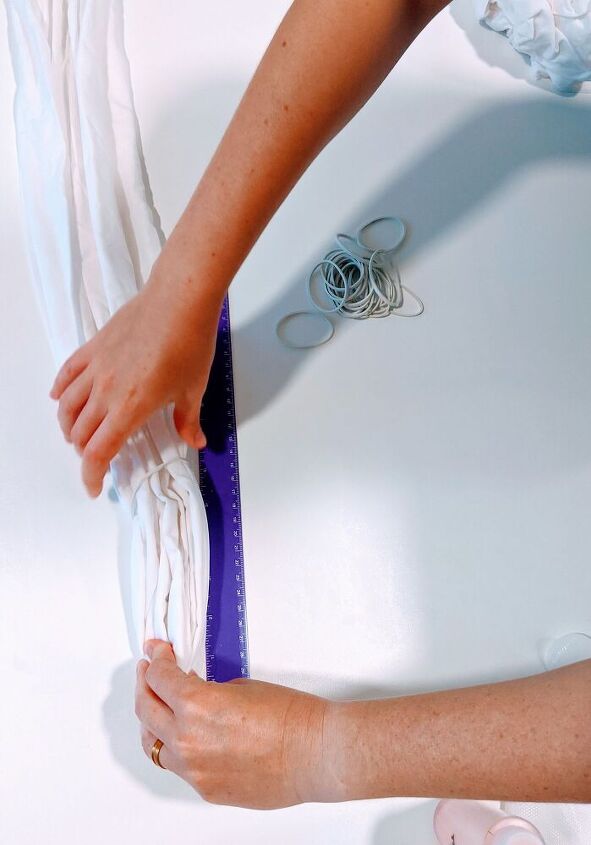
I added a rubber band 9" from the edge of the pillowcase, and made sure that the band is as tight as possible.
I repeated the same step on the other end
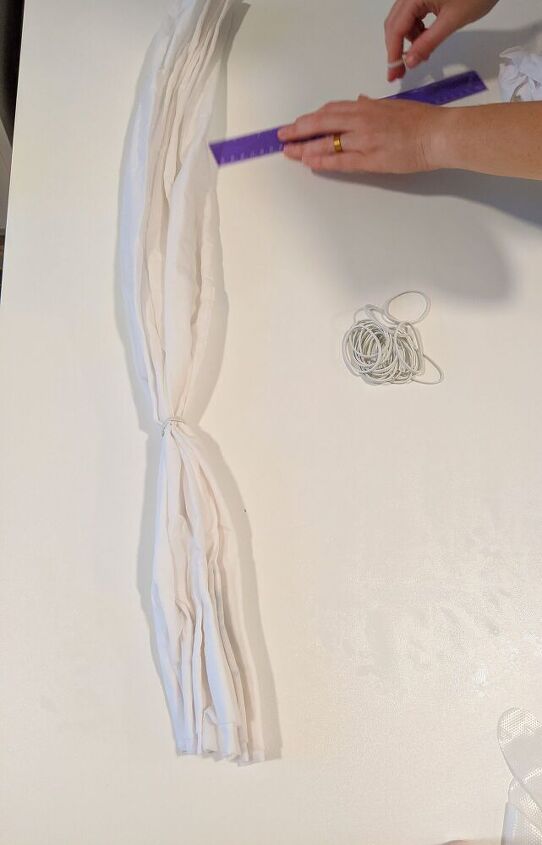
Until I had something that looked like a wrapped candy
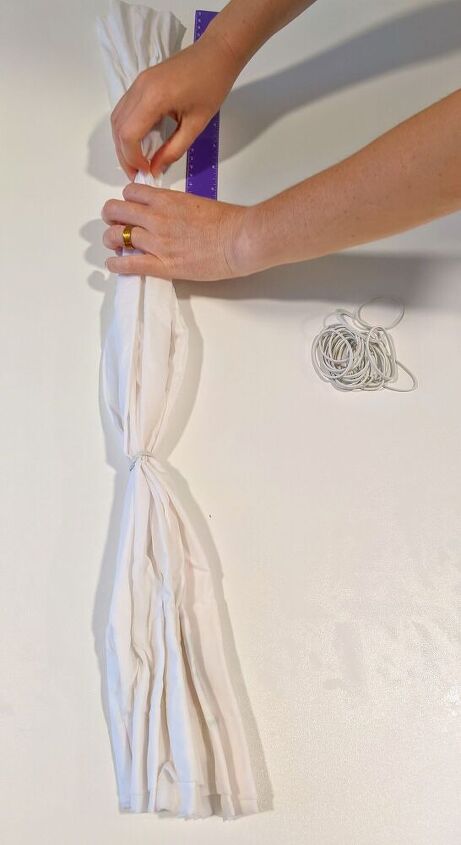
I followed the same steps and made the other pillowcase in the same technique
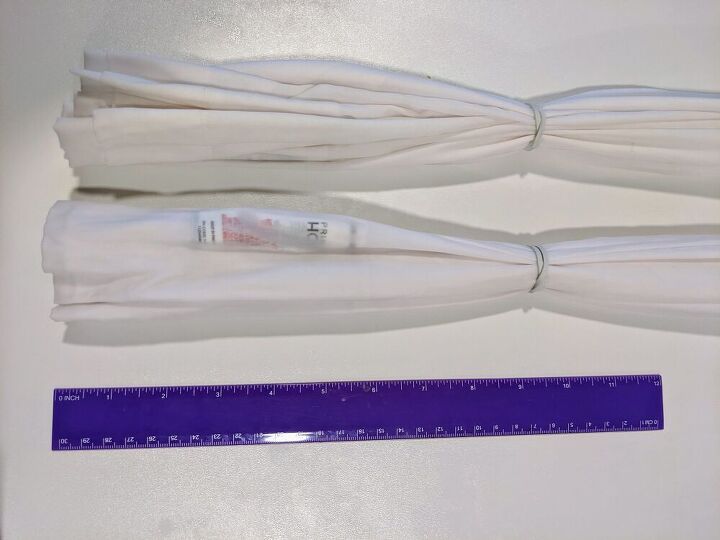
I stopped to make sure that the edges are in the same length

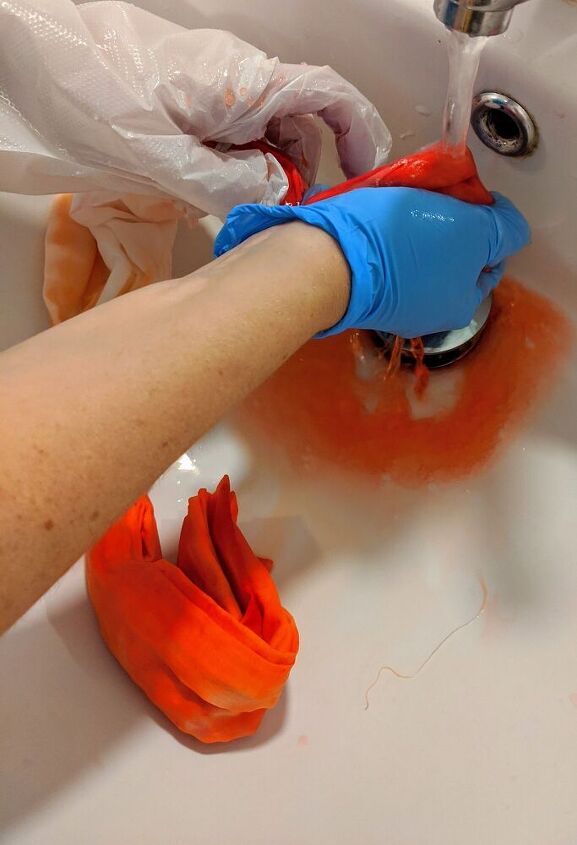
Once I was happy with it, I gloved up!
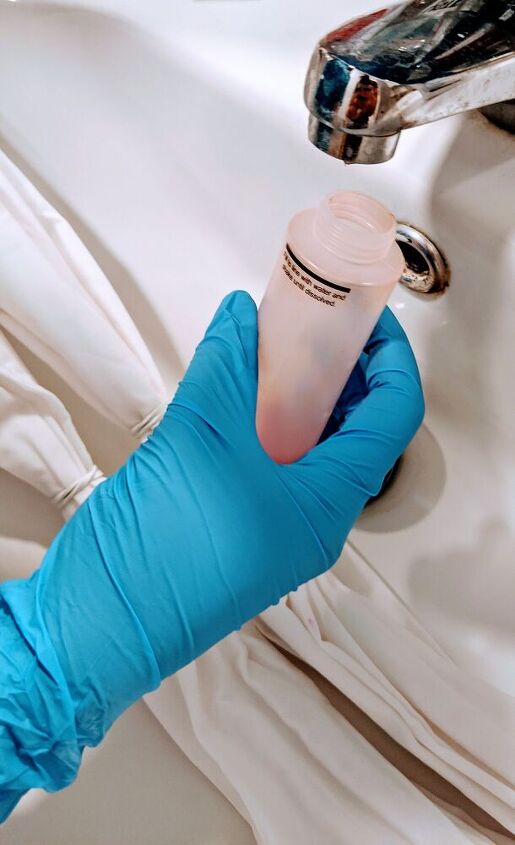
I added water to the powdered dye and placed the pillowcases in the sink. Only because it is the easiest to clean, and no dye will stuck on it.
I shook it well to make sure no powder is left at the bottom of the bottle
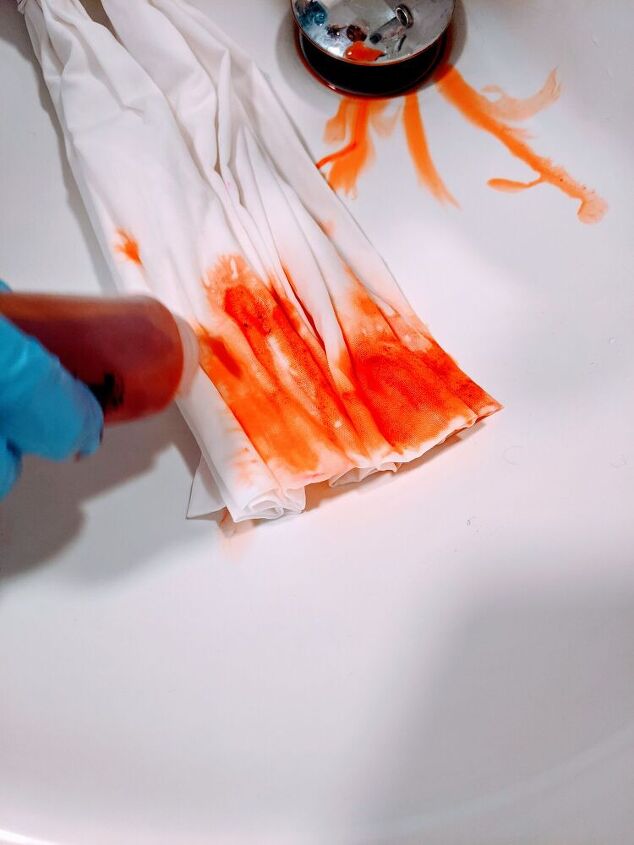
Then, I added the orange dye to the slightly wet fabric only on one of the edges.
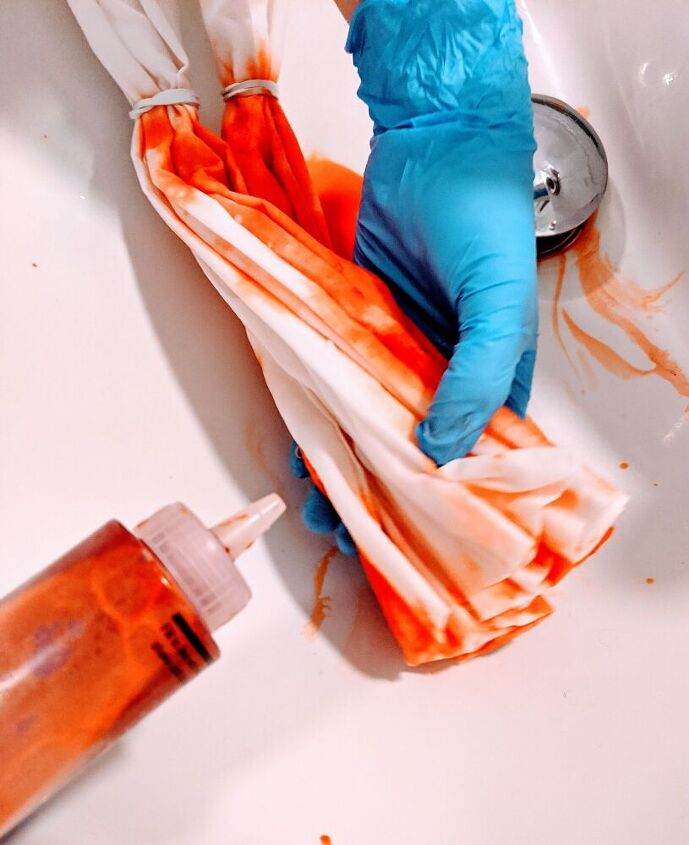
I tried to make it the same for both pillow cases to create a sense of unity.
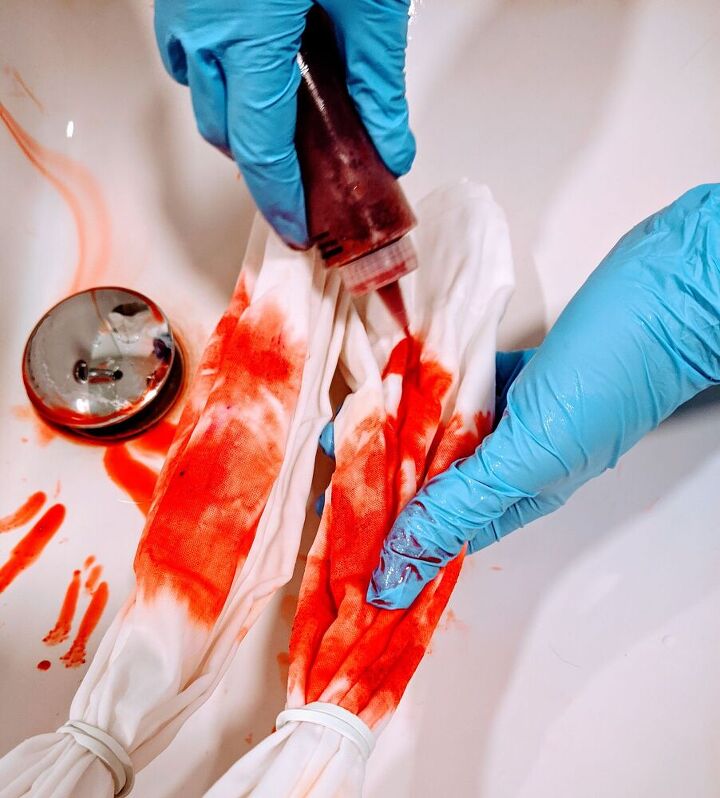
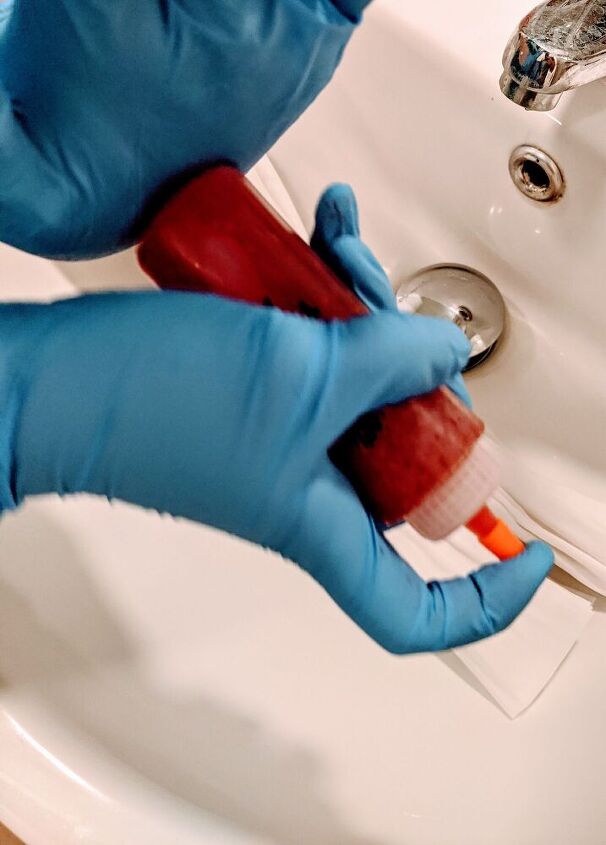
To the other end I added red dye.
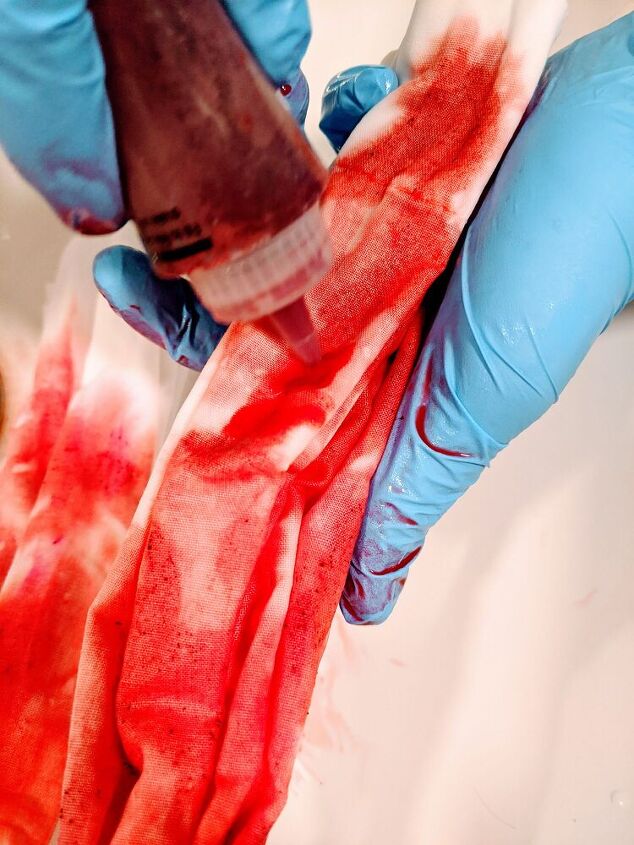
Unfortunately, I did not shake it well enough and it left spots of dye on the fabric
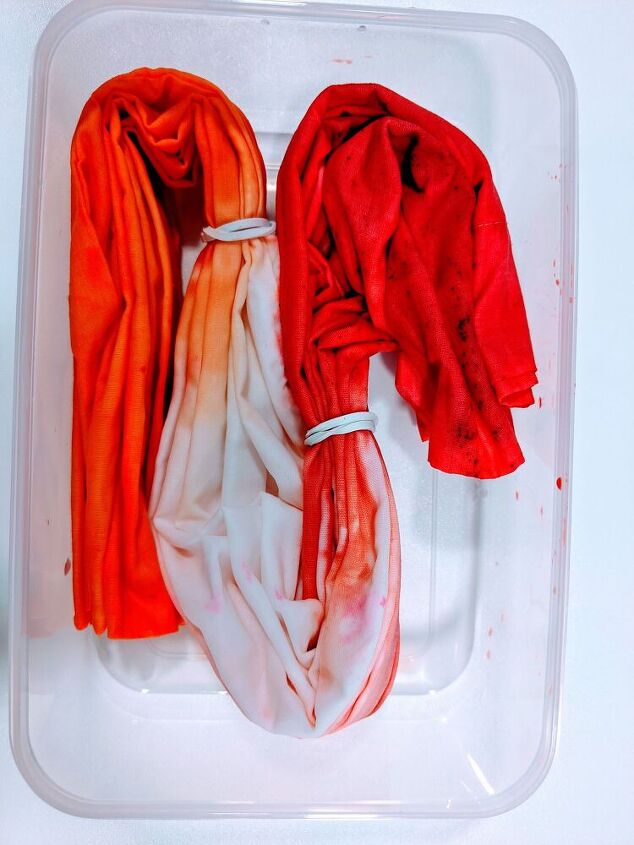
Once I was happy with the dye, I immediately put it in a microwave safe container, one by one,
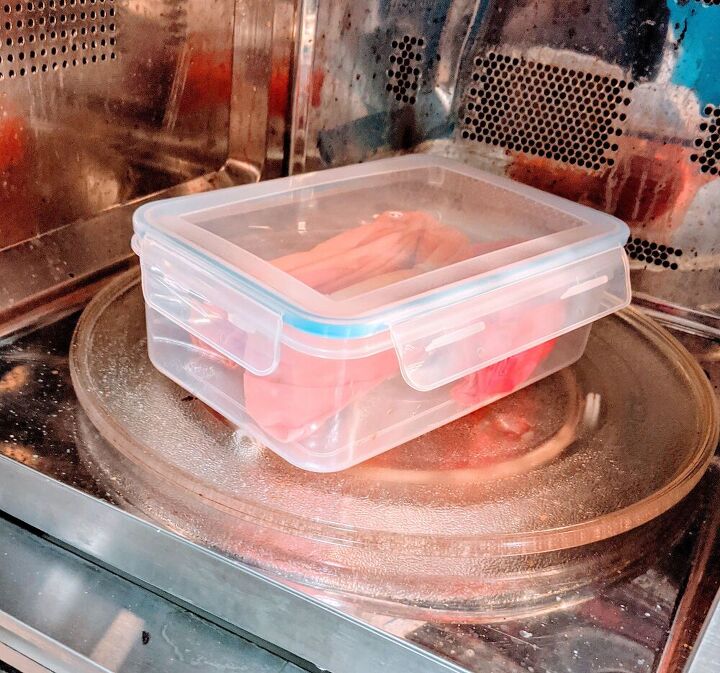
And placed it in the microwave (pardon the unremovable stains in my microwave!), not completely closed, leaving one edge open
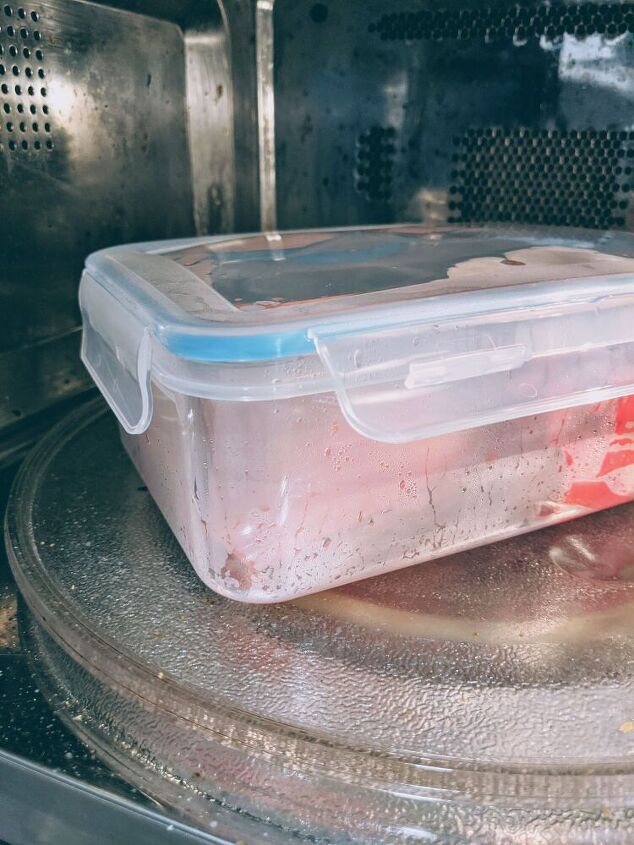
After 2 minutes on full power, the box was steamy and very hot to touch. I left it to cool down for 20 minutes or so, until it was cold enough to touch.
I repeated the same step with the microwave container with the second pillowcase.
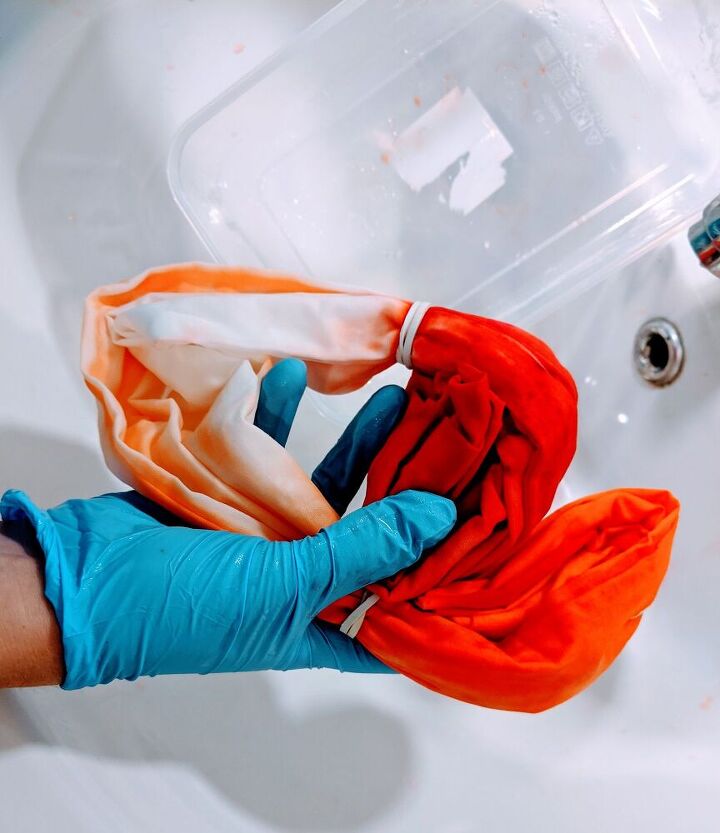
Then, I washed it under running water, removing all the excessive colour,
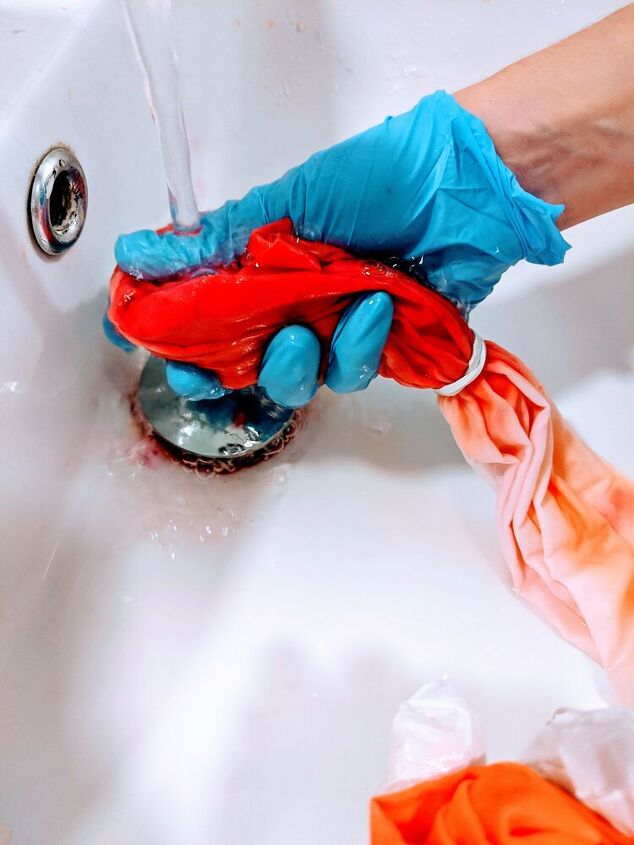
until the water were crystal again.
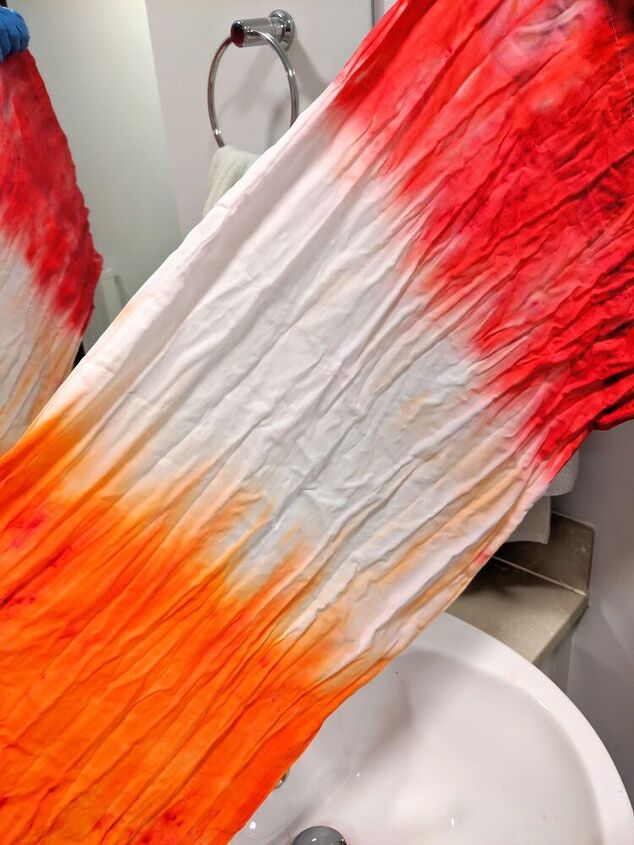
only then I untied the rubber band to admire my creating in under an hour!

I let it dry completely before placing it in the washing machine. It went it for a cold quick cycle, by itself.
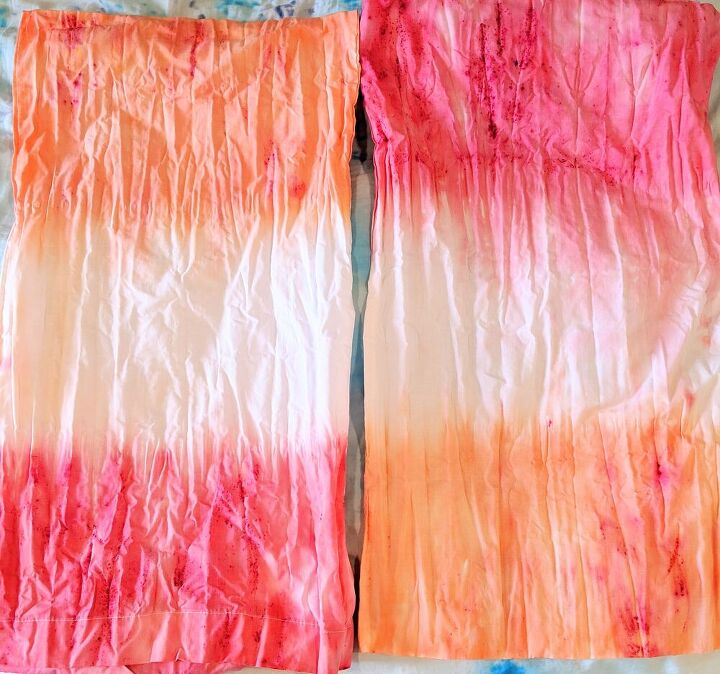
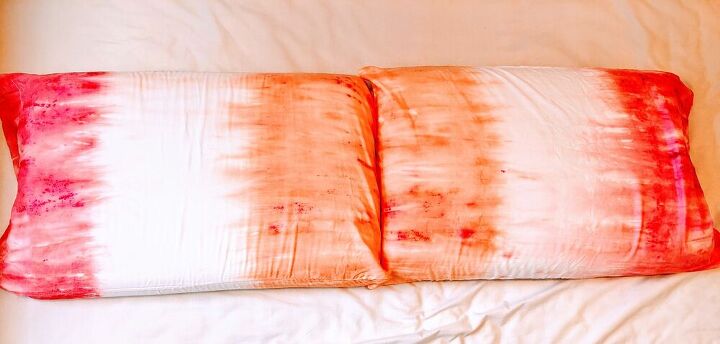
From the washer to the dryer, and this is what came out.
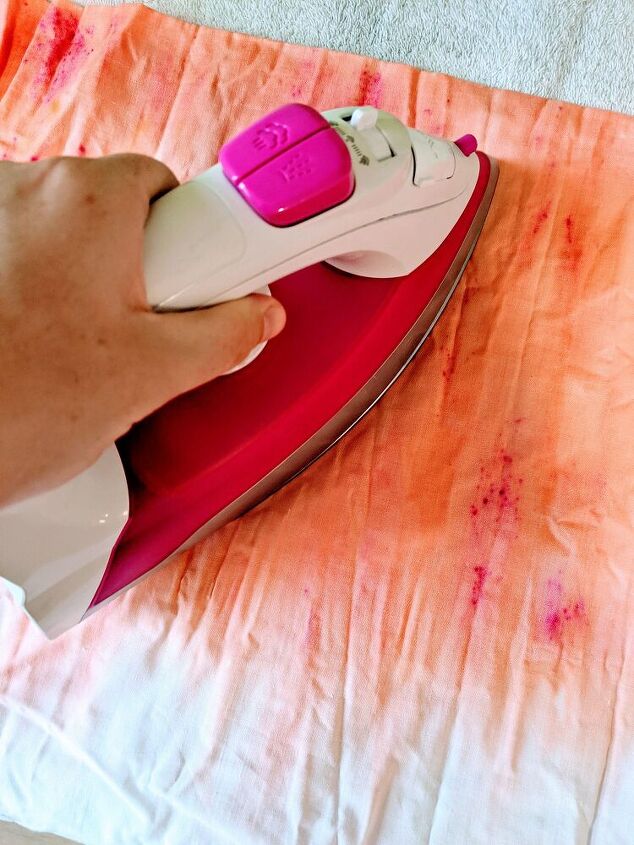
A bit too wrinkled to my taste, so I ironed it before going to sleep...

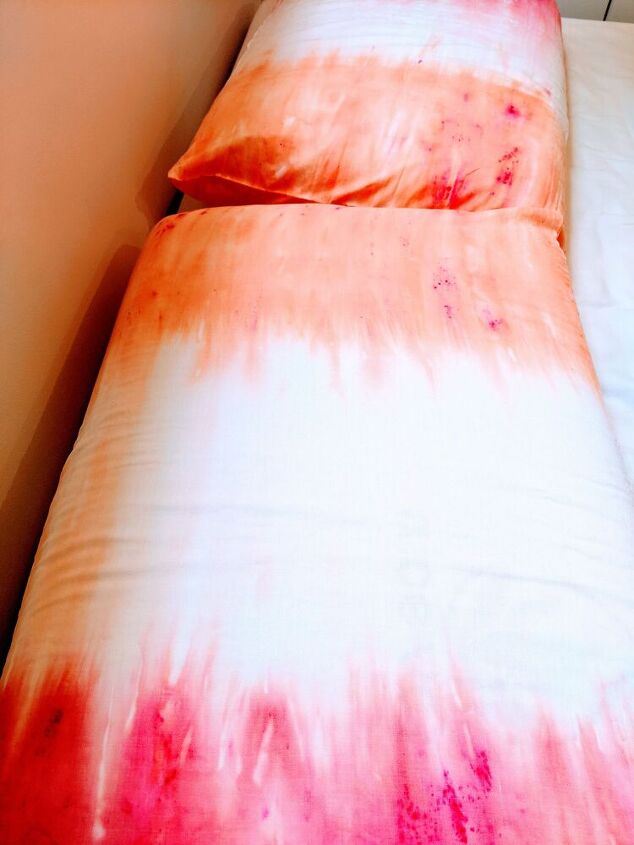
Looking good!
Good night :)
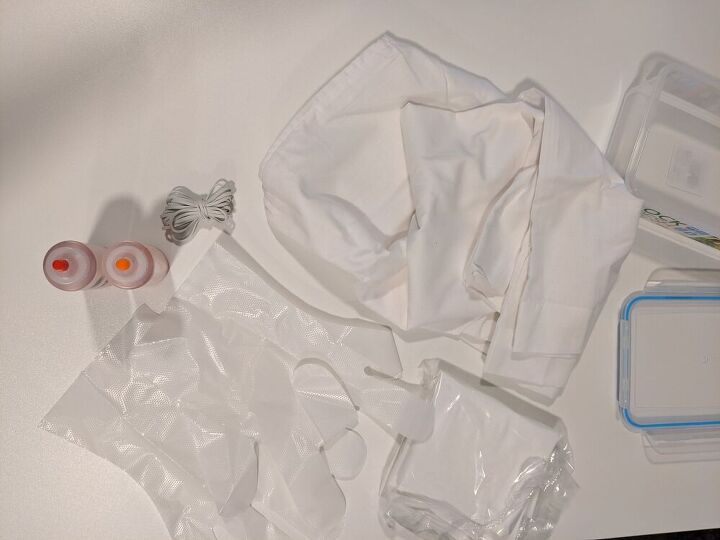
Resources for this project:
See all materials


Comments
Join the conversation
-
Thank you
-
Brilliant!
they look great and the speedy results are fab! Thanks for sharing.


Frequently asked questions
Have a question about this project?
Did you rinse with vinegar (instead of water) before drying to help set the dye in the fabric fibres?
'Just wondering how much color might come out when the pillowcases are laundered?
Would food coloring work..? I don’t have a dryer…would drying outside work..?✌🏼✌🏼