


I Built a Sign Post!

This is a simple, fun project that I think you'll like! I have 3 kids and 3 grandkids. Only one of my kids lives in the area, the other two and their families live far, far away! I spend my time traveling northeast to Canada and southwest to California so I can snuggle my kids and grandkids as often as possible.With the stay-at-home order due to the Corona Virus, I have been spending a lot of time this Summer in the backyard working on several projects. We decided to convert the back garden area into which hubby refers to as a 'park'. While I was working on the park, I thought it would be fun to add a signpost that would display the location of where each of the kids lives and how many miles it is to 'get to them'.
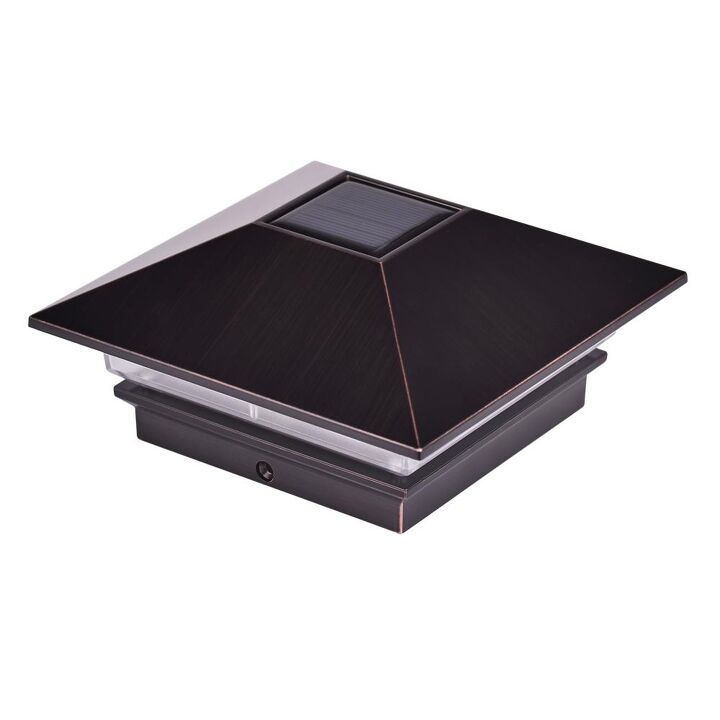
The first item I bought was a solar lamp that is made to fit on the top of a 4 x 4 beam. I bought it at Home Depot for $10 and brought it home.
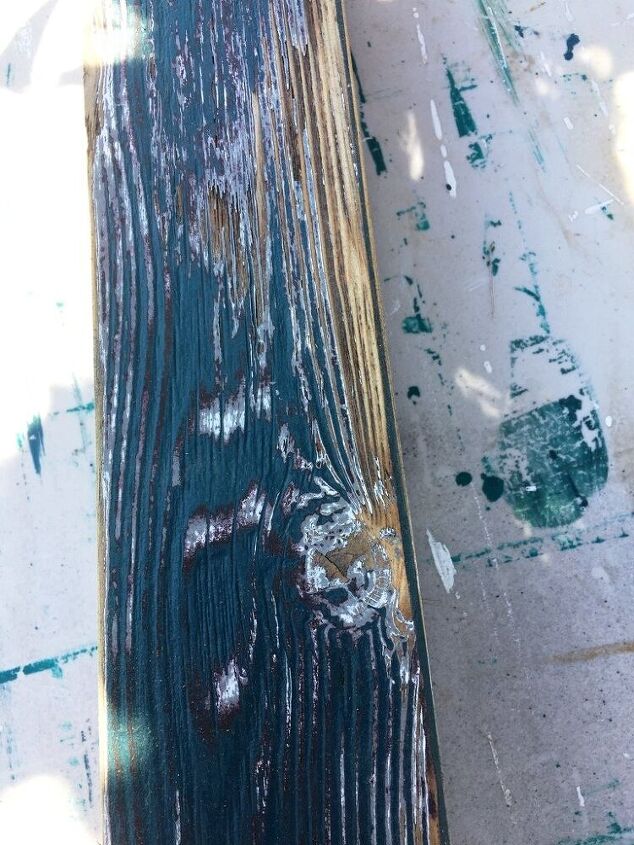
I thought I had a tall 4 x 4, but did not. Before heading into town to buy one, I looked at my wood supply and found that I had two 8' 2 x 4's. I decided to use those and attach them together to make a 4 x 4.We recently had repairs done to the deck. One of the 2 x 4's was one that had to be replaced on our deck. The board was painted so I decided to sand it a bit and then paint both boards. As I sanded, I was able to see all the different colors the board had been over the years: white, grey, burgundy, and teal. I decided to leave it in the sanded state to preserve the 'history' of all the work I've done on the deck and then try to match the new board to it.
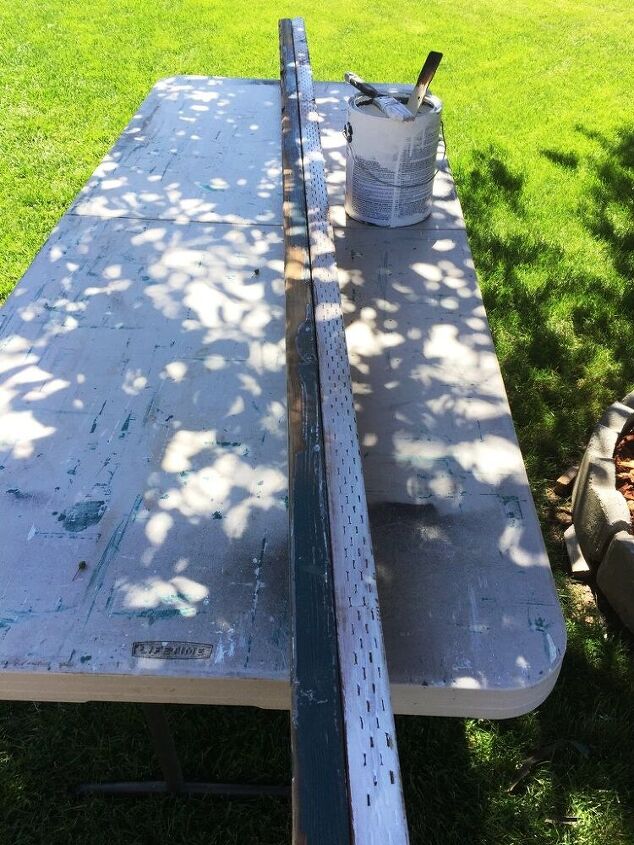
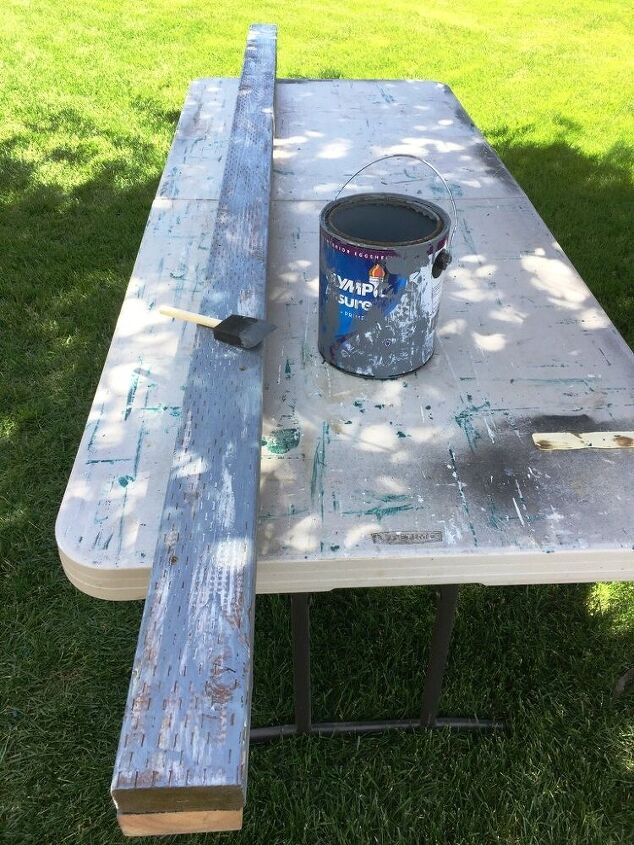
I gave the new board a coat of Primer. I then used brass screws to attach the two boards together.
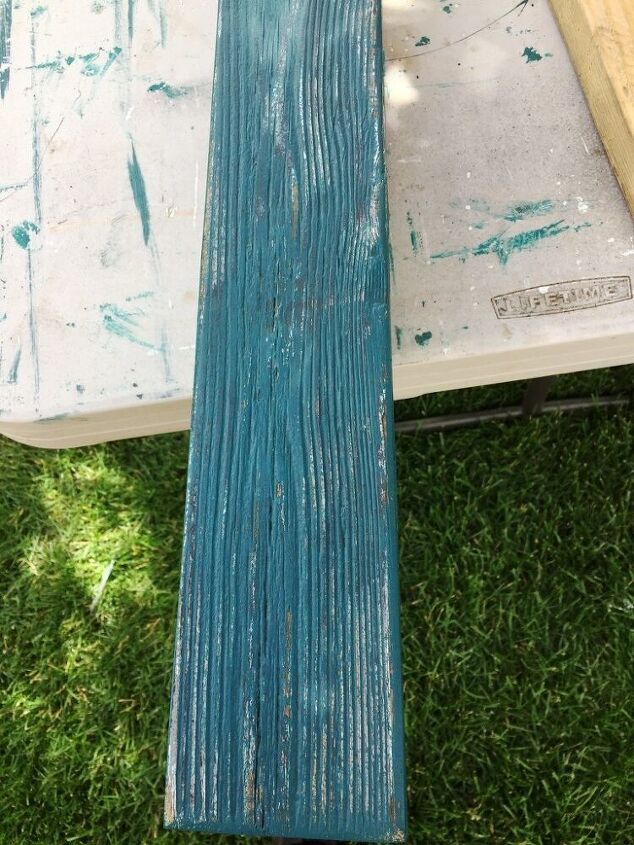
After the boards were now 'one', I started adding color to the new board. I began with grey, then added burgundy and finally teal; allowing the paint to dry between coats.
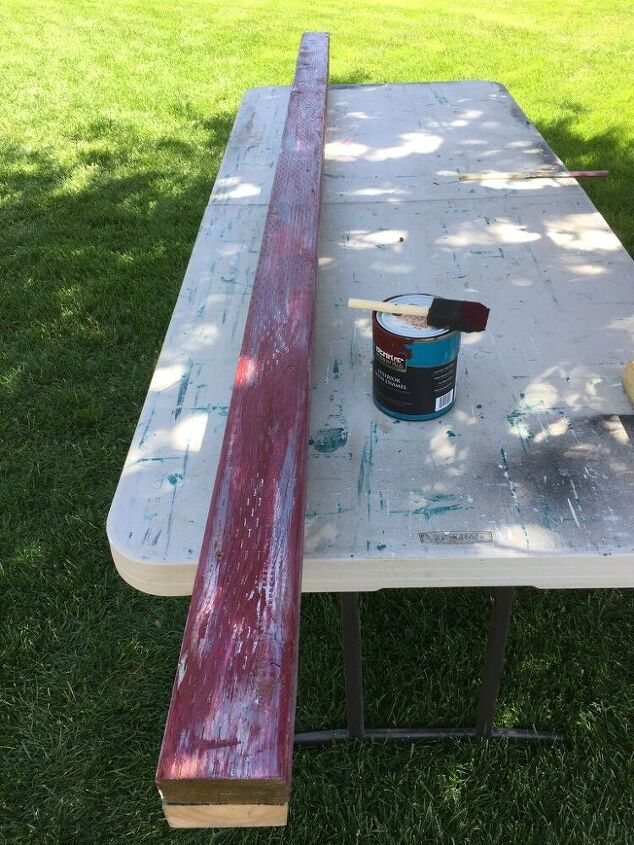
I didn't do a solid coat of paint each time, just brushed it on in sections as you can see in the pics.
I still had all the paints/solid stain on hand from when I used them on the deck over the years.
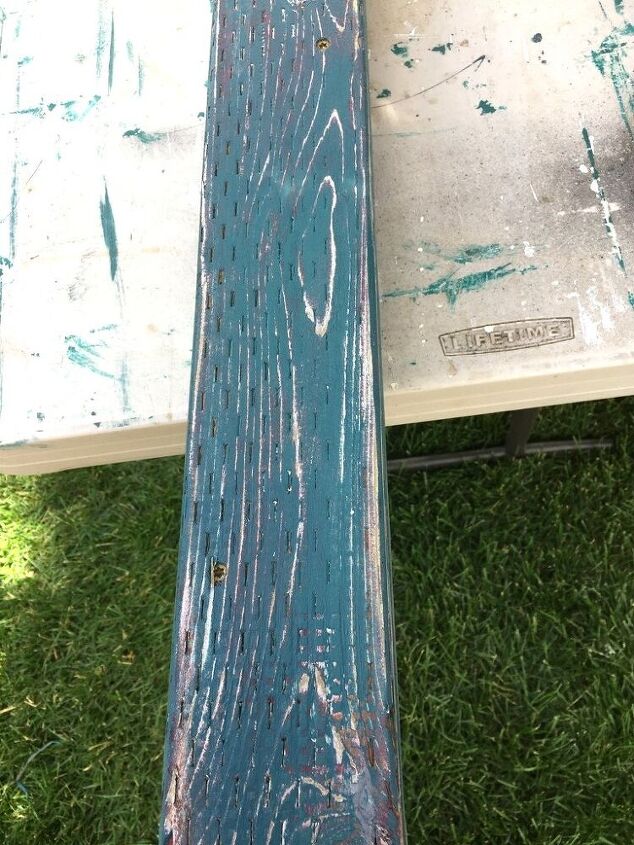
After the teal coat of paint was dry, I lightly sanded it with my Makita 5" orbital sander using a sandpaper grit of 220. I was pleased that it looked so similar to the old deck board!
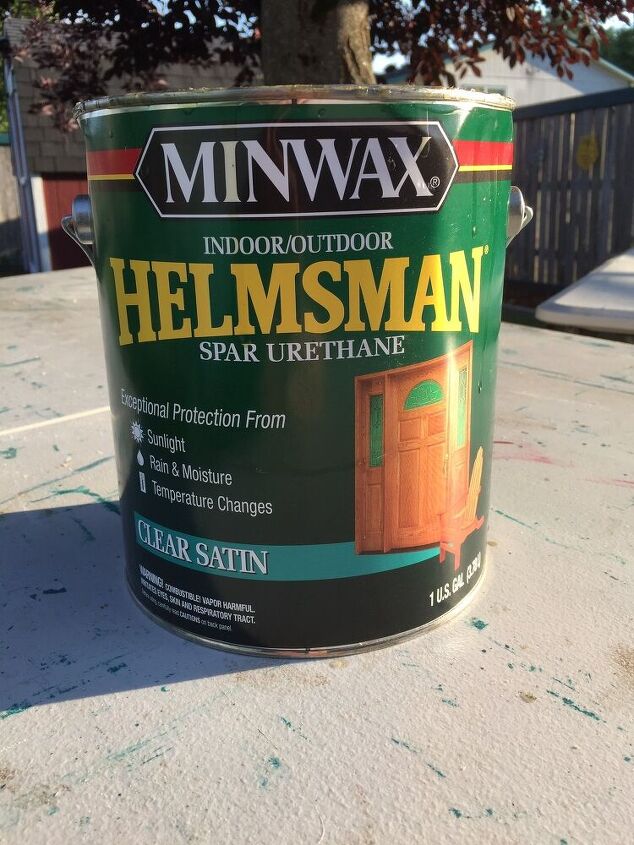
The next step was to seal the paint. Using an oil-based finish by Minwax, I brushed on a thin coat on all sides, allowing each to dry before proceeding to the next.When the post dried, I attached the solar light to the top with the screws that came with it. Since I created this '4x4', it was a bit more narrow than a regular 4x4 so I added a little piece of trim under the light so it would fit snugly.
My next step was to secure the post in a bucket that I bought at Walmart for $8. I didn't take a picture of filling the bucket 1/3 of the way with cement because I was doing this by myself. I used Quickrete quick setting cement that I bought it at Habitat for $4.99 a bucket. It dries quickly, which is what I wanted since I was going hold the pole level and perpendicular to the ground while the cement set up.
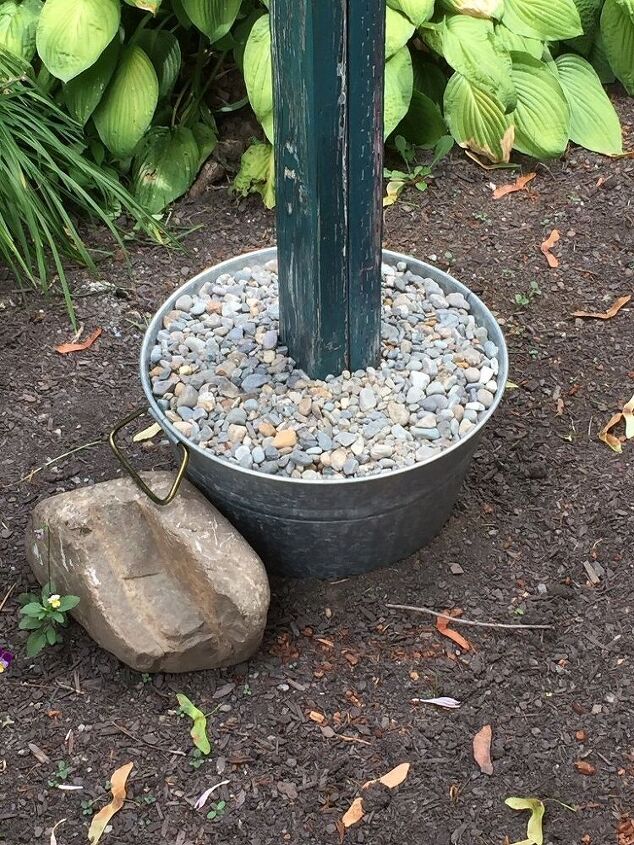
After mixing the cement, I set the pole in the middle of the bucket and scooped the cement up and around the base of the pole, volcano style. Using a small level, I made sure the pole was as level as possible while the cement cured. Once the pole started to feel solid, I propped it up with two pieces of 1 x 2 board that I had brought out to the area with me. When the pole was nice and firmly set in the bucket, I filled it with small pebbles.
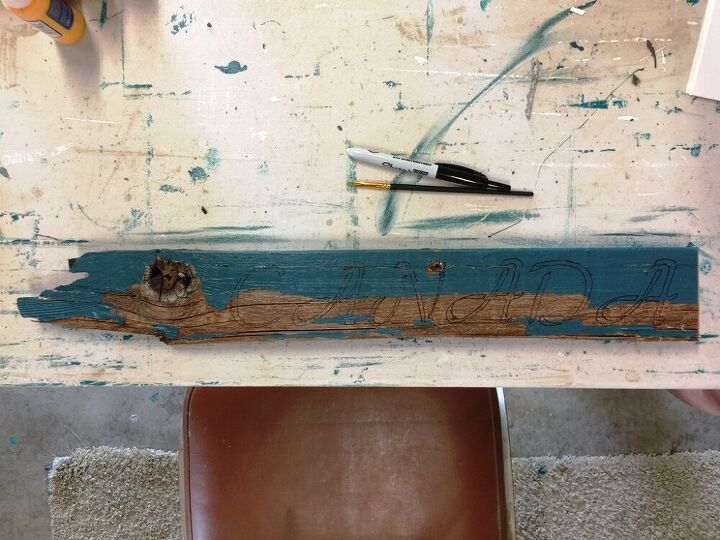
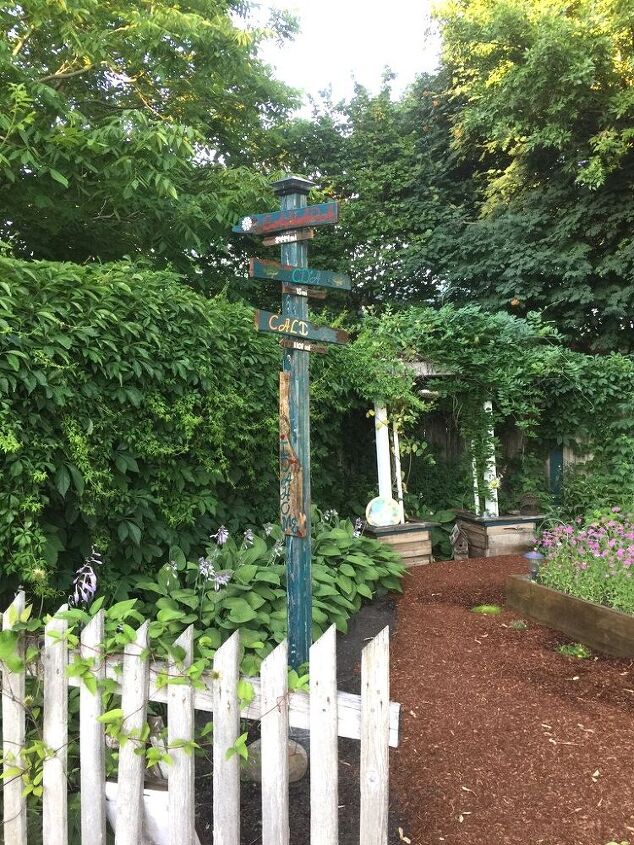
The next step was to create & paint the signs. Using 1x boards that had been removed from the deck, I made three signs: Canada, Cali, CDA (Coeur d'Alene, Idaho). The wood had initially been 1 x 12 but the boards had split when they were removed so the sizes varied.
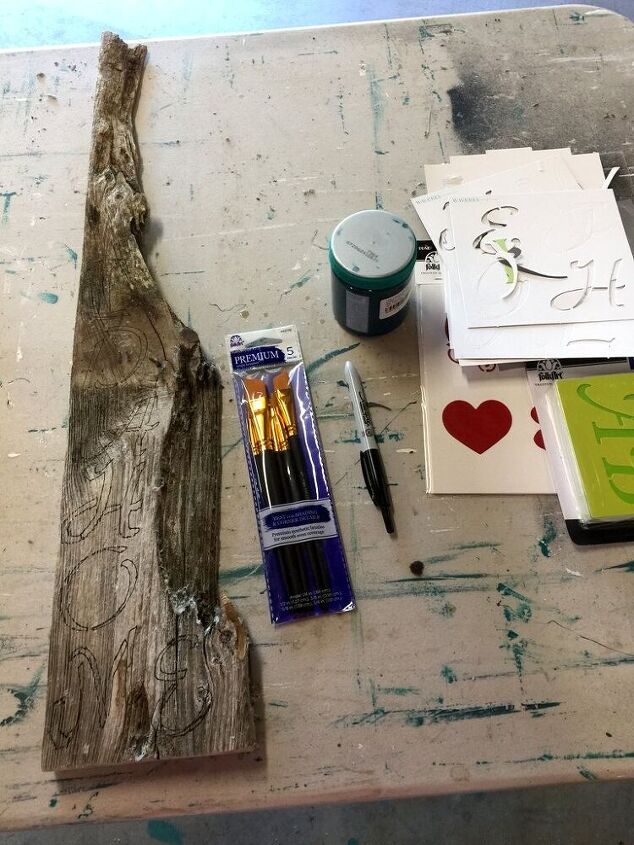
I also made an Idaho sign from a piece of wood that came from our fence when it fell down that just happened to break into the shape of the State of Idaho. I bought stencils to use to make the letters. I traced each letter with a fine point black marker. Using craft and latex paint that I had on hand, I filled in the letters. I now wish I had also purchased lower-case letters, but, oh well.
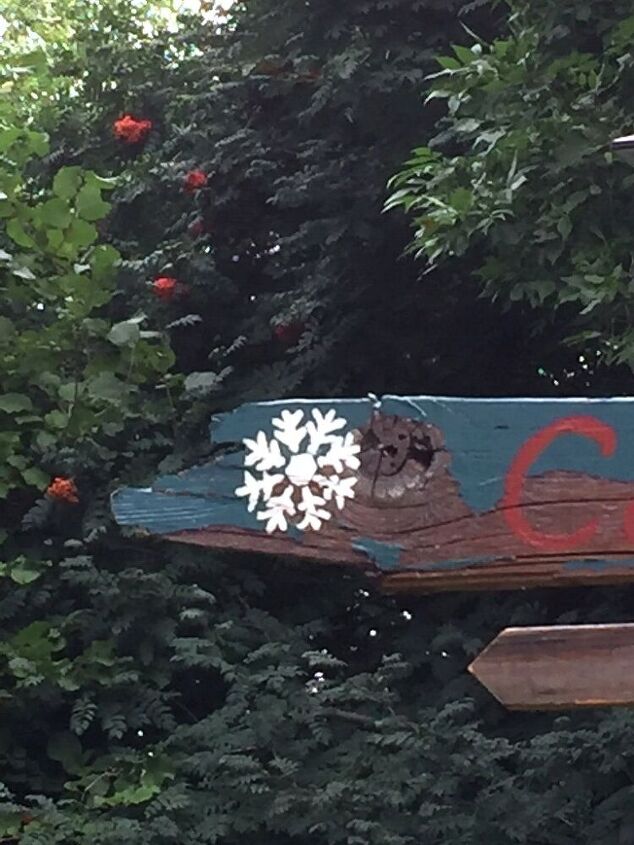
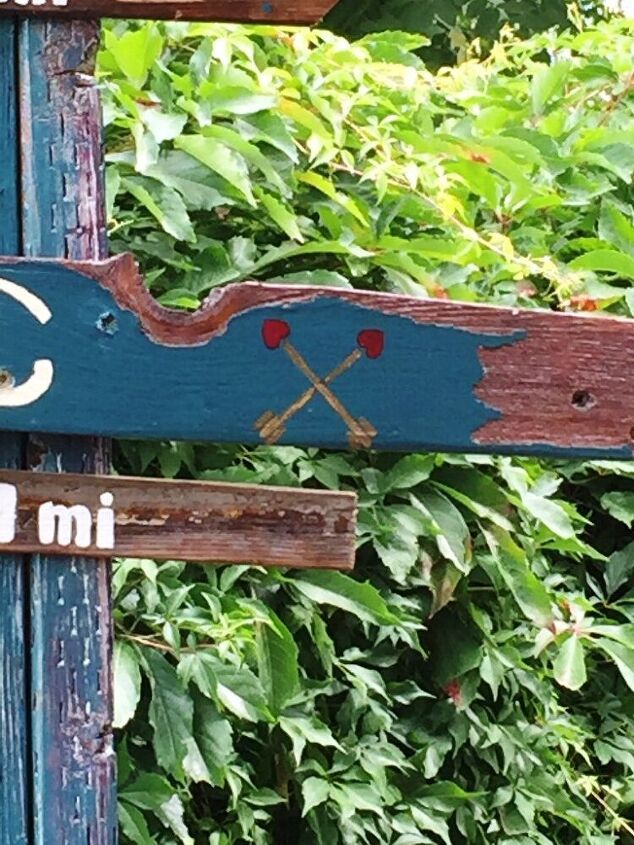
I also used stencils for the snowflake on the Canada sign and the arrows on the Cali sign.

For the fish on the CDA sign, I printed out an image then free-hand colored it.
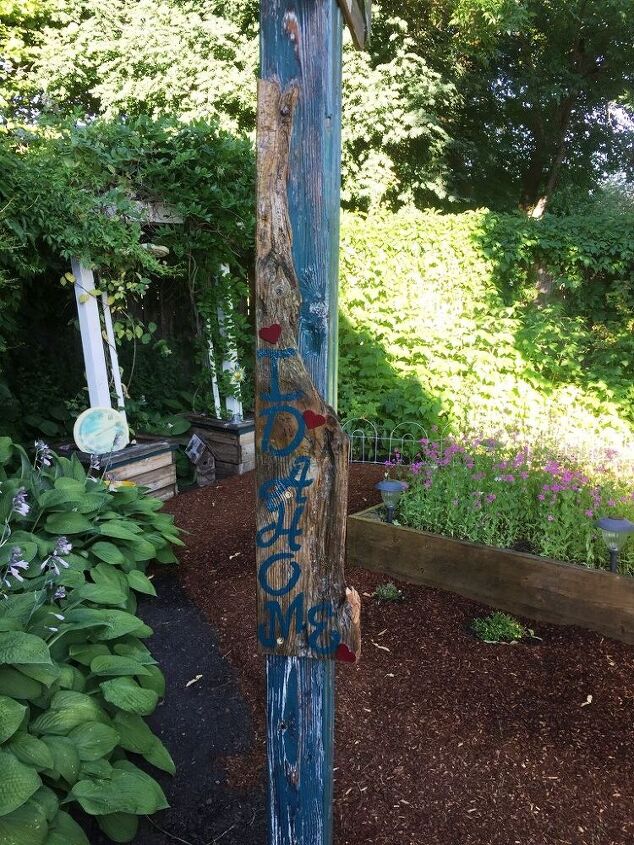
The hearts on the Idaho sign are small wooded pieces that I glued on with Elmer's wood glue. The sign is supposed to say IdahoHome, but looks like Idaho Me....ugh!
Next, I made little arrows from pieces of wood in my supply of trim and things. I used the miter saw to cut off two pieces from the end of each board.
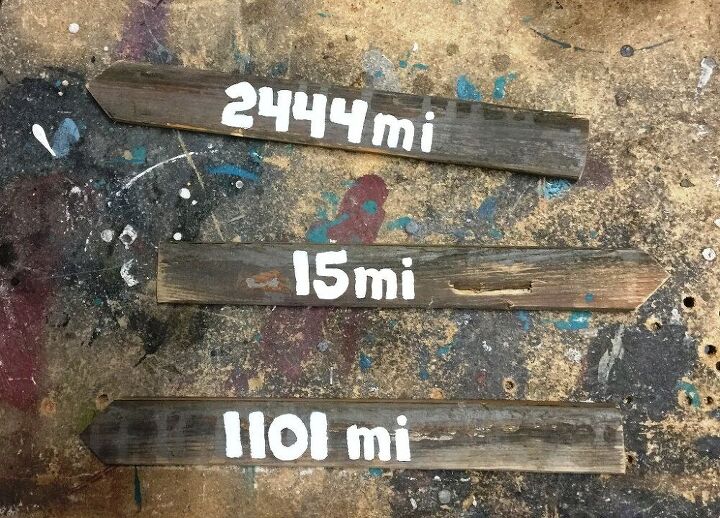
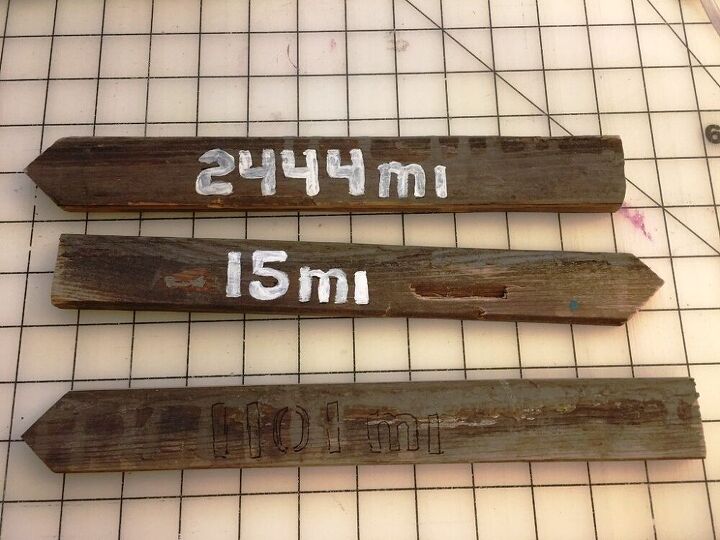
I didn't buy any number stencils, so I used the letter ones to make the numbers. It was a bit tricky, but worked out. For instance, the 4's were from H's. When all the signs and arrows were dry, to protect the wood from the weather, I applied a coat of the Minwax oil-based sealer.
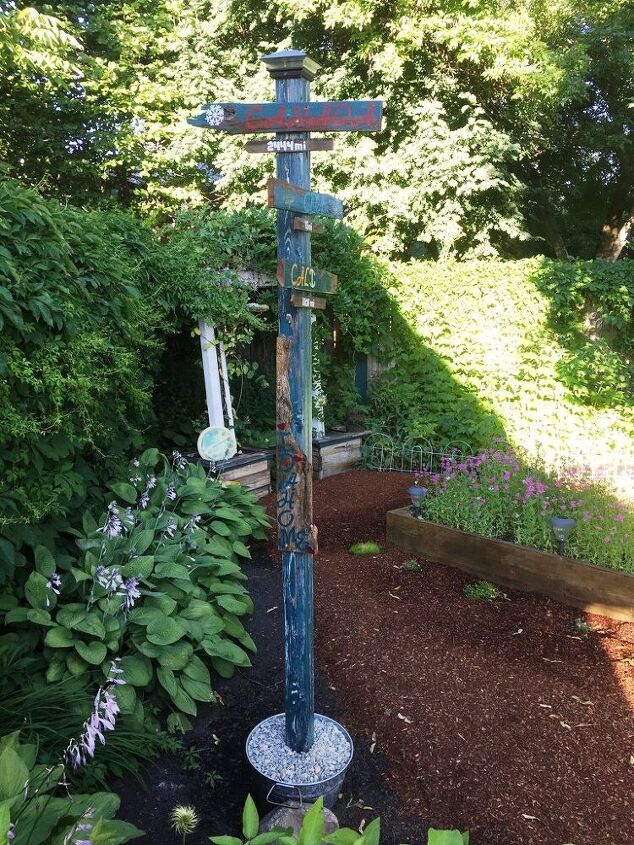
After the sealer was dry, I used brass screws to attach each sign to the post. I had to use a step stool to reach the place where Canada and CDA signs would go. Since the arrows are thin and I thought the wood might split if I used screws, I used my nail/brad gun instead to attach those. Both of my sons said I should have used kilometers for the Canada one - I may add one of those arrows to the post at some point.
Since I had the wood, tools, cement, paint & sealer, the cost of this post came down to the purchase of the solar light and bucket = $20
- Cut wood to size for location signs & arrows
- Using stencils, outline symbols, letters & numbers
- You can also free-hand these
- Using a small artist brush, fill in the outlines with paint
- Paint post if wanted
- Attach solar light to the top of the post
- Install your post in a container using cement
- Fill the bucket/container with rocks
- Attach signs and arrows to your post using screws and/or nails
Resources for this project:
See all materials


Comments
Join the conversation
-
I love this idea, as I have a son in Washington State, and a daughter soon to move to South Dakota. Definitely will do this!!


Frequently asked questions
Have a question about this project?