


DIY Vintage Apothecary Bottles
Ok friends, it's time for a fun DIY, Vintage Apothecary Bottles! Today I am so excited to be sharing these easy, vintage inspired apothecary bottles. Read more about this and other DIY projects on the blog!

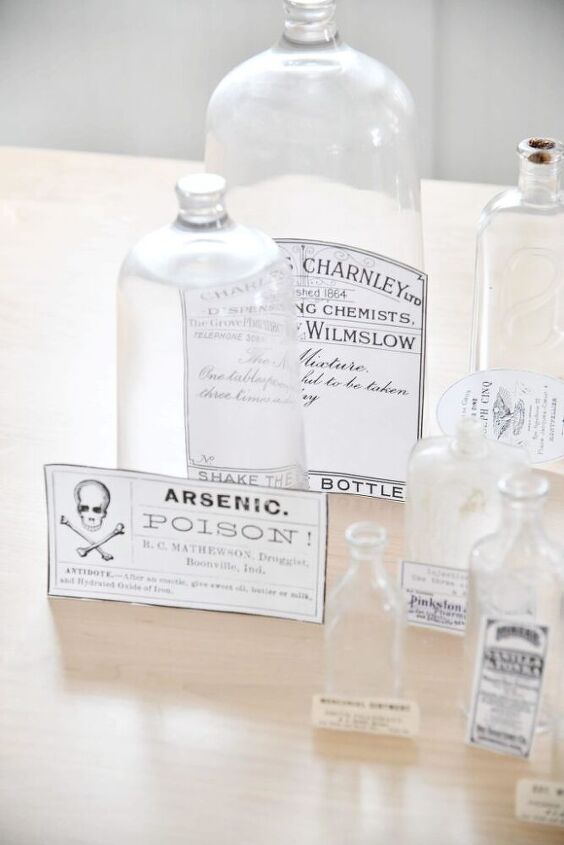
I just love a good vintage medicine bottle. However, they can be very hard to find, or very expensive. So I thought why not make my own?
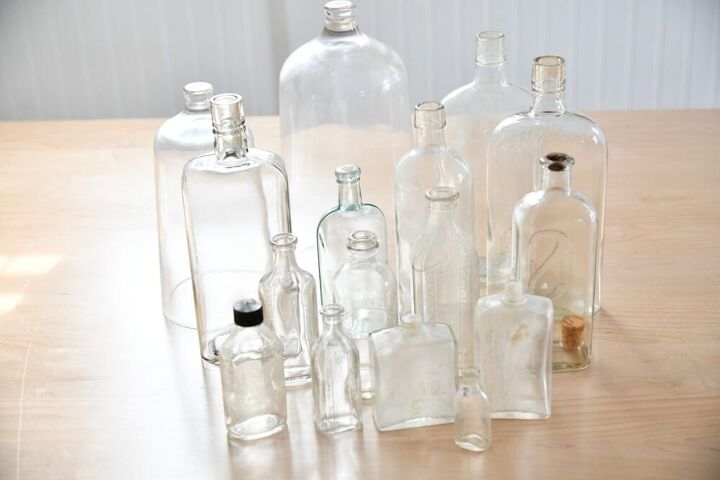
You can grab vintage bottles from a local antique or thrift store, or even head too Michaels and grab new bottles that actually look like vintage ones.
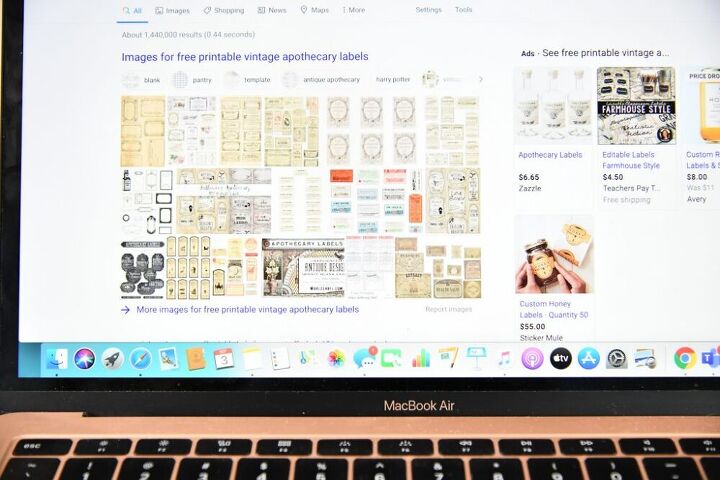
You can find a ton of Vintage Medicine Labels on Etsy to purchase, or you can look on The Graphics Fairy for free ones.
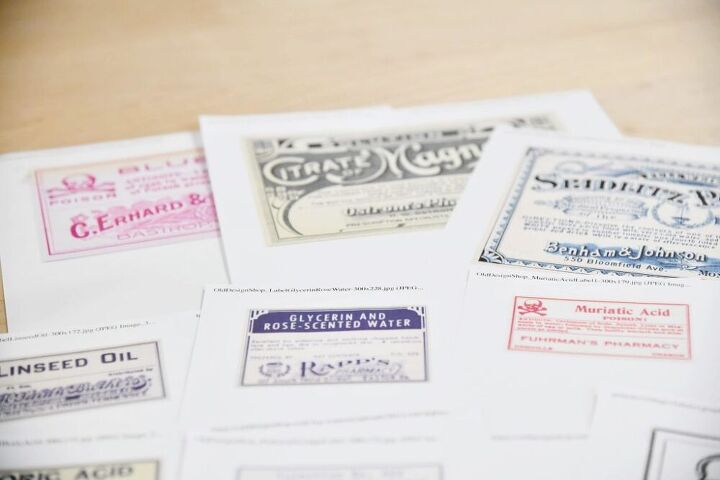
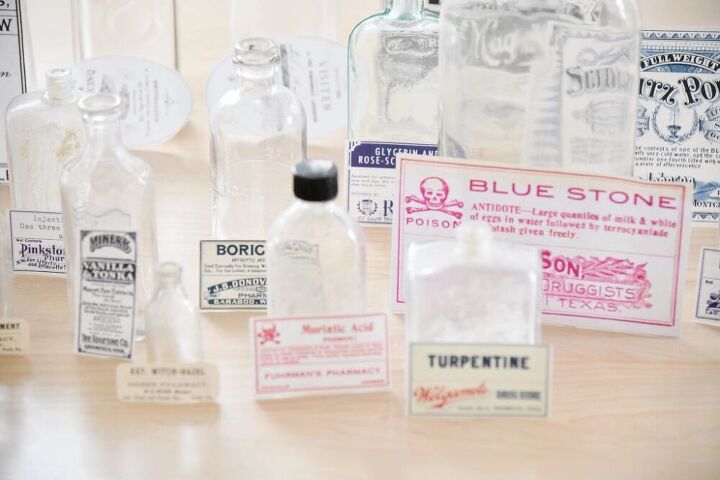
Be sure to either print your labels in black and white or color depending on the look you are going for. I chose both just to see what end result looked like.
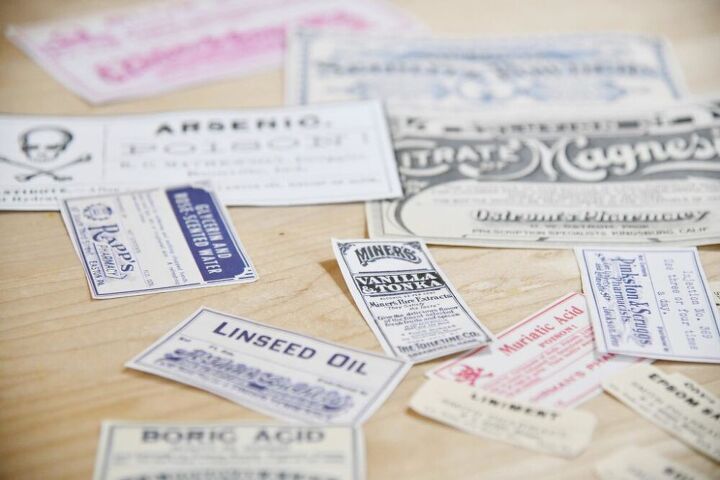
I cut my labels down as small as I could, since most of my bottles were a smaller size.
Now that all of your labels are cut out, time to match them with their potential bottle.
It is ok if your. label is a little wider than your bottle. You can always wrap it around the side of the bottle.
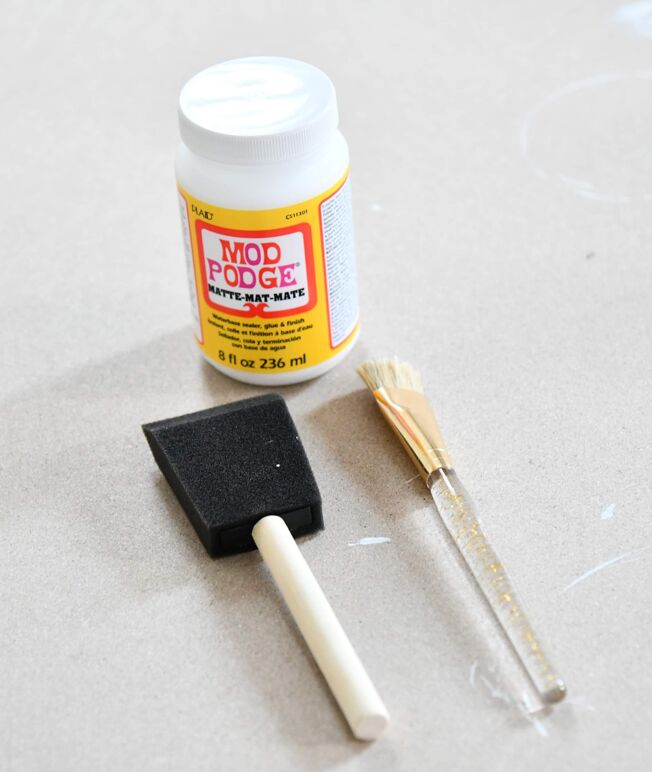
You want to make sure you have a few paint brushed, Mod Podge, and water handy.
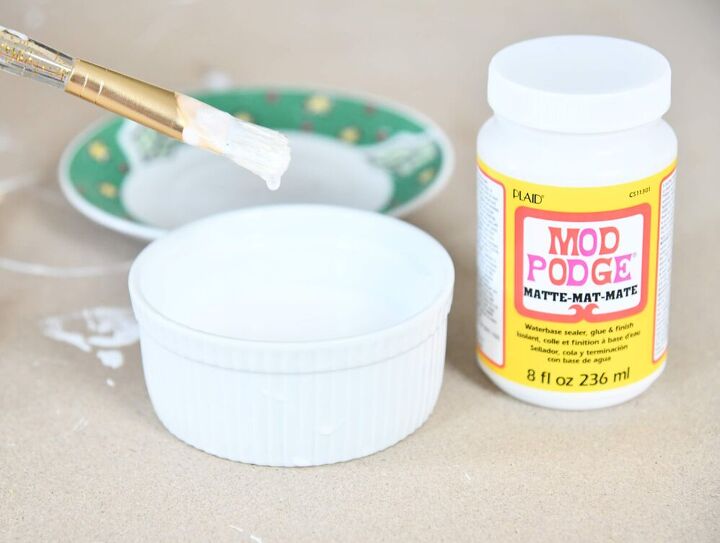
You want to have a mixture containing 3/4 Mod Podge and 1/4 water. We want the glue mixture to be slightly thinner than a glue texture.
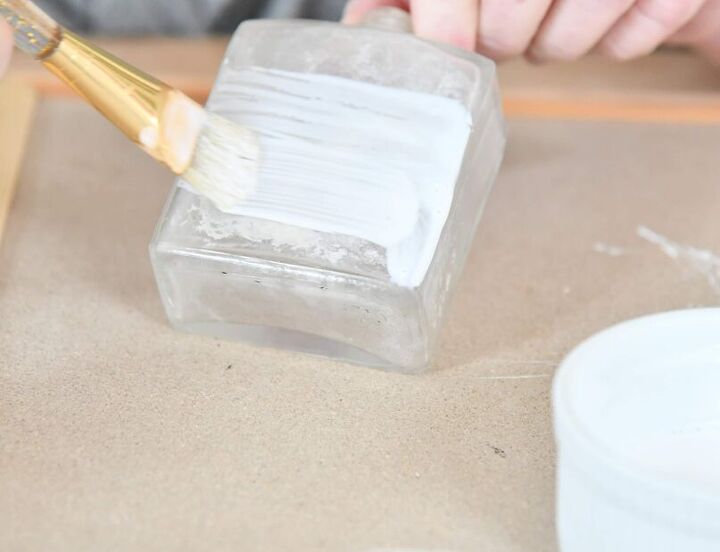
Depending on where you want to put your label, you will want to add the glue mixture to cover that space well. Be sure to go a little larger then the label size.
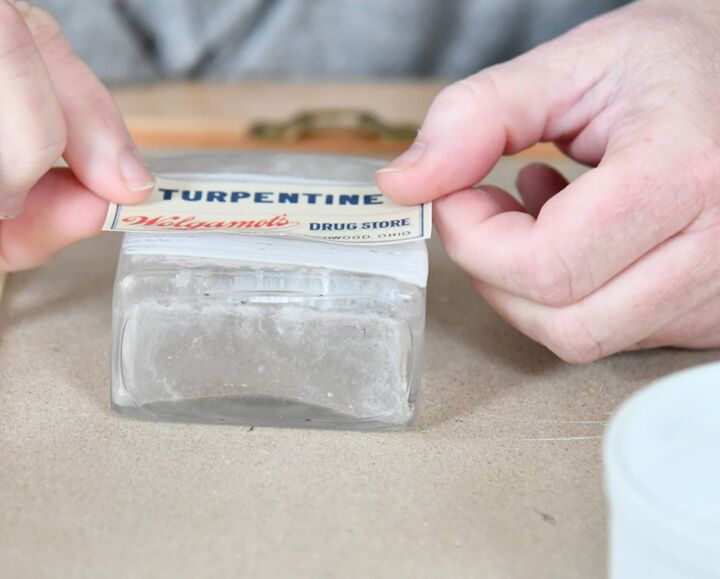
At this point you will want to place the label on the bottle.
Press down firmly and run your finger across the bottle to remove any bubbles or raised parts of the paper. You can use your finger to move the label until its is placed to your liking.
Now it is time to seal the label to the bottle. Grab more of your glue mixture and run another layer over the top of the label.
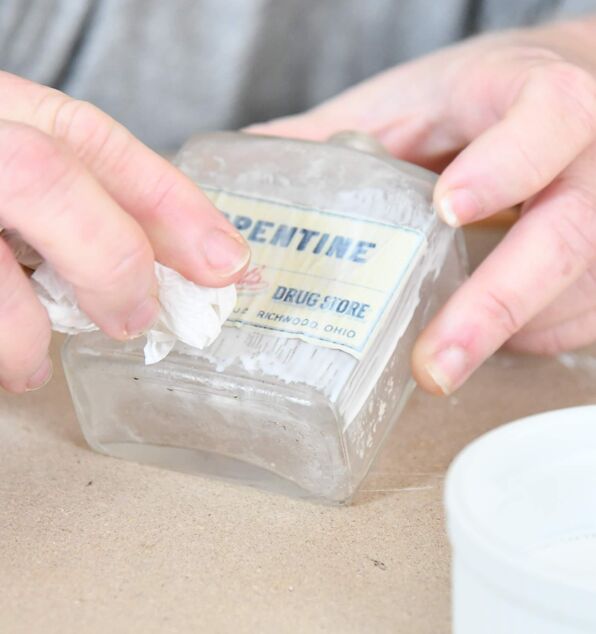
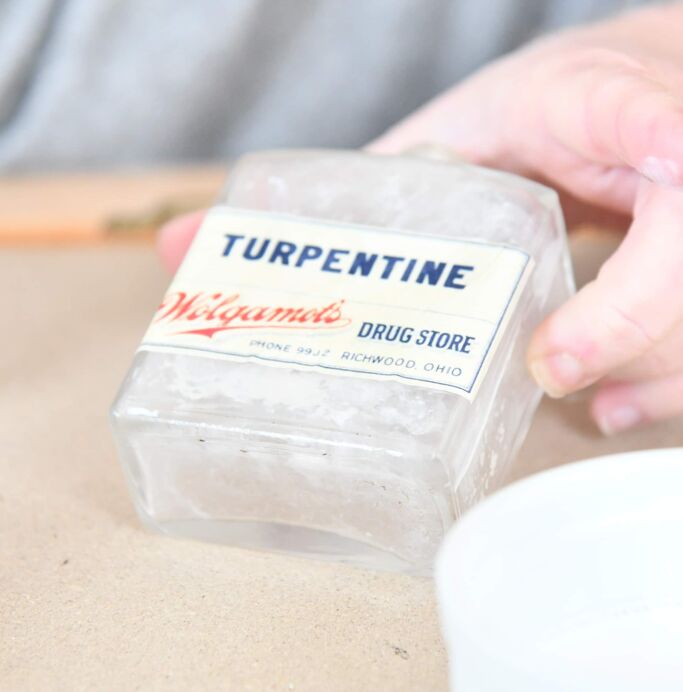
Grab a slightly damp paper towel, and wipe off any excess glue. This will dry clear so it is ok if there is a slight film over the bottle and label. The cloudy film will actually make the bottle look a little more authentically vintage.
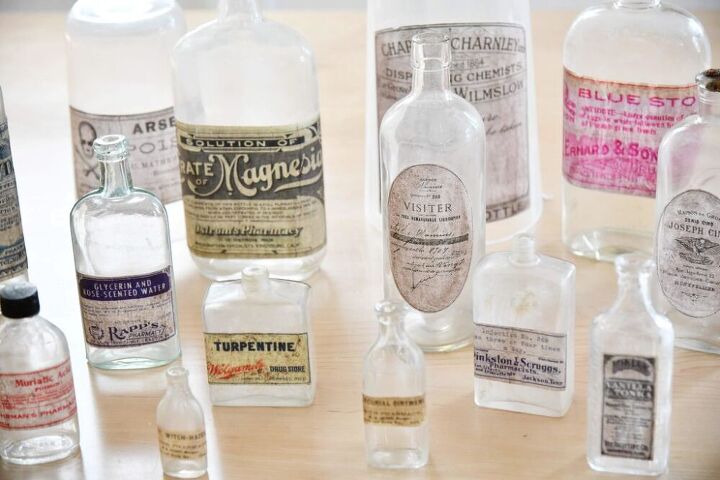
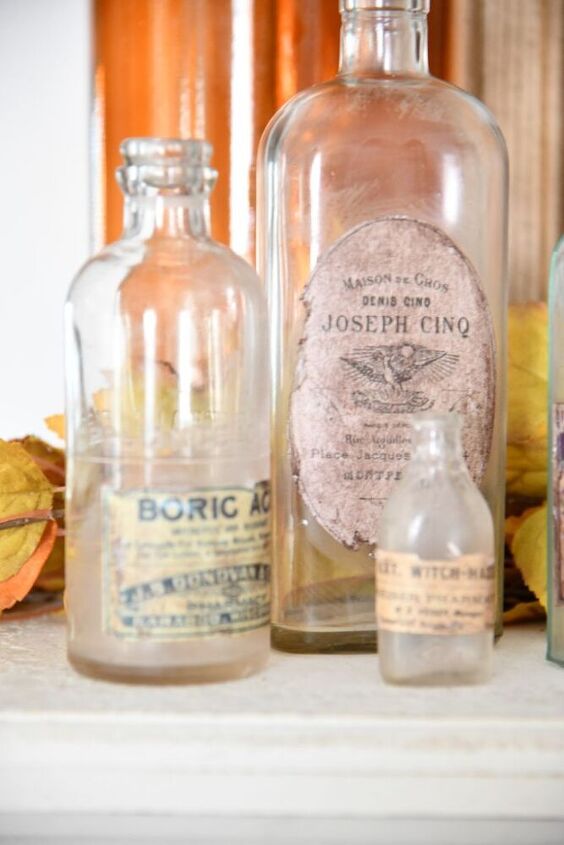
These replica vintage bottles are already looking amazing. Just a few more steps and this DIY will be finished. Let the labels completely dry before moving on to the next step.
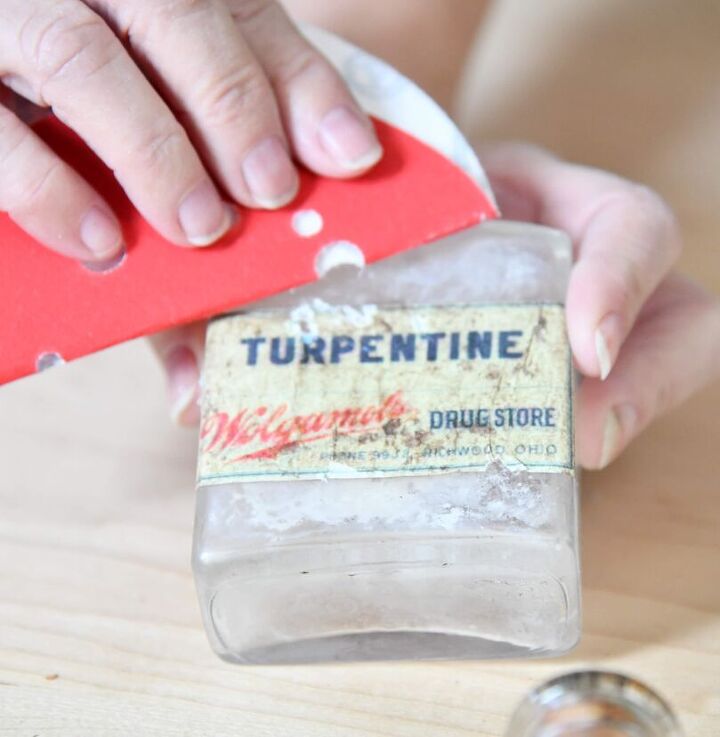
At this point, we really want the bottles to look as authentic as possible. How do we make them have that vintage feel? Well we need to rough them up of course. Once the glue mixture has dried completely, you want to take a piece of sandpaper and run it along the edges of the label.

You can use a knife or anything you think will make the label look worn. We ran a knife across a few areas to give the feel that the label was tearing apart.
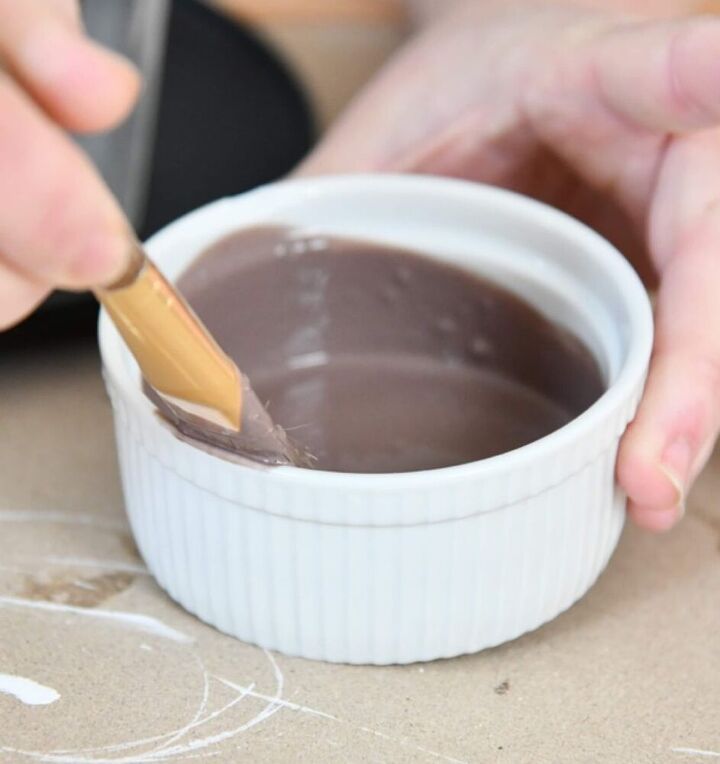
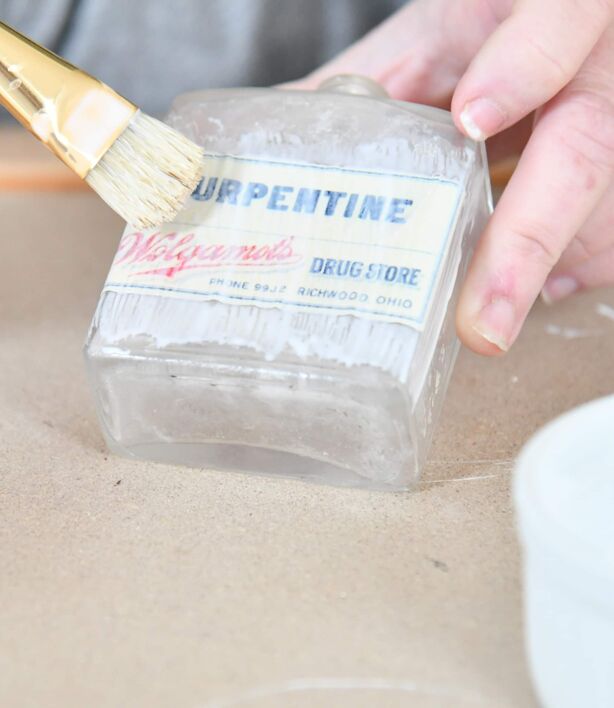
So this step is optional, however recommended. Take some brown paint, and add a touch of water to it. You don't want it super dark, but still have a slightly water down look.

Once your brown paint and water have been mixed, add a touch of glue to the mixture.
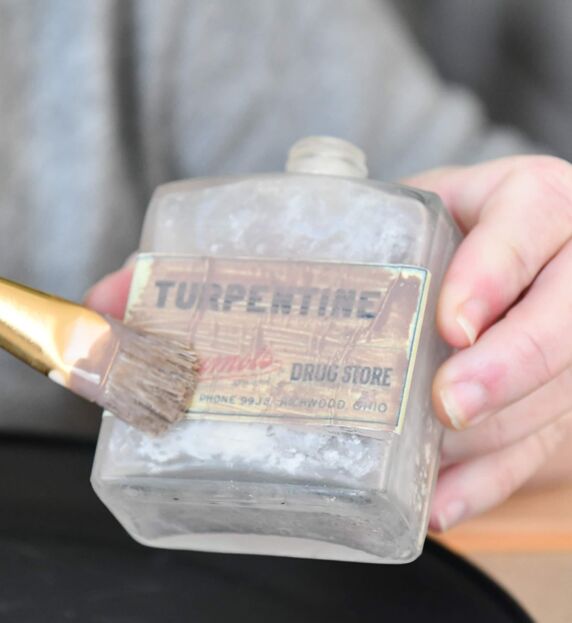
Take a paint brush and run the paint mixture over the label and bottle. This will give the appearance that your bottle has aged over the years, and maybe in not the best of conditions. Wipe off excess paint with a damp cloth or paper towel, and allow to dry,
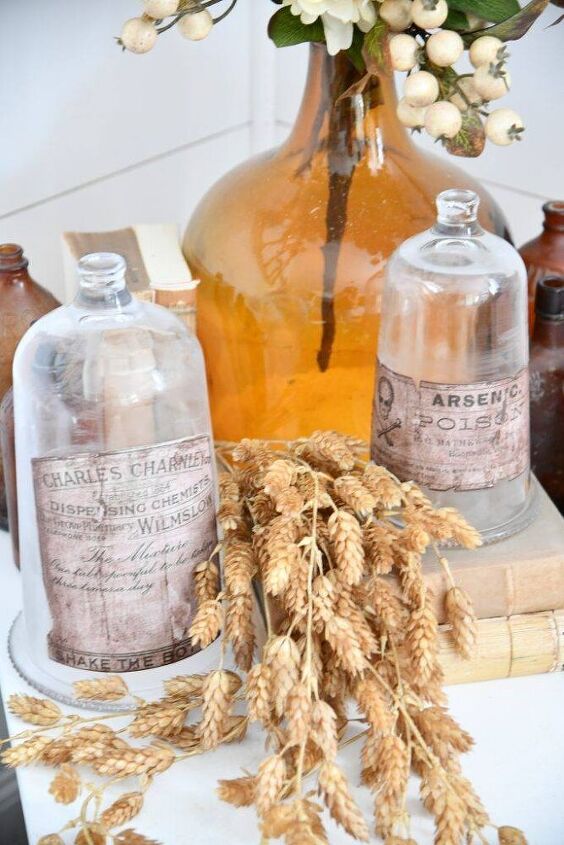
You can even use cloche's to create a fun fall or Halloween bottle. I plan to dill these with fake bugs for Halloween.

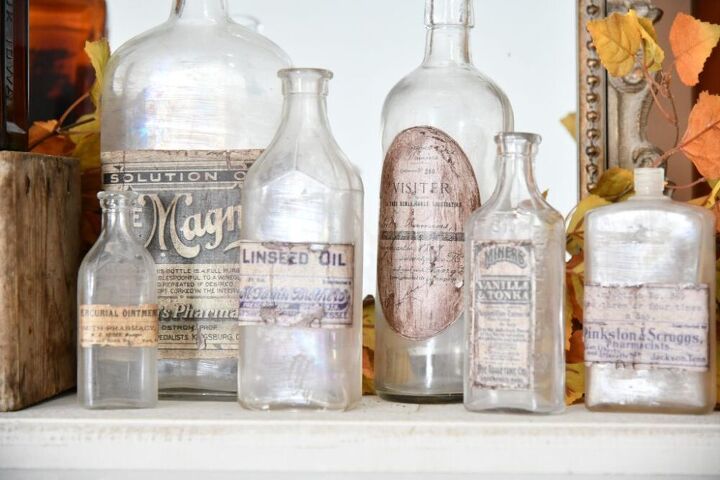
This is such a fun and easy and inexpensive DIY. I can't wait to make more of these DIY Vintage Apothecary Bottles
Resources for this project:
See all materials


Comments
Join the conversation
-
Amazing! Thank you so much for the wonderful tutorial!
-
The year after moving into my 1929 Craftsman house, we dug up a large portion of the front yard, removing the grass. I wanted to sift out the tons of rocks to prepare it for a flower garden. Lo, and behold, we found many of these old medicinal bottles in all sizes. This is a great idea for making them look even better. Thanks for sharing your project.


Frequently asked questions
Have a question about this project?