


How to Make Your Own DIY Vintage Apothecary Jars

Store your cotton balls and Q-tips in style with these DIY vintage apothecary jars! Using items that you can find at your local dollar store, I assembled adorable rustic apothecary jars for some added storage in my bathroom. This project is so easy to do that I may just end up making more and gifting them to friends and family! Similar apothecary jars can sell for upwards of $50 at high end home goods stores, but you can have your own for under $10! Follow my step-by-step tutorial below to start making them ASAP!
Tools and Materials:
- Glass jars with lids
- Fusion mineral paint
- Chippy brush
- Wood rounds
- Wooden candlesticks
- Sand paper
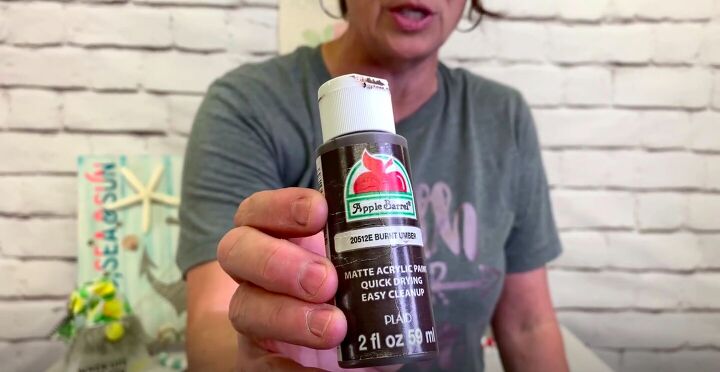
- Paint
- Gloves
- Baby wipe
- Titebond wood molding glue
- Denatured alcohol
- Blue shop cloth
- Two towels
- Decor transfers
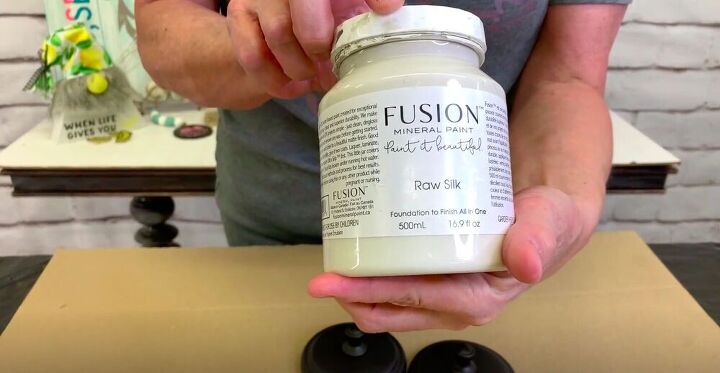
To get started I painted the lids of the jars. I didn’t want to get full coverage, just to make it look a little aged and rustic, so I chose to dry brush. When dry brushing, make sure to wipe most of the paint off of the brush before you paint.
I love working with this paint because there’s a top coat built into it and I don’t need to seal it once I’m done painting.
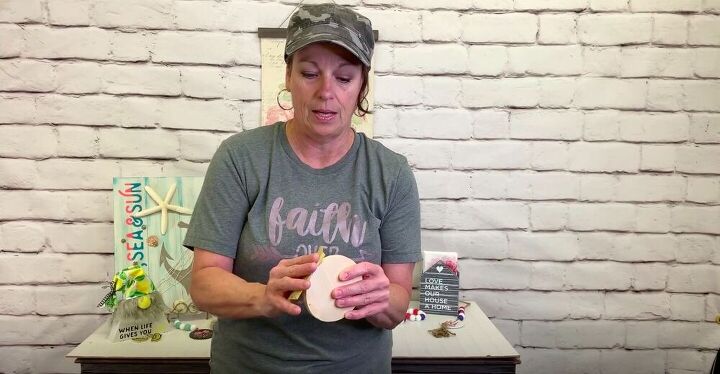
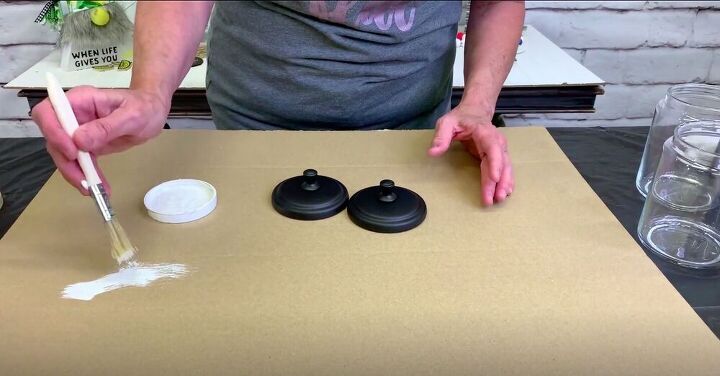
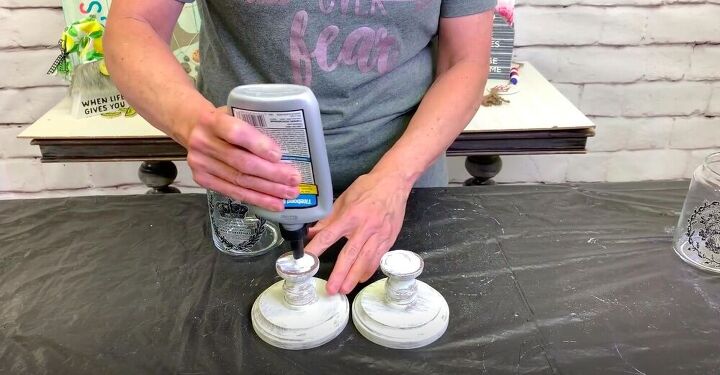
I gave the wood rounds and candlesticks a quick sanding. I just wanted to file down any burrs or rough spots on the wood. It doesn’t have to be perfect, but I didn’t want to run the risk of getting a splinter when I went to grab a cotton ball.
Then I used a tack cloth to get rid of any residue left behind from sanding.
I added a dollop of paint to the surface of the wooden round and spread it around using a baby wipe. This creates a great faux stained look without the odor of a stain.
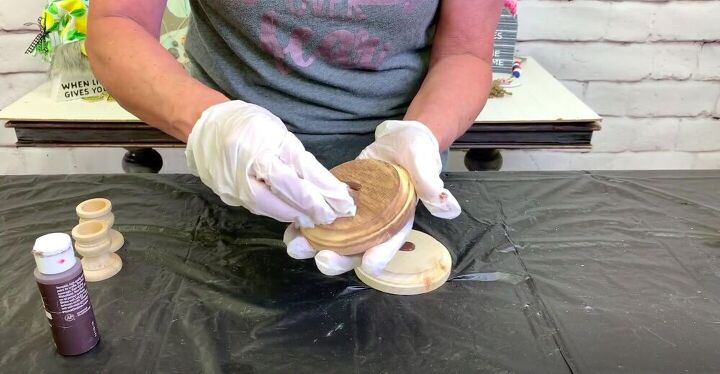
The dry time is also super quick, so it’s a great solution to get the look of a stain without all of the hassle. I set the rounds aside to dry and repeated the process with the wooden candlesticks.
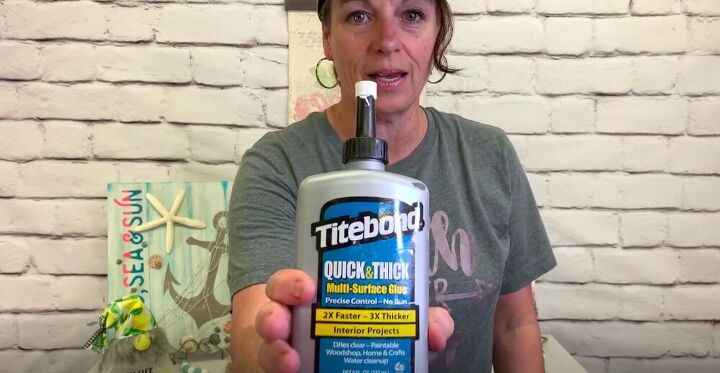
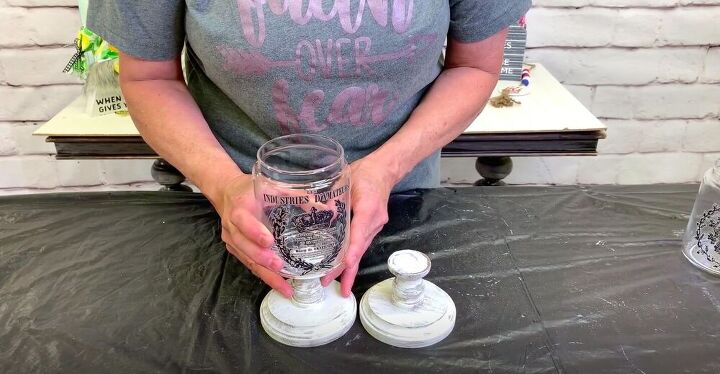
I applied some Titebond wood molding glue to the rim of the candlestick and glued it onto the bottom of the wooden round. I love this glue and use it in many of my projects. It grabs very quickly so I don’t need to sit and hold them together for a long time at all.
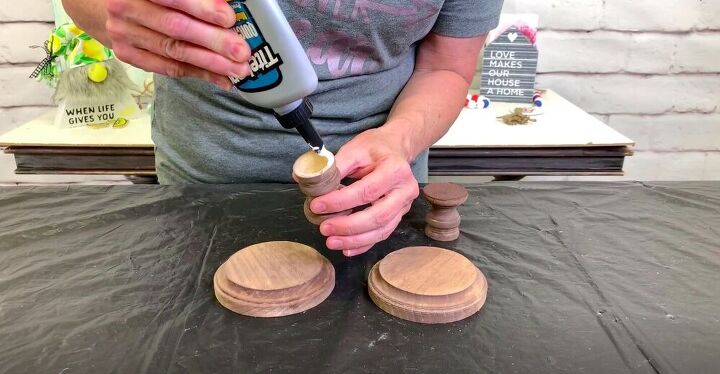
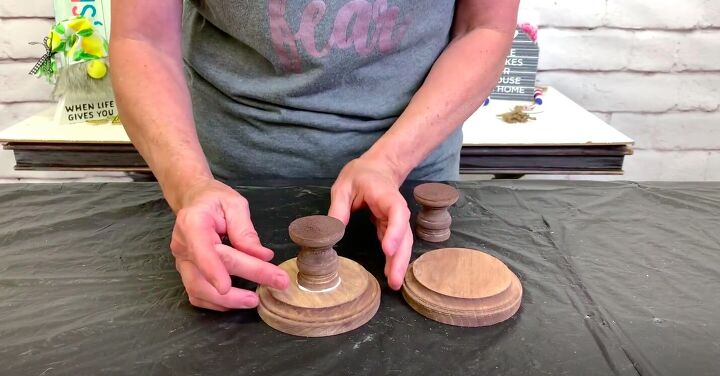
Make sure to wipe away any excess glue with a baby wipe. Then I let them fully dry.
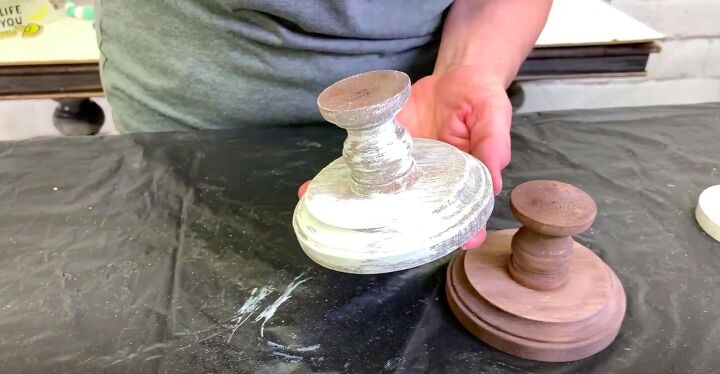
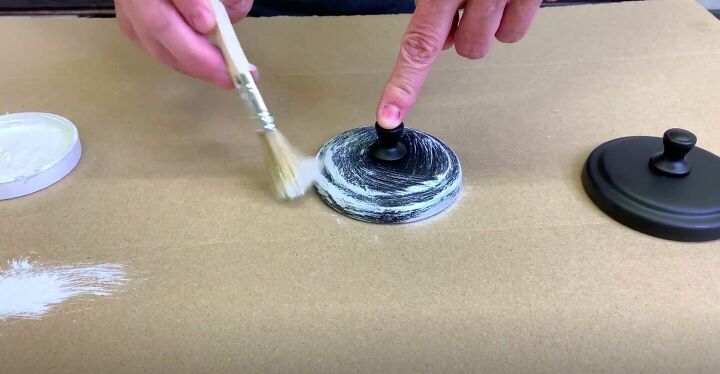
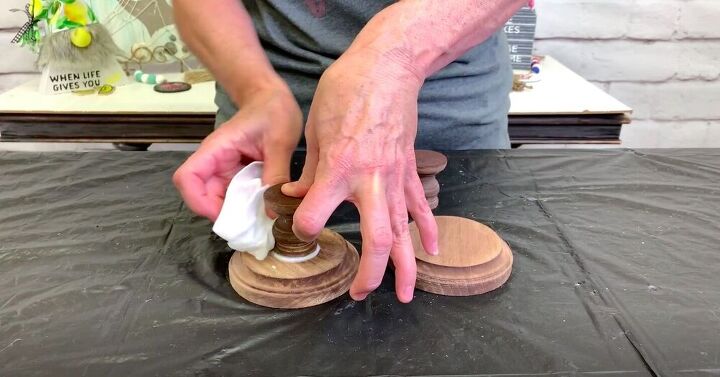
Next I dry brushed the bases I had just created. I used a chippy brush which works very well with dry brushing.
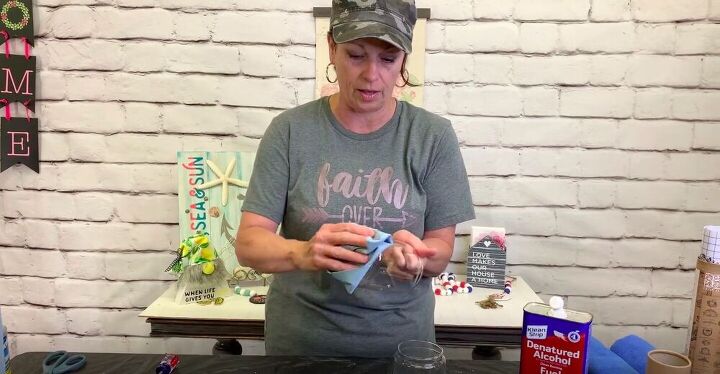
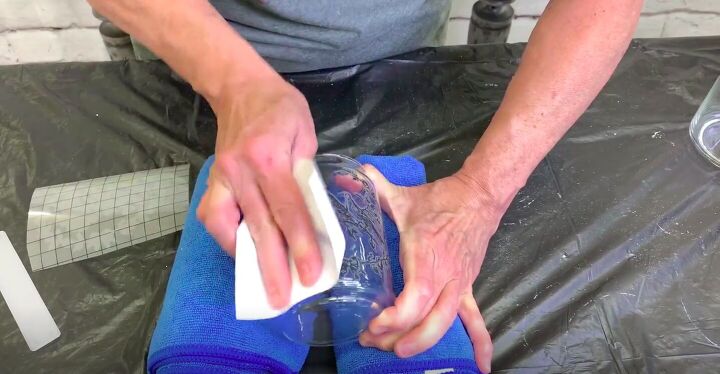
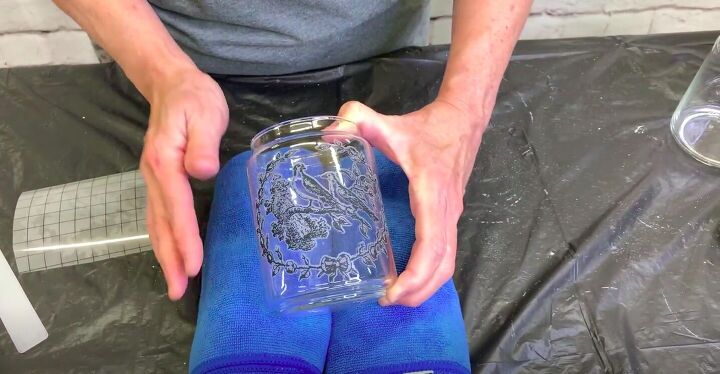
I’ll be adding some decor transfers to the glass jars, so I needed to make sure that my surface was completely clean. Using some denatured alcohol and a blue shop cloth I thoroughly wiped down the glass jar. If you ever need to clean glass, denatured alcohol is a great way to do it.
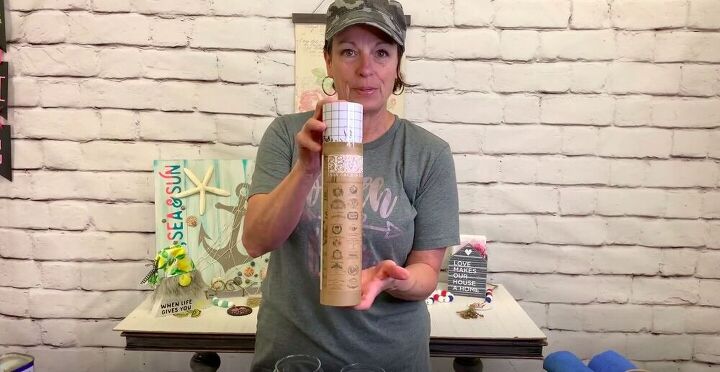
I love working with decor transfers and this project is no different! I had some lovely decor transfers that were in the style of antique pots and I thought that this would be the perfect project to utilize them!
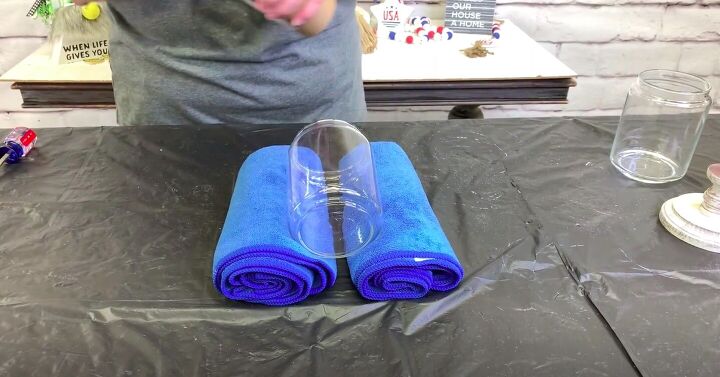
I propped my jar up on a few rolled up towels to make sure that it wouldn’t roll away while I was transferring the image.
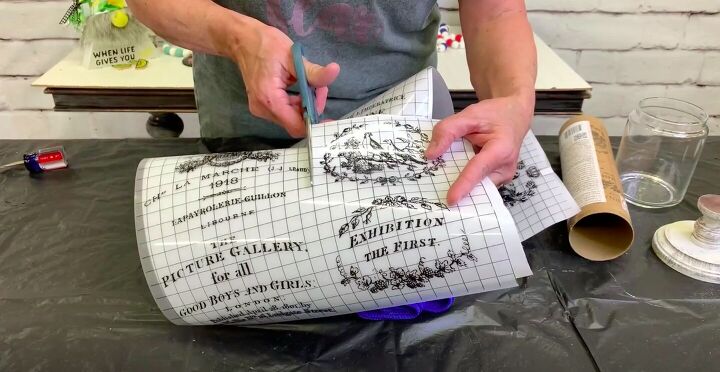
I cut out my design transfer and removed the backing.
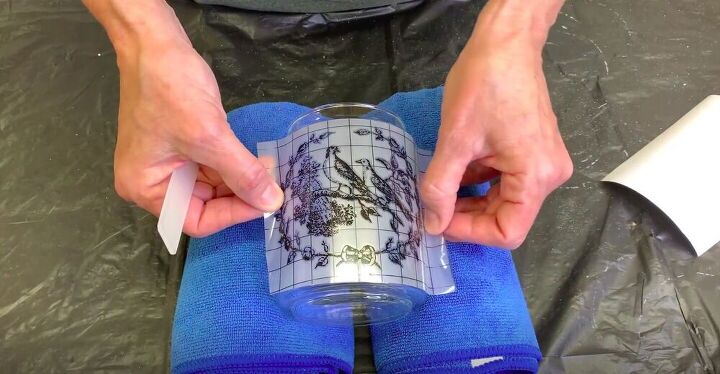
I placed it where I wanted it to sit on the glass and made sure to press it down.
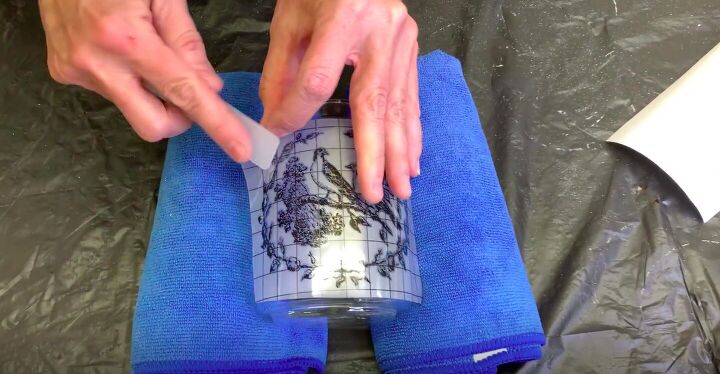
Then, using the applicator stick that came with the decors transfers, I started rubbing all over the image to transfer it to the glass jar. You’ll see the transfer turn to a slightly muted color as it transfers to the surface.
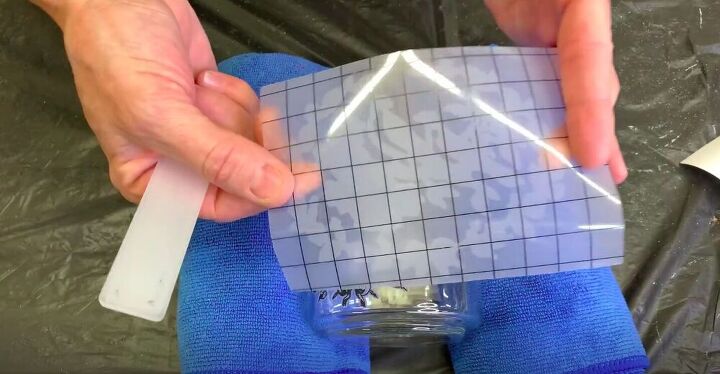
You can slowly lift up the plastic as you go to make sure you got all of it. If you missed a spot, just put it back down and rub over that part.
Once I had transferred the full design, I went back with the backing sheet to burnish it a bit and make sure that everything was completely stuck down to the glass. Then I repeated the whole process with the other jar.
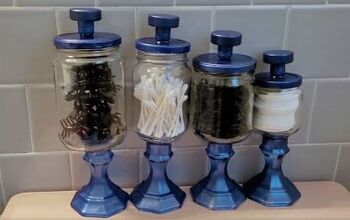
With all of my pieces complete I was ready to assemble the apothecary jars. I put a generous amount of Titebond onto the wooden base I had created and stuck the jar in place. As long as one of your surfaces is porous, like wood, this Titebond will work a charm!
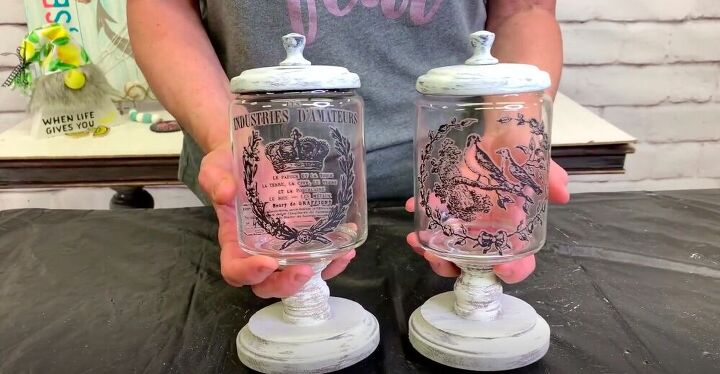
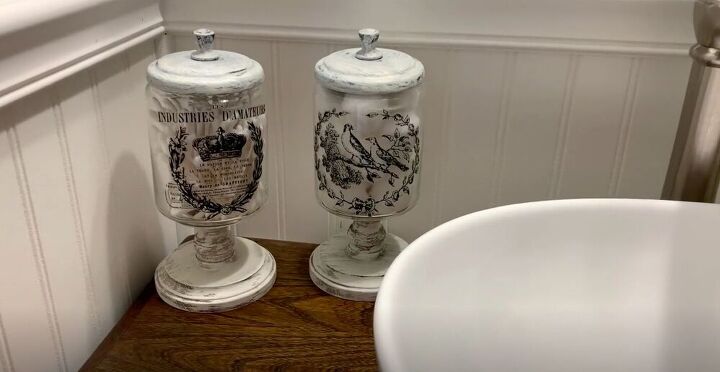
I filled my DIY vintage apothecary jars with cotton swabs and cotton balls. I simply love how much character they add to my bathroom! What would you fill your apothecary jars with? Let me know in the comments below!
Resources for this project:
See all materials


Comments
Join the conversation
-
Love this idea!! Love your shirt too!
-
Beautiful


Frequently asked questions
Have a question about this project?
Can you please tell me where you found those great jars and lids? Your project is outstanding. Can't wait to make some. Thanks for sharing.
Love them! Everyone talking about the jars.. I will use almighurt jars, I find them nice.. but my problem is the wooden parts! Where to find them in Germany? :(
Where did you get the picture plastic? Transfer glass? I don’t have a circuit.