


How to - Besser or Concrete Cinder Block Garden Edge Walls

4 Materials
$400
6-8 Weeks
Medium
A cement besser or cinder block garden edge wall that is easy to do and will help improve your bricklaying and rendering skills.
The project took about 6-8 weekends to actually complete with breaks in between waiting for mortar and render to dry, plus sourcing the right height blocks and deciding what to fill the blocks with also family commitments, wet weather and a few learning mistakes along the way (read wet weather and render that washed away and cracked due to being wet and loosing strength - required me to remove a days work and start again).
I think it worked out 'ok' (6/10) and I learned how to get the bricks level and in straight lines - eventually, learned about rendering and getting a reasonable finish, covering my work if it looks like rain, keeping inquisitive children and pets off wet masonry (another story). So if it was a wall of a garage or interior I'd be knocking it down and relaying the blocks, but being a garden wall I'm happy to leave it do the job it's intended to do.
Lots of helpful info on the 'net' for first time 'brickies' and renderers but getting your hands in the mortar and a good feel for the trowel is the only way to workout how to do it properly.
I work as a professional building and pest inspector so ensuring compliance is critical, so the project is firstly safe and is to code.
Andrew
Our web site
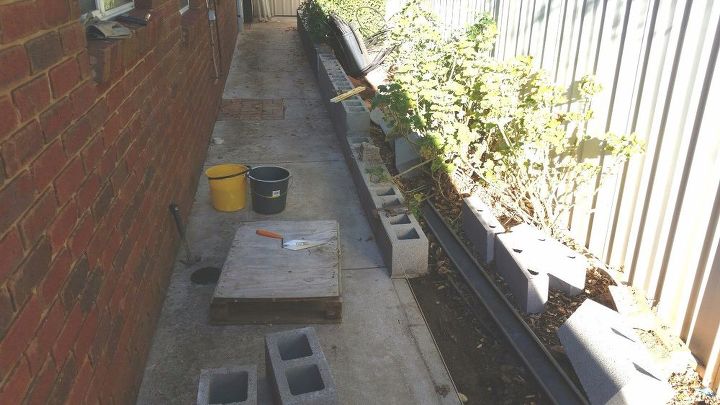
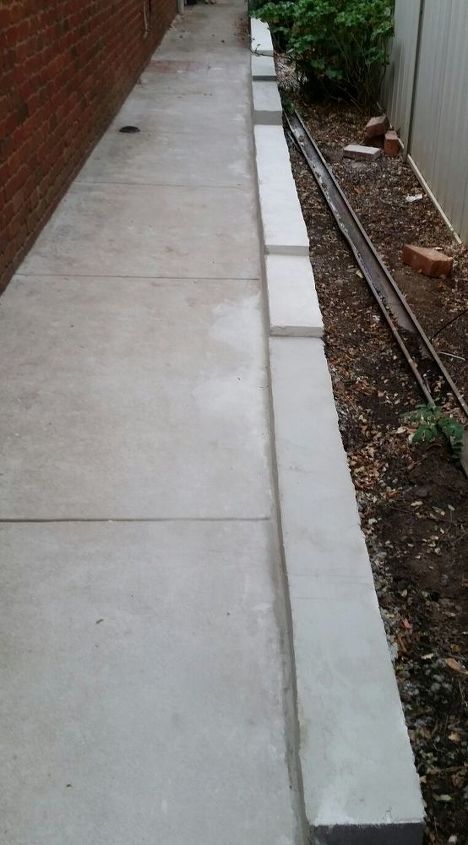
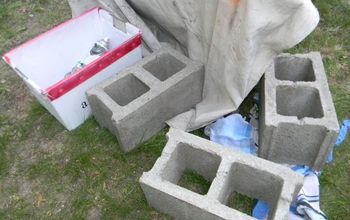
After getting a concrete strip footing down the first weekend beside the existing footpath, I nailed a stringline to each end of where I wanted the blocks to run. I (the wife) decided that the wall would need to follow the slope of the fence and fall of the garden so I stepped the height of the wall using different sizes of blocks that were half height, half to 1/4 thickness and also capping blocks. I decided they needed to be core filled (using concrete, old bricks and cement to add strength because I couldn't use rebar due to the different types of blocks used).
I had expert assistance from our 4 year old (sorry 4 1/2 year old) just to prove how easy bricklaying and rendering is to do.

Everyone pitched in to mix the mortar
Getting the first row of bricks level and straight was important, the key is to have a slightly 'stiff' mortar mix on the first row so they don't slump under their own weight and begin to tilt out of square. If a couple of bricks do move - remove them and mix up a new batch of mortar which is a little stiffer than the original batch - if you leave it the wall will not look right and annoy you every time you walk past.
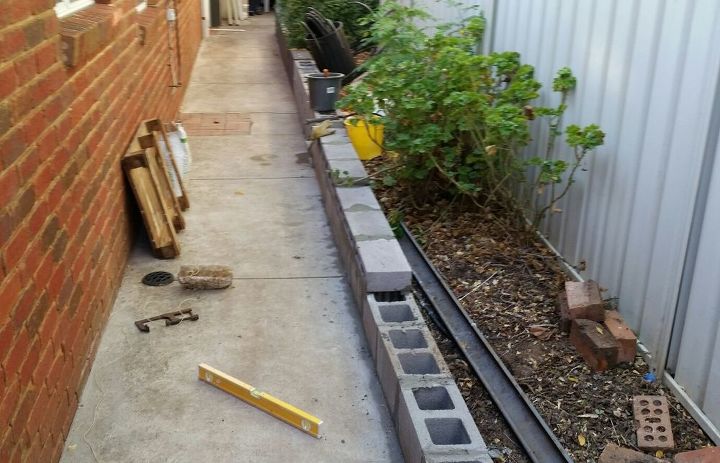
Capping Bricks and finished height set, the spirit level is a must to ensure everything is level and the straight edge (a 6.0m = 21' steel purlin meant I couldn't hide from having the blocks out of alignment)
Capping finished, blocks filled with concrete getting ready to render
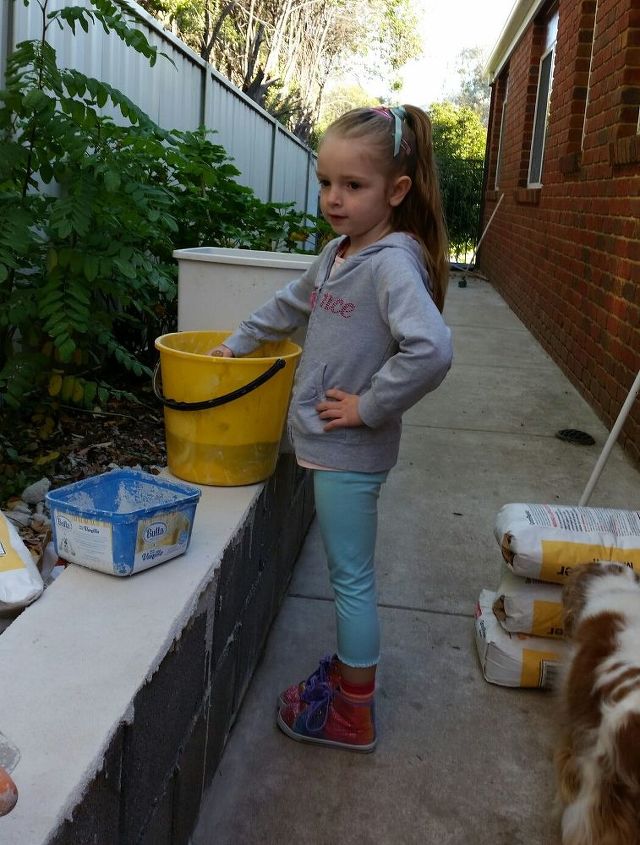
Buckets may not be 'pro' but works.
First coat of cement render, getting the consistency right is the trick, it needs to be able to flow but not that wet it slumps of the block's face, more thin coats is better than thick coats and is easier to work. Waiting a day between coats is a must to stop cracking due to trapped moisture, also wait a week, preferably 2 for the block work to dry out before rendering as the finish will be much stronger. Small batches are better than mixing a lot of render and also allows you to do sections when time permits - after work or before other must do jobs on the weekend. Take your time and it will work out much better than rushing.
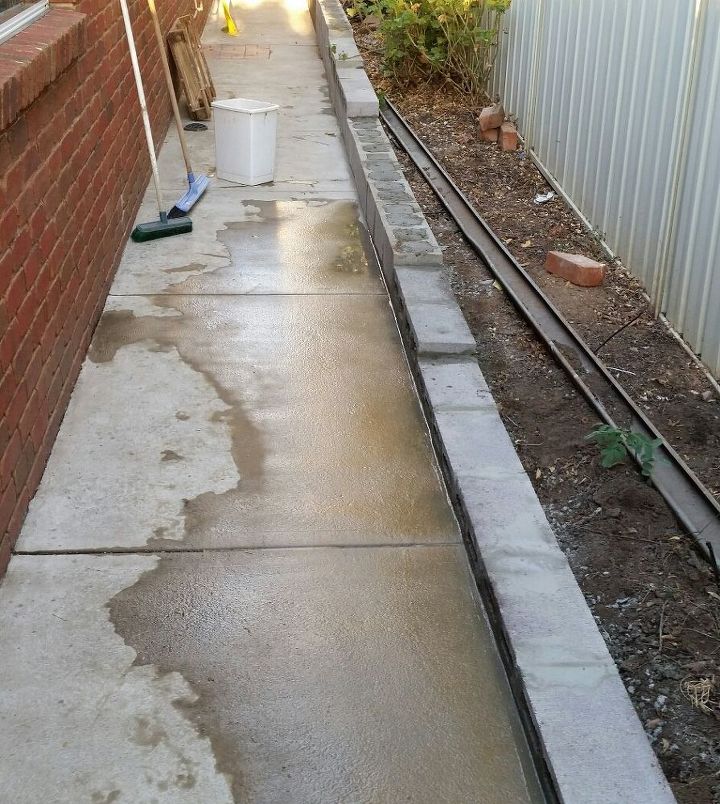
Second coat or render (just prior to 3 days of rain) this whole section had to be redone twice before I was happy with the final result - lesson learned, if the sky is getting dark and the forecast says rain, get the tarpaulin out and cover your work, keep the 'tarp' off the wet finished surface otherwise the raindrops will leave a pock marked surface.
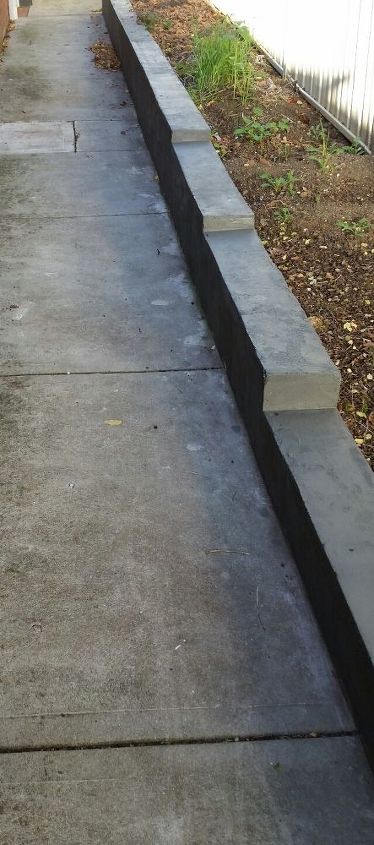
Finished wall, edges could be straighter and render smoother but ok for a first attempt.
1) - Get everything you think you'll need ready before you start each step.
(If you're doing footing works - concrete, mixer, bags of concrete, boxing, tools, extra water to flush spills - there will be some, straight edges, trowels, a mixing board, wheel barrow, gravel, string lines, levels, knee pads, gloves, dust masks...etc...
2) - Plan what you can do in the time you have available, now halve your expectations - it's going to take longer than you think.
3) - Don't rush, the pro's make it look easy because they do it for a living, you can achieve the same finish if you're prepared to learn.
4) - Be ready to 'undo' things that are not up to par if you can, an additional bag of mortar or a $15 bag of render is better than everytime you walk to the bin you look at those few crooked blocks and say to yourself if only I had redone them when I had the mortar wet, you won't ever like how it looks. (trust me).
5) - If it's too far gone and you can't 'fix' it so the mistake will be permanent decide if you can live with it, investing $400 to $500 so far and having the finish look bad isn't the time to knock it down and start again, it's time to accept your limits and put it down to experience. So long as it's safe and will do the job it's meant to do.
Comments
Join the conversation
4 of 28 comments
-
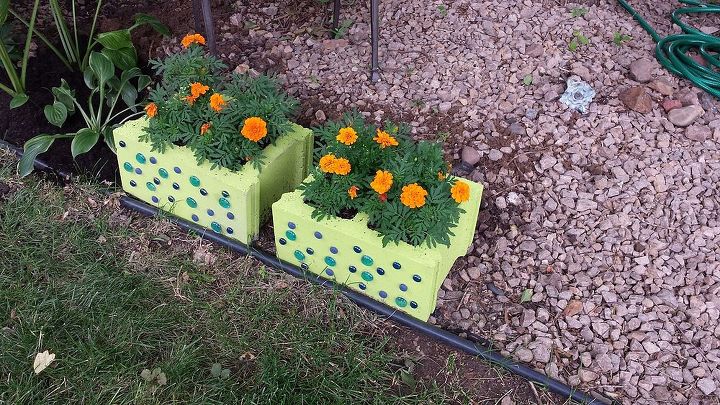
For next time.....http://www.hometalk.com/diy/build/planters/outdoor-decor-cinder-block-planter-4124495
-
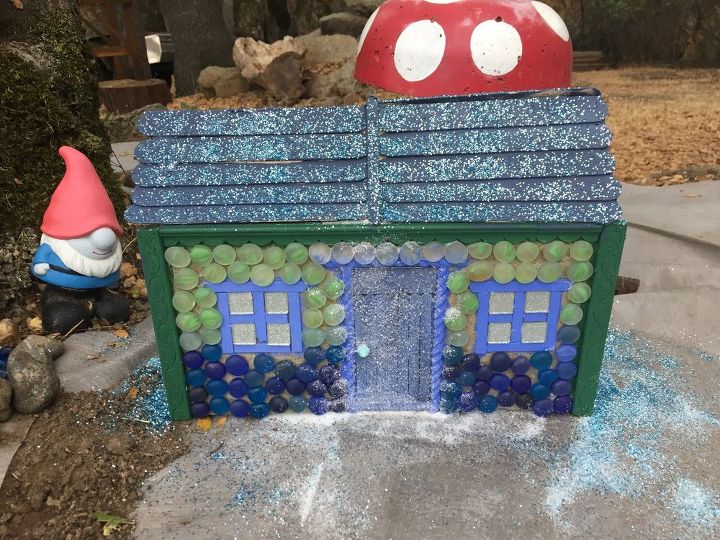
For your lovely hard working daughter........http://www.hometalk.com/diy/decorate/rooms/how-to-create-a-fairy-house-from-a-concrete-block-22777463


Frequently asked questions
Have a question about this project?
How did you handle the rain drainage?
what is "render"?
How does rain water drain away? I don't see any drain spaces in your new wall. I saw what looked like a drain in your walkway, but I wouldn't think that one drain would be enough.