


Stenciling a Subfloor is Simply Fabulous!

by
Judymgibbs
I'm one of those people that love a challenge. I saw a picture of a small stenciled bathroom floor and fell in love with the idea of it.

Remove old carpet
Took a razor knife and sliced the old carpet and pad in 2' sections. I rolled them up and used old cord to tie each roll. Makes it much easier to get out of the room and stack the rolls for pickup.
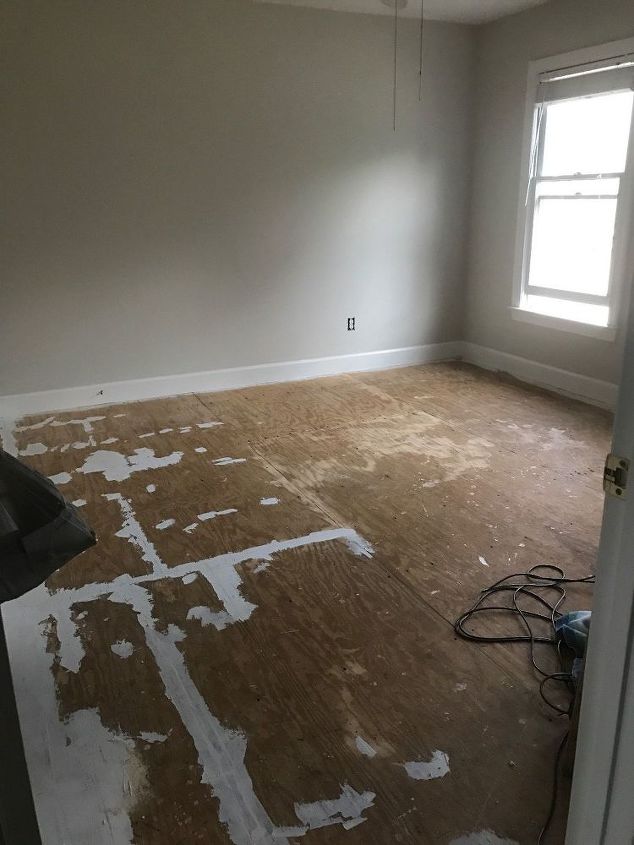
Spackle the cracks and holes
Next is spackle. There are several to choose from. Dep Presto patch is the one I used and it is holding up great! Hammer down any nails and remove any staples. I used a 2" putty knife and spackle all cracks and holes.

Sand and paint a coat of primer
Once your spackle has dried use a sanding block or palm sander and sand the floor. I put an old towel under the doors and opened the windows while I sanded. I would use a dust mask to keep from breathing the dust. I used a broom and shop vac to get all the dust out. I did use a roller to put a coat of primer on the floor.
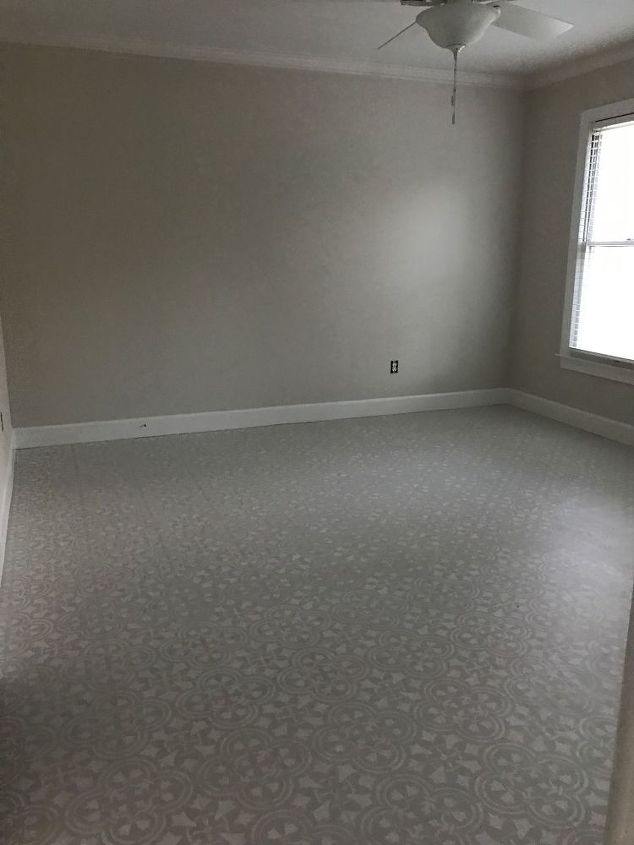
When the primer was dry I painted two coats of my base color and let it dry overnight. The next day I started stenciling. I started in the middle of the wall farthest from the bedroom door. MAKE sure you don't paint yourself into a corner!
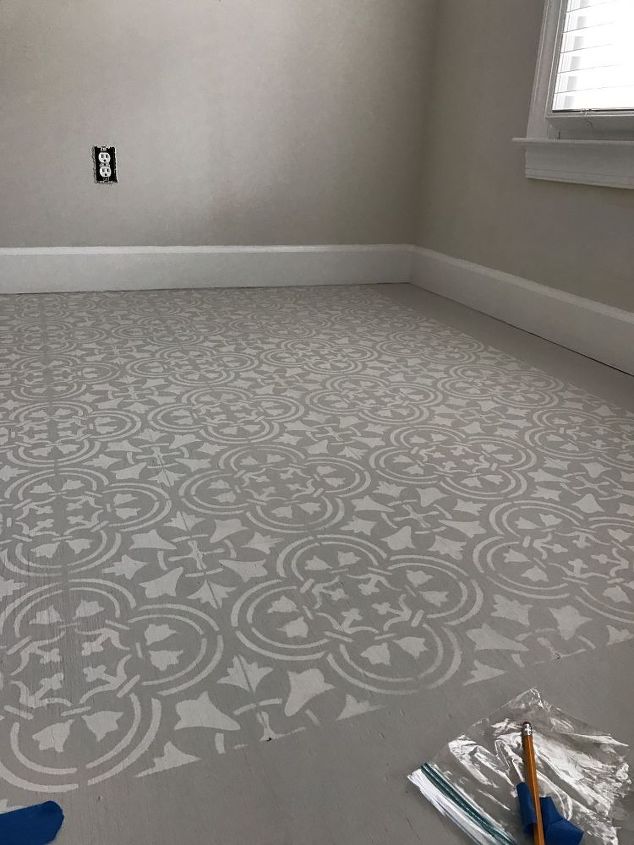
When the stenciling was finished I painted 3 coats of sealer to protect the paint. I used a water based Minwax clear acrylic semi gloss.
Finished! I just love them. Who knew plywood could look so good! The total cost was about $200.
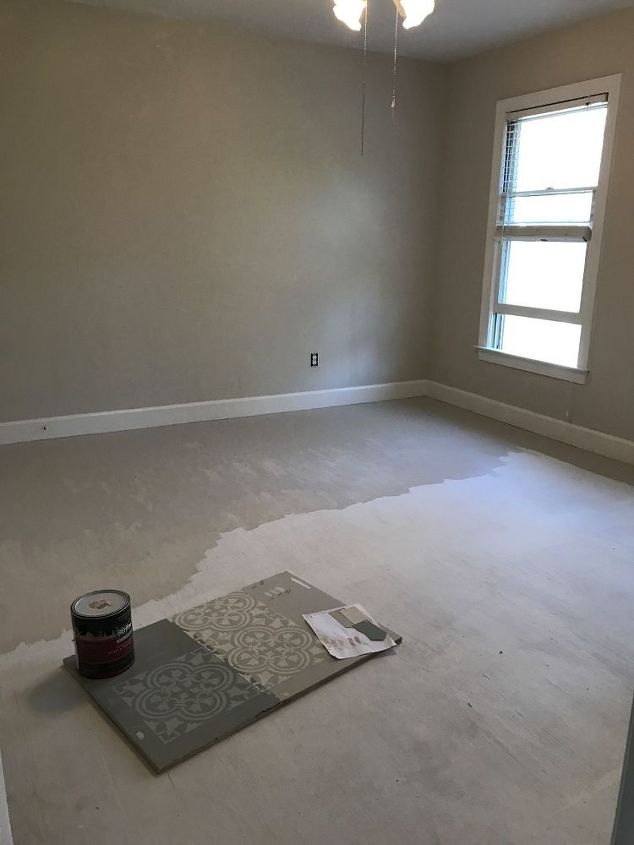
Apply base color with a paintbrush
Starting at the farthest place away from the door paint your first coat of your base color using a 2" soft bristled brush. Make sure you don't paint yourself into a corner. If you have a closet door as I did paint your way in leaving yourself enough room to paint your way back out!
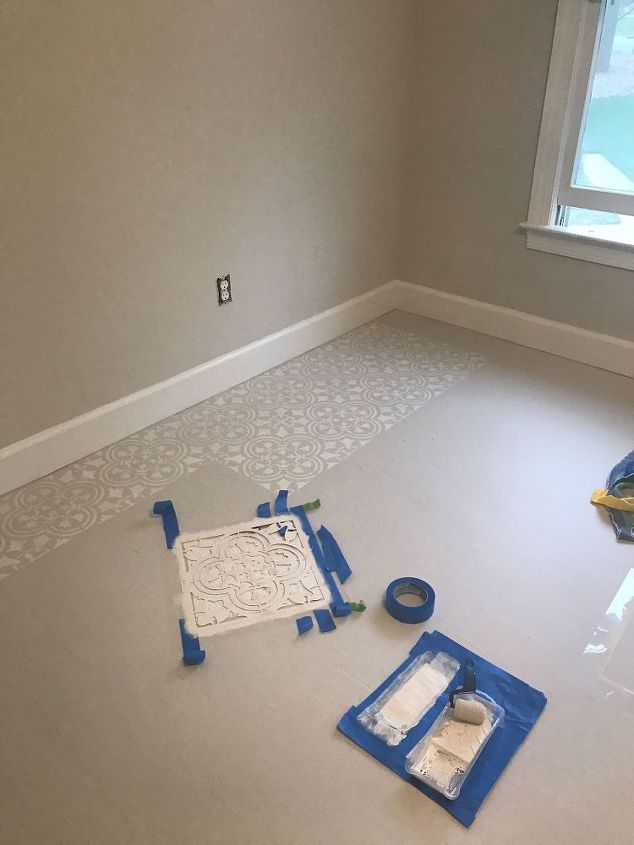
Where to start stenciling
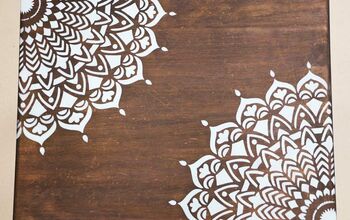
Always start on the farthest wall from the door. Find the middle of the wall and the middle of the stencil. Using painting tape place and secure the stencil to the floor. I used a "touch up" foam roller which is about 2" wide to do the whole floor. The trick is to lightly place the roller in the paint. Before you move it to the stencil, roll it on a paper towel to get most of the paint off. Then roll your stencil. It will take a few times to get the level of paint coverage you want. It just takes a few minutes to paint the full stencil. lift it up and position it in place next to the one you just painted and tape it down. Repeat until your floor is covered.
Leave the edges for last
You will have to bend the stencil to get close to the walls so I did that last. You can see in this picture the area that is not painted close to the wall.
Time to paint the sealer
Once your floor is dry paint, with a brush, 3 coats of sealer to protect the floor. I used Minwax Acrylic Semi-gloss clear sealer. You need to use a fine sanding block after each coat except the last.

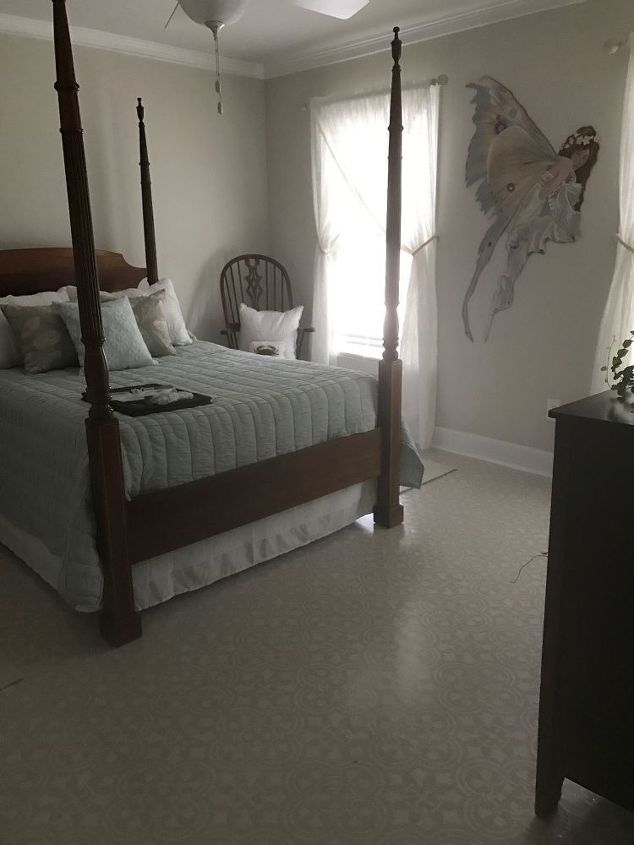
Finished!
I decided to put the sticky felt pads under all of the furniture feet. Better safe than sorry. I love my floor. I am already planning the next room. The best part... only spent about $200.
Comments
Join the conversation
2 of 199 comments
-
It is beautiful, I love it
-
I am so inspired! My hallway in my home is carpeting, and I wanted to paint it! Now I know what to do! And mine will be plywood as well that I will be painting! Thank you thank you thank you


Frequently asked questions
Have a question about this project?
Yes! Where can I purchased the stencil? Thank u
How are the floors holding up? have you had any problems with buckling or warping?
It's not a question... Well, I guess I do have have ine.. About how long did this project take and did you work on it everyday until done?
It is Brilliant and Stunning!!!